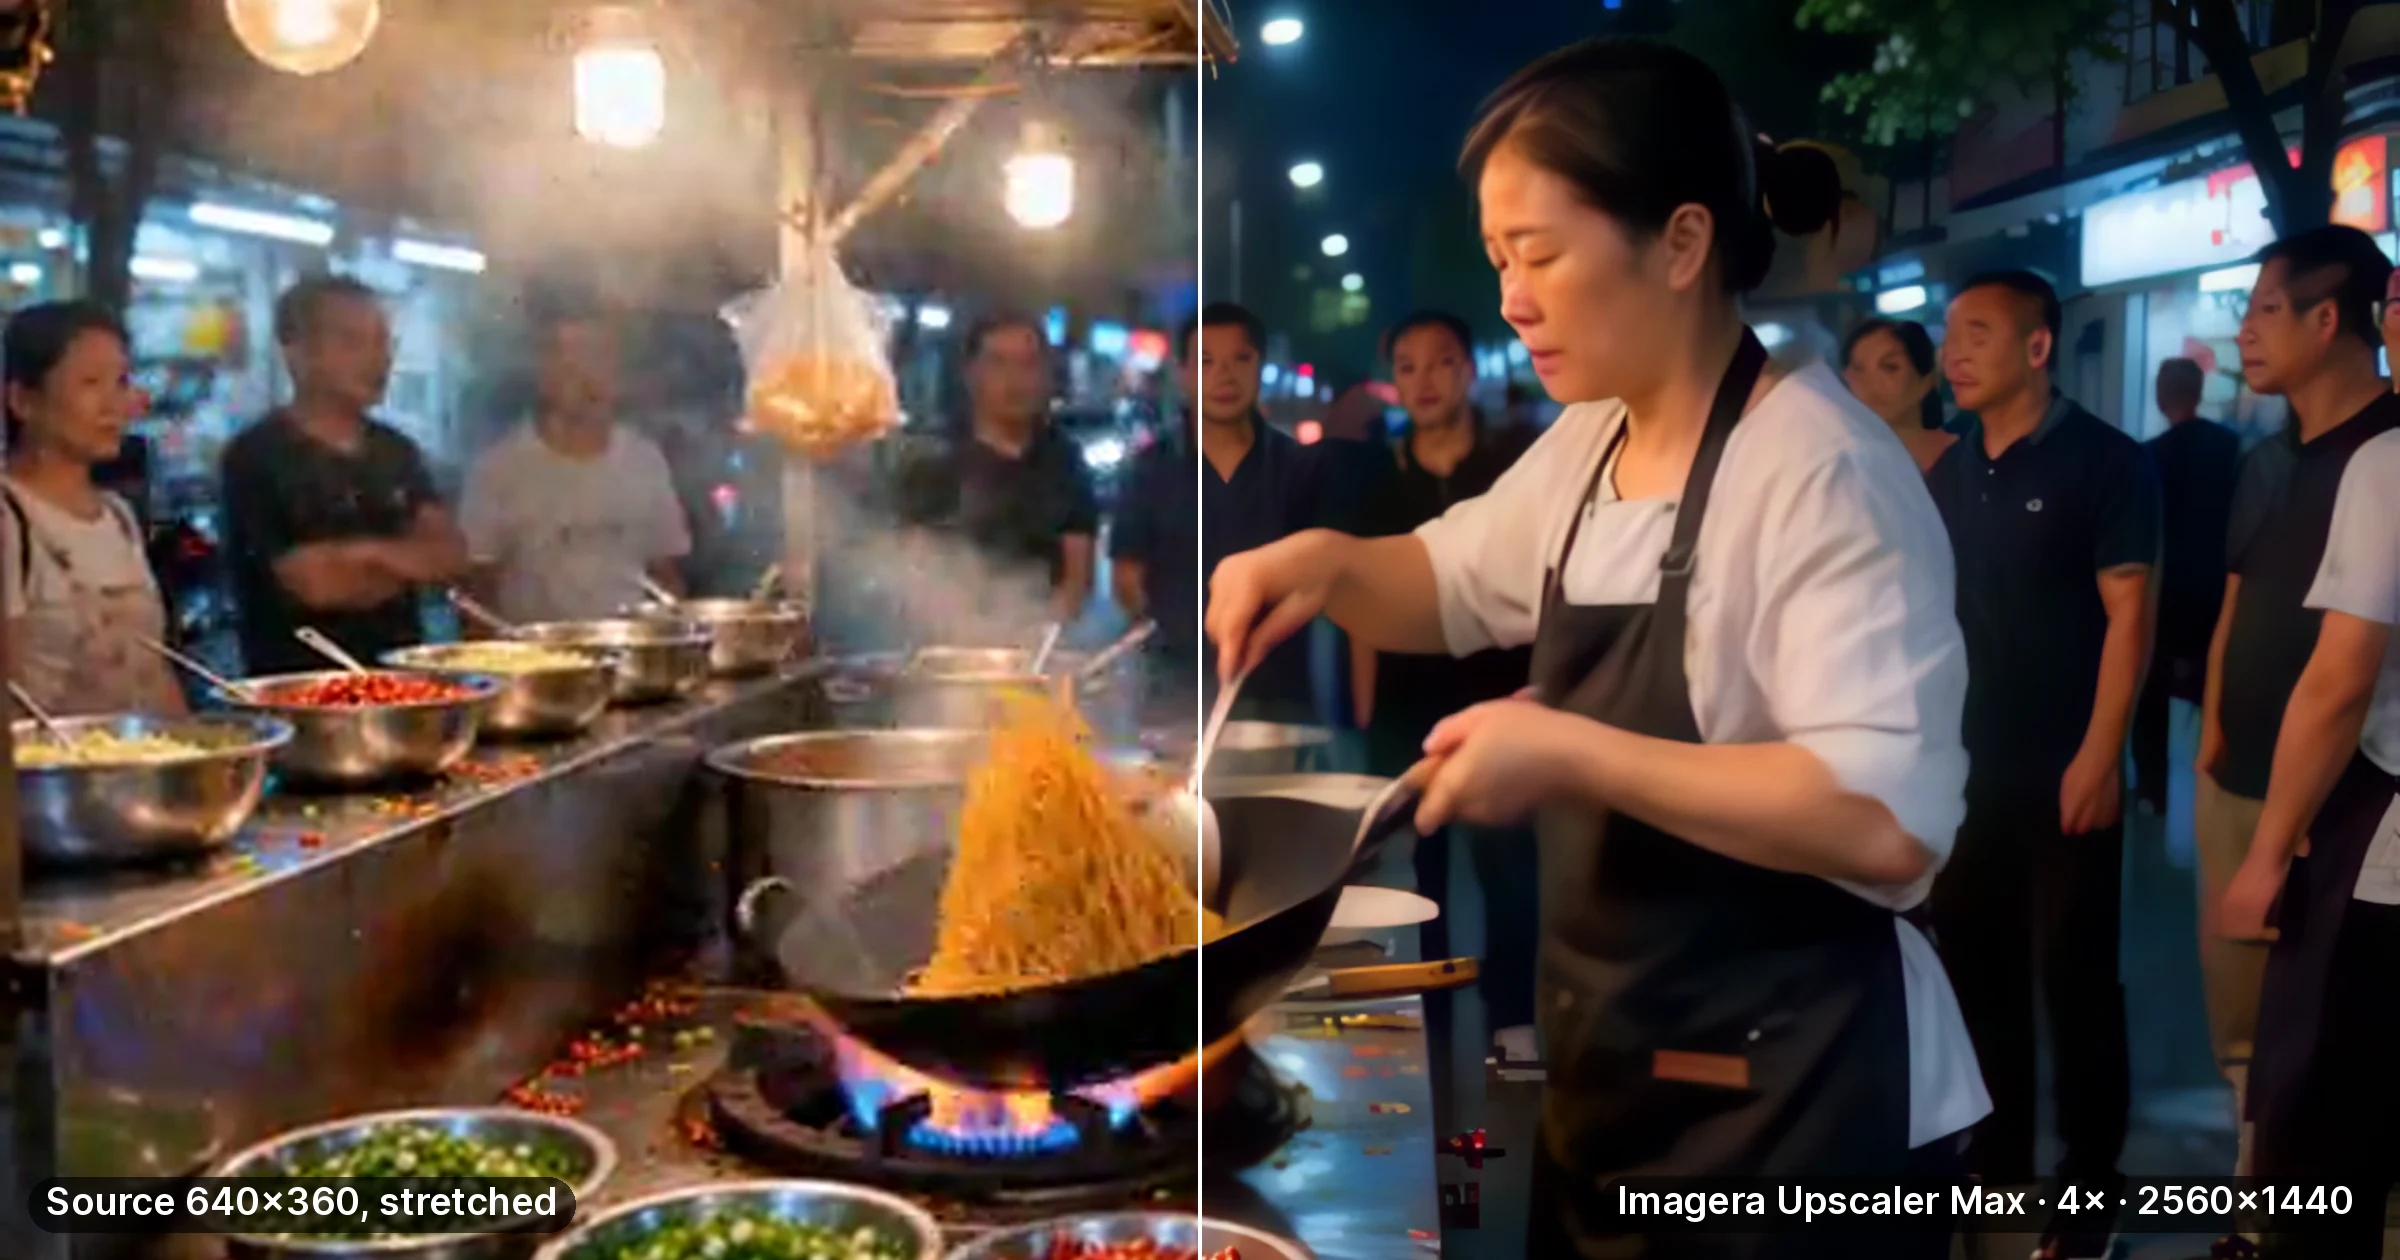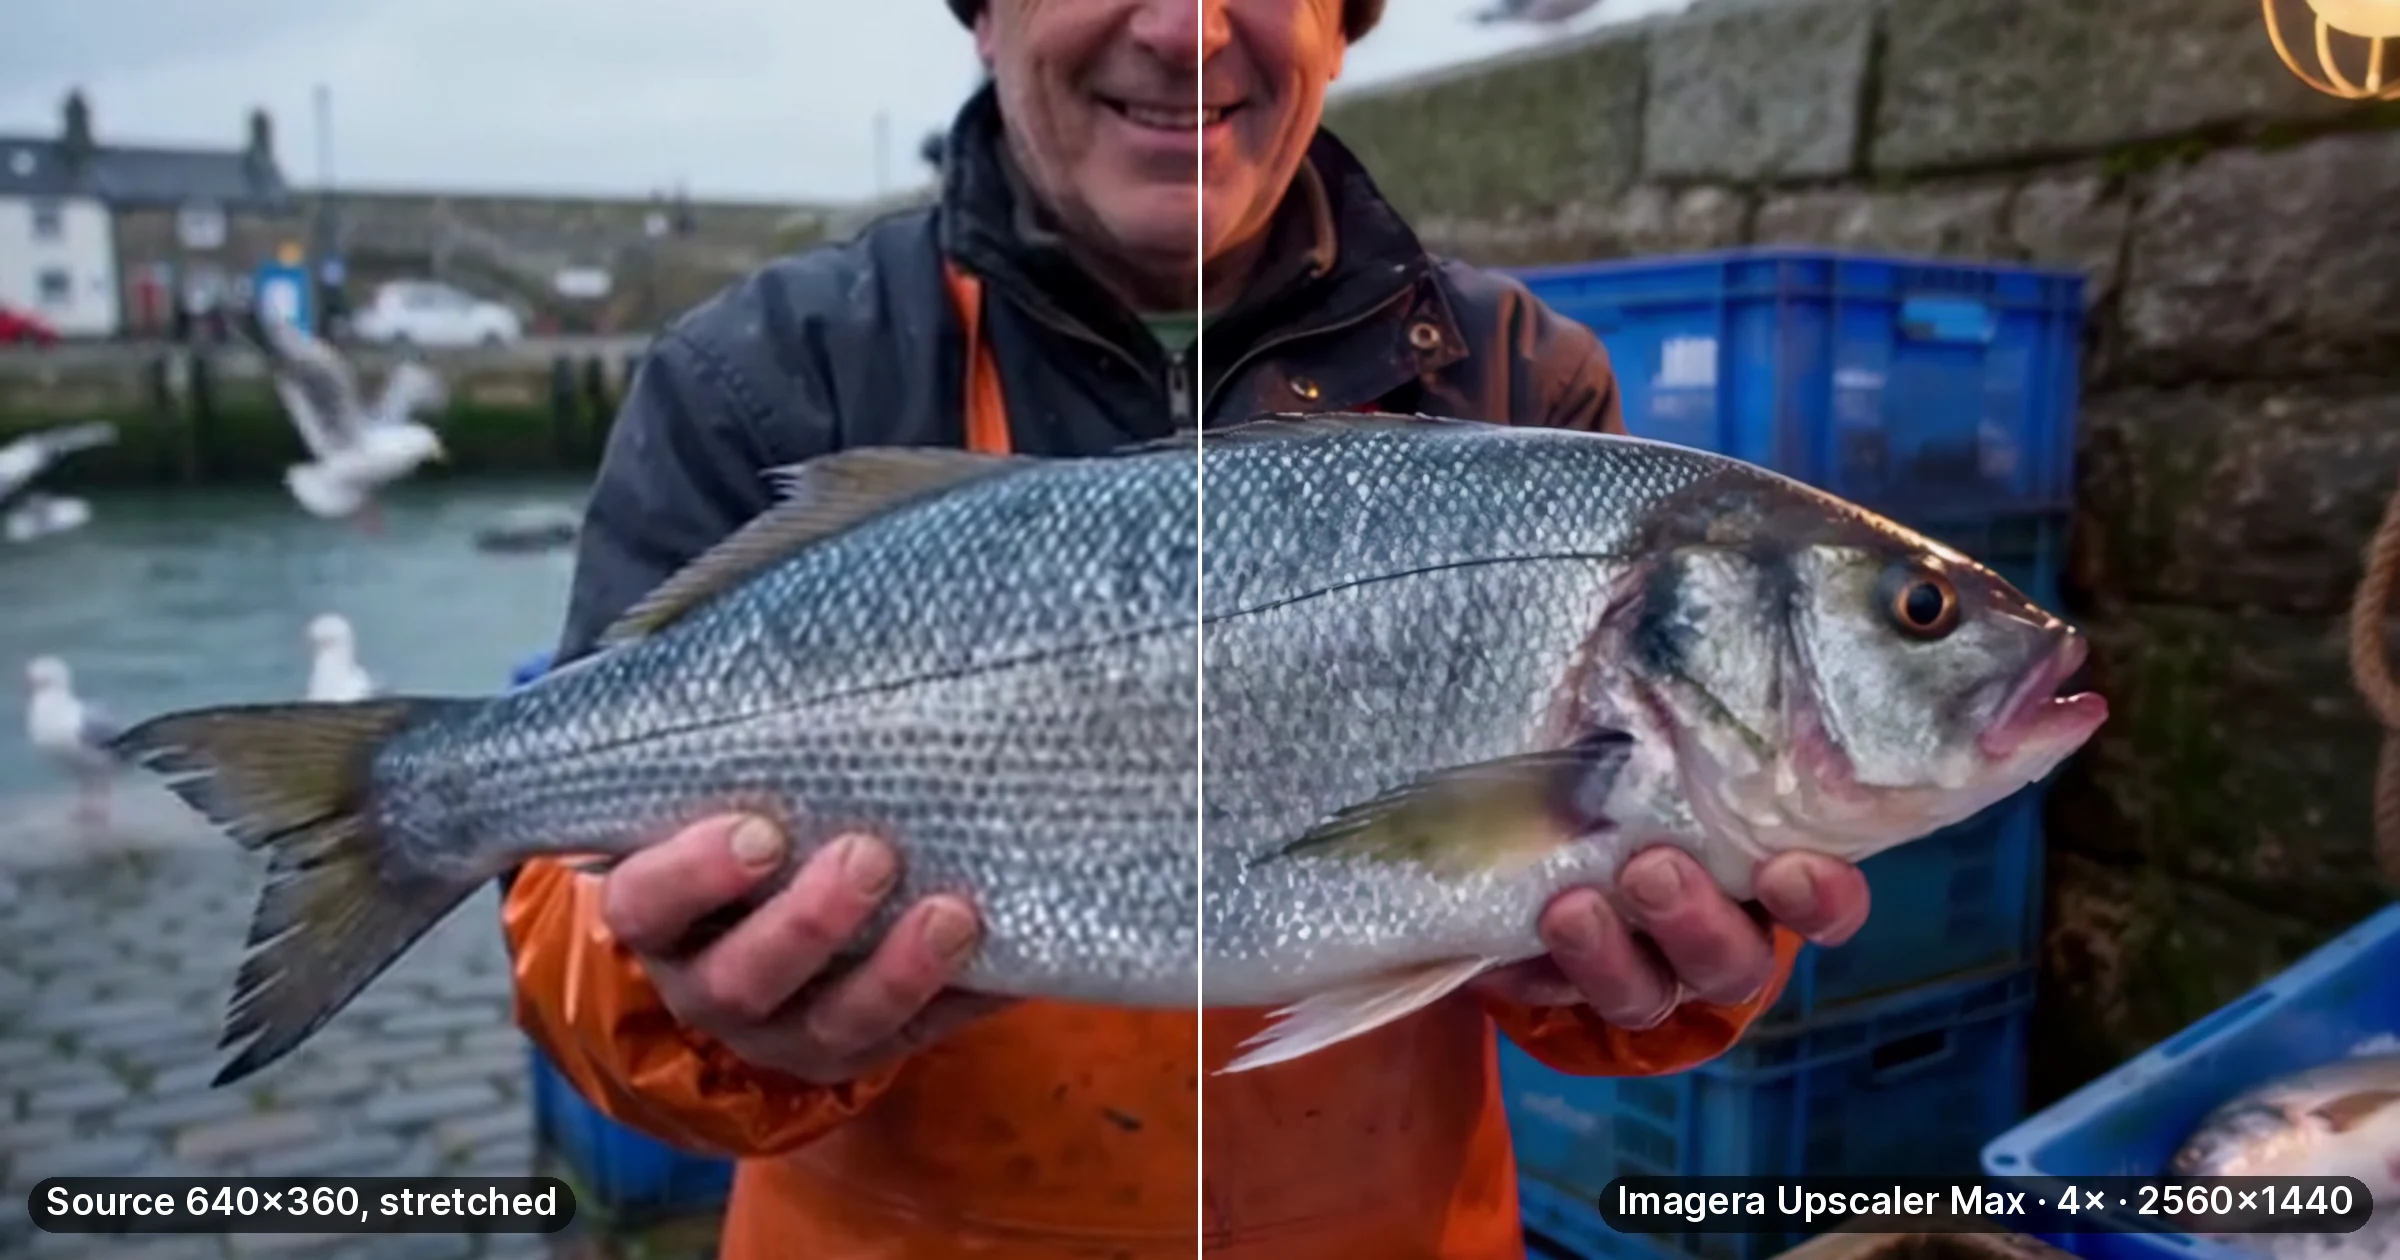
Quick answer: AI can make old VHS, camcorder, DVD and 8mm footage noticeably cleaner and larger, but only after it has been digitised well. Capture the tape, deinterlacing at capture, trim a 10-second test clip, and run it through the AI Video Enhancer. Start with a modest target (Medium, or 2×), then move to Imagera Upscaler Pro or Max for 4K or a model tuned for tape noise. AI removes noise and firms up edges. It does not bring back detail the tape never recorded, and faded colour usually needs its own correction.
1.How much can AI actually improve old VHS video quality?
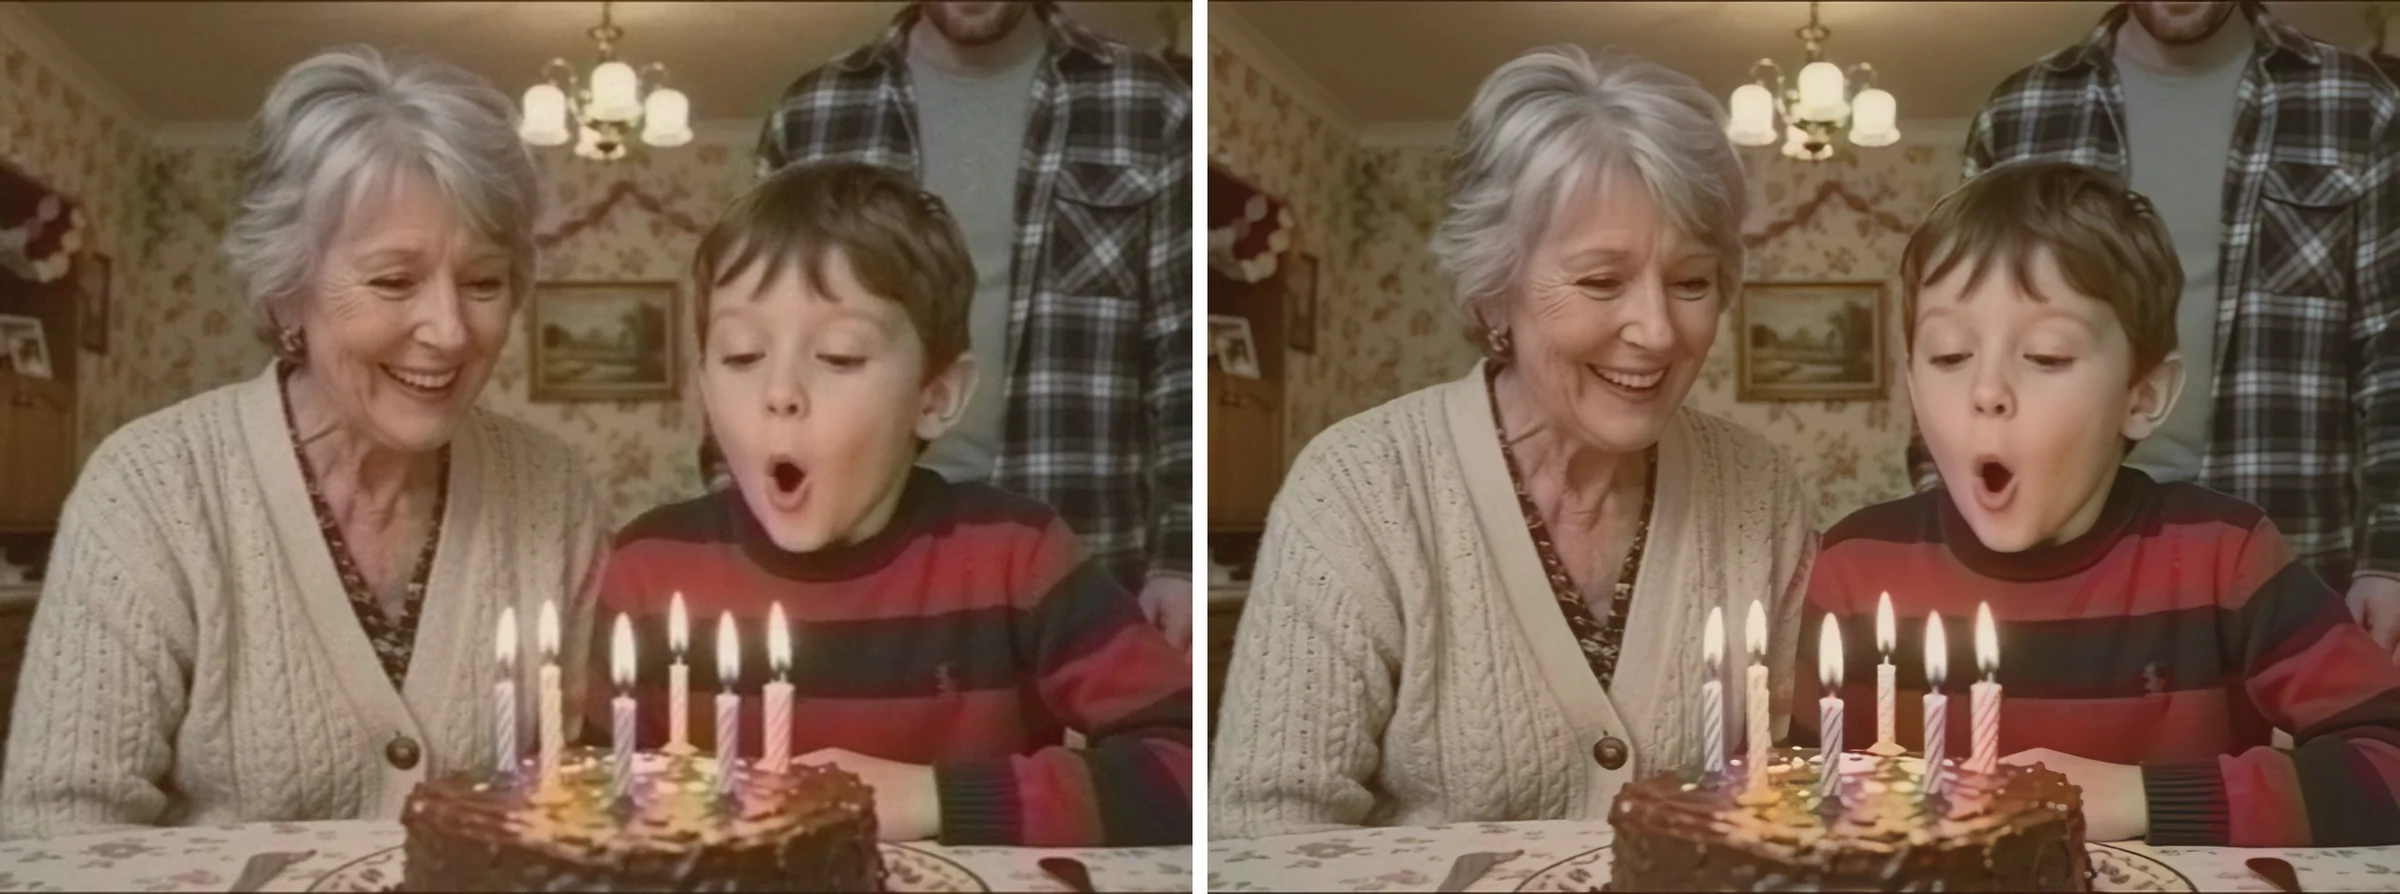
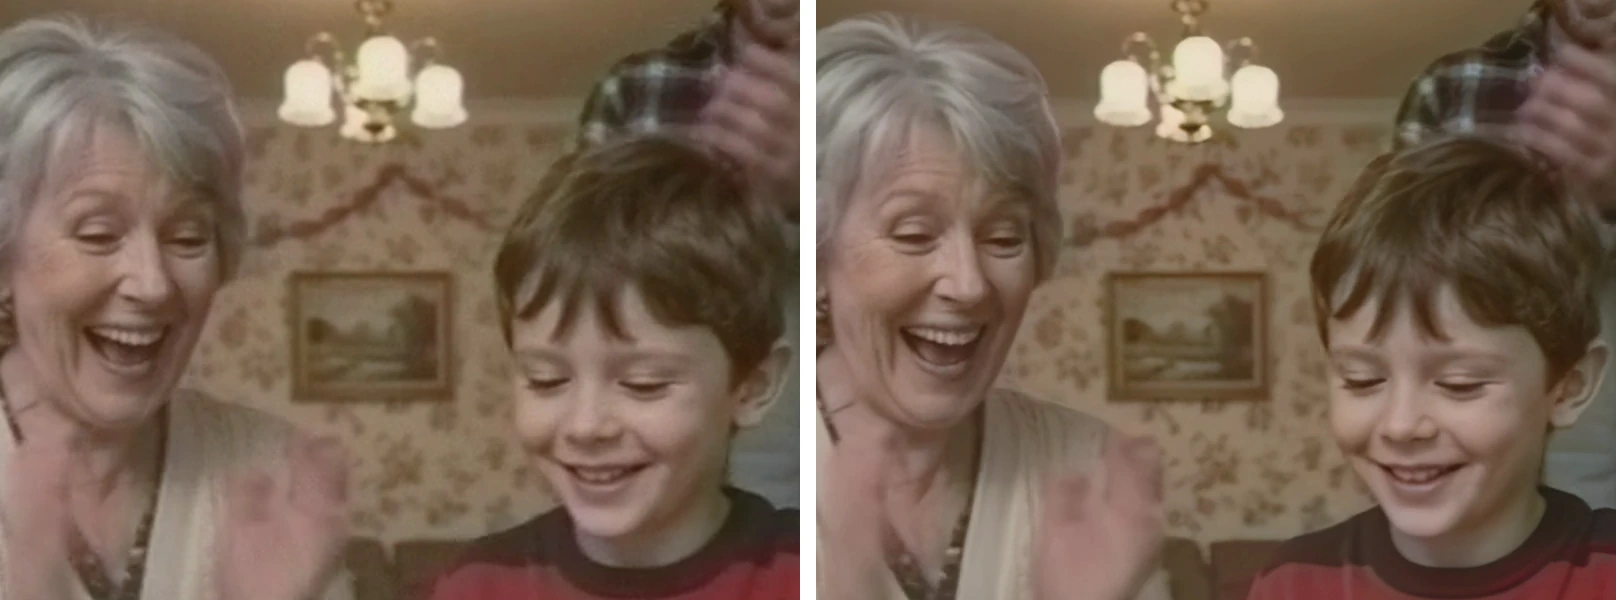
More than a plain resize, less than the hype. VHS records roughly 240 lines of horizontal detail; S-VHS reached about 420 (S-VHS, Wikipedia, edited 21 August 2026). A capture card still saves 720×480 (NTSC) or 720×576 (PAL) frames, so much of what you digitise is softness and noise. The AI removes the noise and rebuilds edges from what is left, up to 2048p on Imagera Upscaler and 4K on Upscaler Pro and Upscaler Max. Expect clean, sharp VHS, not modern-camera footage.
2.Does AI restoration work on damaged or faded DVD footage?
DVD is the easier case: it is digital and usually cleaner than its tape. Compression blocks, banding and noise respond well. Fading is different: none of the engines is a colour-correction tool, and in our test the faded cast came through unchanged. Test colour on a short clip and grade it in an editor if it stays flat. A disc that will not read cannot be saved by AI, so rip whatever still plays.
3.What AI Video Enhancement Actually Does
Super-resolution models learn from pairs of low- and high-quality frames what sharp edges, hair, fabric and lettering tend to look like. A sharpen filter only raises edge contrast; these models generate new pixels that are plausible, not recovered.
| Enhancement | What it does | Where you set it |
|---|---|---|
| Upscaling | Enlarges the frame, up to 2048p or 4K depending on the engine | Target, on every engine |
| Denoising | Removes tape noise, grain and compression blocks | 1× Restore on Upscaler Pro; Noise and Compression dials on Upscaler Max |
| Detail recovery | Firms up faces, edges and texture | Recover detail on Upscaler Max |
| Frame rate | Interpolates to 24, 30 or 60 fps | Target frame rate on Upscaler Max |
None of them stabilises shaky footage, deinterlaces or repairs dropouts.
4.Types of Old Video You Can Enhance
4.1VHS Tapes (1976-2000s)
AI helps with noise, softness and capture compression. AI cannot fix chewed or mouldy tape, dropouts (black or torn frames), tracking damage baked into the capture, or recorded-over sections. If a tape shows white or brown patches, do not play it: mould gets into the player and spreads to other tapes. Bag it and send it to a professional cleaner (University of Illinois PSAP videotape guidance, accessed 22 September 2026).
4.28mm Film and Camcorder Tapes (Hi8, Digital8, MiniDV)
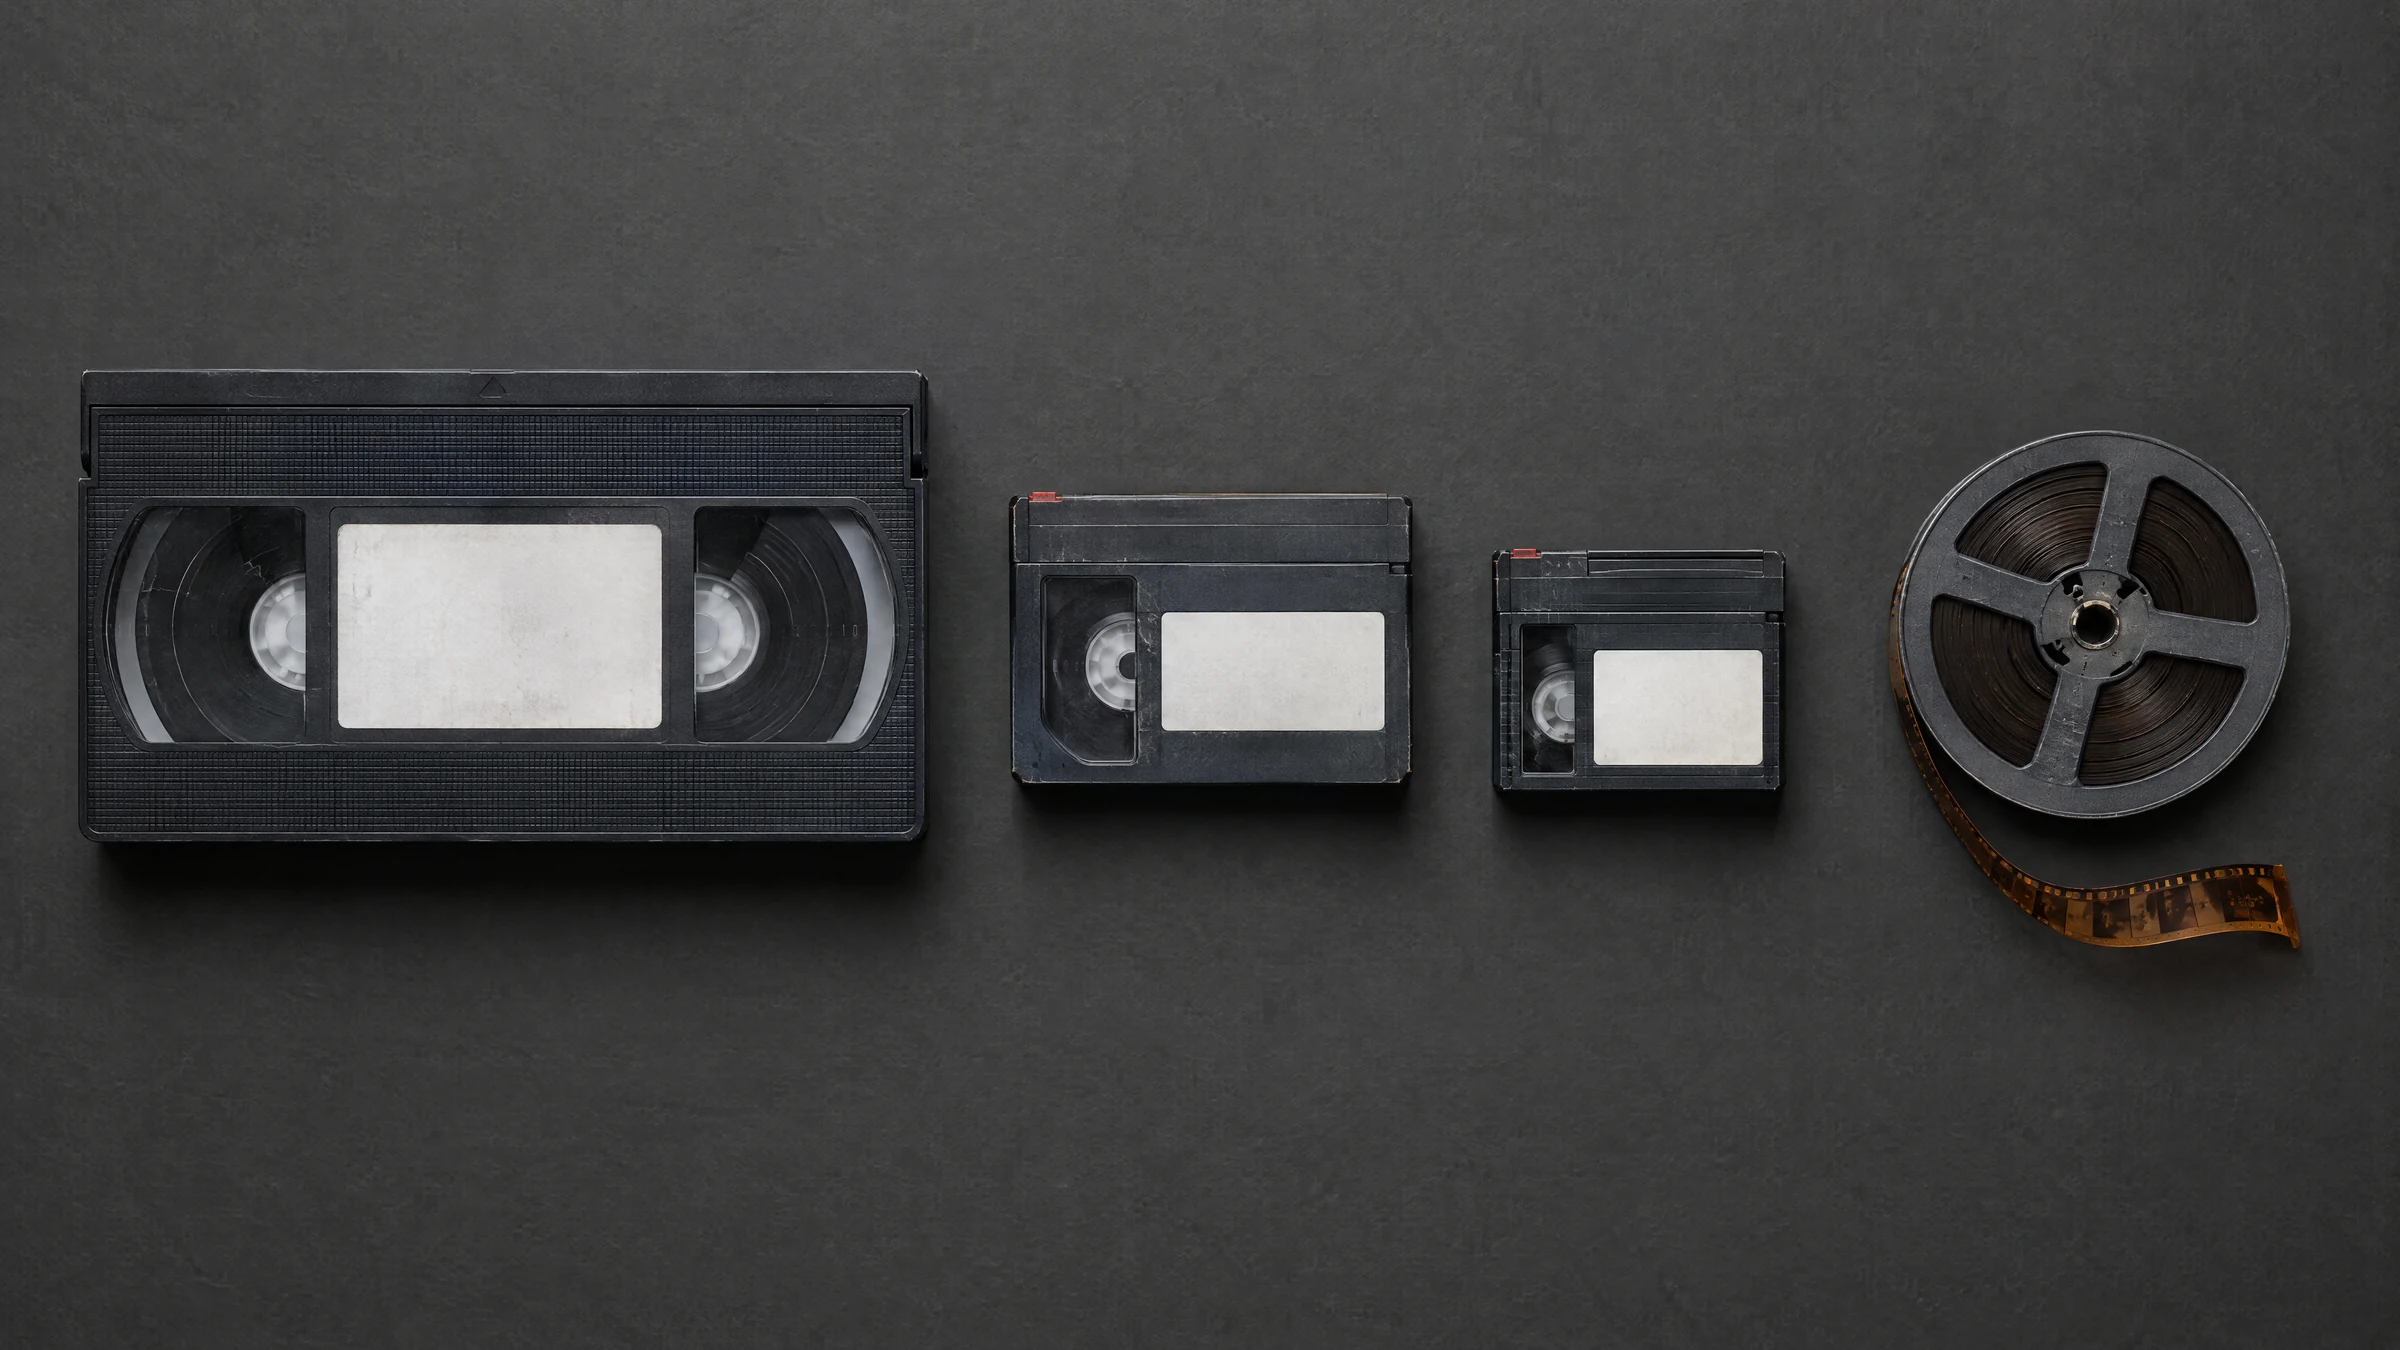
- Video8 and Hi8 (introduced 1984 and 1989) are analog, so capture them like VHS. Decks are no longer made, which makes these tapes a priority (PSAP format guide, accessed 22 September 2026).
- MiniDV and Digital8 are digital: FireWire gives you the original interlaced DV file with no generation loss. Deinterlace it before uploading. On Upscaler Max, the model whose note mentions 8/16mm film and de-interlaced mini-DV is a good first pick.
- Regular 8mm and Super 8 film is scanned frame by frame. Super 8 home movies ran at 18 fps and regular 8mm at 16 fps (Super 8 film, Wikipedia, edited 12 September 2026), so scan at the film's own rate. On Upscaler Max, leave Target frame rate on Auto to keep that cadence, or pick 24 or 30 fps for smoother playback; 60 fps doubles the credits.
4.3Early Digital (2000-2010)
Early camcorders and phones often saved small, heavily compressed .3gp, .avi or .wmv files. Convert them to MP4 before uploading (Step 1 shows how). AI handles blocky compression well, and 2× to 4× stays inside the 4K cap.
4.4DVD Footage (480p/576p)
DVD video is 720×480 (NTSC) or 720×576 (PAL). The source is consistent, so it takes Medium or 2× well, or up to 4K on Upscaler Pro or Max.
4.5Surveillance and Security Camera Footage
A caution, not a use case: AI invents plausible detail, so it cannot reveal a face or number plate that was never recorded. Never treat an enhanced clip as evidence; keep the original and label the copy as AI-processed.
5.Step-by-Step: Enhance Your Old Video with AI
5.1Step 1: Digitize Your Footage
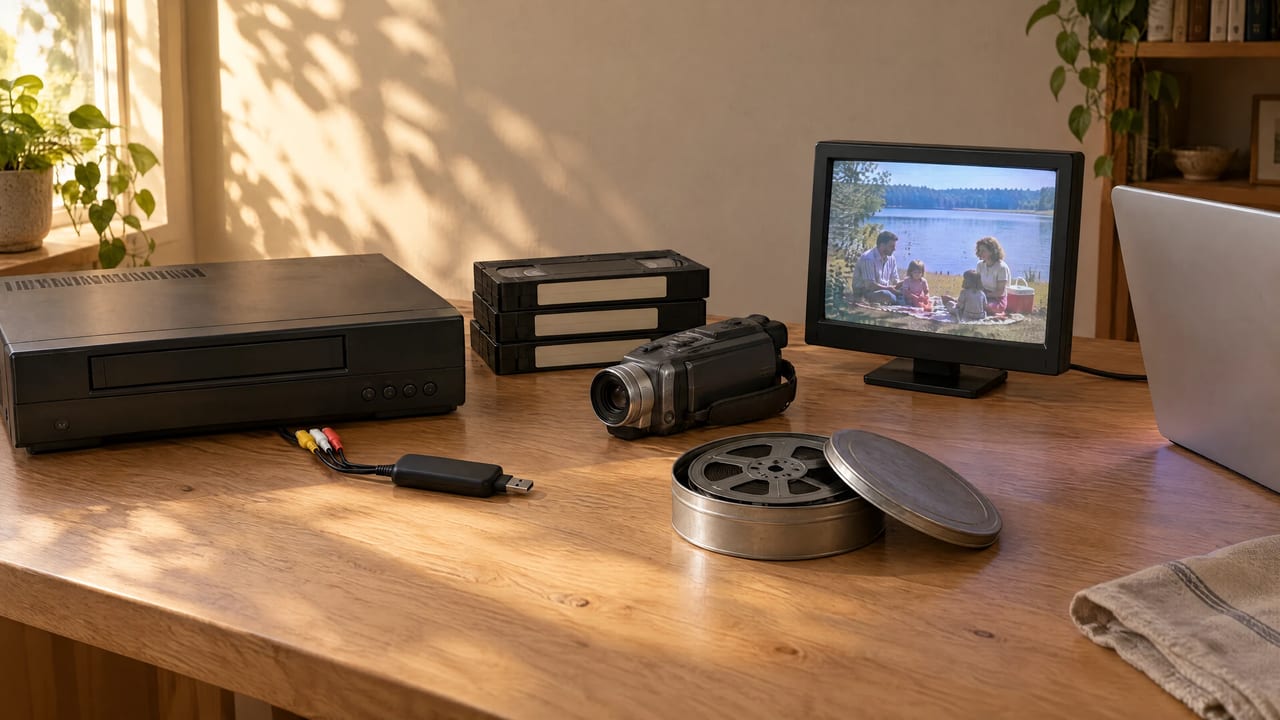
- VHS, Video8, Hi8: a player into a USB capture device, recorded with capture software such as OBS. Use S-Video if both ends have it; it keeps colour cleaner than composite.
- MiniDV, Digital8: transfer the DV stream over FireWire. Film: scan frame by frame, yourself or through a service.
- Capture at 720×480 or 720×576 and don't upscale at capture; let the AI do it once.
- Deinterlace at capture. None of the engines deinterlaces, and combing on moving edges gets upscaled with everything else. Use your capture software's deinterlace option, or FFmpeg's bwdif filter, which also converts to MP4 (FFmpeg filters documentation, accessed 23 September 2026):
ffmpeg -i capture.avi -vf bwdif=mode=send_frame -c:v libx264 -crf 16 -c:a aac capture.mp4
- Trim a 10-second test clip that includes a face, some motion and a dark area.
5.2Step 2: Upload to an AI Video Enhancer
Open the AI VHS video enhancer, drop the clip in and make four choices:
- Engine.
- Imagera Upscaler: a diffusion rebuild at Low 1024p, Medium 1536p (default) or High 2048p. Clips up to 60 seconds; 10, 20 or 40 credits per 5 seconds.
- Imagera Upscaler Pro: 1× Restore, 2× or 4× (4K). Clips up to 5 minutes, files up to 50 MB; 45, 60 or 100 credits per 5 seconds.
- Imagera Upscaler Max: nineteen enhancement models, 1× to 4× (output capped at 3840 pixels on the long edge), frame-rate and grain controls. Clips up to 5 minutes, files up to 500 MB, sources up to 4K. Priced per second by output size; the total shows before you run.
- Target. Medium on Imagera Upscaler, or 2× on Pro and Max, is a sensible starting point for tape.
- Enhancement model (Max only). For VHS, pick the row noted "Low quality · VHS, web rips".
- Advanced (Max only). Leave the dials on Auto at first. Turn H264 output on for older players and web uploads; left off, the file is H265.
5.3Step 3: Process and Download
The job runs in the strip under the tool and the clip lands in your library. Your upload is never modified, and failed runs are not charged. Our 5-second Upscaler Max test came back in under a minute. Compare it with the original at full size, on a face and a dark corner.
5.4Step 4: Fine-Tune If Needed
- Waxy faces? On Upscaler Max, lower Noise or raise Recover detail.
- Still soft? Try a model suited to the source before a bigger factor; 4× on a soft frame mostly enlarges the softness.
- Too clean and digital? Add a little Grain back (range 0 to 0.1).
- Only the faces are poor? You can rebuild a face in old video from a photo: a clip of up to 32 seconds plus one face photo. Use a photo of the same person from the same era, with their or their family's consent, and label the result as edited, because it replaces facial detail rather than recovering it.
- Choppy motion? Set a target frame rate on Upscaler Max, or use the Frame Interpolator.
6.Real Results: What to Expect
| Source | Sensible first target | What usually improves | What stays |
|---|---|---|---|
| VHS / Video8 capture | 2× | Noise, softness, compression blocks | Colour cast, dropouts, motion blur |
| Hi8 / MiniDV / Digital8 | 2× | Edges and faces | Interlacing, if it wasn't removed at capture |
| DVD | 2×, or 4K on Pro/Max | Blocks and banding | Faults baked into the disc |
| Early phone video | 2× to 4× | Compression artefacts | Shake and wobble |
| 720p or 1080p | 2×, up to 4K on Pro/Max | Fine detail | Very little changes |
The biggest gains come from the worst sources; 1080p to 4K is a refinement.
6.1How we tested
- Date and tool: 22 September 2026, the AI Video Enhancer on Imagera Upscaler Max at 2×, with the "Low quality · VHS, web rips" model, other dials on Auto and H264 output on.
- Source: a synthetic 5-second test clip: an AI-generated 1990s-style scene degraded to VHS-like 640×480.
- Output: 1280×960, compared with the source at 1:1 for noise, edges, motion blur and colour cast.
- Audio: checked that the output kept the source's audio track.
7.Cost Comparison: AI vs Professional Restoration
| Method | What you pay for | Turnaround | Suits |
|---|---|---|---|
| Professional transfer and restoration service | Per-tape or hourly fees, quoted per job | Days to weeks | Mouldy or broken tapes, archive work, manual colour and frame repair |
| Desktop AI software | A licence plus a computer with a capable graphics card | Depends on your hardware | People who already own that hardware |
| Imagera Video Enhancer | Credits per clip, by length and output size | Cloud; our 5-second test finished in under a minute | Testing a clip first, then scaling up to 4K |
| Basic editor filters | Usually included with the editor | Minutes | Mild sharpening; no rebuilt detail |
On Imagera, a 60-second clip costs 240 credits on Imagera Upscaler at Medium (12 five-second blocks at 20 credits), or 720 credits on Upscaler Pro at 2×. Upscaler Max shows its total before you run.
8.Tips for Best Results
1. Start with the best source you have. If you have the tape and a DVD copy, try the DVD first; among tape copies, use the least-played one.
2. Test 10 seconds before a whole tape. A test costs a small fraction of the full run and shows which engine suits the footage.
3. Don't stack passes. Each pass invents more detail; one pass at the right settings looks more natural.
4. Keep the originals. Capture files are your master copy.
5. Split long captures. Imagera Upscaler takes clips up to 60 seconds; Pro and Max up to 5 minutes. Cut longer captures to fit that cap in your capture or editing software before uploading, then join the enhanced clips in the Video Editing Tools.
6. Handle audio separately. In our Upscaler Max test the output kept the source's audio track, but the engines don't clean audio; hiss and hum need an audio tool.
9.Get Started
Capture each tape once, carefully, then trim a 10-second clip and open the AI Video Enhancer. The credits for that clip show on the button before you run it.
For comparisons, see our AI video upscaler comparison, the AI Video Enhancer guide and our Topaz Video AI Alternative comparison.
10.Start creating (credit packs from 350 credits)
Imagera cloud tools are pay-first: buy credits, then generate.
Next step: open a tool page, check the credit cost, buy a pack if you need one, then generate.