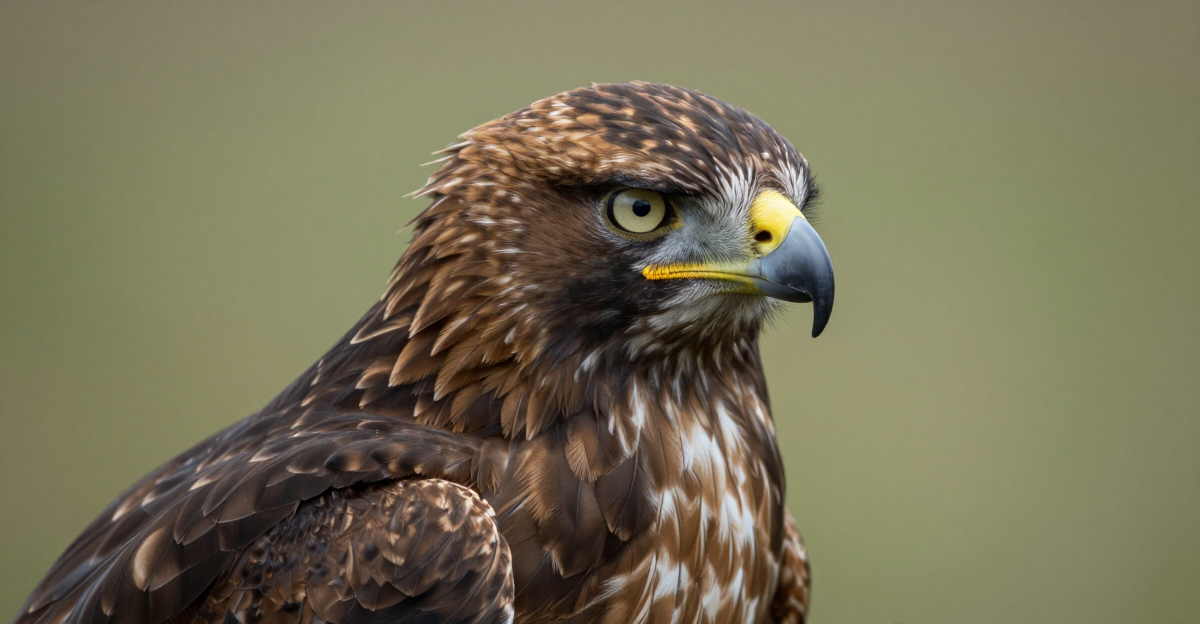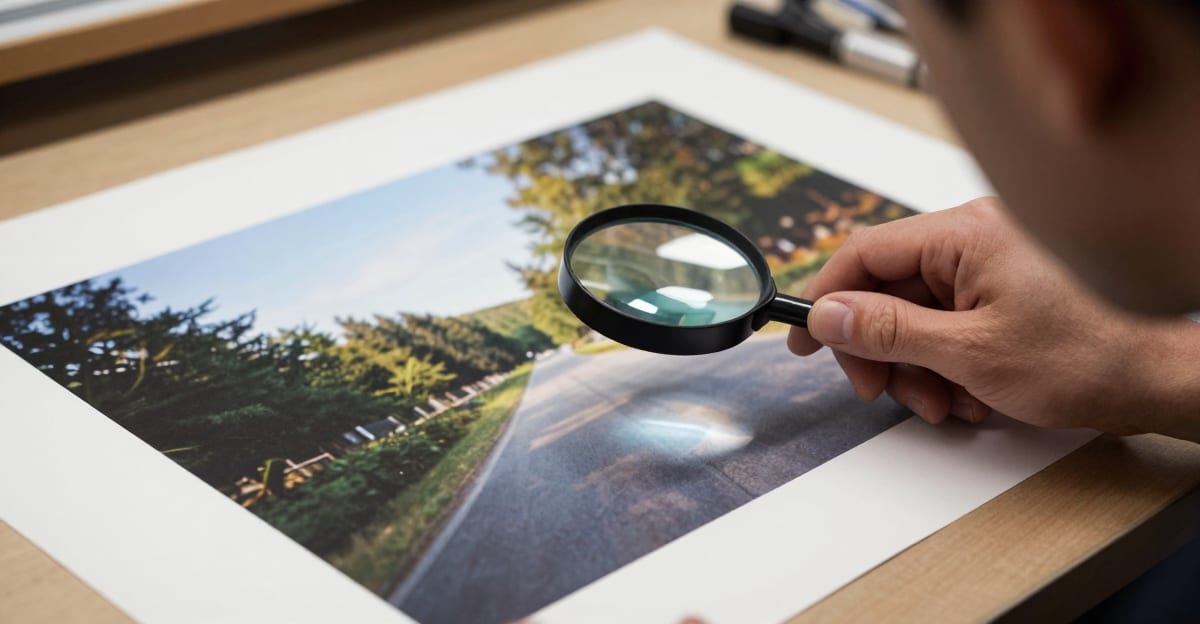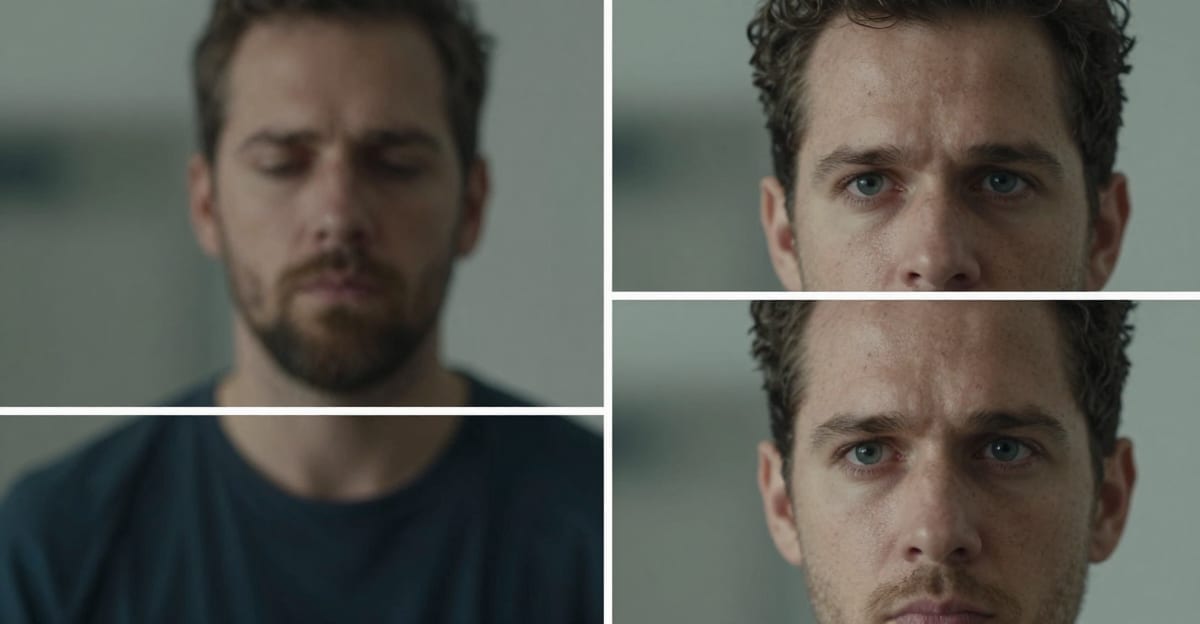
You have a photo that's too small — maybe 480p, maybe a cropped section of a larger image. You need it bigger. But every time you resize it, it turns blurry. Detail disappears. Edges soften. The image looks worse, not better.
This is the fundamental problem with traditional image resizing: it stretches pixels without adding information. The result is always softer than the original.
AI upscaling solves this by generating new detail that makes sense for the image content. This guide covers every method for increasing image resolution in 2026, from simple tools to professional AI pipelines.
Quick answer: To increase image resolution without losing quality, use an AI upscaler that reconstructs real detail rather than stretching pixels. Imagera enlarges photos 2x to 8x, restoring sharp edges and texture instead of the blur or blockiness you get from ordinary resizing.
1.How much can I upscale an image before quality breaks down?
With traditional resizing, quality visibly degrades once you enlarge much past life-size, as pixels stretch and soften. Imagera's AI upscaling holds detail up to 8x, taking a 1080p photo to 4K or 8K and reconstructing textures, hair, and edges. Most single images finish in under 60 seconds, and you can batch 100+ files without re-editing each one manually.
2.Why do AI upscalers keep quality when simple resizing does not?
Simple resizing only interpolates between existing pixels, so a large enlargement invents no new detail and looks soft. AI upscalers are trained to predict plausible high-frequency detail, adding new pixels intelligently instead of blindly stretching. That learned approach preserves perceptual sharpness far better than basic interpolation, which is why a 2026 AI workflow beats manual resizing for print, e-commerce, and 4K displays.
3.Why Traditional Upscaling Fails
When you resize an image in Photoshop, Preview, or any basic editor, the software uses interpolation — mathematically guessing what pixels should exist between the original ones.
Nearest Neighbor: Copies the closest existing pixel. Creates blocky, pixelated results. Fast but ugly.
Bilinear: Averages surrounding pixels. Smoother than nearest neighbor but produces noticeable blur. Fine for icons, bad for photographs.
Bicubic: Considers a 4x4 grid of surrounding pixels. Better than bilinear but still creates softness at 2x and above. The default in most editors.
Lanczos: Mathematically sharp resampling. Preserves some edge detail but can introduce ringing artifacts (halos around high-contrast edges).
All of these methods share the same fundamental limitation: they can only rearrange existing pixel data. No interpolation algorithm can add texture, detail, or information that wasn't captured in the original image.
4.How AI Upscaling Works
AI super-resolution takes a fundamentally different approach. Instead of mathematically interpolating between pixels, neural networks generate new detail based on learned patterns from millions of training images.
4.1The Training Process
AI upscaling models are trained on pairs of images: a high-resolution original and a deliberately downscaled version. The model learns to predict what the high-resolution version should look like given only the low-resolution input.
After training on millions of image pairs, the model develops an understanding of:
- Texture patterns: How skin pores, fabric weaves, brick surfaces, and tree bark look at full resolution
- Edge structures: How sharp boundaries between objects should appear
- Fine detail: How hair strands, eyelashes, text, and small objects look when properly resolved
- Noise characteristics: What's genuine detail vs. compression artifacts
4.2The Result
When you upscale an image with AI, the model doesn't just stretch pixels — it generates plausible high-resolution detail. Skin gets pores. Fabric gets texture. Text becomes readable. Edges become sharp.
This is why AI-upscaled images look dramatically better than traditionally resized ones, especially at 4x and above.
5.Method 1: AI Image Upscaler (Best Quality)
The highest quality approach for any image type. AI upscalers work online in your browser with no software to install.
5.1Using Imagera AI Image Upscaler
Step 1: Upload your image Go to Imagera AI Image Upscaler and upload your image. JPG, PNG, and WebP formats are supported up to 100MB.
Step 2: Select an upscaler model Choose from 500+ specialized models. For general photography, the default model works well. For specific content types:
- Portraits: Use face-specialized models that preserve skin texture
- Anime/illustration: Use dedicated anime models from OpenModelDB
- Architecture: Use models optimized for straight lines and geometry
- Old photos: Use restoration-focused models
Step 3: Choose target resolution Select your target: 2K, 4K, 8K, or 16K. Higher resolutions cost more credits but produce more detail.
Step 4: Optional — chain multiple upscalers For maximum quality, chain up to 5 models in sequence. A recommended pipeline:
- Artifact removal model (clean the source)
- Detail reconstruction model (add texture)
- Sharpening model (enhance edges)
Step 5: Process and download Click process. Standard 4K upscales complete in 45-90 seconds. Download the enhanced image in PNG or WebP format.
5.2Cost
10 credits (2K) to 40 credits (16K) per image. Custom model chains cost more based on complexity. Starting at $19.99/month for 100 credits.
6.Method 2: Adobe Photoshop Preserve Details 2.0
If you already have Photoshop, the "Preserve Details 2.0" option (Image > Image Size > Resample: Preserve Details 2.0) uses machine learning for upscaling.
Pros: Built into software you may already own. Good for moderate upscaling (2x-3x). Non-destructive workflow.
Cons: Limited to the single built-in model. Quality drops noticeably above 3x enlargement. Requires Photoshop subscription ($20.99/month). No specialized models for different content types.
Best for: Moderate enlargements of high-quality source images when you're already working in Photoshop.
7.Method 3: Free Online Tools
Several free upscalers exist online: Bigjpg, Waifu2x, Let's Enhance (limited free tier).
Pros: Free for basic use. No registration needed for some.
Cons: Significant quality limitations. Maximum 4x upscale typically. Long queue times. Watermarks on some. Limited format support. No model selection or chaining.
Best for: Quick, non-critical upscales where quality isn't paramount. Testing whether upscaling will help before committing to a paid tool.
8.Method 4: Local AI Tools
Tools like Topaz Gigapixel AI, Upscayl (free, open source), and ComfyUI with upscaler nodes run locally on your hardware.
Pros: No recurring costs (for purchased/free options). Offline processing. Full control over parameters.
Cons: Require capable GPU hardware ($500+). Desktop installation needed. Limited model selection (Topaz) or technical setup (ComfyUI). Processing speed depends on your hardware.
Best for: High-volume users with existing GPU hardware who want offline processing. See our Topaz Gigapixel alternative comparison for details.
9.Which Method for Which Situation
| Situation | Recommended Method | Why |
|---|---|---|
| Professional print work | AI upscaler (Imagera) | 16K resolution, specialized models, chaining |
| Social media posts | Any method | Even 2x is usually sufficient for web |
| E-commerce products | AI upscaler | Consistent quality across product catalog |
| Old photo restoration | AI upscaler with restoration model | Artifact removal + detail recovery |
| Already in Photoshop | Preserve Details 2.0 | Convenient, good for moderate upscales |
| Quick one-off | Free online tool | No cost, acceptable quality |
| 100+ images/month | Local AI (Topaz/ComfyUI) or AI upscaler | Volume efficiency |
| Anime/illustration | AI upscaler with anime models | Specialized models preserve art style |
10.Tips for Best Results
10.1Start with the Highest Quality Source
AI upscaling works better with better source images. If you have multiple versions of the same image, use the highest quality one. A 1080p original will produce better 4K results than a 480p original, even with the same AI model.
10.2Remove Artifacts Before Upscaling
JPEG compression artifacts, heavy noise, and watermarks get amplified during upscaling. If your source image has visible artifacts, run it through a denoising or artifact removal step first. In Imagera, use artifact removal as the first model in your upscaler chain.
10.3Choose Content-Appropriate Models
A portrait model won't produce good results on a landscape photo, and vice versa. Match the upscaler model to your content type. This is where having access to 500+ models matters — the right model for your specific content type makes a visible difference.
10.4Don't Over-Upscale
More isn't always better. A 480p image upscaled to 16K will have AI-generated detail filling most of the image. The result may look good, but it's mostly synthetic at that point. For critical work, upscale no more than 4-6x from the original. For artistic or web use, larger upscales are fine.
10.5Test Before Batch Processing
Before processing 100 images, test your upscaler chain on 2-3 representative samples. Verify the model selection and settings produce the quality you need. Adjust before committing credits to a full batch.
11.Common Questions
11.1Does AI upscaling add "fake" detail?
AI upscaling generates plausible detail based on patterns learned from millions of images. The added detail is synthetic — the AI predicts what should be there. For most applications (print, web, marketing), the generated detail is indistinguishable from captured detail. For forensic or scientific imaging, the synthetic nature of the detail matters.
11.2Can I upscale screenshots?
Yes, but quality depends on the screenshot content. Screenshots of text and UI elements upscale well because the patterns are predictable. Screenshots of video or compressed content have more artifacts that can affect results. Use artifact removal as a first step.
11.3Will upscaling fix a blurry photo?
AI upscaling can partially compensate for blur by reconstructing edge detail. It works best on slight softness from camera shake or focus issues. Severe motion blur or extreme out-of-focus blur is harder to recover — the AI has less information to work with. Dedicated deblurring models (different from upscaling) may help more in those cases.
11.4What's the maximum useful upscale ratio?
For professional results, 4-6x upscaling is the practical maximum with current AI models. Beyond that, the image becomes predominantly AI-generated detail rather than enhanced original detail. For web and social media use, even 8-10x can produce acceptable results since viewing sizes are smaller.
11.5Can I upscale AI-generated images?
Yes. AI-generated images from tools like Imagera's AI Image Generator, Midjourney, or DALL-E often benefit from upscaling. The base generation may be 1024px; upscaling to 4K or higher adds fine detail suitable for print or large displays. Use the Image Upscaler to take generated images to print resolution.
Part of the AI Image Upscaling series. See also: Topaz Gigapixel Alternative | AI Image Generator | Video Enhancer
12.Where Upscaling Belongs in Your Editing Order
The single biggest quality mistake most people make isn't the model they pick — it's when they upscale. Enlarging is not a final export step; it belongs early in the pipeline, and getting the order wrong bakes in problems that no amount of resolution can undo.
Run destructive edits after the upscale, not before. If you sharpen, crop, add grain, or apply heavy color grading first, the upscaler treats those alterations as genuine content and multiplies them — an over-sharpened halo becomes a 4x over-sharpened halo. The reliable order is: clean the source (remove noise and compression blocking), upscale, then do creative edits on the enlarged file where you have far more pixels to work with.
Practical ordering for common jobs:
| Step | Portrait retouch | Product listing | Restored old photo |
|---|---|---|---|
| 1 | Remove noise/JPEG blocking | Correct white balance on original | Repair scratches and dust |
| 2 | Upscale with a face-matched model | Upscale (restrained 2–3x) | Upscale with a restoration model |
| 3 | Retouch skin, dodge/burn at full res | Crop and background clean-up | Colour-correct and tone the enlarged file |
Two edge cases the basics rarely mention. First, already-large-but-soft images: a 12MP file that looks mushy from a slow shutter or a diffraction-limited lens doesn't need more pixels — downscale slightly to consolidate detail, then upscale back with a detail model. That round-trip often reads sharper than a straight enhancement. Second, bit depth and colour: if you plan to grade for print, keep a 16-bit source through the whole chain and export in a wide gamut. Upscaling an 8-bit JPEG then pushing shadows hard reveals banding the extra resolution makes more obvious, not less.
In Imagera, chain artifact removal as the first model so cleanup and enlargement happen in one pass, then bring the enhanced file into your editor for the creative work. Treat resolution as the foundation you build on — not the polish you add at the end.