You spent two weeks tailoring your resume, writing and rewriting your cover letter, and researching the company until you knew their quarterly reports by heart. Then the interview invitation lands — and it is a video call.
Suddenly the stakes shift. It is not just about what you say anymore. Within the first few seconds of your video feed appearing on a hiring manager's screen, they have already begun forming an impression of you: your energy, your confidence, your professionalism.
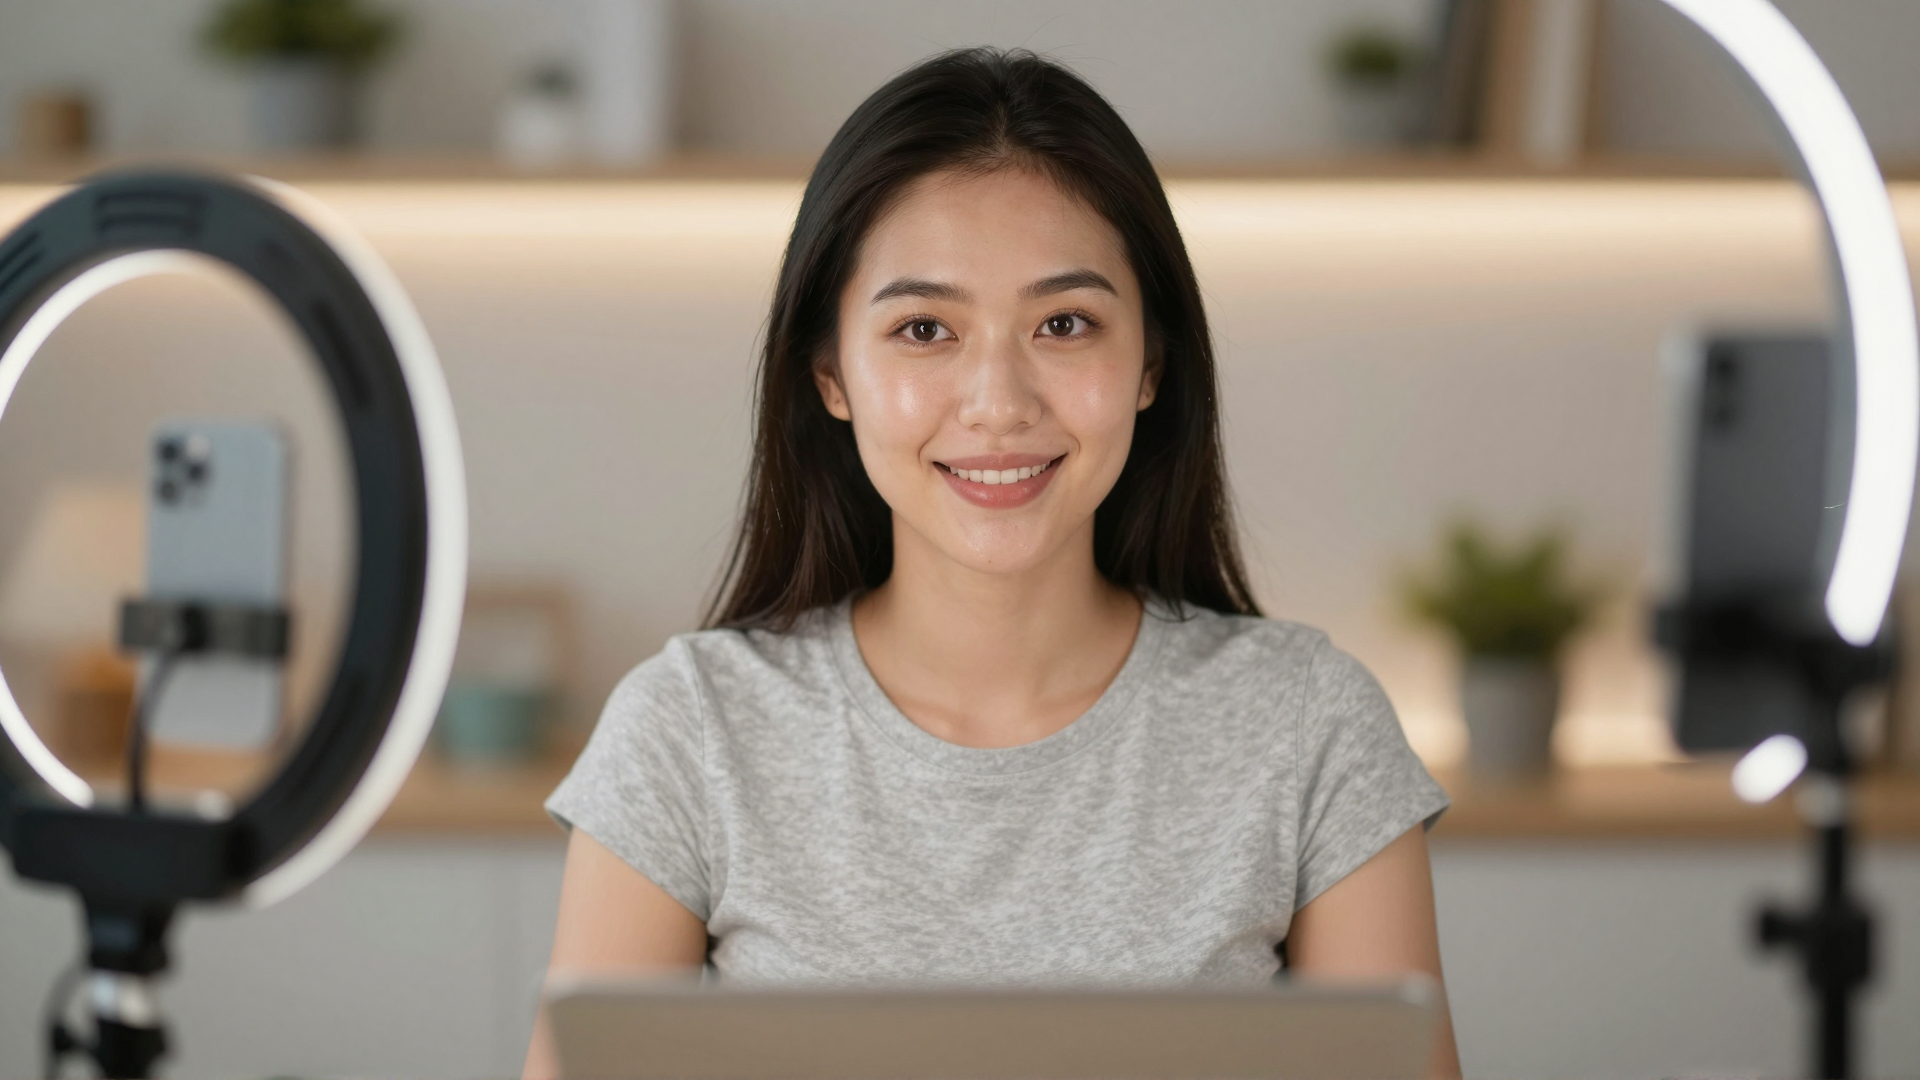
Visual first impressions carry real weight in hiring — and on video, your webcam is doing all the heavy lifting.
This guide covers exactly what to fix, what to ignore, and one tool that quietly handles the hardest parts for you.
1.Why Video Interview Appearance Is Different From In-Person
In a physical room, ambient light wraps around you naturally. Your full body language is readable. The hiring manager's brain processes dozens of context cues simultaneously, softening any single awkward moment.
On a webcam, the opposite is true. A flattened, often poorly lit thumbnail of your face is the entire data stream the interviewer receives. Unflattering lighting does not just make you look tired — it reads as low energy, low confidence, and even low preparation. A cluttered or distracting background pulls attention from your words. A shaky or blurry video makes you feel like an afterthought.
None of this is fair. But knowing it gives you a real edge over candidates who show up underprepared.
2.The Five Things That Actually Move the Needle
2.11. Light from the Front, Not Behind You
The single highest-impact change you can make costs nothing. Move a lamp or face a window so the light source is in front of you, hitting your face evenly. A backlit setup — window behind you, ceiling light overhead — hollows your features and makes you look washed out or shadowed. Even a cheap ring light aimed at your face changes the picture dramatically.
If you want to go further, see our full breakdown of webcam lighting and positioning tips — the same principles apply whether you are on a weekly standup or a high-stakes interview.
2.22. Camera at Eye Level or Slightly Above
Most laptop cameras sit below eye level, which means the interviewer spends the call looking up your nose. Stack your laptop on books, a box, or a proper stand until the camera lens is level with your eyes or one inch above. This one adjustment shifts your posture, opens your expression, and removes an unconscious power imbalance from the frame.
2.33. A Background That Reads as Calm and Deliberate
You do not need a home office with mahogany shelves. You need a background that does not actively distract. A plain wall, a tidy bookcase, or a softly blurred background all work. Avoid busy patterns, laundry, open doors with foot traffic, or anything that competes with your face for attention.
2.44. Dress the Part — at Least From the Waist Up
This feels obvious, but wearing a blazer or a structured top genuinely changes how you carry yourself on camera, not just how you look. The confidence is real. Wear what you would wear to an in-person interview with the same employer, at least from the shoulders up.
2.55. Handle the Skin and Fatigue Problem
This is where most guides stop at "good lighting," because historically that was all you could do. If your skin looks uneven, red, or tired on webcam, even perfect lighting only does so much. If you had a rough night of sleep before a 9 AM interview panel, the camera will find it.
This is exactly the gap that GlowCam fills.
3.How to Not Look Tired on a Video Interview (Dark Circles, Early Alarms, and Real Fixes)
Most video interview guides assume you slept well. In practice, an 8 AM first-round panel, a late-night prep session, or a week of application anxiety can leave visible evidence on your face — and webcams are not kind to under-eye shadows.
Here is what actually helps, in order of impact.
Reposition your light source first. Overhead lighting is the single biggest cause of dark-circle exaggeration on camera. Ceiling lights cast downward shadows directly into the hollows beneath your eyes, amplifying any puffiness or discolouration. Move your main light source to sit at roughly face height in front of you — a desk lamp with a diffuser, a ring light, or a position facing a window in daylight. This one adjustment fills the under-eye area and removes the shadow that makes tiredness so legible on screen.
Raise your camera slightly above eye level. Shooting upward from a low laptop angle shortens your face and deepens the appearance of bags. With the camera at eye level or just above, the geometry of your face reads as more awake and alert — no filter required.
Use GlowCam's under-eye brighten setting. If repositioning your light and camera does not fully close the gap — which on a genuinely rough morning it often won't — GlowCam includes a dedicated under-eye brighten control that targets exactly that zone. Pair it with skin glow (set between 30 and 50%) and brightness at a modest lift. The combination reads as rested without looking retouched.
A note on the 6 AM call scenario. If your interview is early and your skin tone looks dull rather than rested, the warmth and brightness controls in GlowCam's skin panel give colour back to a face that webcam compression tends to flatten and grey-out in low morning light. Keep adjustments subtle — the goal is to look like yourself at your best, not like yourself under studio lighting.
4.How GlowCam Gives You Interview-Ready Confidence in Seconds
GlowCam is a Chrome extension that applies a real-time beauty filter directly to your webcam feed — before it reaches Zoom, Google Meet, Microsoft Teams, and Webex. You install it once, turn it on, and your video feed looks polished from the moment the call starts.
It handles four things that lighting and wardrobe cannot fully address on their own:
Skin smoothing and tone evening. Redness, uneven texture, and webcam-amplified imperfections are quietly dialled back. The result does not look filtered — it looks like you on a genuinely good skin day.
Subtle makeup enhancement. If you want definition around your eyes, a touch more colour, or a more awake look, GlowCam adds it in real time. It works on all skin tones and can be as light or as present as you want.
Background blur and replacement. If your background is less than ideal, GlowCam blurs it or replaces it entirely — no green screen required, and the edges are clean.
Hair colour (Pro). If you use hair colour in your daily life and want it to show up accurately on a low-resolution webcam, GlowCam can help render it more vividly.
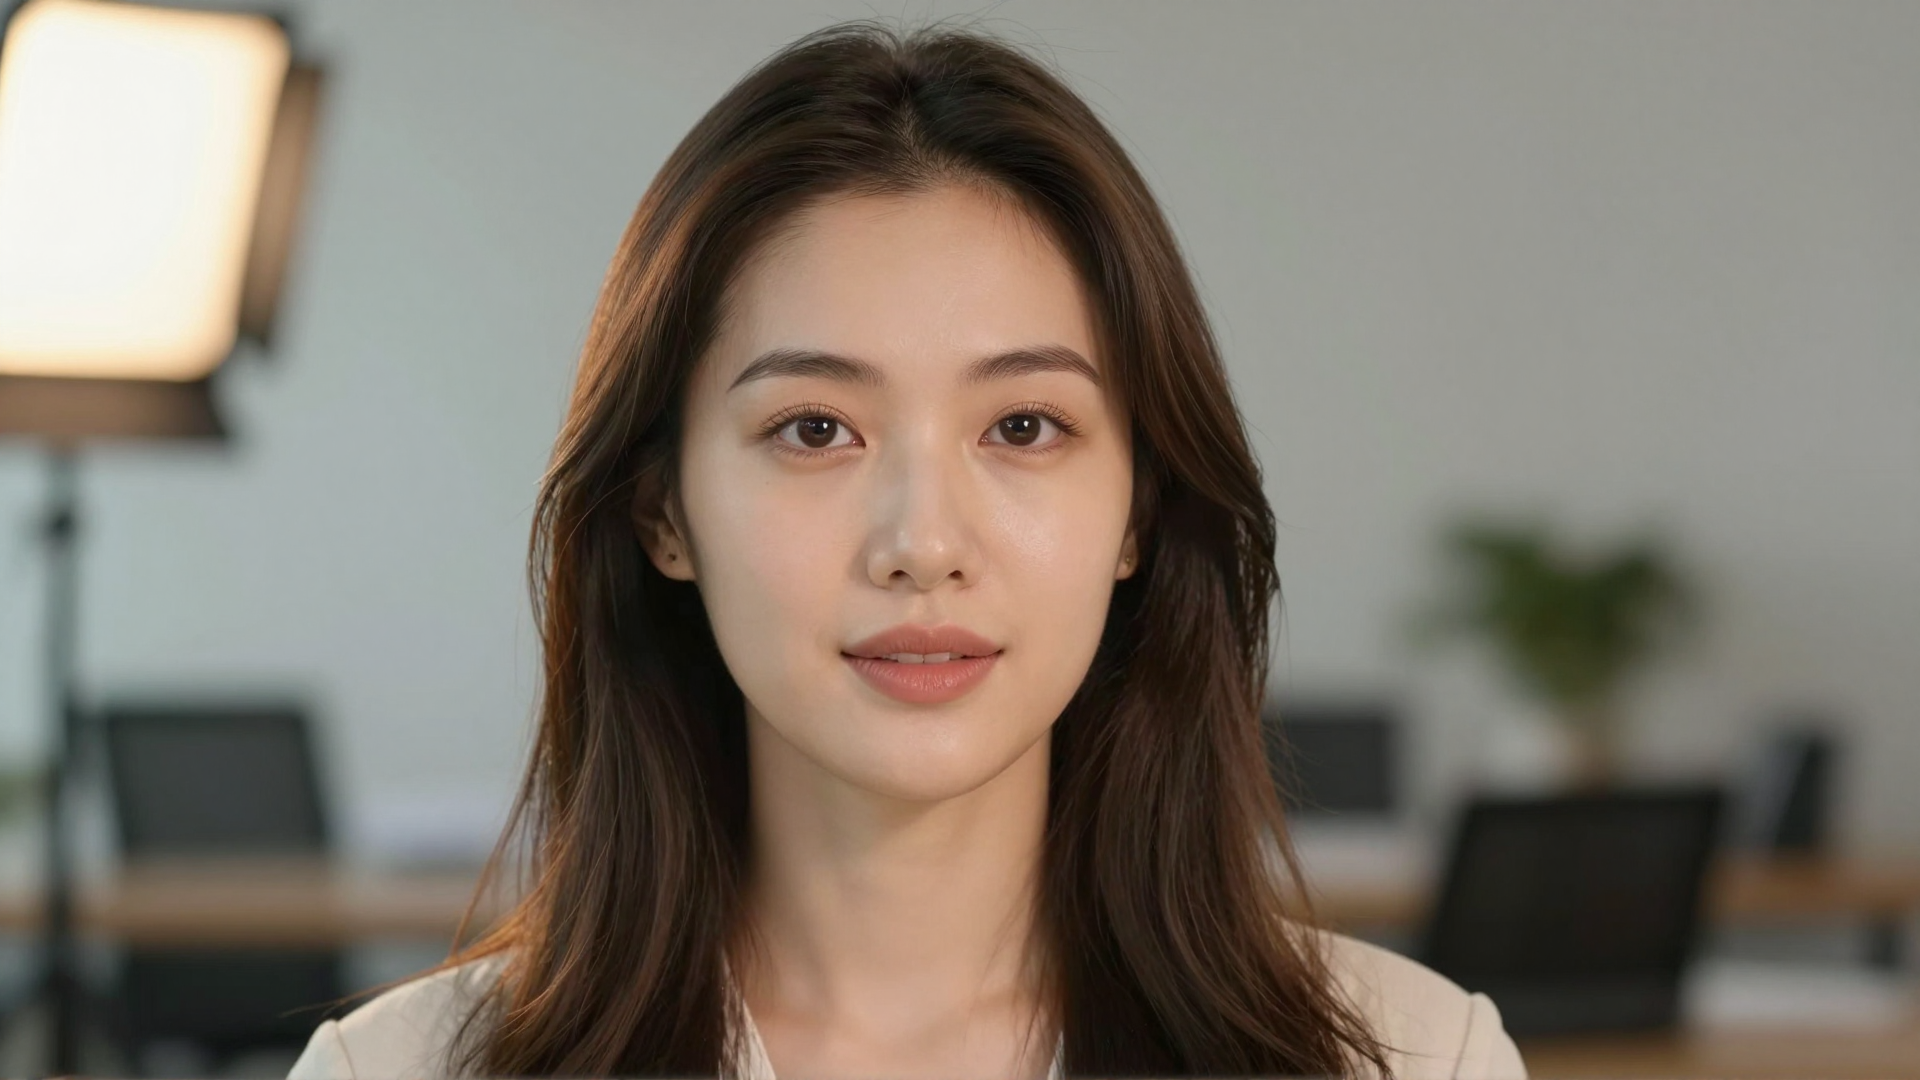
The result is a version of you that looks rested, confident, and camera-ready — without looking like you are wearing a filter.
5."Will It Look Fake?" — The Objection Worth Addressing Directly
This is the right question to ask. The answer depends on how you use it.
GlowCam is designed for subtlety, not transformation. Think of it like good lighting plus a professional's touch before a headshot — the kind of result you would get from a makeup artist or a well-positioned ring light, not from a face-swapping app. The controls are yours. You can keep it so light that no one would ever guess, or dial it up for a more polished on-screen presence.
6.Looking Professional Without Makeup on a Video Interview
If you do not normally wear makeup — or if you wear it occasionally but prefer not to for a video call — you are not at a disadvantage. The concern is usually about skin tone appearing uneven or washed out on camera, which is a webcam and lighting problem as much as it is a skincare one.
The practical approach, with or without makeup:
- Prioritise even, front-facing light. Even skin tone on camera has far more to do with how your face is lit than whether you are wearing anything on it. Diffused light from in front of you evens out natural texture and redness that directional or overhead lighting exaggerates.
- Wear a top with some colour. A fully neutral or white top can reflect back onto your face and wash out your natural skin tone on camera. A muted warm tone — dusty blue, soft terracotta, slate — provides contrast that keeps your face as the focal point.
- Use GlowCam's skin tone evening at a light touch. The skin smoothing and tone-evening controls in GlowCam are not substitutes for makeup — they address the specific ways webcam compression and low-resolution lenses flatten and distort skin texture. At a setting of 30 to 40%, the result is closer to what a high-quality camera would capture naturally than to anything cosmetic. You do not need to use the makeup features at all.
- Skip the virtual makeup if it is not your style. GlowCam's virtual makeup features — lipstick, blush, eye brighten — are entirely optional. Many users on interview calls use only the skin and background controls and nothing else.
The goal is to look like you on a day when everything went right — not a different version of you.
Interviewers are not looking at your filter settings. They are looking at whether you seem confident, prepared, and professional. GlowCam helps deliver that impression.
7."Is My Video Being Sent Anywhere?" — Privacy on Interview Day
On the day of a job interview, the last thing you want is uncertainty about where your data is going.
GlowCam processes everything on your own computer. Your video is never uploaded to a server, never stored, and never shared. The enhancement happens locally, in real time, and disappears the moment you close the call. This is worth knowing, especially if your interview involves sensitive company discussions or an NDA context.
8."Will It Slow Down My Connection or Cause Lag?"
GlowCam runs directly on your device, which means it does not add any network overhead to your call. Your video latency is determined by your internet connection, not by the filter. On a modern laptop, GlowCam runs without noticeable impact on performance.
If you have used heavy virtual background tools before and experienced lag, GlowCam behaves differently. It is lightweight by design.
9.What a Job Interview With GlowCam Actually Looks Like
Picture the scenario: your interview is at 10 AM. You woke up at 7, had coffee, reviewed your notes. But the dark circles from a week of application anxiety are visible. Your skin looks a little uneven under your laptop light. Your background is a rented apartment wall that reads as blank but slightly dingy.
You open GlowCam in Chrome. You select skin smoothing, a light makeup enhancement, and background blur. You join the call looking composed, awake, and professional.
The hiring manager sees a candidate who takes this seriously and presents themselves well.
That is the practical outcome. And it takes about ninety seconds to set up.
10.Quick Start: 2-Minute Setup Before Your Interview
Here is the exact sequence to run through the morning of your call — no guesswork required.
- Install GlowCam from the Chrome Web Store if you have not already. It takes under 60 seconds and requires no account setup to begin.
- Open a test call on whatever platform your interview uses — Zoom, Google Meet, Microsoft Teams, Webex, Whereby, or Discord — and click the GlowCam icon in your Chrome toolbar to open the control panel.
- Select the Meeting preset as your starting point (labelled as Meeting or Professional depending on your version). This applies a calibrated combination of skin smoothing, tone evening, glow, and under-eye brighten that is balanced specifically for a professional context — not a social call.
- Adjust skin smoothing to between 40 and 60%. This range handles uneven texture and redness without flattening your face into an uncanny smoothness. If you are on a higher-resolution external webcam, lean toward 40. On a standard built-in laptop camera, 50 to 60 tends to look more natural.
- Turn on glow at 30 to 40% to add the luminosity that webcam compression strips out. Pair with under-eye brighten at 40 to 50% if your morning has been an early one.
- Enable background blur if your space is less than ideal. Set blur strength to medium — a fully blurred background at maximum can sometimes look more distracting than a tidy but modest real one.
- Rejoin your test call and check the preview. Look at yourself as the interviewer will. If anything reads as obvious, dial it back. If it looks like you on a good day, you are done.
10.1Which Preset Should You Use for an Interview?
GlowCam's Meeting preset is the right choice for almost all interview contexts. It is designed for exactly this scenario: a professional call where you want to look composed without appearing to have made an effort with filters.
- Natural preset: suitable for a casual first-screen call or an internal role where over-formality would feel out of place
- Meeting / Professional preset: the default for any external interview, panel call, or senior role
- Polished preset: appropriate if your industry skews toward on-camera presentation — media, creative agencies, or customer-facing roles where a sharper on-screen presence is the norm
In all cases, skin smoothing at 40 to 60% and glow active is the baseline. Under-eye brighten is worth adding any time your call is before 10 AM.
For a deeper comparison of real-time webcam filters and alternatives, read our full guide.
11.The Interview Prep Checklist — One Week Out
- Confirm the platform (Zoom, Meet, Teams, Webex) and download or test it in advance
- Test your camera angle and lighting at the same time of day as your scheduled interview
- Install GlowCam and run a test call to set your preferences
- Tidy your background or activate background blur
- Do a full dry run — camera, audio, appearance — ideally with a friend on the other end
The candidates who do this are the ones who walk into the interview (virtually) with one fewer thing to worry about.
12.Start Your Trial Before Your Next Interview
GlowCam's 7-day trial includes skin smoothing, makeup enhancement, and background blur — everything you need to look your best on an interview call. After the trial, plans start at $24.99/month or $249.99/year (~17% saving). No credit card required to start.
Install GlowCam from the Chrome Web Store and set it up before your next call.
Your resume got you the interview. Make sure your first impression on screen closes the gap.
No card required · Cancel anytime · 7 days free