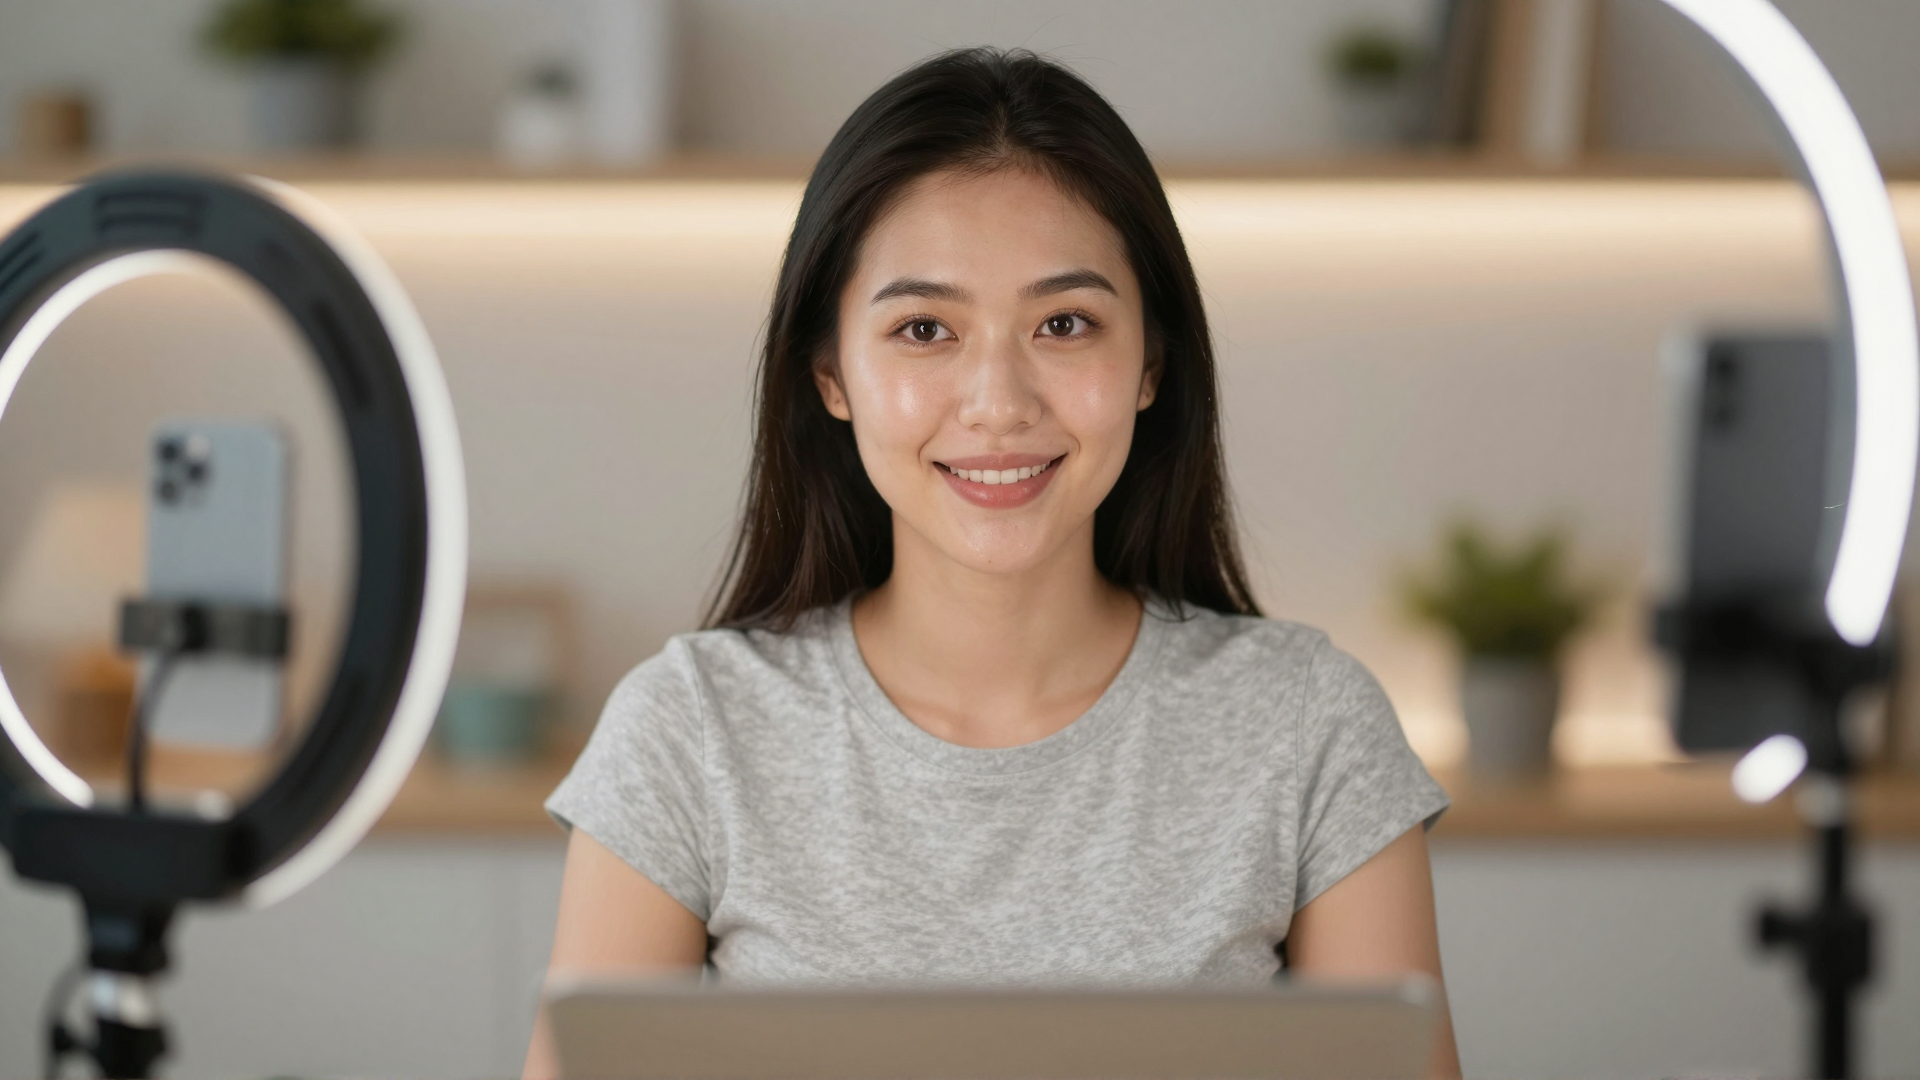
You spent two hours refining your slide deck. You know the content cold. Your talking points are sharp. And then you hit "Join Meeting" — and the thumbnail preview shows you looking exhausted, washed out, and somehow ten years older than you felt five minutes ago.
Every online presenter and educator knows this moment. It is not vanity. When students or clients are watching a small box of your face on a screen for thirty, sixty, or ninety minutes, how you look directly shapes how confident, credible, and worth-listening-to you appear. On-camera presence is a professional skill — and it starts before you say a single word.
The good news: you do not need a new webcam, a ring-light rig, or a makeup team. You need one Chrome extension and about sixty seconds of setup.
1.Why Your Webcam Lies to You
Laptop cameras compress unflattering shadows, flatten skin tone, and amplify every dark circle and uneven patch in a way that mirrors simply never do. The issue is not how you look — it is how the camera renders you under office fluorescents or a bright window that turns your face into a silhouette.
Most online teachers and presenters compensate by stacking workarounds: angling a lamp, sitting further from the window, piling on heavier makeup, buying a $200 ring light that they then drag out and put away every time they teach. It is friction, and it adds up fast when you are presenting multiple times a week.
There is a better approach.
2.Quick-Start Checklist Before a Class or Webinar
A lot of the on-camera anxiety that teachers and presenters feel in the two minutes before going live is actually solvable in a single pre-call routine. Here is a practical sequence to work through before every session — it assumes GlowCam is already installed and you are opening your call platform in Chrome.
1. Position your window light in front of you, not behind. If you have any natural light in the room, move so the window is facing you rather than behind you. Even indirect daylight hitting your face is better than the overhead ceiling light that most home offices rely on. You do not need it to be perfect — GlowCam will handle the rest.
2. Set your camera at eye level. A laptop sitting on a desk typically points upward at an unflattering angle. Stack it on a few books or a box so the lens is level with your eyes. This alone changes how authoritative you look on screen.
3. Open the GlowCam panel before joining. Click the extension icon while you are in the camera preview screen — before you hit "Join." For a teaching or presenting context, a good starting point:
- Skin smooth: 60–70%
- Even tone: 50–60%
- Glow: 40–50%
- Eye brighten: 30–40%
- Background: soft blur (unless your environment is already clean)
4. Check how your background reads, not just how you look. Turn on screen share and glance at your own thumbnail. A cluttered or busy background competes with you for your students' attention. If the background blur creates an odd halo around your hair, try a slightly lower blur intensity or move further from whatever is directly behind you.
5. Activate your one-tap preset. If you have saved a "Meeting" or "Natural" preset from a previous session, load it now. GlowCam remembers your saved looks so you are not adjusting sliders fresh each time.
6. Join the call. Everything stays active automatically.
The whole sequence takes under ninety seconds once you have done it twice. For educators who run classes every weekday, building it into the same rhythm as opening your slide deck means it stops feeling like extra work entirely.
3.Real-Time Beauty Filters — Made for Presenters, Not Selfies
GlowCam is a Chrome extension that applies a real-time beauty layer to your webcam feed inside the browser versions of Google Meet, Zoom, Microsoft Teams, Webex, Whereby, and Discord — the six platforms where most teaching and presenting happens. (Note: GlowCam works only on the web versions of these platforms, not on native desktop or mobile apps.) It activates in the background before your call starts and requires no setup beyond a one-time install.
What does it actually do for a presenter?
Smooth and even your skin tone. Under flat office lighting, GlowCam corrects the splotchy, washed-out look that built-in webcams produce. You appear rested and engaged — not because anything dramatic has changed, but because the camera is finally showing you the way you actually look in person.
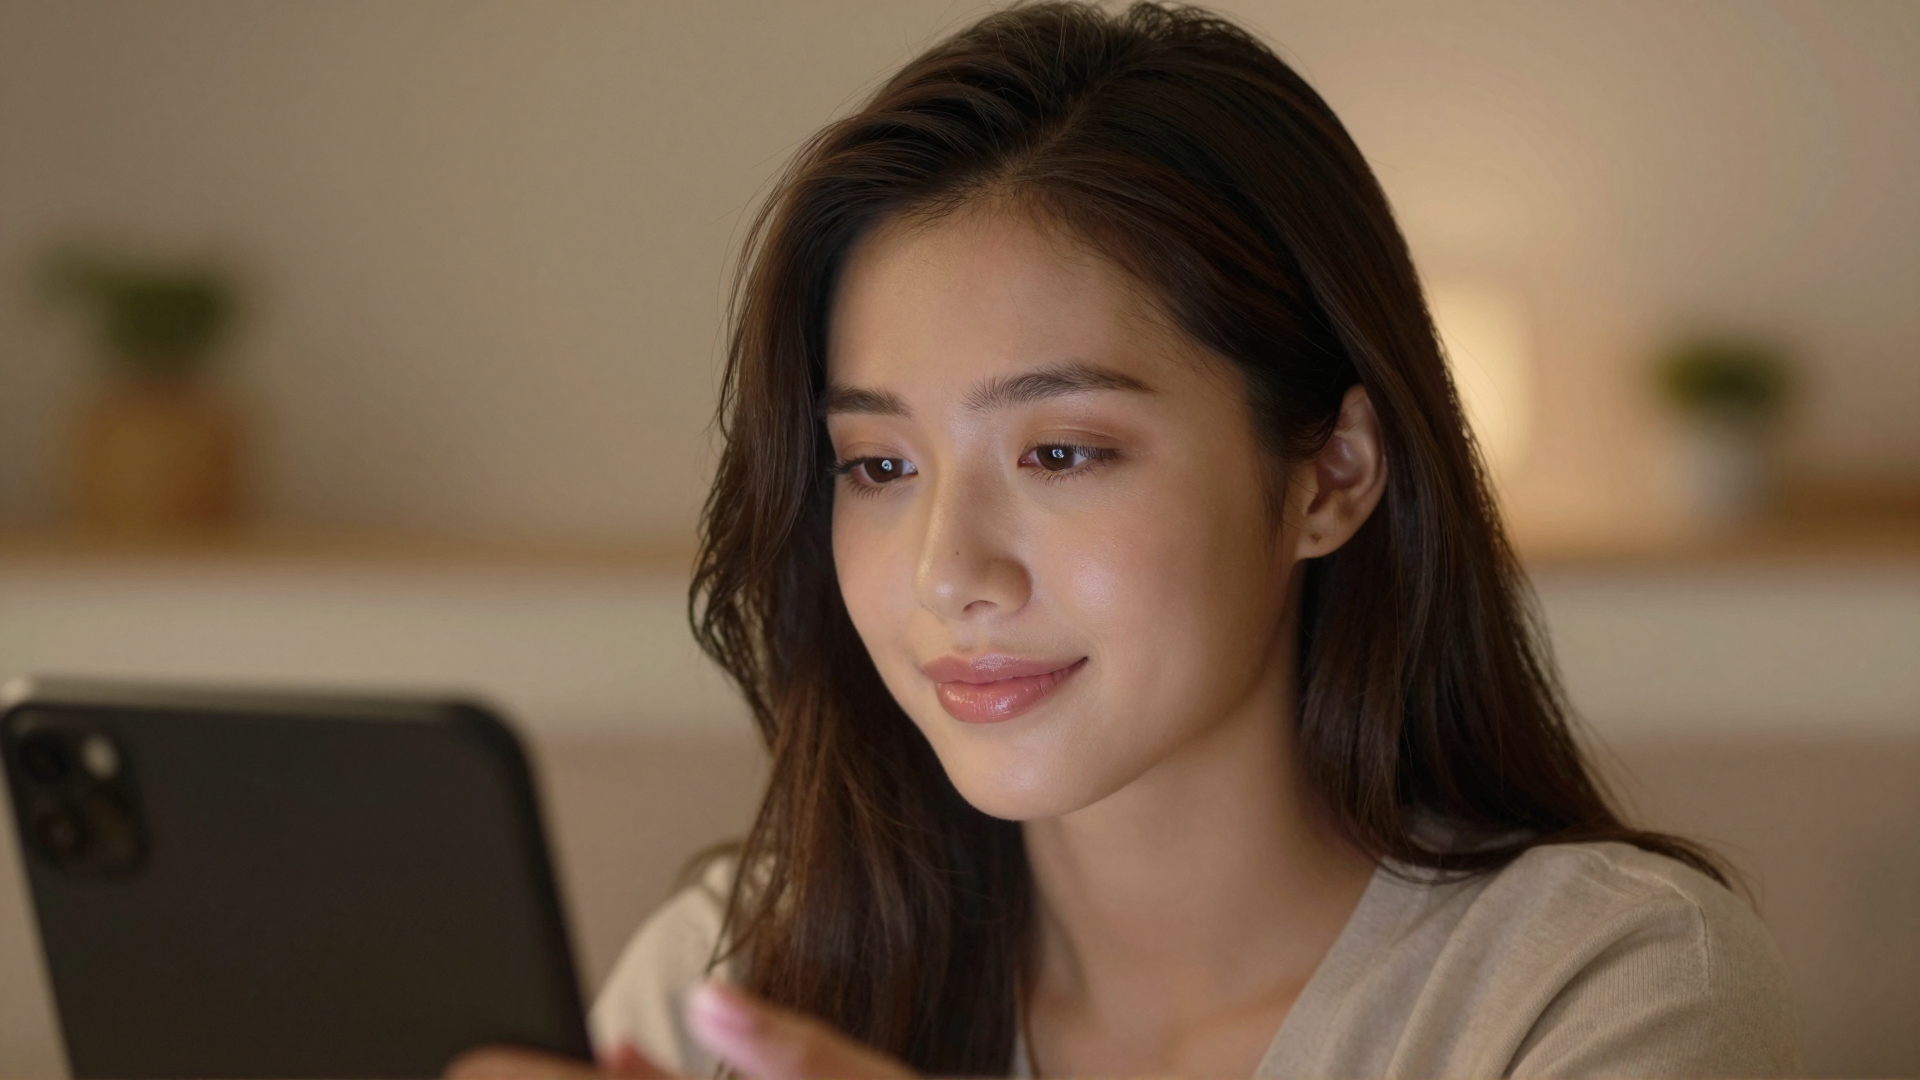
Apply natural-looking virtual makeup. Subtle eye brightening, soft lip colour, blush, and teeth whitening — all adjustable via a simple slider panel you open before your call. You control the intensity, from barely-there to fully made up. Instructors and presenters tend to land somewhere in the middle: enough to look polished, not so much that it reads as theatrical.
Replace or blur your background without a green screen. Your background tells a story. A cluttered bookshelf or a doorway with family walking past pulls focus away from what you are saying. GlowCam lets you blur your background softly or replace it entirely — no physical green screen required, no awkward halo artifacts.
Upgrade to Pro for hair colour and feature reshaping. If you want to dial in your look even further, Pro features unlock hair colour adjustments and subtle face/feature reshaping options.
All of it runs in real time, every call, without you thinking about it again.
4.What This Looks Like in Practice
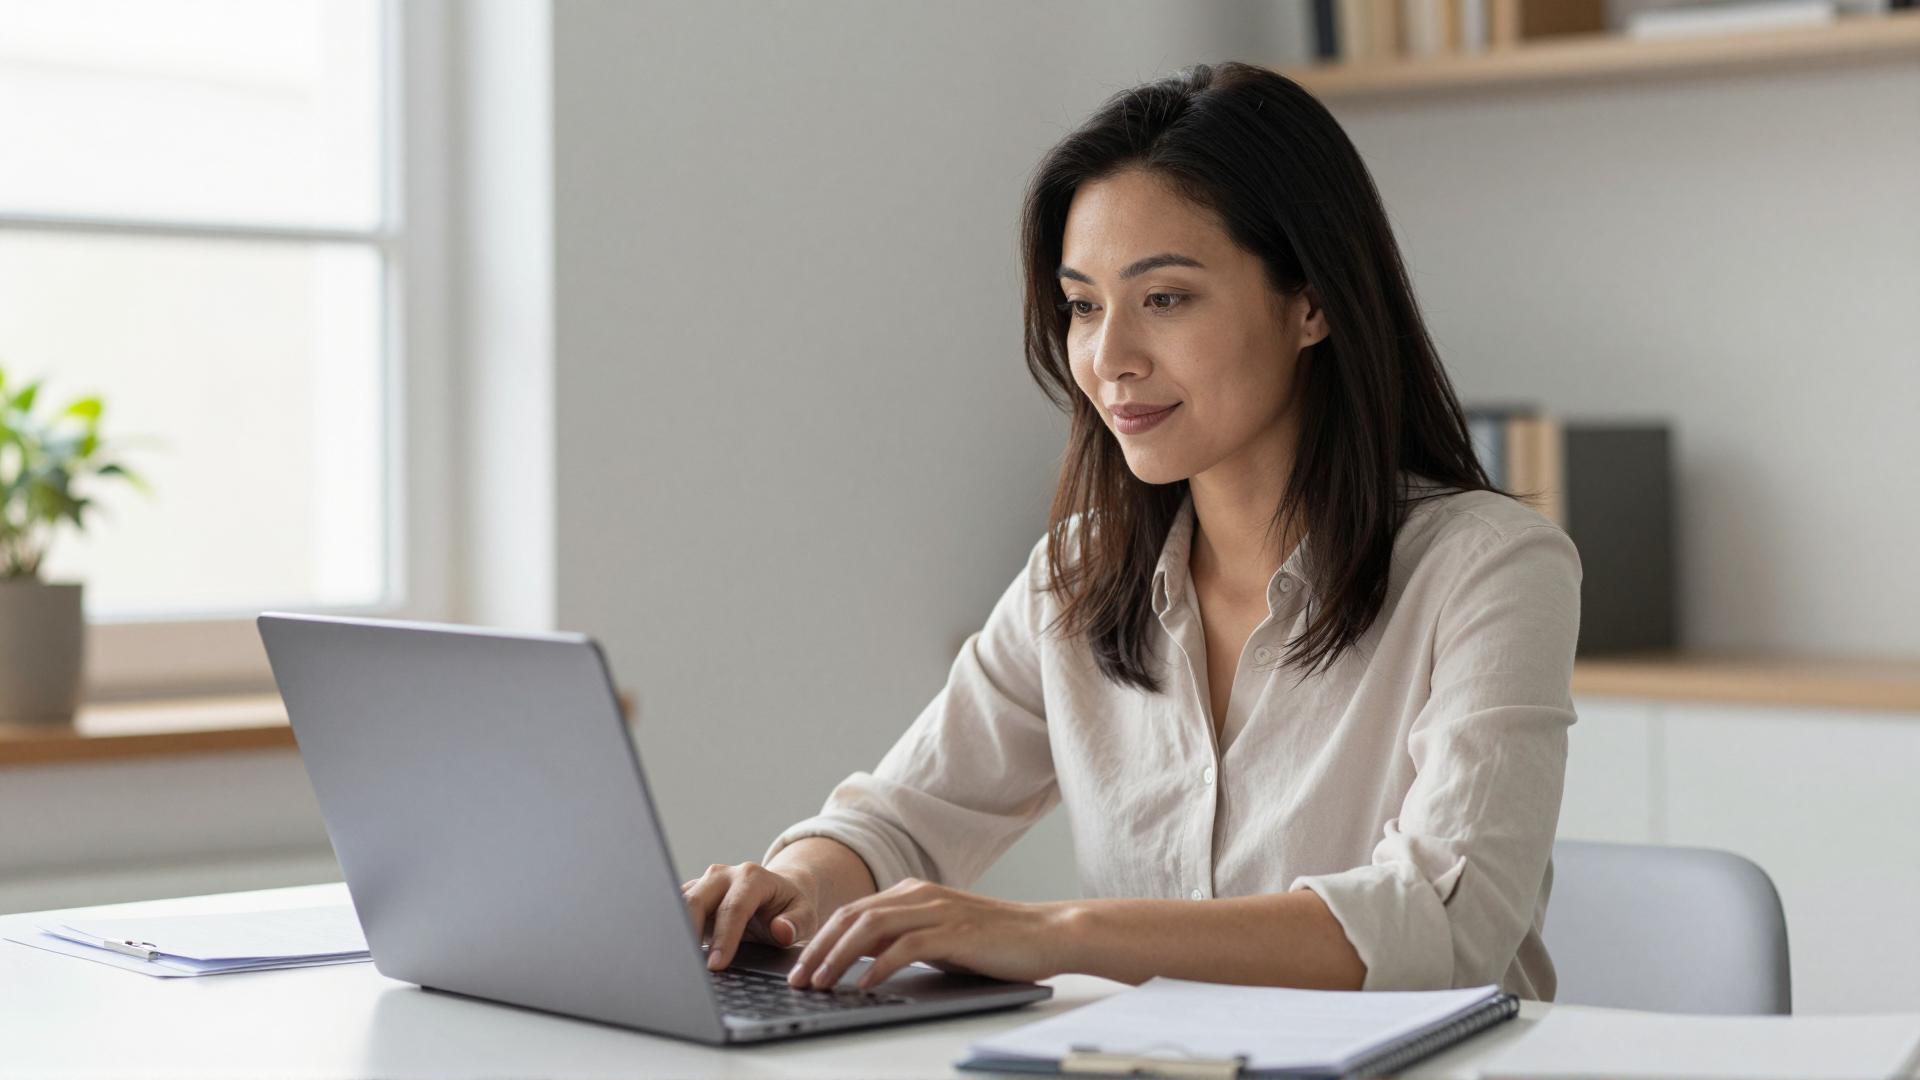
Picture a corporate trainer who runs three live Zoom sessions a day.
She used to spend fifteen minutes before each session adjusting lighting and touching up her makeup on top of an already-full prep routine. Now GlowCam opens automatically when Chrome starts. She joins her call, the filter is already active, and her students consistently tell her she looks "really professional" — even on 7 a.m. sessions.
Or consider an independent online educator teaching live cohorts on Google Meet. His setup is a laptop on a kitchen table. He cannot control the natural light, which swings from golden to flat depending on cloud cover. GlowCam compensates for the variation automatically, keeping his on-camera skin tone consistent session to session, so his students are never distracted by wondering if something is wrong with the feed.
This is not about looking "different." It is about looking like yourself — intentionally and consistently — regardless of the lighting lottery you drew that morning.
5.Best Settings for a Long Class or Webinar (When You Are Tired)
A sixty-minute presentation is very different from a ten-minute status update. The longer the session, the more your face will naturally show fatigue — and the more time students spend staring at your thumbnail on their screen. Here is how to dial in GlowCam specifically for extended teaching or webinar sessions.
Use the Meeting preset as your baseline. GlowCam's built-in Meeting preset is calibrated for professional contexts — neutral, natural, and not distracting. If you have not customised anything yet, start here and adjust from it.
Add Under-Eye Brightening when you are tired. This is the setting that makes the most visible difference for early-morning or back-to-back sessions. Bring the under-eye brightener to around 50–60%. It does not look made-up — it just removes the shadow that laptop cameras love to emphasise directly under your eyes. Students read tiredness from that shadow more than from almost any other signal.
Keep Glow moderate, not high. It is tempting to push the Glow setting up before a big webinar, but on a long session it can start to look slightly airbrushed as ambient light in the room shifts. Keep Glow in the 40–50% range and let Even Tone do more of the work for colour consistency.
Bump warmth slightly if your room runs cool. Home offices lit by a north-facing window or fluorescent overhead lights tend to give skin a faintly blue-grey cast on camera. A small warmth increase (20–30%) corrects this without making you look over-lit.
Skip heavy virtual makeup for teaching contexts. Subtle eye brightening and lip colour work well. Heavier blush or bolder lip shades can distract students during a long session — especially if they are watching on smaller laptop screens where the effect reads differently than on a large monitor.
Save it as a named preset. Once you have a configuration that works for your long-session context, save it in GlowCam under a label like "Class" or "Webinar." You can then load it in a single click rather than re-adjusting sliders each time. As seasons change and your room lighting shifts, you will only need to tweak it occasionally rather than rebuilding from scratch.
6.The Three Objections Every Presenter Has (Answered)
"Will it look fake or obvious to my students?"
No. The default settings are calibrated for natural appearance, not beauty-app dramatics. If you keep the sliders at moderate levels — which most presenters do — colleagues and students will not be able to pinpoint anything specific. They will just notice you look good. Think of it the way broadcast television works: every news anchor and presenter on screen has lighting and post-processing running. Nobody calls that fake. GlowCam is the same idea, scaled for your laptop.
"Will it lag or affect my presentation performance?"
GlowCam processes everything privately on your own computer. Nothing is streamed to a server, nothing is uploaded, and no data is sent anywhere. Because the work stays local, the latency is imperceptible — you will not see a delay between your movements and what your camera shows. It runs quietly alongside your presentation, slides, and screen share without competing for bandwidth.
"Is it private? My students are on the call — I cannot have something recording or uploading my video."
Your video never leaves your machine. GlowCam applies its filter entirely on your computer before the frame reaches Zoom, Meet, or Teams. Neither GlowCam nor anyone else sees or stores your video. This is not a minor detail — it is a core design principle. You can verify it yourself: once the filter is running, disconnect from your internet and open your camera. The filter continues to work perfectly. Nothing is going to the cloud.
7.How to Work Around Bad Home Lighting When Teaching Online
Bad home lighting is the single most common complaint educators and remote presenters share about their on-camera appearance — and it is almost never solved by a ring light alone. Here is an honest breakdown of the most common lighting problems and what actually helps.
Overhead ceiling lights make you look hollow and tired. The light hits the top of your head and casts shadows downward — under your eyes, your nose, your chin. Moving a desk lamp to face-level in front of you, even on one side, is the single highest-leverage free change you can make. Even a cheap IKEA lamp repositioned to be roughly at eye height makes a significant difference before GlowCam touches anything.
A bright window behind you turns your face into a silhouette. Your webcam exposes for the brightest thing in the frame. If that is a window, your face goes dark regardless of how good the camera is. The fix is to physically move so the window is in front of or beside you, not behind. If you cannot move, close the blind and switch to a lamp pointing at your face instead.
Uneven or shifting natural light makes your look inconsistent session to session. This is where GlowCam does its most visible work. Even if you have solved your lamp and window position on paper, clouds, time of day, and seasonal angle all change the quality of the light hitting your face. GlowCam's Even Tone and Skin Smooth settings adapt in real time, compensating for that variation so your appearance stays consistent even when the light in your room does not.
Fluorescent overhead lights create a blue-grey colour cast. Many home offices share this problem with school and office environments. Combine it with a low-quality webcam sensor and skin tones look washed out or slightly green. The Warmth and Even Tone settings in GlowCam specifically address colour-cast correction without requiring you to change a bulb.
What GlowCam cannot fix. If your room is genuinely very dark — no lamps, no windows, camera gain cranked all the way up — you will see digital noise in the image that no filter can fully correct. The practical threshold is: if you can clearly see your own face in a mirror in the room, GlowCam can work with what the camera captures. If you need to squint to see yourself, a single $15 desk lamp placed in front of you will unlock a noticeably better result alongside the filter.
8.Set It Up Before Your Next Session
Getting started takes under two minutes:
- Install GlowCam from the Chrome Web Store — start your free 7-day trial instantly, no credit card required.
- Open your video call platform (Meet, Zoom, Teams — your choice) in Chrome.
- When your camera preview loads, GlowCam's filter will already be active. Open the extension icon to adjust the filter panel to your preferred intensity before joining.
- Join your call.
That is it.
Every session from that point runs exactly the same way, with no additional setup.
9.The Cost of Looking Unprepared
Think about the last webinar you attended where the presenter looked tired, washed out, or distracted by their own backdrop. Did it affect how much you trusted their content? For most people, the honest answer is yes — at least a little. Appearance on camera is a credibility signal, and in teaching environments where you are asking students to pay attention and trust your expertise for an extended session, that signal matters.
For more on how to optimize your video call setup, visit the GlowCam homepage.
The trial period is seven days. You will know within your first session whether it changes how you feel about turning your camera on.
10.Start Your Trial
Install GlowCam now and run your next teaching session or presentation with it active. The trial covers skin smoothing, makeup, and background tools — everything you need to evaluate it properly.
Install GlowCam for Chrome — Look your best on your next call.
No card required · 7-day free trial · $24.99/month or $249.99/year after trial