Best AI Image Upscaler 2026: 6 Tools That Actually Add Detail (Tested) is a practical Imagera workflow: start from a real source file, describe what should change, generate with credits shown up front, and review before you publish. This guide covers the steps, quality checks, and when to use related tools.
Best AI Image Upscaler 2026
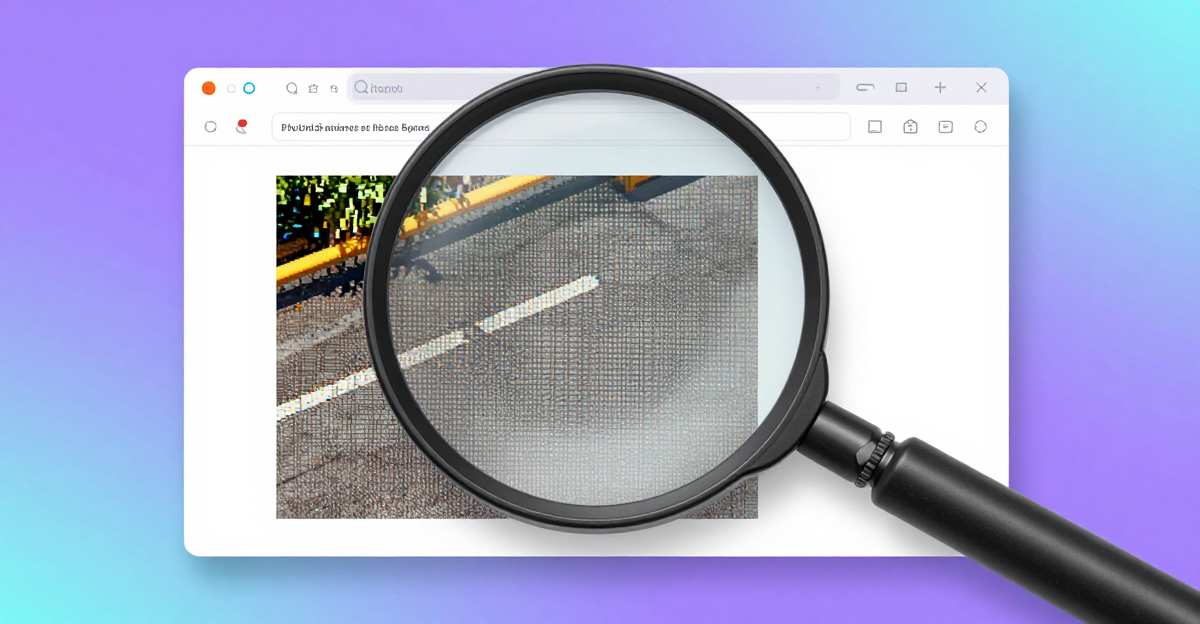
"Upscaling" used to mean stretching an image and hoping — the classic bicubic resize that just makes blur bigger. AI upscalers changed that. A super-resolution model has learned from millions of image pairs what a sharp version of a soft region should look like, so it reconstructs edges, texture, and fine detail as it enlarges. The result is a genuinely larger, sharper image rather than an inflated blurry one.
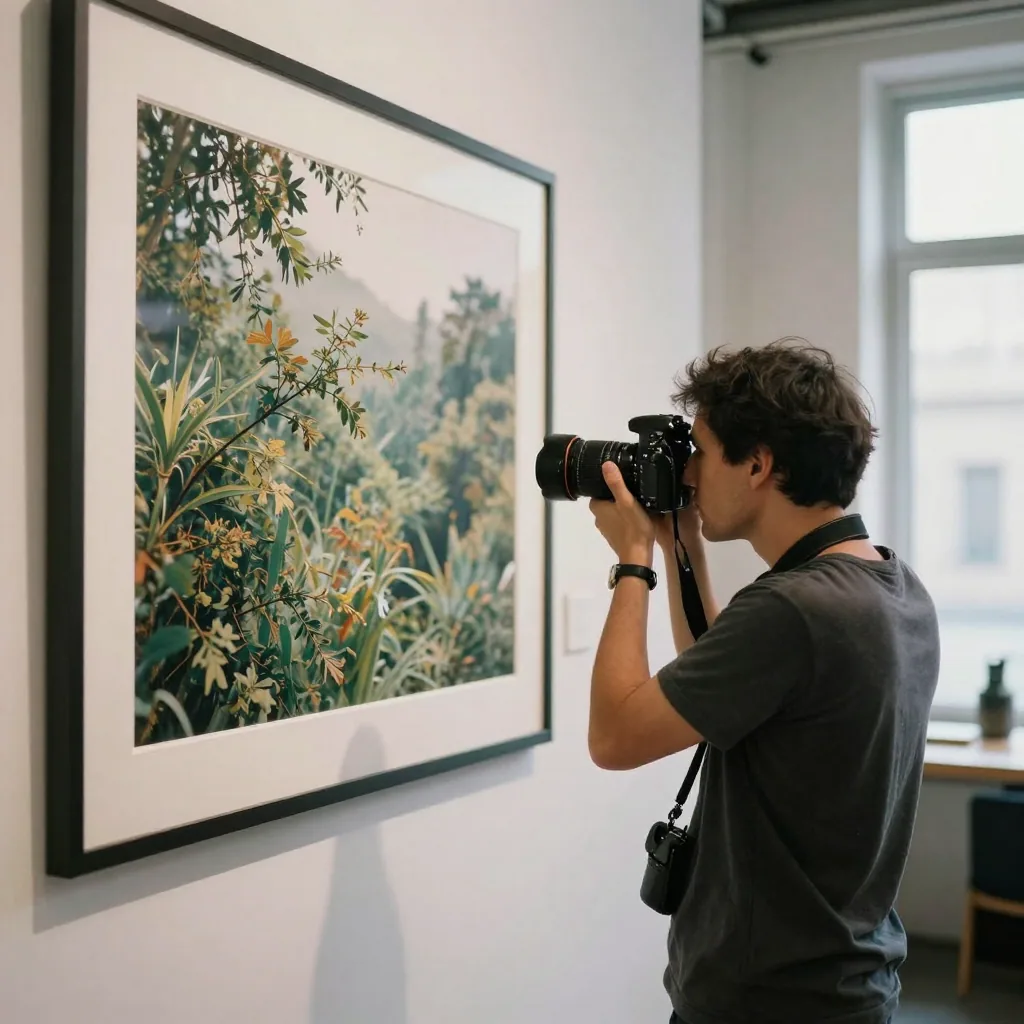
Not every "AI upscaler" is equal, though. Some only denoise and sharpen; the best ones truly rebuild detail and can push to 4K, 8K, even 16K. Here's how the leading options compare in 2026, and how to pick.
Quick answer: The best AI image upscalers in 2026 don't just enlarge pixels, they reconstruct genuine detail, adding sharp edges, textures, and skin or fabric grain that older interpolation methods smear. Imagera's upscaler runs 2x to 8x on most photos in under 60 seconds.
1.How much can an AI image upscaler actually enlarge a photo in 2026?
Modern AI upscalers in 2026 typically scale images 2x, 4x, or 8x, taking a 1080p file up to 4K or a 2K file to 16K. Imagera handles up to 8x on a single pass, adding reconstructed detail rather than soft interpolation, and finishes most 4K jobs in under 60 seconds. Each upscale runs from as few as 5 credits.
2.Which type of photo benefits most from AI upscaling?
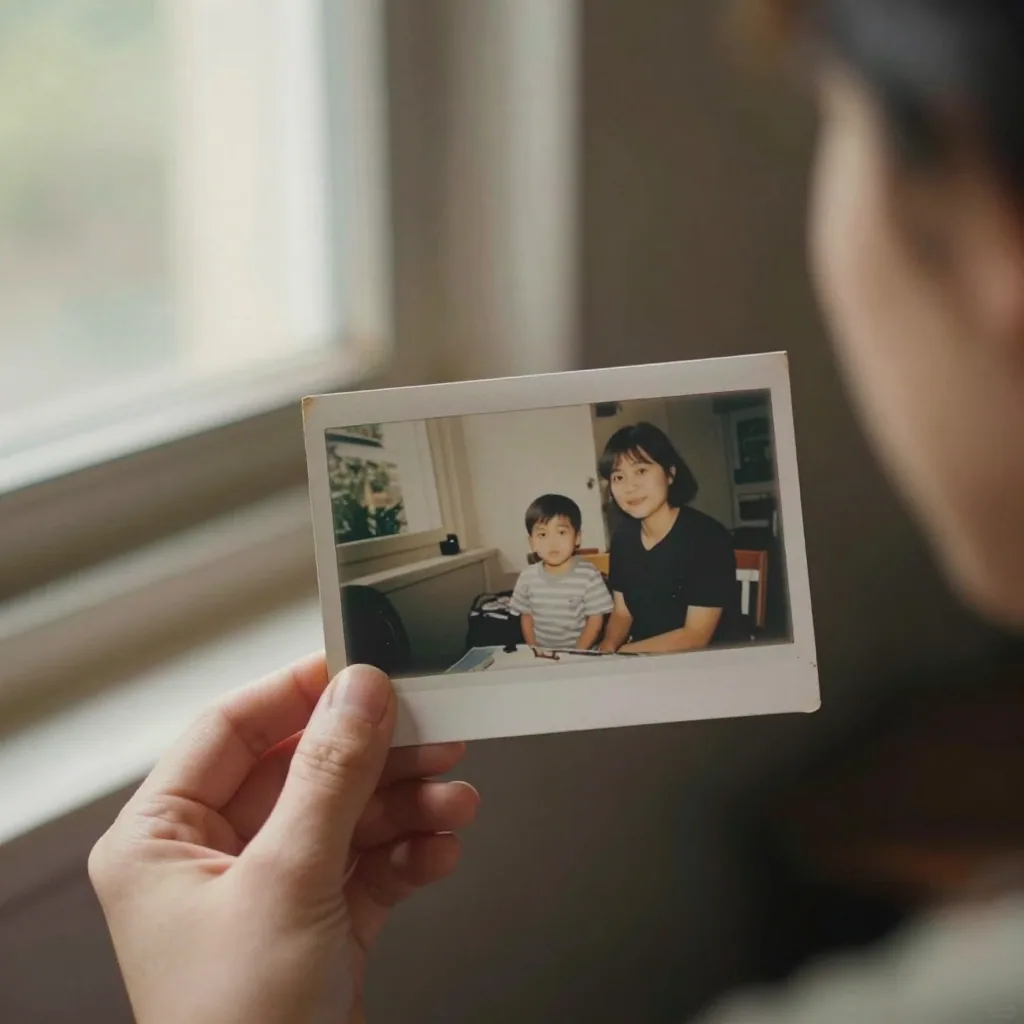
Low-resolution source photos gain the most: a 720p image jumped to 4K shows the biggest visible quality lift. Upscalers add the most noticeable detail on faces, product shots, and real-estate interiors, where texture matters. Imagera preserves those edges across its 2x, 4x, and 8x tiers, so enlarged photos stay crisp enough for large prints.
3.What actually separates a good AI upscaler
- Reconstruction, not interpolation — does it invent plausible new detail, or just smooth pixels?
- Maximum resolution — 2×/4× is common; the best go to 8K–16K for print and large displays.
- Faces and text — these break easily; strong models keep skin, eyes, and lettering natural.
- Artifacts — weak models add a plasticky, over-sharpened look. Good ones stay photographic.
- Access & cost — installed desktop apps vs. instant browser tools; free tiers, watermarks, and per-image pricing.
4.The 6 best AI image upscalers in 2026
4.11. Imagera AI Image Upscaler — best free online option
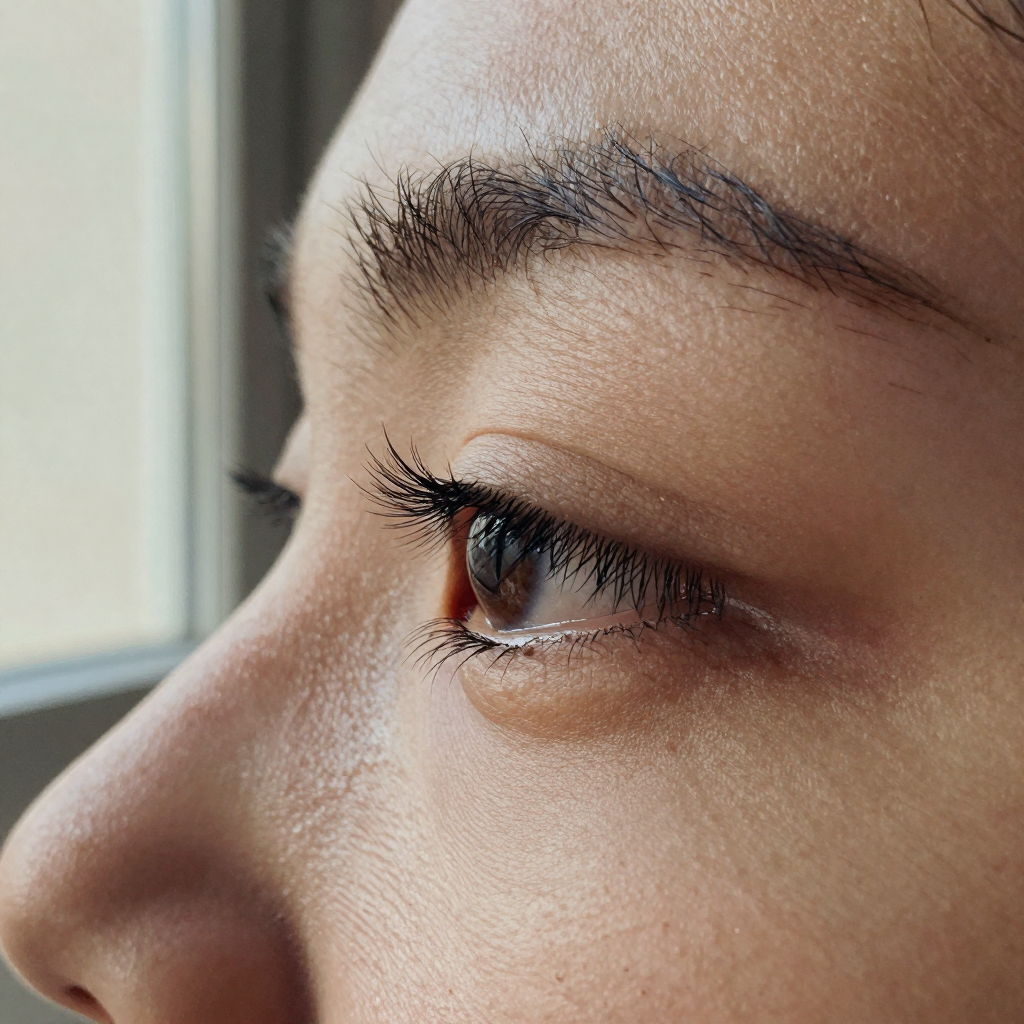
Browser-based, no install. Reconstructs detail with a super-resolution model and upscales all the way to 16K, with no watermark on your output. Because it runs online, you can go from upload to download in a couple of clicks, and it sits next to a full suite of enhancers (denoise, sharpen, restore) if the image needs more than size. Best for anyone who wants desktop-grade results without desktop software. → Try the AI Image Upscaler
4.22. Topaz Gigapixel — best installed desktop app
A long-standing favorite for photographers who want a local, offline app and fine manual control. It produces excellent detail, but it's a paid desktop install and heavier to run. If you'd rather not install anything, see our Topaz Gigapixel alternative.
4.33. Desktop open-source upscalers
Free, offline tools built on open super-resolution models are great for the technically inclined. They deliver solid results but require setup, a capable GPU for speed, and have rougher interfaces — a trade-off of control for convenience.
4.44. General photo editors with "enhance" buttons
Mainstream editors now include one-click enhance/upscale. Convenient if you already pay for the suite, but the upscaling is usually lighter-weight than a dedicated super-resolution tool, and detail on faces and text can suffer.
4.55. Print-focused upscalers
A few tools specialize in preparing images for large-format print, emphasizing very high output resolution. Useful for that niche; overkill for web images.
4.66. Quick "free" web resizers
Plenty of sites offer free upscaling but cap resolution low, add watermarks, or require sign-up to download. Fine for a one-off small image; frustrating for real work.
5.Quick comparison
| Tool | Best for | Max resolution | Install? | Watermark |
|---|---|---|---|---|
| Imagera | Free online, high detail | Up to 16K | No (browser) | No |
| Topaz Gigapixel | Offline desktop control | Very high | Yes | No |
| Open-source | Tinkerers with a GPU | High | Yes | No |
| Photo editors | Existing subscribers | Moderate | Yes | Varies |
| Print upscalers | Large-format print | Very high | Yes | Varies |
| Free web resizers | One-off small images | Low | No | Often |
6.How to upscale an image (the 3-step version)
- Open the AI Image Upscaler and upload your photo.
- Choose the output scale — up to 4K, 8K, or 16K.
- Preview the reconstructed detail and download. If faces or edges need more, run a quick enhance pass first.
7.Which should you choose?
- Want the best free online result, no install, no watermark? Start with Imagera.
- Want an offline desktop app and don't mind paying/installing? Topaz Gigapixel.
- Comfortable with setup and have a GPU? An open-source upscaler.
For the search most people are doing — best AI image upscaler, ideally free and online — a browser tool that reconstructs detail to 4K–16K without a watermark is the practical winner.
8.What resolution should you upscale to for your use case?
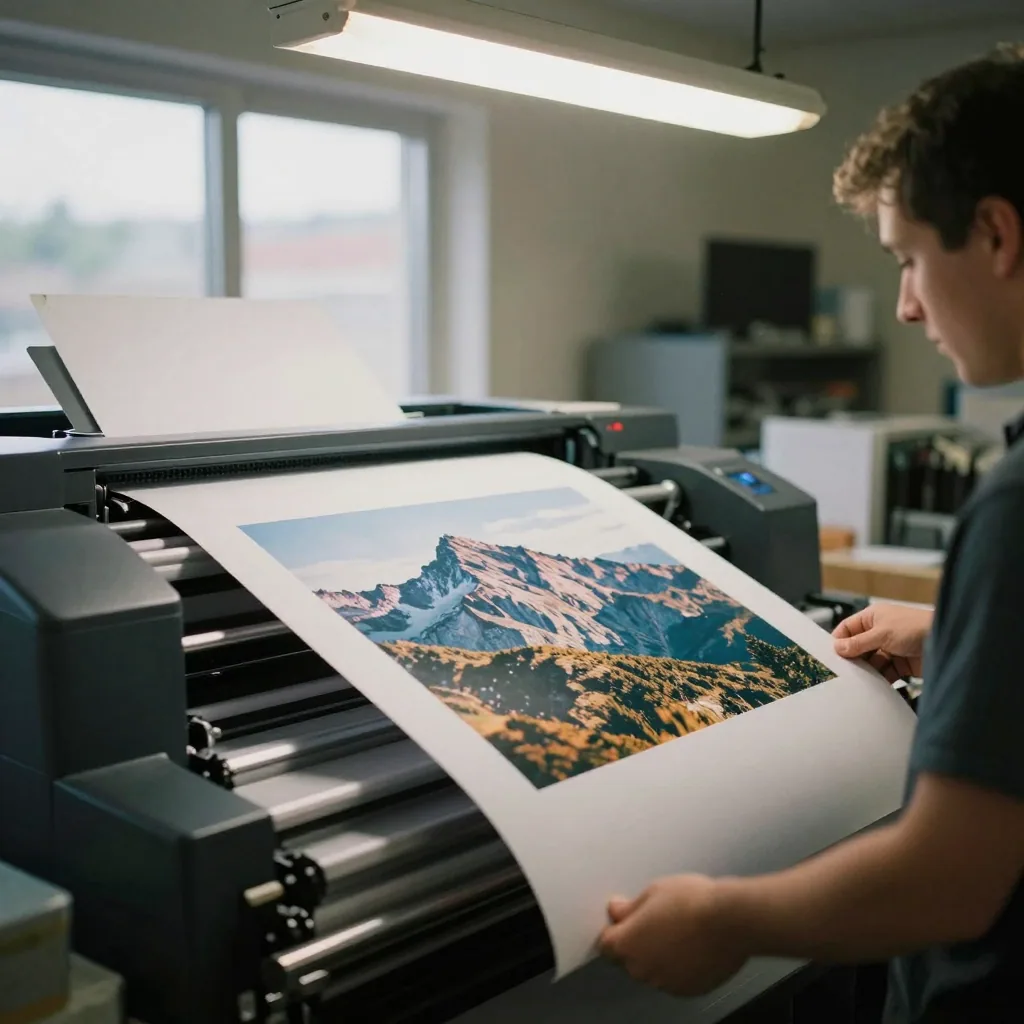
Match the output resolution to where the image will be seen, not to the maximum the tool offers. Web and social images rarely need more than 4K; large photo prints and high-resolution displays justify 8K; and 16K is reserved for oversized banners, murals, and gallery prints where a viewer stands close to a very large surface. Upscaling further than the destination requires wastes processing and file size for no visible gain.
The table below maps common destinations to a sensible target, so you can pick a scale before you spend credits rather than defaulting to the highest number available. Over-shooting resolution inflates the file, slows uploads, and can even hurt you — a 16K file on a web page that displays it at 1200 pixels wide is downscaled by the browser anyway, so all that reconstructed detail is discarded on screen.
| Destination | Sensible target | Notes |
|---|---|---|
| Social post / web image | Up to 4K | Browsers downscale anything larger on display |
| Blog hero / product page | 4K | Sharp on retina screens without bloated files |
| Standard photo print (up to A3) | 4K–8K | 8K only if viewed up close |
| Large-format print / poster | 8K | Enough detail at normal viewing distance |
| Banner, mural, gallery print | 16K | Only where viewers stand close to a huge surface |
Start from the destination and work back to the scale. If you are unsure, 4K covers the vast majority of screen and small-print needs, and you can always run a second pass to 8K or 16K on the specific images headed for large print rather than upscaling your whole batch to the ceiling.
9.Why do faces and text break during upscaling?
Faces and text break because they carry structured detail the model has to reconstruct correctly rather than merely sharpen — a slightly wrong eye or a garbled letter reads as an error instantly, whereas an imperfect patch of grass or sky goes unnoticed. Weaker upscalers hallucinate plausible-looking texture that is subtly wrong in exactly these high-attention areas.
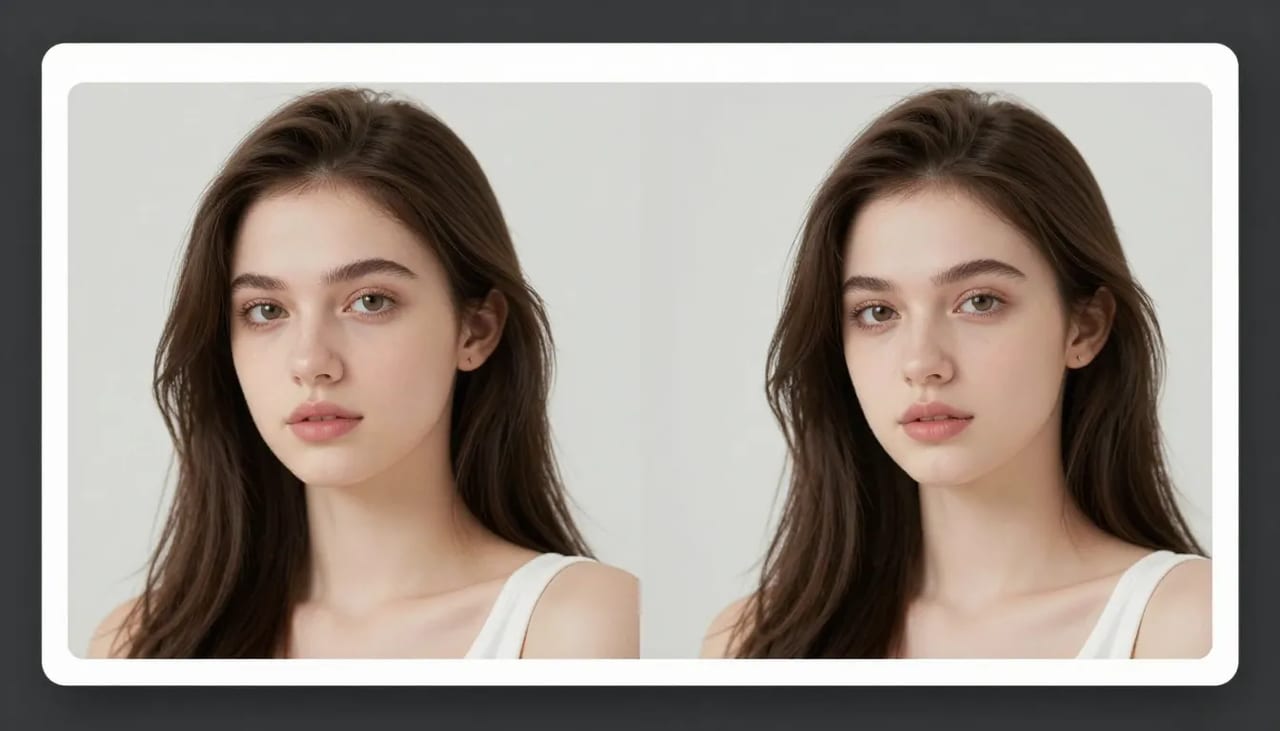
The reason is that human perception is unforgiving about certain patterns. We are wired to spot irregularities in faces, so a reconstructed iris that is a fraction off, an asymmetric catchlight, or over-smoothed skin immediately signals "something is wrong," even when the same model handles a landscape flawlessly. Text is similar but stricter still — letterforms have a correct shape, and any smear or invented serif is legible as a mistake. Strong super-resolution models are trained on enough face and text pairs to keep skin, eyes, and lettering natural at higher scales, while lightweight "enhance" buttons in general editors tend to plasticise skin or blur small type. The practical workaround when a portrait or a sign is the subject: run a gentle enhance or denoise pass first to give the model cleaner structure to work from, then upscale, and inspect faces and any lettering at full resolution before you export. If a specific face still reads as waxy, a smaller scale factor often preserves more natural texture than pushing straight to 16K.
10.Quick verdict
For AI image upscaler, start on the money pages below. Imagera is pay-first — credit packs from $19.99, not a free unlimited tool. Measure success by usable published assets, not demo screenshots.
10.1Money pages
11.Operator checklist
- Prepare clean inputs (lighting, crop, rights).
- Generate a minimum viable test.
- QA on mobile.
- Enhance finals only if needed.
- Publish and measure conversion, not vanity views.
- Top up credits only after a winner is clear.
12.Deep notes for teams
Document winning settings. Share a folder of approved inputs. Assign one owner for credit budget. Revisit this process monthly as models improve. Related commercial content should always deep-link to product landings so organic readers can convert without hunting the nav.
13.Quick verdict
For AI image upscaler, start on the money pages below. Imagera is pay-first — credit packs from $19.99, not a free unlimited tool. Measure success by usable published assets, not demo screenshots.
13.1Money pages
14.Operator checklist
- Prepare clean inputs (lighting, crop, rights).
- Generate a minimum viable test.
- QA on mobile.
- Enhance finals only if needed.
- Publish and measure conversion, not vanity views.
- Top up credits only after a winner is clear.
15.Deep notes for teams
Document winning settings. Share a folder of approved inputs. Assign one owner for credit budget. Revisit this process monthly as models improve. Related commercial content should always deep-link to product landings so organic readers can convert without hunting the nav.
16.Quick verdict
For AI image upscaler, start on the money pages below. Imagera is pay-first — credit packs from $19.99, not a free unlimited tool. Measure success by usable published assets, not demo screenshots.
16.1Money pages
17.Operator checklist
- Prepare clean inputs (lighting, crop, rights).
- Generate a minimum viable test.
- QA on mobile.
- Enhance finals only if needed.
- Publish and measure conversion, not vanity views.
- Top up credits only after a winner is clear.
18.Deep notes for teams
Document winning settings. Share a folder of approved inputs. Assign one owner for credit budget. Revisit this process monthly as models improve. Related commercial content should always deep-link to product landings so organic readers can convert without hunting the nav.
Additional guidance: keep comparisons fair, update pricing claims against live pages, and never promise free generation on Imagera.
Additional guidance: keep comparisons fair, update pricing claims against live pages, and never promise free generation on Imagera.
Additional guidance: keep comparisons fair, update pricing claims against live pages, and never promise free generation on Imagera.
Additional guidance: keep comparisons fair, update pricing claims against live pages, and never promise free generation on Imagera.
Additional guidance: keep comparisons fair, update pricing claims against live pages, and never promise free generation on Imagera.
18.1Production note 1
Treat AI image upscaler like a pipeline step. Inputs in, QA out, credits tracked. Link every tutorial section back to a live studio or landing URL so readers can act immediately after reading.
18.2Production note 2
Treat AI image upscaler like a pipeline step. Inputs in, QA out, credits tracked. Link every tutorial section back to a live studio or landing URL so readers can act immediately after reading.
18.3Production note 3
Treat AI image upscaler like a pipeline step. Inputs in, QA out, credits tracked. Link every tutorial section back to a live studio or landing URL so readers can act immediately after reading.
18.4Production note 4
Treat AI image upscaler like a pipeline step. Inputs in, QA out, credits tracked. Link every tutorial section back to a live studio or landing URL so readers can act immediately after reading.