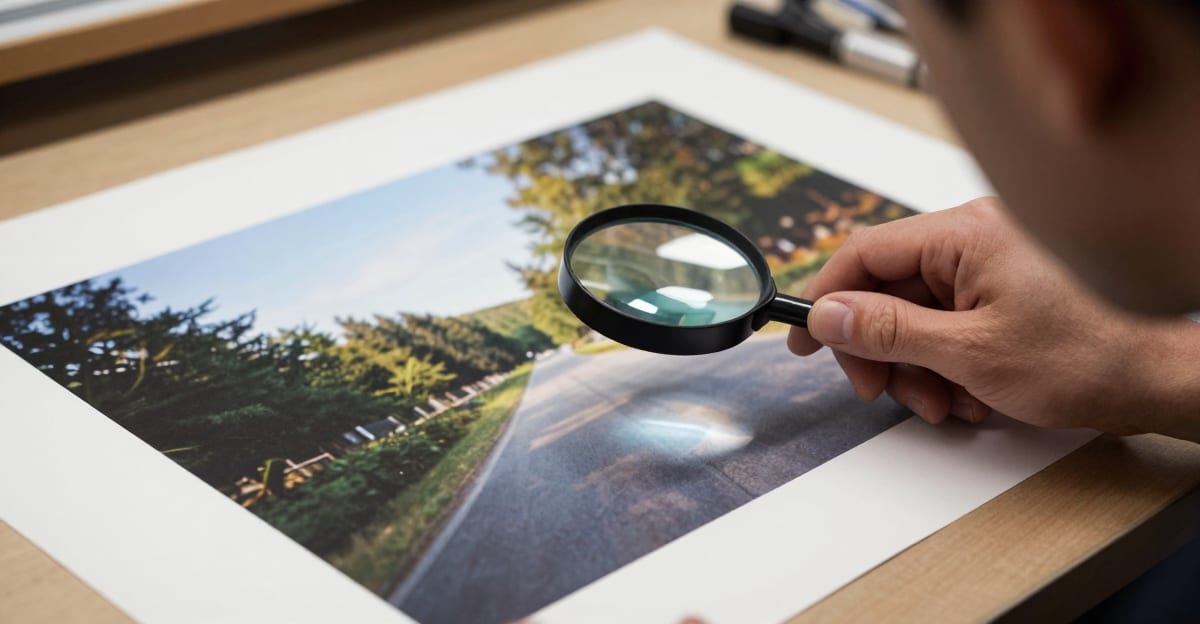
If you sell AI-generated art on Gelato, Printful, or Etsy, you cannot send the raw 1024×1024 file straight to print. To upscale AI images for printing at poster and canvas sizes, you need a tool that pushes past the native limits of Midjourney, DALL-E, and Stable Diffusion. Imagera’s 16K Image Upscaler outputs files up to 16,384 pixels, works entirely from your browser with nothing to install, and shows a credit quote for the selected image and output settings. The heavy lifting runs on Imagera’s cloud, so a Chromebook or a phone can produce a 16K master that would choke a desktop app — no local GPU, no rented cloud instance to configure. Pay-as-you-go credits are shown on the generate button before you commit, which means you know the exact cost before a single pixel processes.
Why does the old way fail for print-on-demand sellers?
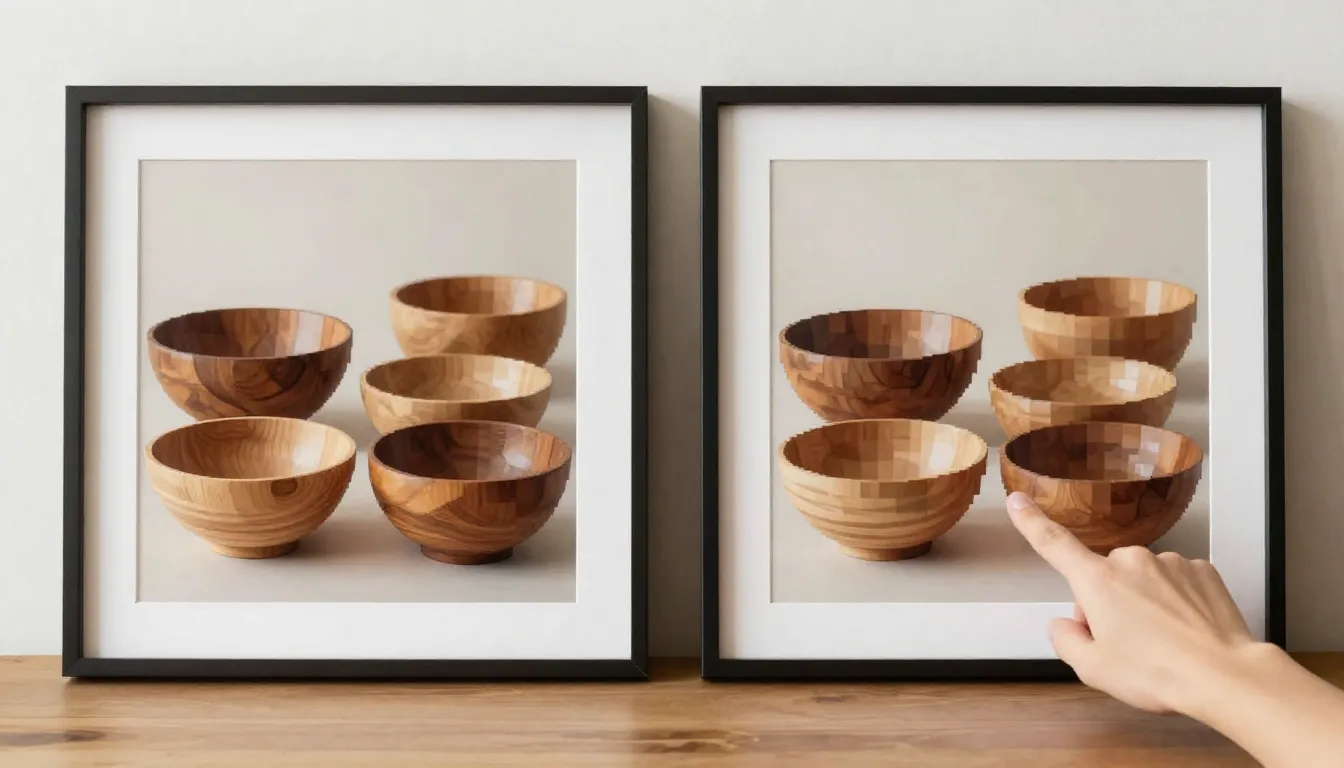
Most AI image generators output images at resolutions that look fine on a screen but fall apart on fabric or paper. Midjourney’s default square is 1024×1024. DALL-E 3 offers 1024×1024 or 1792×1024 for landscapes. Stable Diffusion XL lands at 1024×1024 unless you push it with a hires fix, which still rarely exceeds 2048 pixels on the long edge. At the industry-standard 300 DPI, those thousand pixels cover a 3.4-inch square. You cannot fill a 24×36 inch poster with that. For high-quality prints, the standard is 300 DPI; a 24×36 inch poster requires 7200×10800 pixels. 2 The gap between what AI gives you and what printing demands is enormous.
The pain becomes acute with large-format wall art. A 30×40 inch canvas from Gelato demands 9000×12000 pixels. 3 That is not an edge case. Wall art is where POD margins live. Customers pay premium prices for statement pieces and expect gallery-level clarity. Adobe Generative Upscale has a hard limit of 4096 px, making it impossible to natively reach 9000×12000 px for a 30×40 inch Gelato print. 3 When your upscaling tool hits a ceiling below your product requirements, you are stuck cropping the artwork or interpolating in Photoshop and hoping the smoothing fools the customer. It will not.
POD platforms have tightened quality gates. Upload a low-resolution file to Printful or Gelato and the backend either rejects it outright or flags the listing with a warning that buyers see. Ignore the flag, ship the order, and you often eat a return because the final print looks like a blown-up thumbnail. One blurry canvas generates a one-star review that sits on your Etsy shop for months. Returns in POD are brutal because you absorb the production cost and shipping. You might spend fifteen dollars to produce and ship a rejected canvas, then another ten to get it back, all because the source file was three thousand pixels too narrow.
Desktop software used to be the workaround, but the economics have shifted. Topaz Gigapixel and Photo AI moved to an annual subscription, and perpetual-license owners no longer receive model updates. For a seller listing twenty new designs a month, that subscription tax is a heavy line item. It also locks you to a single machine. If you want to process a batch on a Chromebook or your partner’s laptop while traveling, you are out of luck. Cloud-based upscalers force you to upload your source to a remote server, which adds privacy concerns and queue times. You are either waiting in line or worrying about where your unreleased designs are stored.
| Print Size | Pixels Needed (300 DPI) | Typical AI Output | Native Print Size at 300 DPI |
|---|---|---|---|
| 12×16 in | 3600×4800 | 1024×1024 1 | ~3.4 in |
| 24×36 in | 7200×10800 2 | 2048×2048 | ~6.8 in |
| 30×40 in | 9000×12000 3 | 4096 max (Adobe) 3 | ~13.6 in |
The Imagera workflow: from 1024px to wall-ready
I have run enough AI art through Imagera to know the exact workflow. Here is how I take a Midjourney square to a Gelato-ready poster in about five minutes.
First, I upload the source PNG to the Imagera Image Upscaler. The interface is browser-based, so there is nothing to install and no GPU requirement on my end. I drag in the file, and the dashboard shows me the current dimensions, file size, and estimated output resolution before I touch a single setting.
Next, I choose the model. The tool supports a wide library of open-source architectures, from Real-ESRGAN and SwinIR to niche ESRGAN variants you can upload yourself. For clean vector-style illustrations, I pick Real-ESRGAN x4 plus. For detailed painterly textures, I switch to SwinIR. If I have a niche model from OpenModelDB, I can upload the custom .pth file directly via URL or file drop. That flexibility matters when you sell in a specific aesthetic like retro-futurism or soft watercolor. You are not locked into a generic model that smears the fine lines your prompt took an hour to perfect.
Then I set the chain. Imagera lets you stack up to five upscalers in sequence. A single 4x pass gets me from 1024px to 4096px. If I need true 16K for a large canvas, I might run two chained passes or pick an 8x model. The preview pane updates live so you can spot artifacts before committing credits. I usually zoom to 100% and then 300% to inspect eyelashes, foliage, or typography. If I see ringing around high-contrast edges, I swap the second pass for a softer model or disable post-sharpening. I also check the output format at this stage. PNG preserves the most detail for print, and Imagera exports lossless PNG by default.
After the upscale finishes, I download the PNG and zoom to 100% (then 300%) to check for any remaining softness around edges that might trigger a Gelato rejection. If I spot ringing or mushy detail, our guide to fixing AI image artifacts covers the usual culprits — and one more pass with a light denoising model usually clears it.
When I am processing a full collection, I queue the files in batches. Imagera keeps the tab responsive even with ten images running in parallel. Before I start the batch, I head to the pricing page to confirm the credit cost. Pay-as-you-go credits are shown on the generate button before you commit, so there are no surprises when scaling twenty designs at once. If you process regularly, our AI image upscaler comparison covers which models hold detail best across batches. For sellers who want to understand exactly how DPI maps to pixel dimensions, the 16K upscaling guide breaks down the math for non-standard sizes like European A-series frames.
Model chains and DPI targets by product type
Not every product in your store demands the same pixel budget. A phone case viewed at arm’s length needs fewer pixels than a canvas hanging above a sofa. POD platforms still gate uploads at 300 DPI, but the physical size of the product determines how far you must push the upscale.
Small products like mugs and phone cases usually max out at 6×3 inches. A single 2x pass from a 1024px source gives you 2048px, which covers that area comfortably. Throw pillows and tote bags sit in the middle. A 16×16 inch pillow needs 4800×4800 pixels, so a single 4x pass to 4096px gets you close enough after a slight crop.
Posters are where the pressure builds. A 24×36 inch sheet needs 7200×10800 pixels. I typically run Real-ESRGAN x4 to reach 4096px, then add a SwinIR x2 pass to hit 8192px. From there I can crop or pad the edges to match the exact template. Metal prints and acrylic panels follow similar rules, though their glossy surfaces can accentuate any remaining noise, so I often add a light denoise step in the chain.
Canvases and tapestries are the real test. A 30×40 inch Gelato canvas demands 9000×12000 pixels. If you want a 40×60 inch wall tapestry, you need roughly 12000×18000 pixels. That means pushing to the full 16K ceiling and cropping down. A 4x followed by another 4x gets me to 16384px, which gives me the flexibility to crop to 12000×18000 without losing detail. I always keep the aspect ratio locked. Stretching a square source to fit a 2:3 rectangle will distort the artwork and earn a return.
| Product Type | Typical Size | Pixels Needed (300 DPI) | Suggested Chain | Output from 1024px Source |
|---|---|---|---|---|
| Phone Case | 6×3 in | 1800×900 | Single 2x | 2048×2048 (crop) |
| Throw Pillow | 16×16 in | 4800×4800 | Single 4x | 4096×4096 (slight crop) |
| Poster | 24×36 in | 7200×10800 2 | 4x → 2x | 8192×8192 (crop) |
| Canvas | 30×40 in | 9000×12000 3 | 4x → 4x (downscale) | 16384→12000 |
| Wall Tapestry | 40×60 in | 12000×18000 | 4x → 4x (crop) | 16384×16384 (crop) |
Single-pass vs. chained upscaling: which route should you take?
You can reach the same pixel target in more than one way, and the method you choose affects both quality and cost. A single 8x pass is fast and requires fewer clicks, but it gives you less opportunity to catch artifacts between stages. Chaining two 4x passes lets you inspect the intermediate file, swap models, and fine-tune settings before the final push to 16K. For commercial POD work, that intermediate inspection is worth the extra minute.
Single-pass works best when the source is already clean. If your Midjourney output has crisp edges and minimal noise, an 8x model can take it straight to 8192px without trouble. I use this for phone cases and small prints where the final size is under 5000 pixels. Chained passes are the safer bet for textured artwork, complex scenes with foliage, or any piece that includes fine typography. The first pass handles the bulk enlargement while the second pass recovers detail that the first might have softened.
The credit difference is not dramatic because pay-as-you-go credits are shown on the generate button before you commit, but chained processing does use more total compute. I reserve single-pass for bulk batches of simple designs and chain everything that will end up on a wall.
| Approach | Pass Count | Output from 1024px | Best For | Artifact Risk |
|---|---|---|---|---|
| Single 4x | 1 | 4096px | Phone cases, mugs, small prints | Low |
| Single 8x | 1 | 8192px | Large posters, detailed art | Moderate (less mid-stage control) |
| Chained 4x → 4x | 2 | 16384px | Canvases, wall tapestries | Low (inspect after first) |
| Chained 4x → 2x | 2 | 8192px | Mid-size textiles, metal prints | Low |
Common mistakes POD sellers make with upscaling
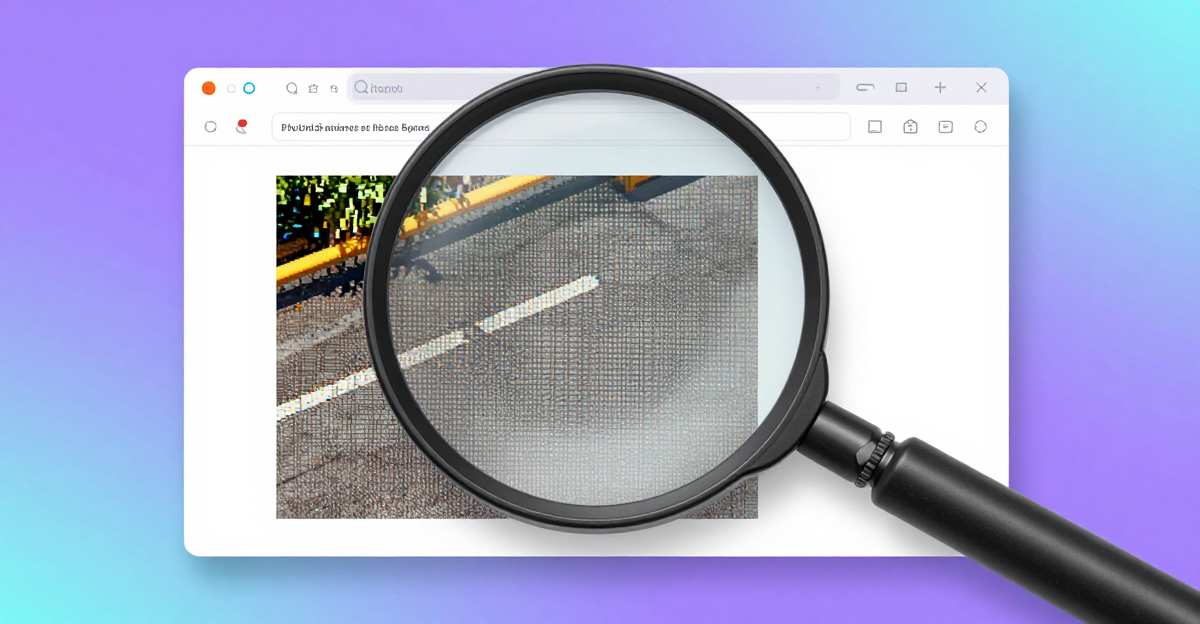
Many artists skip the second pass on textured pieces and end up with visible grid lines once the file hits 300 DPI on canvas. Always test a 2-inch crop at actual print size on your monitor before ordering a full run. If you can see repeating patterns or checkerboard noise at 300% zoom, the print will reveal them under gallery lighting.
Another frequent error is leaving the default sharpening filter on for watercolor styles. It adds halos that print as harsh rings around every stroke. Disable it and rely on the model’s native detail recovery instead. The same applies to pastel and chalk textures where soft edges are part of the aesthetic.
Some users also upload JPEGs with heavy compression artifacts. Imagera cleans mild noise well, but heavy JPEG blocks require a dedicated deblocking model first in the chain. If your source is a compressed JPEG from an old archive, run Real-ESRGAN with the deblock setting enabled before you do anything else.
Aspect ratio violations destroy more listings than people realize. A 1024×1024 source upscaled to 16K is still square. If your product template is 24×36, you must either generate in landscape first or accept cropping. Never stretch the image to fit. The distortion is subtle on screen and glaring on a stretched canvas.
Ignore color profiles at your peril. Imagera outputs sRGB, which works for most POD vendors. If you are selling through a fine art printer that demands Adobe RGB or CMYK, convert the file in Photoshop after upscaling. Do not try to force a profile shift before the upscale; the models produce the cleanest results in sRGB.
One more mistake that slips through: forgetting bleed and safe-zone margins. A 24×36 inch poster template might ask for an extra 0.125 inch on each side. If you upscale the artwork to exactly 7200×10800 pixels and then realize you need bleed, you are stuck. Upscale slightly larger than the final dimensions, then add the bleed area in your template editor. That extra hundred pixels of buffer saves you from re-processing the entire chain.