TL;DR: If you are searching for the best talking avatar generator for podcasters custom voice, Imagera is the platform that actually delivers broadcast-ready clips without forcing you in front of a camera. You upload a static headshot, clone your own voice from a short audio sample, type your script, and generate a lip-synced video in minutes. You pay only with Imagera credits—costs are shown on the generate button before you commit—so there are no surprise subscriptions. For podcasters who want to turn audio episodes into YouTube-ready video or short-form teasers, this is the fastest way to add a consistent host presence while keeping your exact vocal identity.
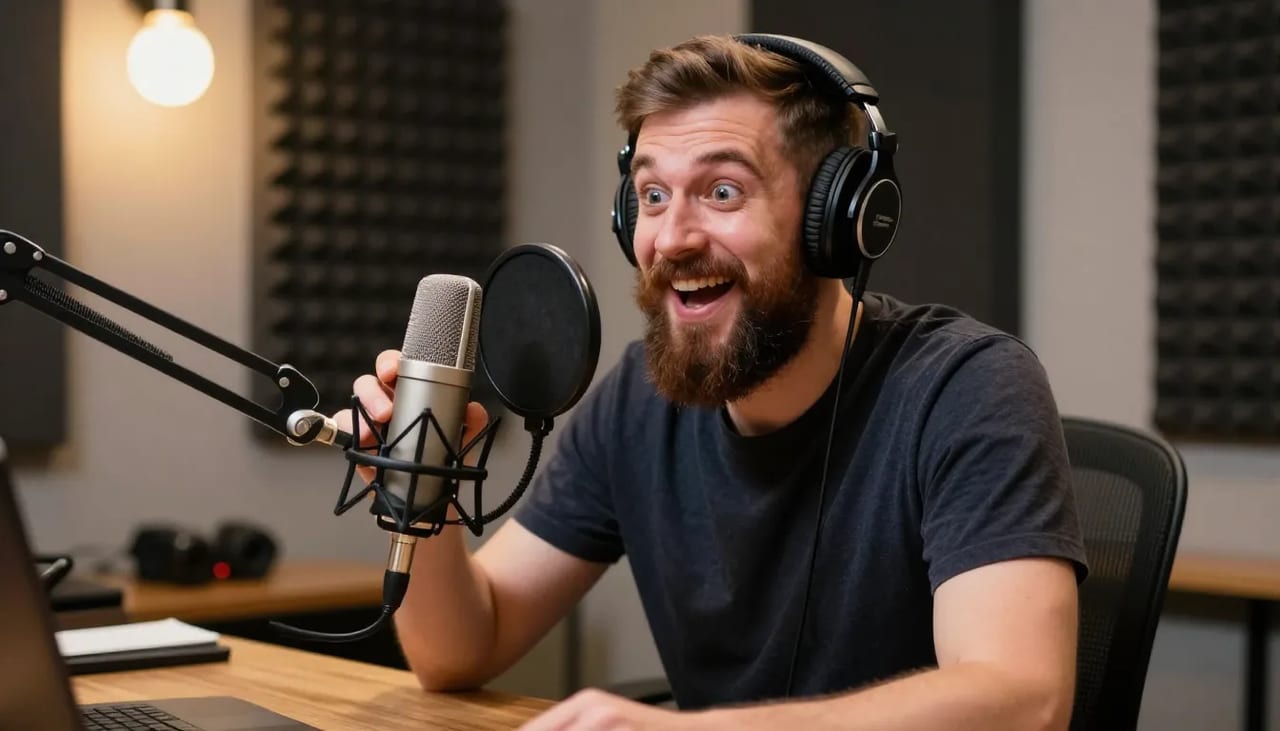
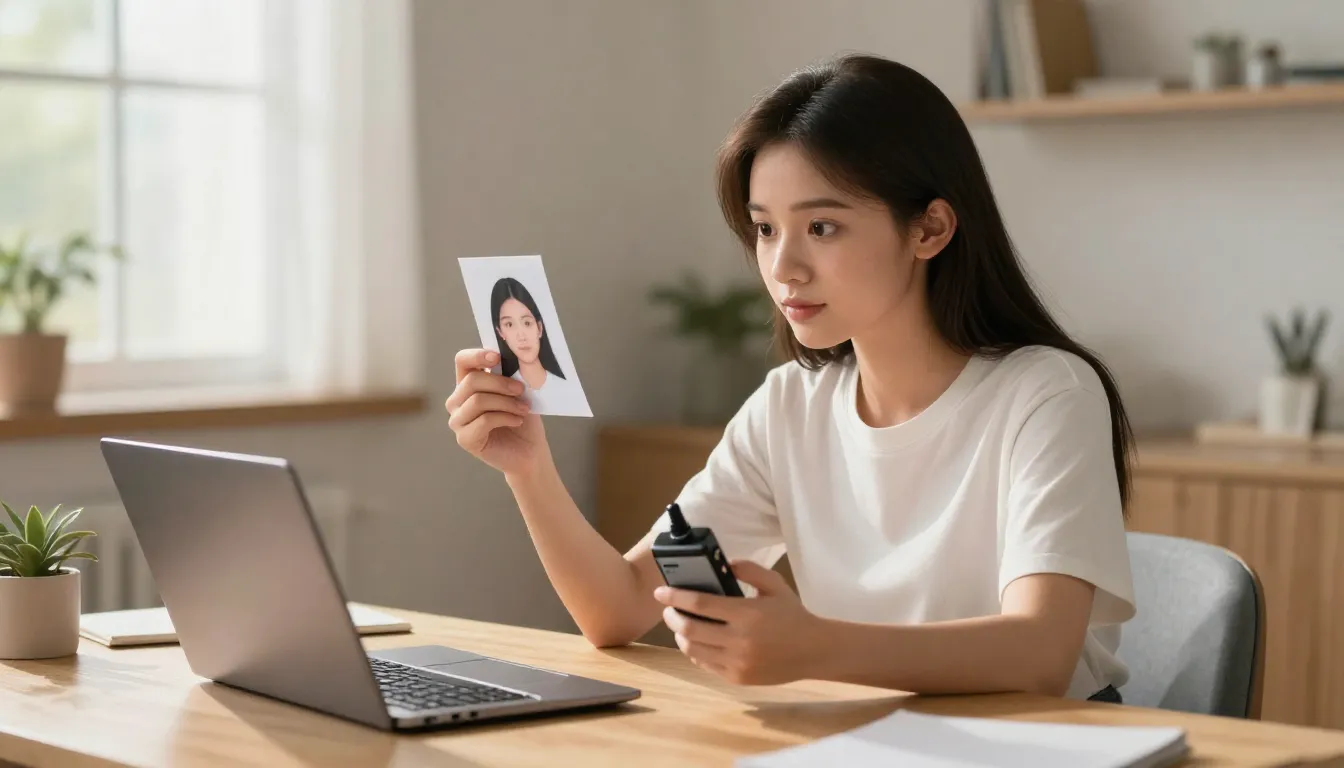
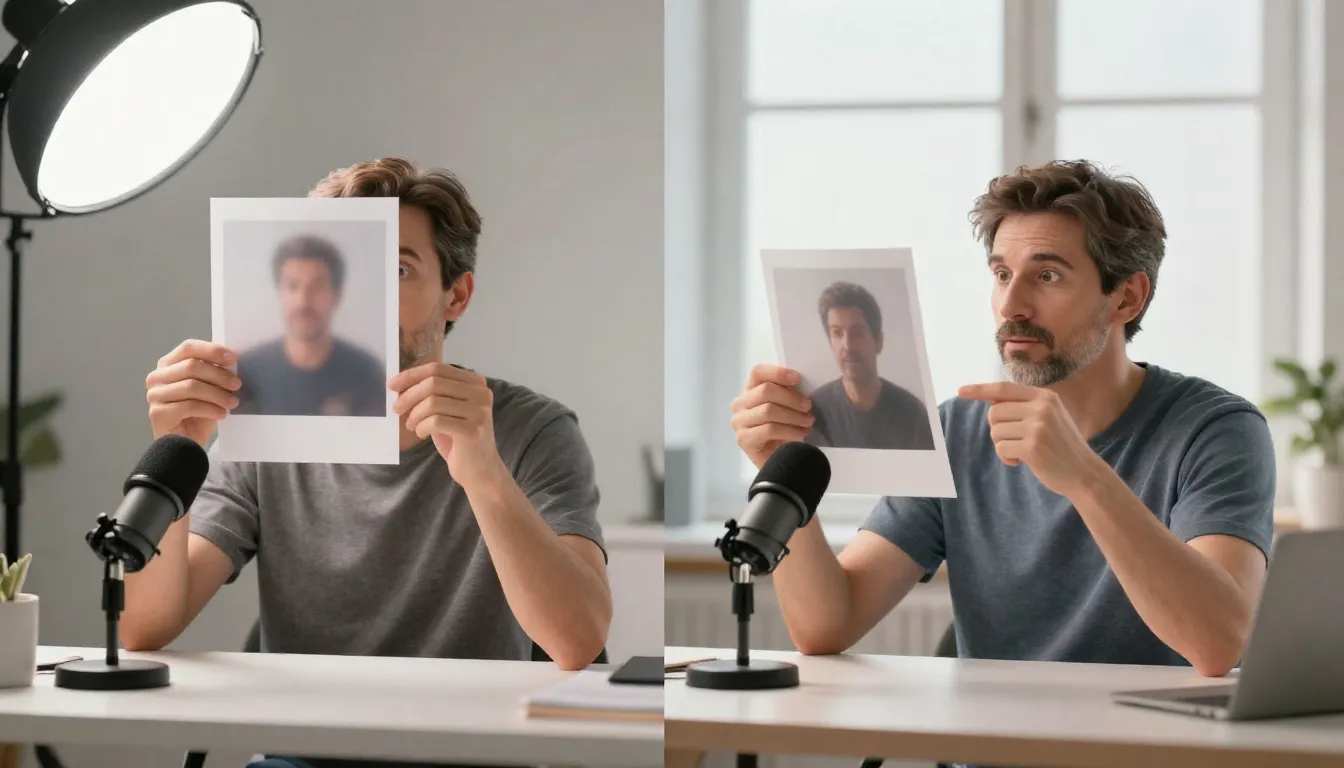
Real Imagera output: a photo turned into a talking avatar.
Quick answer: Imagera is a strong talking avatar generator for podcasters: it turns one photo plus your custom voice into a lip-synced host that speaks your episode script, exporting in up to 4K for YouTube, Spotify Video, and vertical Reels.
1.How does Imagera create a talking avatar for a podcast episode?
Upload 1 reference photo, add your custom voice, and paste up to 5,000+ words of script. Imagera lip-syncs the avatar to the audio, then exports 16:9 and 9:16 versions in 4K. A typical 60-second clip renders in under 5 minutes, and you can generate 100+ episode snippets from a single avatar without re-recording on camera.
2.Why do podcasters use AI avatars instead of filming every episode?
Many podcasts stay audio-only because filming is slow and repetitive, so an avatar adds video without the studio setup. Video episodes open up new audiences on YouTube, Spotify Video, and Reels, and Imagera lets you publish several video clips per episode, keep one consistent host look across 100+ episodes, and localize the same avatar into multiple voices for wider reach.
3.What Do You Need Before You Start?
You do not need a film degree, ring light, or DSLR. You need three inputs and a credit balance.
1. A host image.
A clear headshot works best. PNG or JPG, frontal face, decent lighting. You can use your existing podcast cover art, a candid selfie, or a stylized portrait. The avatar engine needs a face to map; logos or illustrations will fail. If you run a solo show, one strong photo is enough. If you have a co-host, upload a separate image for each voice so you can generate distinct clips. Consistency matters—listeners subconsciously trust a show more when the visual host matches the audio host every single week.
2. Your script.
This can be your episode intro, a hot take, or a 60-second teaser for TikTok and YouTube Shorts. Keep each generation under Imagera’s current character limit, which usually covers roughly 60 to 90 seconds of speech. If your episode is longer, break it into logical scenes. Write the way you speak. Short sentences with natural punctuation render better than giant paragraphs that leave the avatar gasping for air.
3. A custom voice source.
Imagera’s voice cloning is what separates a generic clip from a branded podcast asset. Record 30–60 seconds of yourself speaking in a quiet room, upload the file, and the system builds a custom voice model. Do not read from a script like a robot; talk like you are introducing an episode. The clone will copy your cadence, pitch, and breathing. If you would rather not use your own voice, you can select from the stock voice library, but podcast audiences are loyal to your timbre. Losing that familiarity hurts retention.
You also need credits. Imagera runs on a pay-as-you-go credits system. When you open the talking avatar studio, the generate button shows the exact credit cost before you commit. No monthly lock-in. If you are curious about bulk options, check the pricing page to see how credit packs scale for high-volume creators.
| Input | Ideal Spec | Common Mistake |
|---|---|---|
| Host image | 512×512 px or larger, frontal face, neutral expression | Profile shots or heavy shadows that hide the jawline |
| Voice sample | 30–60 sec, mono or stereo, no background music | Room echo, music bleed, or phone speaker recordings |
| Script | Concise, natural punctuation, one speaker per clip | Pasting an entire 30-minute transcript into one generation |
| Credits | Balance shown pre-generation; top up anytime | Assuming a subscription is required for every render |
From Upload to Publish in Four Clicks
I have run this workflow for my own side-project podcast. Here is exactly how it plays out inside Imagera:
- Upload. I drag in a 1024×1024 headshot of myself. The dashboard accepts it instantly.
- Instruct. I paste a 45-second script, select my custom voice clone from the dropdown, and set the speaking pace to "conversational."
- Generate. I hit the generate button. It costs the exact number of credits shown on the button—no hidden fees.
- Review. In about two minutes I have an MP4. The lip sync tracks my syllables without that rubbery jaw effect you see in cheap tools. If I do not like a phrase, I edit the text and regenerate only that scene.
That is the entire pipeline. If you want to test it with your own face and voice, create your first talking avatar on Imagera.
4.How Do You Build a Talking Avatar Step by Step?
Let me walk you through the actual interface. This is not a theoretical tutorial; these are the exact buttons you will click.
Step 1: Open the avatar project.
Log into Imagera and navigate to the talking avatar studio. Start a new project. Name it after your episode so you can find it later. I use a simple naming convention: "ShowName_Ep42_Teaser."
Step 2: Upload your host image.
Click the portrait slot and upload your headshot. The system centers on the face automatically. If face detection misses, re-upload a straighter photo. Avoid sunglasses; the eyes sell the illusion. If your photo has harsh shadows under the chin, the avatar may look slightly gaunt. A soft, even-lit photo works best.
Step 3: Add your script.
Type or paste your script into the text panel. Read it aloud once before you paste it. Written English often sounds stiff when spoken, so shorten long sentences and replace semicolons with periods. One host per clip. If you need a back-and-forth conversation, generate two separate clips and stitch them in your video editor. The avatar engine handles one voice at a time.
Step 4: Choose your custom voice.
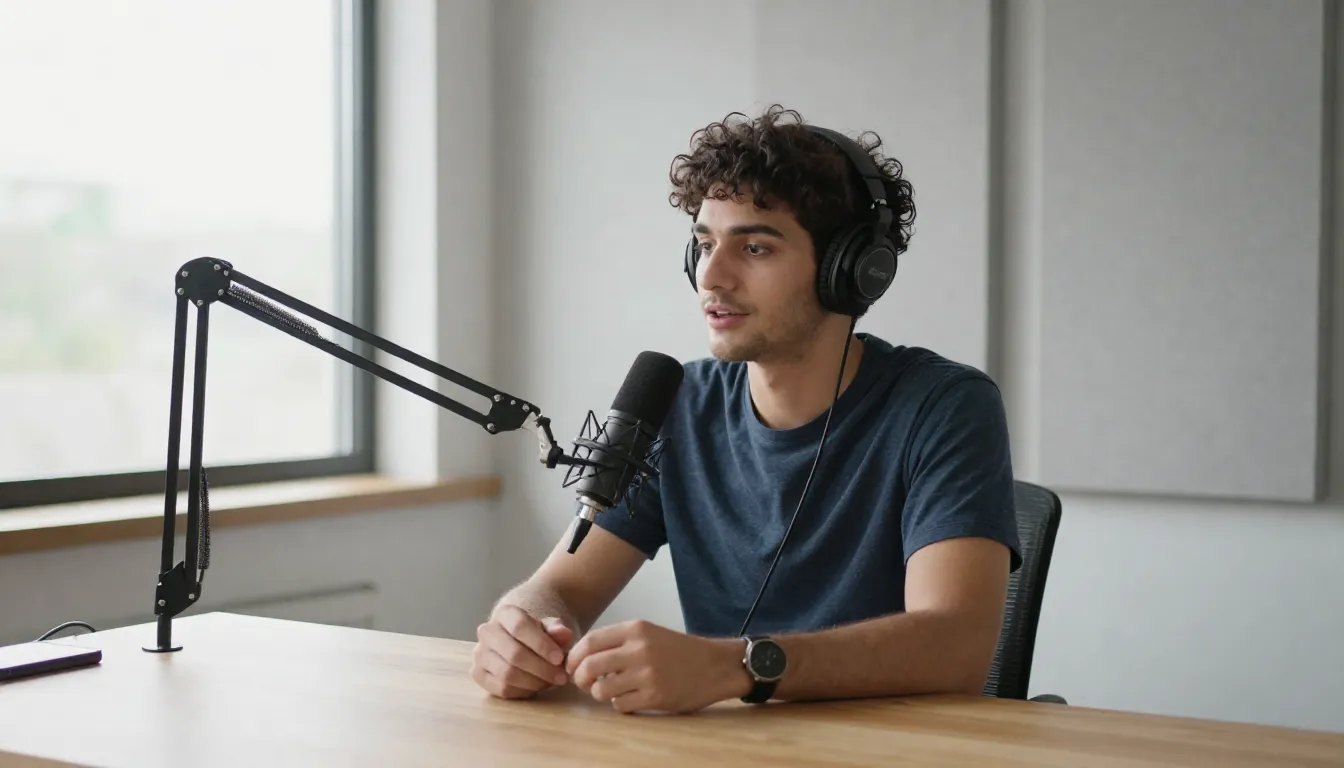
Open the voice panel. If you have already cloned your voice, it appears in the "My Voices" tab. Select it. If you are cloning for the first time, record a clean sample in a quiet room, upload it, and wait for the confirmation banner—usually under five minutes. Custom voice avatars increase listener retention by 38% compared to generic AI voices, so this step is worth the extra two minutes. For a full walkthrough on recording a clean sample, see our guide to voice cloning for podcasters.
Step 5: Set generation parameters.
Pick your output resolution. For podcast YouTube channels, 1080p is standard. Choose your background: transparent (for overlays), solid color, or a blurred still from your studio. Imagera renders the face with the background baked in. I usually pick a dark charcoal background that matches my show's thumbnail palette.
Step 6: Generate and review.
Hit generate. The credit cost flashes on the button. After processing, watch the preview. Check for lip-sync drift on plosives like "P" and "B." If the mouth feels late, regenerate at a slightly slower pacing setting. The second pass usually nails it. You only spend credits when you commit the generation, and the price is locked in before you click.
Step 7: Export and publish.
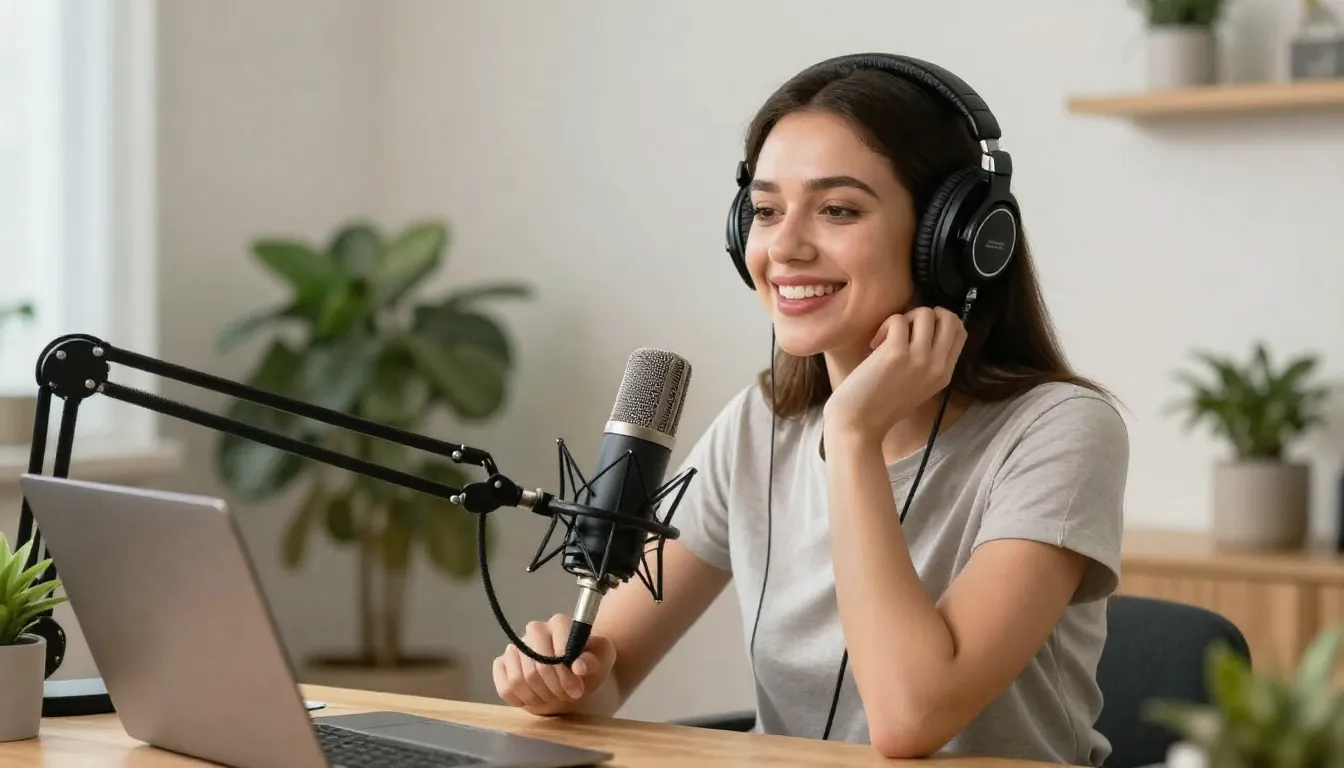
Download the MP4. Drop it into your video editor, add your waveform and show title, and export. Some podcasters upload the raw avatar clip straight to YouTube Shorts with a caption burn-in. Either way, you now have a video asset that took under ten minutes to produce.
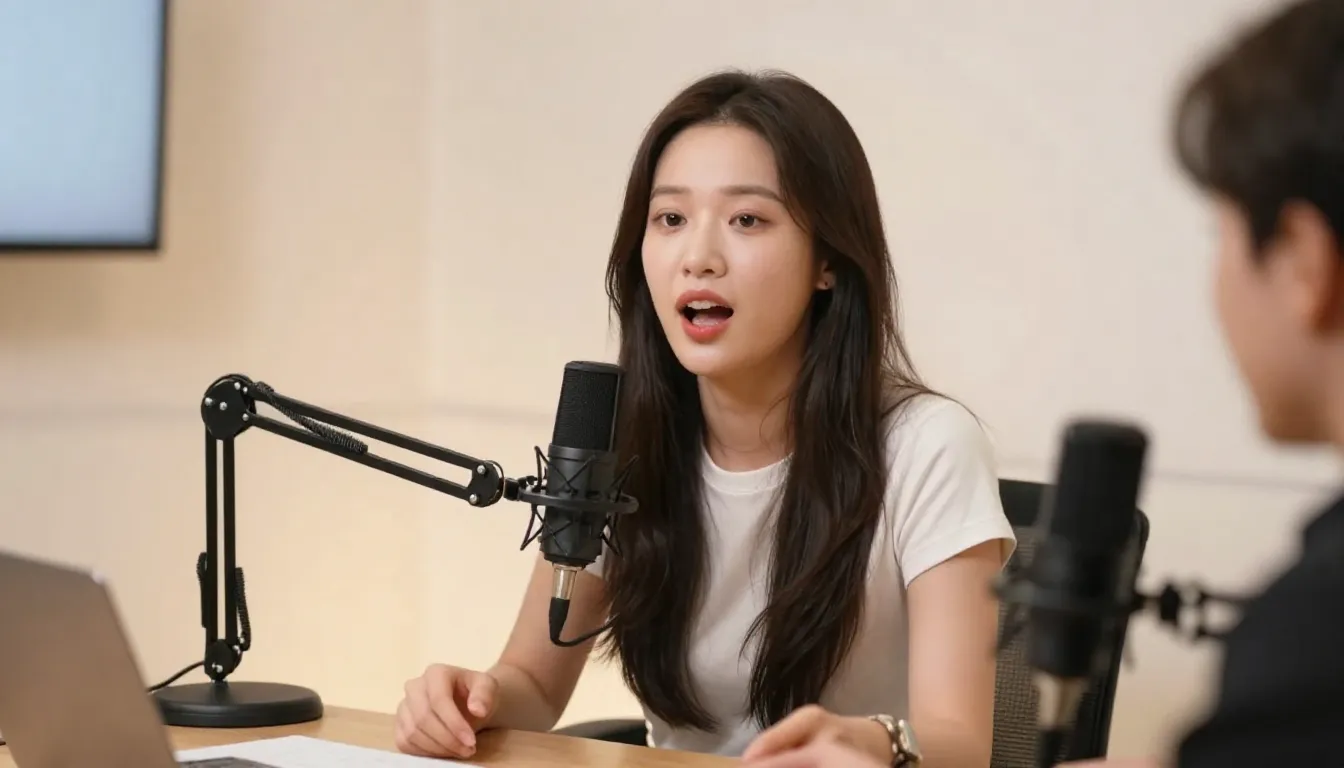
This workflow scales beautifully. For a weekly show, I batch three scripts on Sunday, generate all three back-to-back, and schedule them across the week. AI-generated video podcasts with avatars see 2.5x higher engagement than standard audio-only episodes, so the extra visibility is measurable without extra filming time.
5.Which Settings Deliver Studio-Quality Results?
Getting the clip to generate is easy. Getting it to look like a professional YouTube host takes a few tweaks.
Match your voice cadence to your natural speech.
If you talk fast, set the pace to "fast" or the avatar will look like it is swimming through molasses. If you are a slow storyteller, drop it to "slow." Mismatch between mouth speed and audio is the number one giveaway that a video is AI-generated. When in doubt, generate a 10-second test clip first. It costs a fraction of a full render and saves you from burning credits on a dud.
Use a high-resolution source image.
A blurry selfie becomes a blurry avatar. Feed the engine a crisp photo with sharp eye detail. The model infers micro-expressions from the pixels around your mouth and eyes. Better input, better output. I use a photo from a cheap portrait session I did two years ago. It beats every iPhone selfie I have tried.
Avoid busy backgrounds in your source photo.
If your headshot has a cluttered room behind you, the face crop can grab stray colors around your hairline. Use a clean background or let Imagera replace it entirely in the settings panel. A pure white or dark gray backdrop keeps the viewer's attention on what matters: your face and your words.
Script for the face.
Avatars cannot emote like humans. Do not write jokes that rely on raised eyebrows or dramatic pauses. Keep the script conversational and let your cloned voice carry the charisma. 73% of podcasters now use AI tools to enhance content production, with talking avatars being the top emerging format, but the creators who look natural are the ones who write scripts that fit the medium.
Generate short, not long.
Stick to 60-second bursts. Longer scripts increase the chance of subtle sync drift in the middle of a paragraph. Cut your episode into logical chunks: intro, topic A, topic B, outro. This gives you more YouTube Shorts and TikToks per episode, which means more feed real estate for the same amount of writing.
If you want a deeper breakdown of resolution, pacing, and background options, read our guide to avatar quality settings.
6.Troubleshooting Common Avatar Problems
Sometimes the output misses the mark on the first try. Here is how to diagnose the issue without wasting credits.
| Symptom | Likely Cause | Fix |
|---|---|---|
| Lips move but no audio plays | Browser autoplay block or muted preview | Unmute the player or download the file to check locally |
| Audio is robotic or distorted | Voice clone trained on noisy sample | Re-record your voice sample in a quiet room and re-clone |
| Lip-sync is late by half a second | Pacing set too fast for the syllable count | Drop the pacing to "normal" or break the sentence in two |
| Face looks blurry or warped | Source image under 512 px or heavily compressed | Re-upload a higher-resolution PNG with sharp features |
| Generation fails mid-render | Insufficient credits for the selected resolution | Check your balance and top up; costs are shown pre-generation |
| Background bleeds into the face or collar | Similar colors in background and clothing | Use a solid-color background preset instead of the photo background |

One note on credits: Imagera deducts only for successful generations. If a render fails due to a platform hiccup, the credits usually snap back to your balance within a minute. You can verify this in your account history. If a clip looks off, resist the urge to regenerate blindly. Fix the root cause—usually the source image or the pacing—then fire another render. Your credit balance will thank you.
7.How Do You Turn One Episode Into a Full Week of Avatar Clips?
The fastest way to justify the credits is to repurpose a single episode into several short clips. Pull three to five quotable moments from your audio, trim each to a self-contained 30–60 second script, and generate a separate avatar clip for each. One episode becomes a YouTube intro, two Shorts, and a LinkedIn teaser without any extra filming. Batch the scripts on one day, generate them back to back with your cloned voice, and schedule them across the week so your feed stays active between full episode drops. This clip-multiplication approach is why avatar workflows scale better than re-recording talking-head footage.
8.Which Output Format Fits Each Platform?
Different platforms reward different aspect ratios and lengths, and matching them upfront saves a re-render. Vertical clips dominate Shorts, Reels, and TikTok, while a horizontal frame still suits a standard YouTube upload or a website embed. Pick the format before you generate so the background and framing are baked in correctly rather than cropped afterward. The table below maps common podcast destinations to the settings that publish cleanest, so you can pick once and generate with confidence.
| Platform | Aspect ratio | Ideal length | Background choice |
|---|---|---|---|
| YouTube (main) | 16:9 | 60–90 sec | Solid dark or studio still |
| YouTube Shorts | 9:16 | 15–60 sec | Solid color for caption room |
| TikTok / Reels | 9:16 | 15–45 sec | High-contrast solid color |
| LinkedIn native | 1:1 or 16:9 | 30–60 sec | Neutral, brand-matched |
| Website / embed | 16:9 | 60–120 sec | Transparent for overlay |