You can complete this on Imagera without installing software: upload a real source file, describe the change, confirm credits up front, generate, and review before you publish. How to Create Talking Avatar Videos with AI — No Coding — this guide covers the steps, quality checks, and when to open related tools.
Talking avatar videos — where a still photo appears to speak — are used across education, marketing, corporate training, and social media. Creating them used to require video production skills, a camera, lighting, and hours of editing. Now you need a photo and an audio file. The AI handles the mouth movement, timing, and subtle facial motion so the face looks like it is genuinely speaking your script.
This step-by-step guide walks through creating talking avatar videos using Imagera's AI lip sync generator, from photo selection to final export. It also covers the two production modes most people miss, how the credit cost actually works, and the mistakes that make a talking avatar look off so you can avoid them the first time.
Quick answer: With Imagera you can turn a single photo and a script into a lip-synced talking avatar video in under 60 seconds, no coding, editing rigs, or camera required.
1.How do you make a talking avatar video with AI in 2026?
Upload 1 clear portrait, paste or type your script (aim for 40-120 words per clip), pick a voice, and Imagera generates a lip-synced avatar in under 60 seconds. You can render at up to 4K, produce 10+ variations from the same photo, and export vertical 9:16 for reels or 16:9 for YouTube. In 2026, no editing software or coding is needed, and you start free with 5 credits.
2.Why are AI talking avatars cheaper than filming a presenter?
One avatar video replaces a full shoot, camera, lighting, and multiple takes, and re-scripting costs nothing but a few credits versus rebooking talent. Imagera lets you spin up 100+ localized versions from 1 source photo, so you iterate on the message instead of rebooking a set. For most creative teams, iteration speed, not raw footage quality, is the real bottleneck in scaling video content, and generating variations from one photo removes it.
3.What a Talking Avatar Video Actually Is
A talking avatar video takes a single face — a photo of a real person, a professional headshot, or an AI-generated character — and animates the mouth, jaw, and small facial muscles to match a voice track. Instead of filming someone reading a script, you supply the face and the audio, and the system generates lip movements that line up with the sounds in the recording.
Imagera's Lip Sync Studio works in two directions:
- Image Lip Sync (Image to Video / I2V): Start from a still photo. Add audio. Get a talking video. This is the classic "make a photo speak" workflow.
- Video Lip Sync Fix (Video to Video / V2V): Start from an existing video clip. Add a new audio track. The system re-syncs the mouth to match the new audio. This is what you use for dubbing, fixing bad on-set audio, or swapping a script after filming.
Both modes support one speaker or two speakers in the same frame, which is what makes short dialogue scenes and interview-style clips possible without stitching two videos together.
4.What You Need
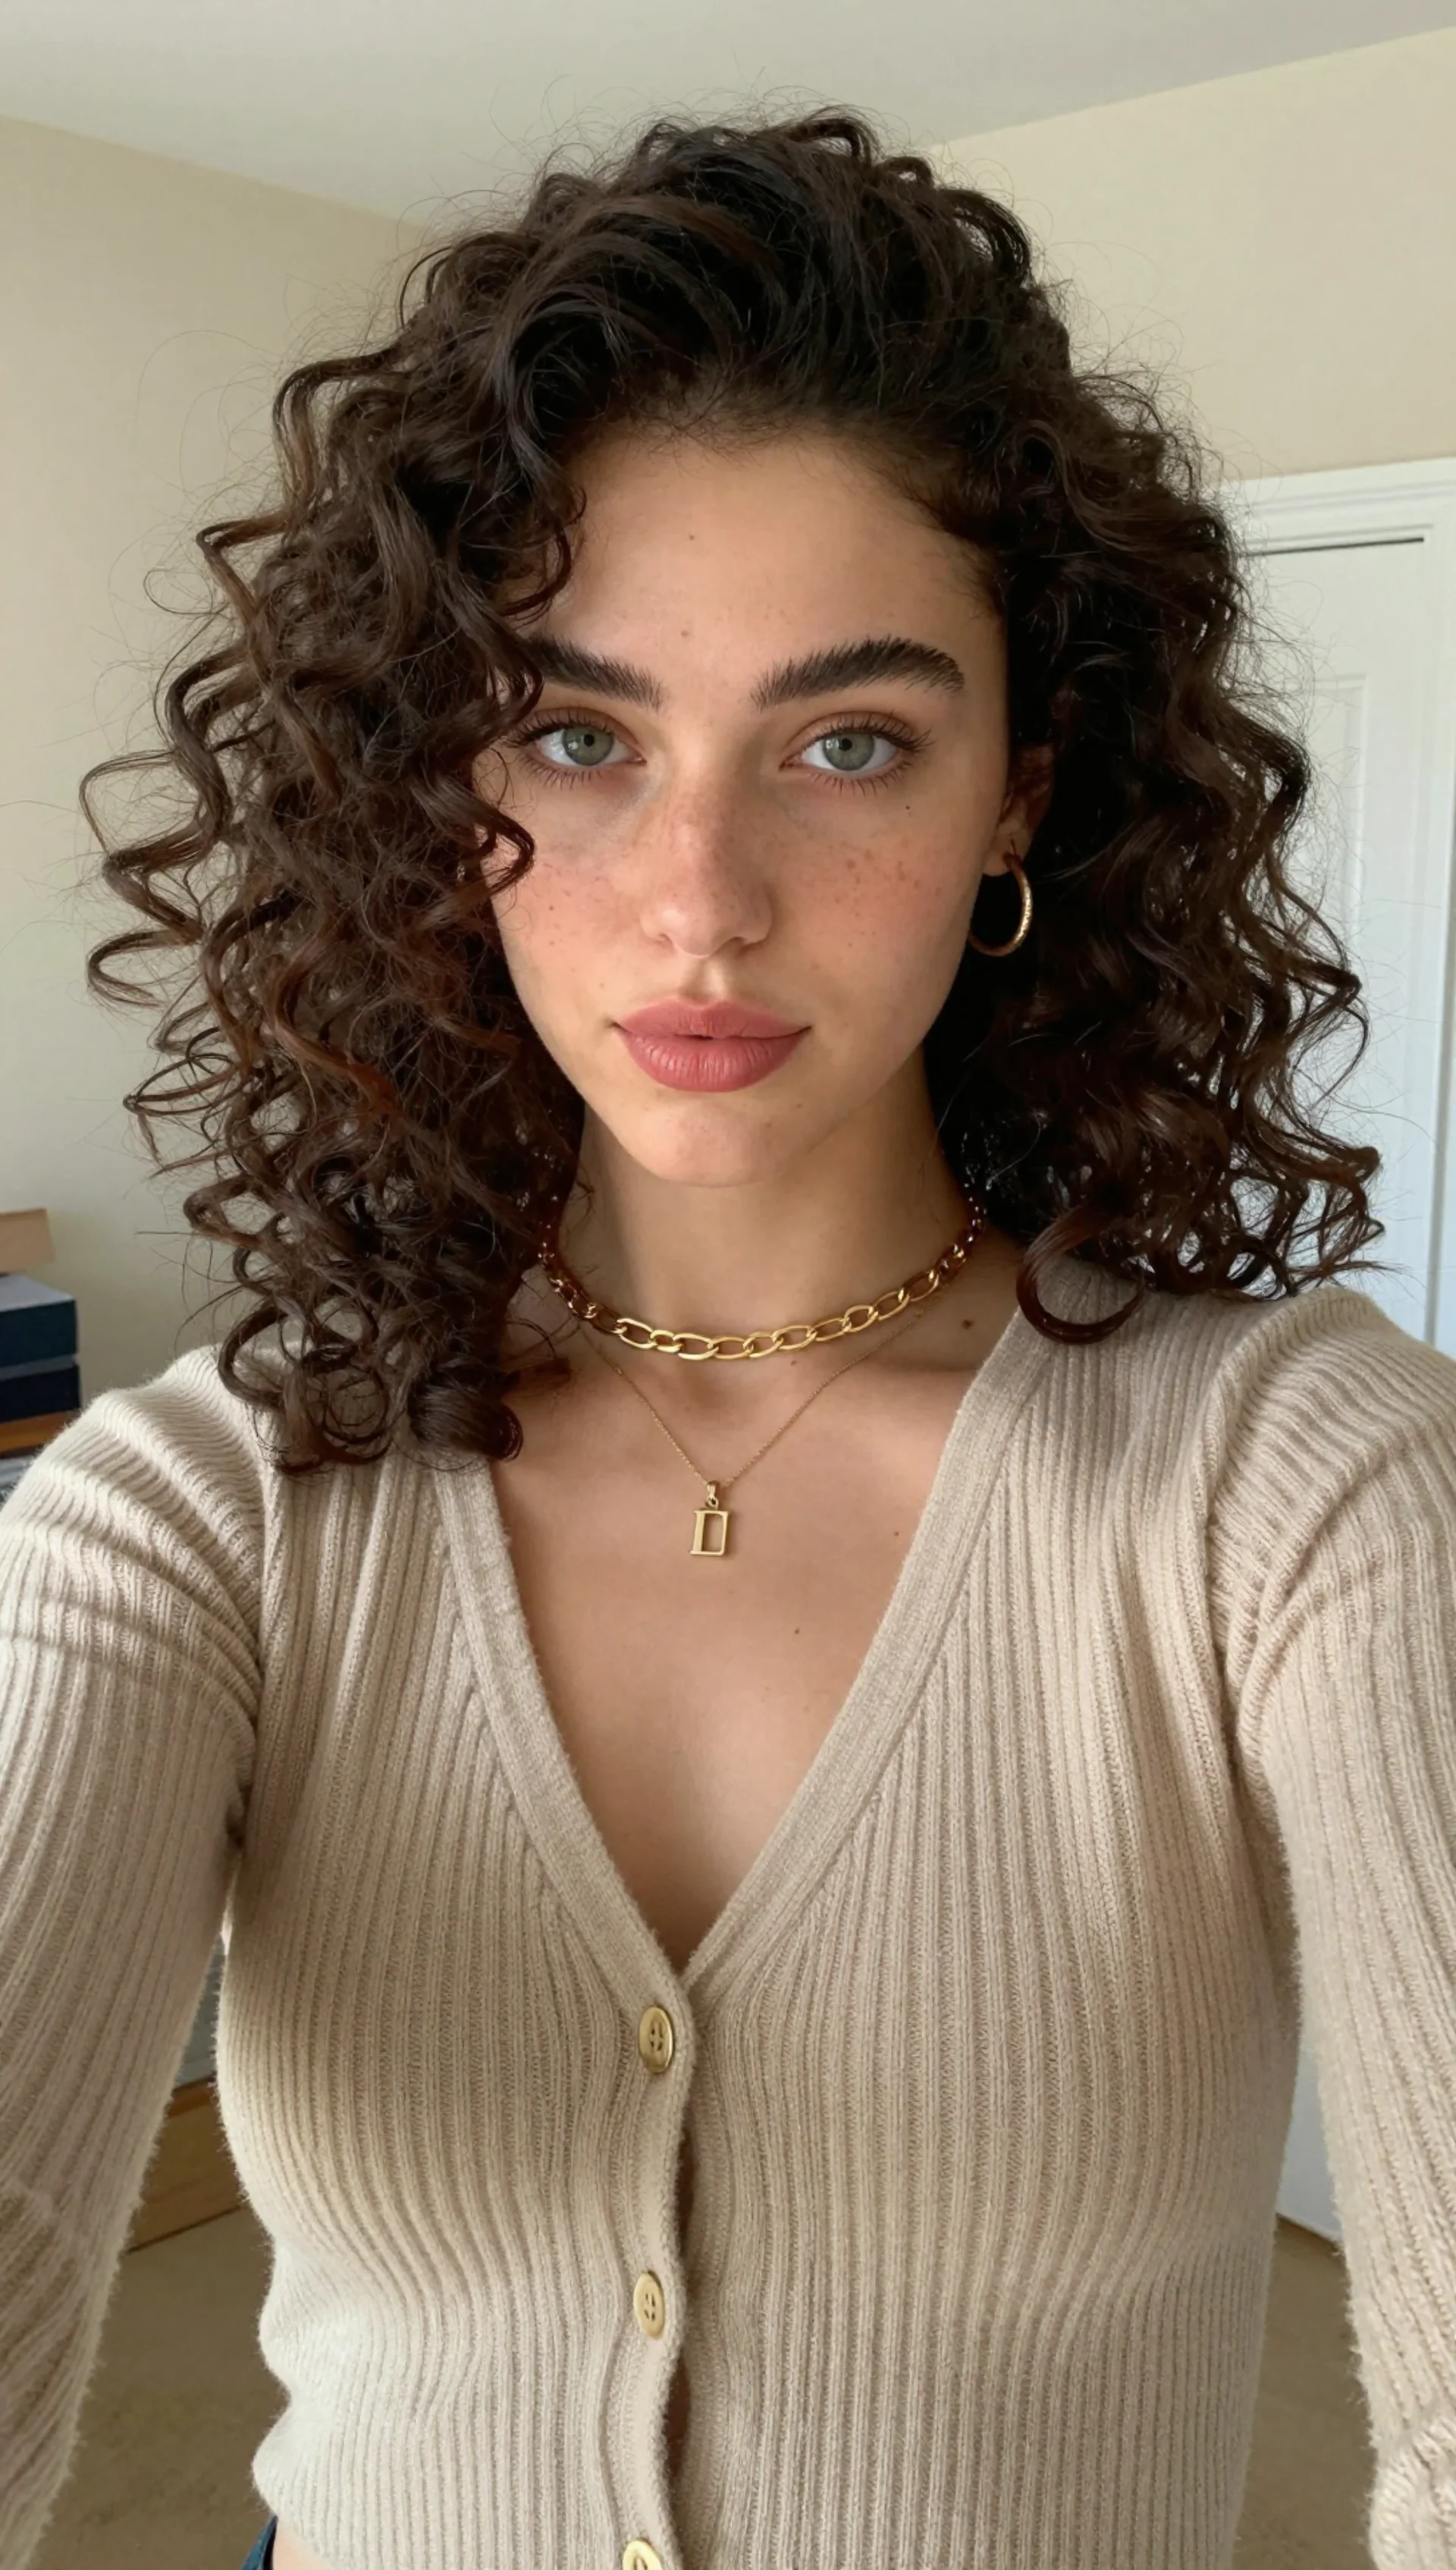
A portrait photo. Any clear photo where the face is visible. Requirements:
- Face clearly visible, preferably front-facing
- Good lighting, minimal harsh shadows on the mouth
- At least 512px face width for sharp output
- Formats: JPG, PNG, WebP
An audio source. Three options:
- Upload existing audio — MP3, WAV, or M4A files
- Record directly — use your microphone in the browser
- Generate with AI — type text, generate a voice, and sync it
That's it. No video editing software, no coding, no plugins.
5.How It Works
Under the hood, the studio does three things in sequence, and understanding them helps you supply better inputs.
- Audio analysis. The system reads the audio track and identifies the phonemes — the individual speech sounds — along with their timing. Because it works from the actual sounds rather than the written text, it is language-agnostic; the same process handles English, Spanish, Japanese, or any other language.
- Facial mapping. It locates the face in your image (or each frame of your video in V2V mode), then maps the mouth, jaw, and surrounding muscles it will move. In multi-speaker scenes it can separate voices automatically (diarization) and assign each voice to the correct face.
- Frame generation. It renders the video frames with lip positions matched to each phoneme, plus subtle head and expression movement so the face does not look frozen. A standard clip completes in roughly 20–40 seconds at the default resolution.
The default output resolution is 852×480 (SD), which is optimized for fast processing and web delivery. Custom dimensions are available if you need a different aspect ratio, and you can run the finished clip through the video enhancer to upscale it for a sharper final file.
6.Step-by-Step Process
6.1Step 1: Choose Your Source Image
Open the Talking Avatar tool and upload your portrait.
For best results:
- Use a photo with the mouth in a neutral or slightly open position
- Avoid heavy makeup, face paint, or masks covering the mouth area
- Consistent lighting across the face produces more natural lip movements
- Photos where the subject looks directly at the camera work best
What also works:
- AI-generated portraits from the image generator
- Professional headshots
- Casual selfies with good lighting
- Illustrated or stylized characters (with clear facial features)
6.2Step 2: Prepare Your Audio
Option A: Upload a file. Drag and drop an audio file. Clean audio with minimal background noise produces the smoothest lip sync.
Option B: Generate speech. Type your script and use the voice generator to create natural-sounding speech. Choose from multiple voice styles, adjust speed and tone, and preview before syncing. The AI voice output is optimized for lip sync compatibility.
Option C: Record live. Click the microphone button and speak directly. The browser records your audio for immediate use.
Audio tips:
- Natural speaking pace works best — avoid reading too fast
- Clear enunciation helps phoneme mapping accuracy
- Pauses between sentences produce natural-looking video breaks
- Keep background noise minimal
6.3Step 3: Select Generation Mode
Single speaker: One face, one audio track. AI focuses processing on making that face look as natural as possible. Fastest generation time.
Multi-speaker: Multiple faces in frame, each synced to separate audio tracks. AI identifies individual faces and assigns corresponding audio. Takes slightly longer but creates realistic dialogue scenes. Multi-speaker mode supports up to 2 speakers, with two ways to handle the audio: automatic diarization, which separates the two voices from a single audio file, or manual mode, where you upload a separate audio file for each speaker.
Image vs. Video mode: If you are starting from a still photo, you are in Image Lip Sync. If you already have a video clip and want to change what the person is saying — for dubbing or a script swap — use Video Lip Sync Fix (V2V) instead and upload your existing clip along with the new audio.
6.4Step 4: Generate and Download
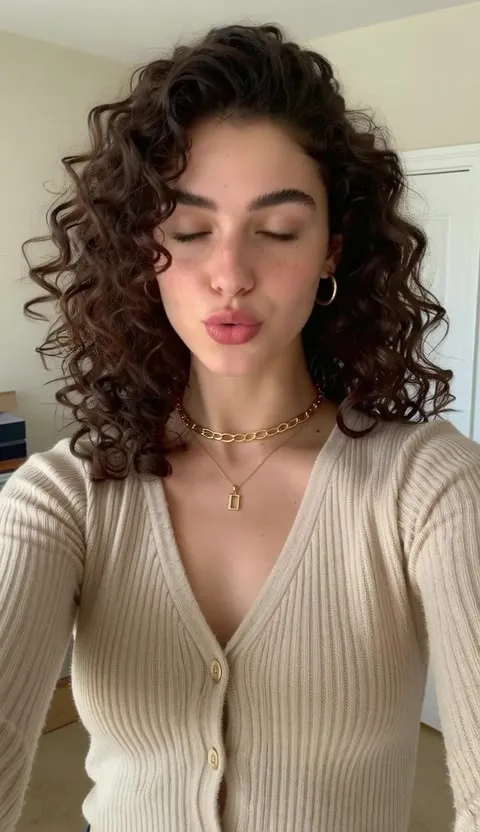
Click generate. Processing takes 20–90 seconds depending on audio length and mode. Preview the result in your browser, then download the video file.
Output specs:
- Resolution: 852×480 (SD) default, up to 1080p available
- Format: MP4
- Frame rate: 30fps
- Maximum length: 60 seconds per generation
- Full commercial rights included, no watermark
For content longer than 60 seconds, generate the segments individually and join them in any video editor. Because the same source photo produces a consistent-looking presenter, the seams between segments are usually invisible.
7.Who It's For
Talking avatars are not a niche tool — they solve a specific, expensive problem for very different people:
- Course creators and educators who need a consistent on-screen instructor but do not want to film every lesson.
- Marketers and small brands who want a spokesperson across product videos without booking talent for each shoot.
- Faceless-channel creators who prefer not to appear on camera but still want a talking-head presence.
- Corporate L&D and internal comms teams who need executive updates, onboarding clips, and policy announcements faster than a video shoot allows.
- Localization and dubbing teams who need lip movements to match a translated audio track without re-filming.
- E-commerce teams producing demo videos for many SKUs where filming a presenter for each product is impractical.
8.Use Case Examples
8.1Online Courses and Tutorials
Create instructor-present videos without filming. Upload a professional photo of the instructor, generate audio from the lesson script, and produce talking-head segments for each module. Update content by changing the script — no reshooting needed. AI-powered educational videos tend to hold attention better than static slides, and swapping audio lets you keep a course current without re-recording the presenter.
Workflow: Write script → Generate voice → Lip sync to instructor photo → Insert into course slides
8.2Marketing and Sales Videos
Product demos with a speaking presenter. Use the same spokesperson photo across all videos for brand consistency. Update messaging for different campaigns by swapping audio files. Because pricing is pay-per-use, you can A/B test two different presenter photos for the cost of two short generations rather than two photo shoots.
Workflow: Select spokesperson photo → Record or generate pitch audio → Generate talking video → Add to landing page or ad
8.3Internal Communications
CEO updates, onboarding videos, policy announcements. Generate from a professional headshot and recorded audio. Distribute faster than scheduling a video shoot. When the message changes, you re-generate from the same headshot with new audio instead of getting the executive back in front of a camera.
Workflow: Upload executive photo → Record audio message → Generate → Distribute to team
8.4Social Media Content
Short-form talking-head content for TikTok, Instagram Reels, YouTube Shorts. Create characters or personas that post regularly. Swap audio to respond to trends quickly. V2V mode also lets you repurpose an existing clip with fresh audio when a trend moves faster than you can film.
Workflow: Choose character photo → Generate trend-relevant audio → Lip sync → Post
8.5Multilingual Dubbing
Take an existing video and re-sync the mouth to a translated audio track using Video Lip Sync Fix (V2V) mode. This is how you localize a presentation, dub a product demo, or translate training content without the cost and turnaround of a full re-shoot. Because the sync works from the audio's actual sounds, it adapts to whatever language the new track is in.
Workflow: Upload existing video → Upload dubbed audio → Generate V2V lip sync → Publish per market
8.6Podcast Video Versions
Turn audio-only podcasts into video content for YouTube. Attach speaker photos to each voice and generate talking-head video for visual engagement. With two-speaker support and automatic diarization, a single interview file can drive a two-person talking scene.
Workflow: Upload speaker photos → Split podcast audio by speaker → Generate lip sync for each → Combine into video podcast
9.Comparison
If you are choosing between talking-avatar tools, the biggest practical differences are the pricing model (subscription vs. pay-per-use), whether you can use your own photo, and whether the tool supports multi-speaker and video-to-video re-syncing. Competitor prices below are their published rates; the Imagera column is expressed in credits since credit value varies by plan.
| Feature | Imagera | Hedra | Synthesia | HeyGen | D-ID |
|---|---|---|---|---|---|
| Pricing model | Pay-per-use (credits) | $8.33/mo (annual) | $29/mo | $29/mo | $5.90/mo |
| 10-second video cost | ~20 credits | From plan pool | From plan pool | From plan pool | From plan pool |
| Use your own photo | Yes | Yes | No (stock avatars) | No (stock avatars) | Yes |
| Multi-speaker mode | Yes (up to 2) | No | No | No | No |
| Auto speaker diarization | Yes | No | No | No | No |
| Video to Video (V2V) re-sync | Yes | No | No | No | No |
| Image to Video (I2V) | Yes | Yes | No | No | Yes |
| No subscription required | Yes | No | No | No | No |
| No watermark | Yes | Lower tiers add one | Yes | Yes | Lower tiers add one |
The honest takeaway: Synthesia and HeyGen are strong for polished corporate avatar video but limit you to stock avatars on entry tiers and require a monthly subscription. Hedra and D-ID are affordable but add watermarks on lower tiers and do not offer multi-speaker or V2V re-syncing. Imagera is the option that combines your own photo, multi-speaker scenes, video-to-video re-syncing, and pay-per-use pricing — best suited to creators who need occasional lip sync content rather than a daily production pipeline.
10.Tips for Best Results
- Use a clear, front-facing portrait. The sharper and more centered the face, the more accurately the AI can map the mouth. Three-quarter angles work, but straight-on is the safest.
- Feed it clean audio. Background music or room echo makes phoneme detection harder. Record in a quiet space or use a generated voice track for the cleanest input.
- Keep sentences short. Long, complex sentences produce continuous mouth movement that can look unnatural. Aim for 10–15 word sentences with brief pauses between them.
- Match the mouth's starting state. A photo with the mouth neutral or slightly open animates more naturally than a wide grin or a fully closed, pressed-lip expression.
- Test before you commit. Run a short 5–10 second clip first to confirm the timing and expression look right before generating a full-length piece. It costs a fraction of a full generation.
- Enhance last, not first. Generate at the default resolution, confirm the sync is good, then upscale the winner with the video enhancer. Enhancing a clip you are going to discard wastes credits.
11.Common Mistakes to Avoid
- Uploading a blurry or heavily filtered photo. Soft focus and heavy beauty filters blur the mouth region, which is exactly the part the AI needs to read.
- Covering the mouth. Masks, hands, microphones, or face paint over the lip area leave the model nothing to animate.
- Reading the script too fast. Rushed audio compresses phonemes together and makes the lip movement look mushy. A natural, unhurried pace syncs best.
- Skipping consent and disclosure. If you use a real person's likeness, get their permission, and disclose AI-generated content where platform rules require it. This is an ethics and compliance point, not an optional nicety.
- Trying to force one clip past 60 seconds. The per-generation ceiling is 60 seconds. Split longer content into segments and combine them rather than degrading quality by cramming.
- Generating at full length before testing. A quick short test catches timing and framing problems for a few credits instead of a full generation's worth.
12.Advanced Tips
12.1Combine with Other Imagera Tools
Generate the source image: Use the AI image generator to create a custom presenter or character. Then lip sync audio to your AI-generated face.

Generate the audio: Use the voice generator for text-to-speech, or the podcast generator for multi-voice discussions.

Enhance the output: Run the final video through the video enhancer to upscale to 4K or improve visual quality.
Full AI pipeline: Generate image → Generate voice → Lip sync → Enhance video. All within one platform, one subscription.
12.2Batch Production
For series content (weekly updates, course modules, episodic content), use the same source photo and batch-generate videos by swapping audio files. Consistent visual identity, varying content. This is the fastest way to build a recurring presenter or channel persona without re-shooting anything.
12.3Script Optimization
Keep sentences short for talking avatars. Long complex sentences produce continuous lip movement that can look unnatural. Break scripts into 10-15 word sentences with brief pauses. Writing for the ear rather than the page — contractions, simple clauses, and clear stops — also produces more natural-looking mouth movement.
13.Pricing
20 credits per standard lip sync generation. 25 credits for multi-speaker mode.
| Plan | Monthly Credits | Lip Sync Videos | Price |
|---|---|---|---|
| Starter | 400 | ~20 videos | $19.99/mo |
| Pro | 1,500 | ~75 videos | $49.99/mo |
| Business | 5,500 | ~275 videos | $199.99/mo |
Credits work across all Imagera tools. No separate subscription needed for lip sync. Because the same credit balance powers the image generator, voice generator, and video enhancer, you can run the entire produce-a-talking-video pipeline from one balance instead of paying for four separate services.
14.Common Questions
14.1Do I need coding skills to create talking avatar videos?
No coding required. The entire process is point-and-click in your browser — upload photo, add audio, click generate. No command line, no API integration, no software installation.
14.2Can I use an AI-generated face instead of a real photo?
Yes. Create a custom character or persona with the image generator, then lip sync any audio to it. Many creators use AI-generated characters to build recurring social media personas.
14.3How do I make the avatar look more natural?
Use high-quality source photos with good lighting, provide clean audio with natural pacing, and choose front-facing portraits. The AI handles lip movement, head dynamics, and facial expression — your job is providing quality inputs.
14.4Can I create multiple talking avatars for a dialogue?
Yes, using multi-speaker mode. Upload a photo with multiple visible faces (up to two), provide separate audio tracks for each speaker or let automatic diarization split a single file, and the AI syncs each face to its corresponding audio simultaneously.
14.5What happens if the audio is in a different language than expected?
AI lip sync works with any language. Phoneme mapping is language-agnostic — the system analyzes the actual sounds in the audio and generates matching lip positions regardless of language.
14.6Can I re-sync an existing video with new audio?
Yes. Use Video Lip Sync Fix (V2V) mode: upload your existing clip plus the new audio track, and the AI re-maps the mouth movements to match. This is the mode to use for dubbing, translating, or fixing audio that was recorded poorly on set.
14.7How long can a talking avatar video be?
Up to 60 seconds per generation at the default 852×480 resolution. For longer pieces, generate multiple segments from the same source photo and combine them in any video editor — the consistent presenter keeps the joins seamless.
14.8Is a talking avatar considered authentic content, and do I need to disclose it?
A talking avatar is clearly AI-generated content, not a real recording of the person saying those words. Treat it as such: get consent before using a real person's likeness, and add an AI-generated disclosure wherever the platform's guidelines call for one. Quality depends on your input image resolution and audio clarity, so a clear front-facing portrait and clean audio produce the most convincing — and honestly labeled — result.
15.Start Creating Talking Avatar Videos
Upload a photo. Add audio. Get a talking video in under a minute.
No coding. No download. No editing software. From $19.99/month.
Related: AI Lip Sync Generator | Hedra vs Imagera Comparison | AI Lip Sync for Social Media | Talking Avatar Generator
16.Deeper guide (practical production)
17.See it in action — real Imagera output
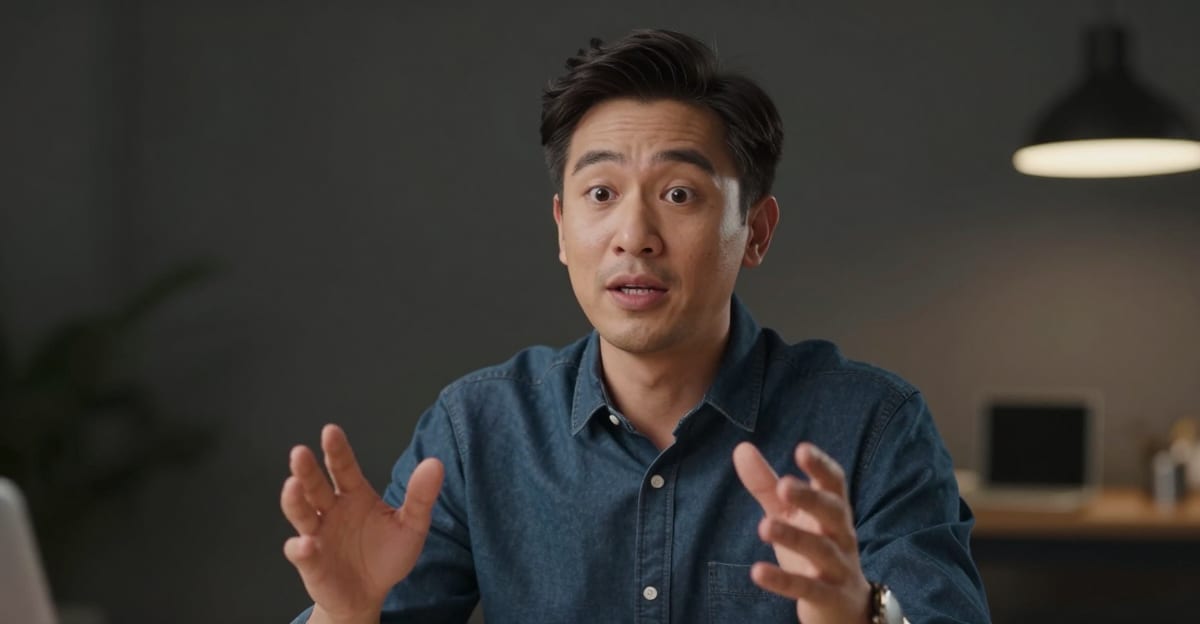
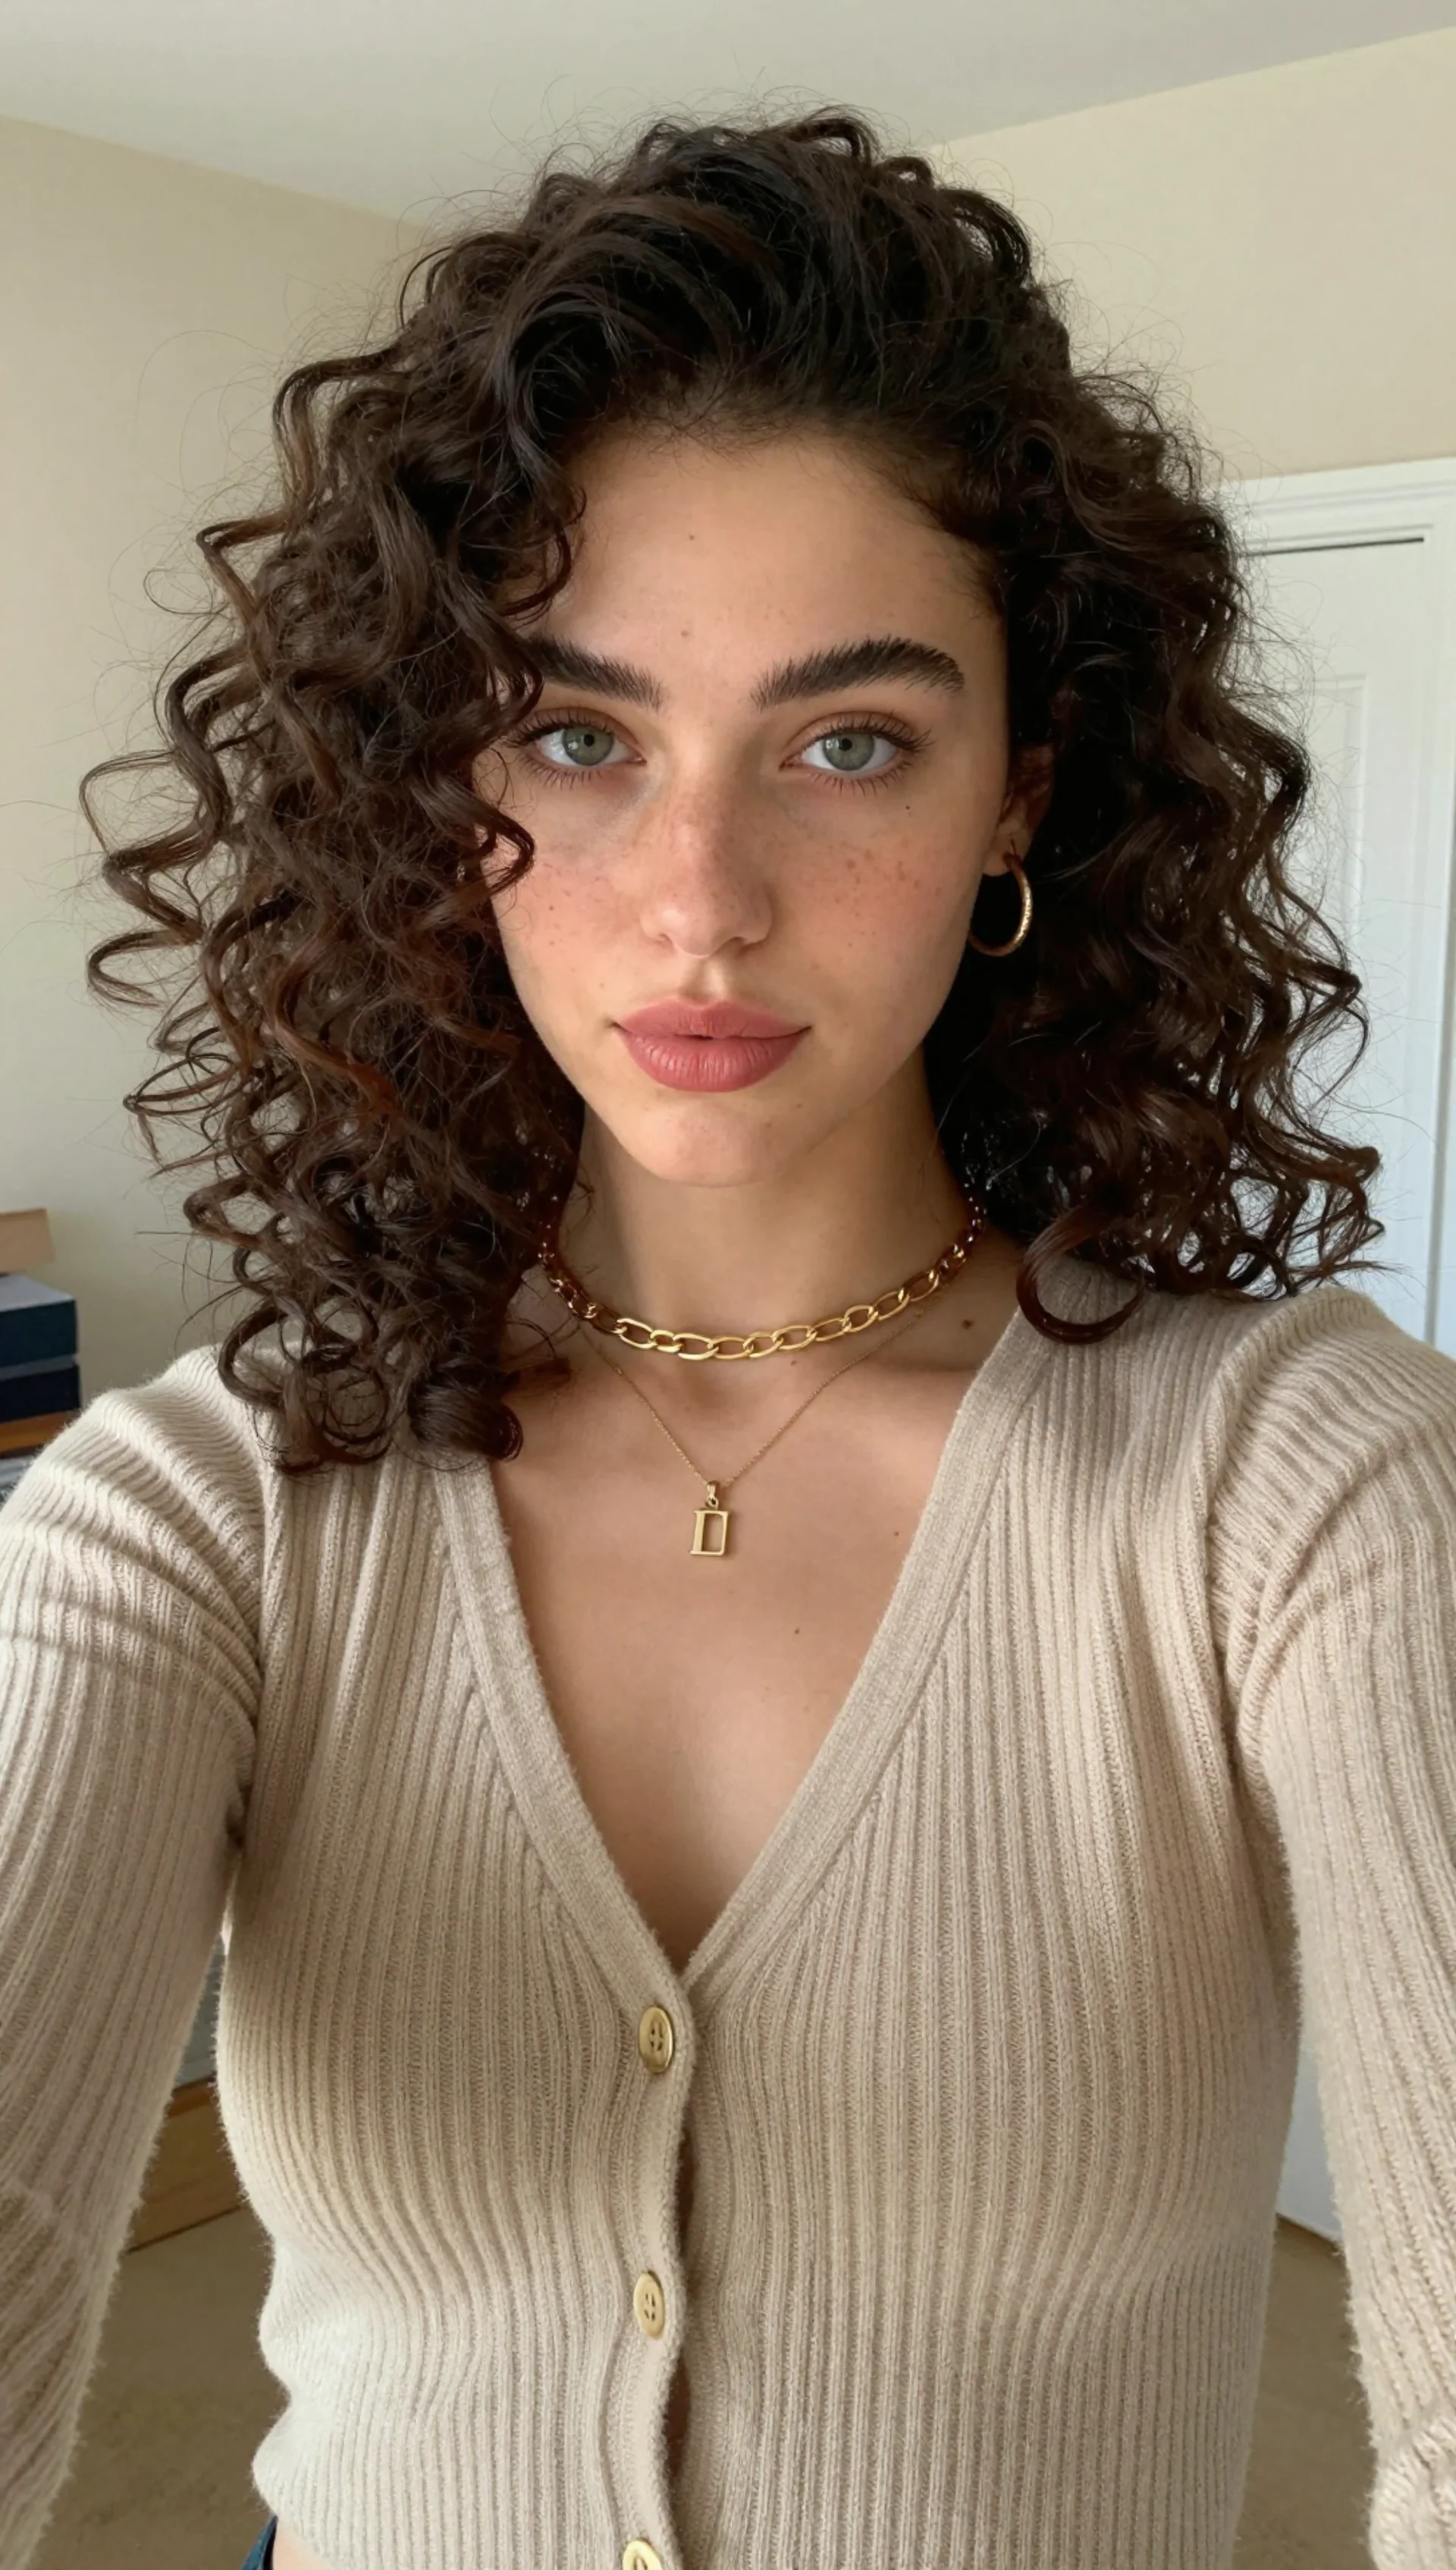
These are real, unedited results from the Imagera talking avatar — the exact tool this guide covers.
18.Quick start (high-intent)
- Open the matching Imagera product from the links in this post.
- Upload a high-quality master.
- Describe the change in plain English.
- Confirm credits shown in studio.
- Review, then publish only winners.
Pricing · All tools · Image Editor · Product Reel Maker · AI Headshot