How to Turn a Zoom Webinar Into LinkedIn Video Clips
Your last webinar probably contained three to five ideas worth clipping. A sharp framework that your audience hadn't heard before. A specific number from your market that no one else cited. A customer story that made the abstract concrete. A contrarian take that reframed the conventional wisdom in your space.

None of those moments are reaching the people who weren't in the room — because they lived and died inside a 90-minute Zoom recording that most registrants never finished watching.
LinkedIn's vertical video feed has changed the math on this. A single 45-second clip from that webinar, formatted correctly and uploaded natively, now has a realistic path to tens of thousands of impressions from a professional audience that is actively looking for exactly this kind of content. The catch is that most guides on "repurposing your webinar" are either too generic (just "turn it into shorter clips") or too platform-agnostic to be useful for LinkedIn specifically.
This guide covers the LinkedIn-specific details that actually matter: the right aspect ratio, the correct upload method, the optimal clip length for B2B, how to burn captions that survive the mute-autoplay default, and how to systematically identify which moments from your recording are worth clipping in the first place.
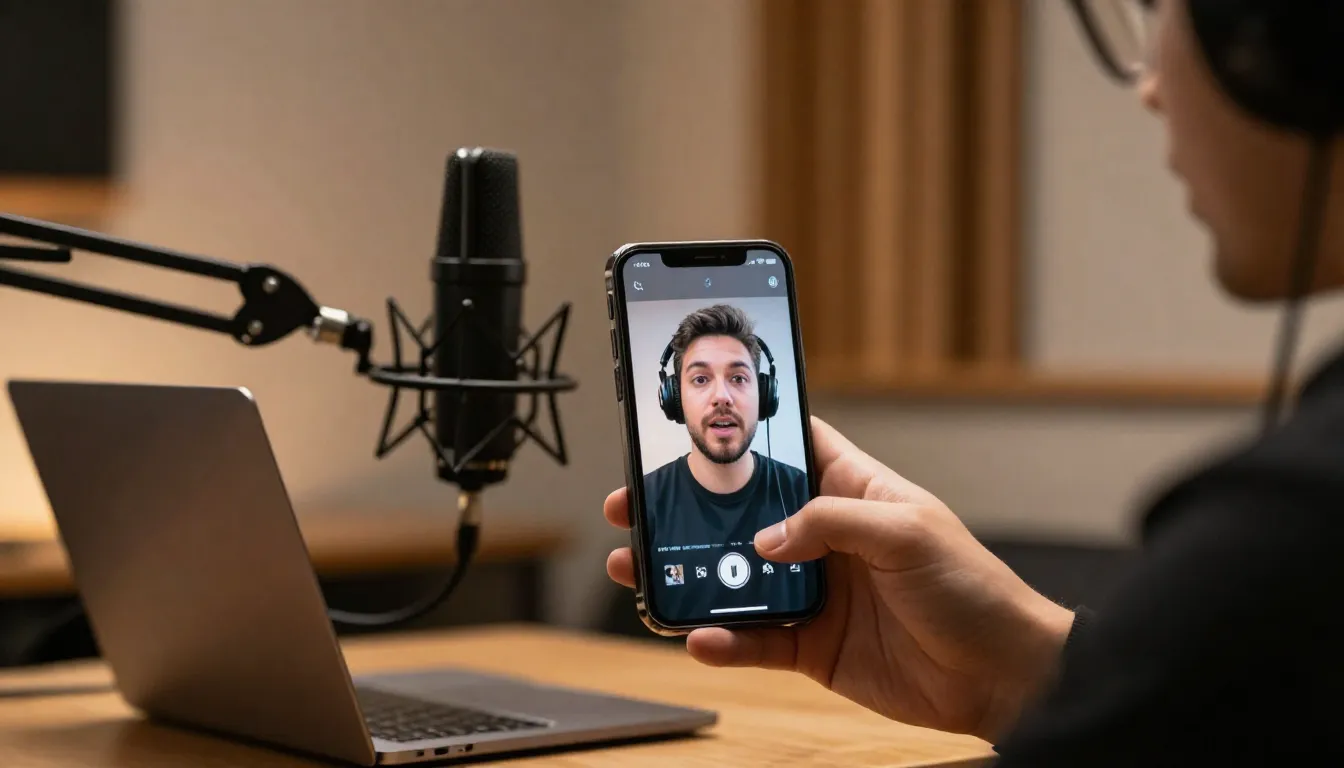
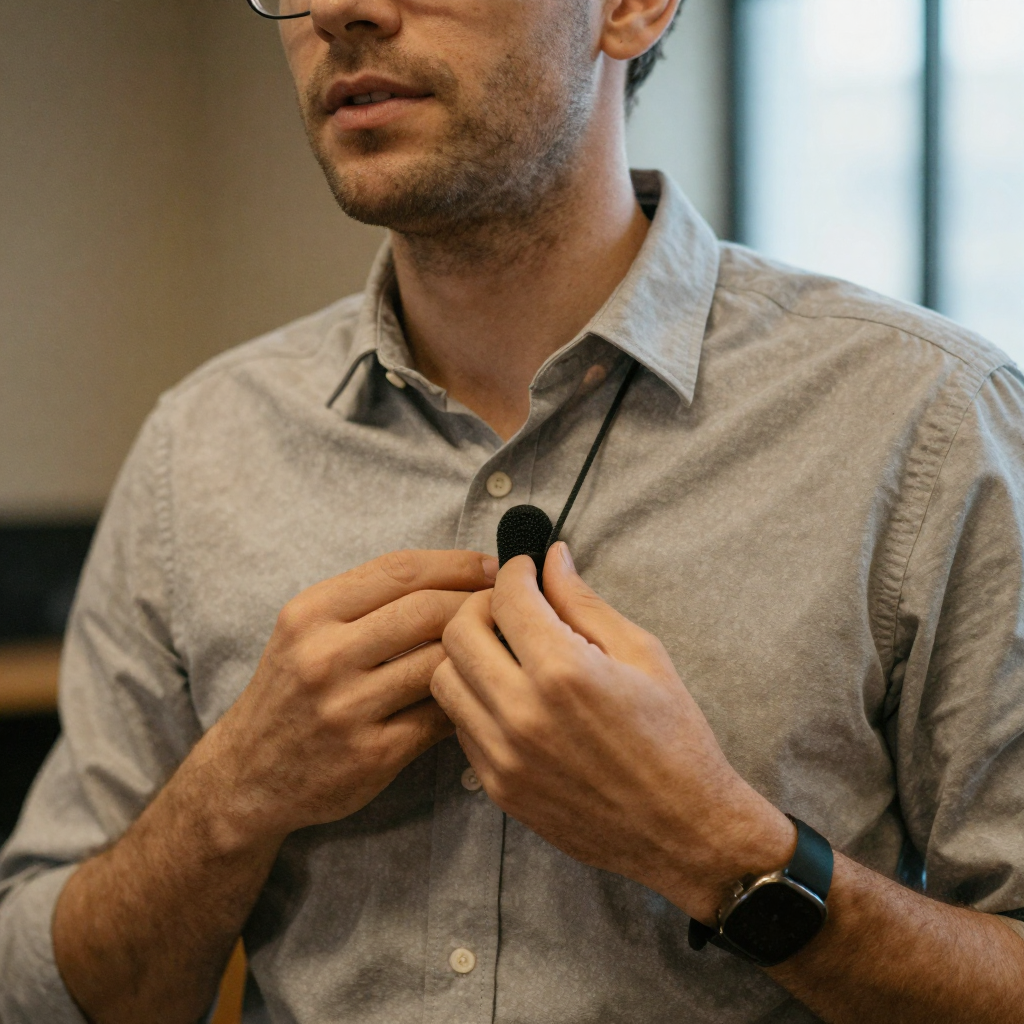
A presenter talking to camera — the kind of webinar moment you clip and crop for LinkedIn.
Quick answer: Yes. With Imagera you upload one Zoom webinar recording and auto-cut it into vertical LinkedIn clips with captions in minutes, no editor required. A single 60-minute session can yield 8-12 ready-to-post clips sized for the LinkedIn feed.
1.How do you turn a Zoom webinar into LinkedIn clips with Imagera?
Export your Zoom recording, upload it to Imagera, and the AI scans the full timeline to find 8-12 high-retention moments, then reframes each to a 9:16 vertical crop with burned-in captions. Most clips run under 60 seconds, a length well suited to the LinkedIn feed, and you can upscale to 4K, 8K, or 16K before download. A 60-minute webinar typically processes in about 5-10 minutes.
2.Why do short LinkedIn clips outperform a full webinar replay?
A 45-minute replay asks for a big commitment, while 30-60 second clips fit a fast-scrolling feed and can be posted many times from one recording. Native video that plays in-feed tends to reach further than an off-platform link, so more people watch your clip without leaving the app. Captions matter too, since much feed video is watched on mute, and Imagera burns them in for you automatically.
3.What aspect ratio should LinkedIn video be?
LinkedIn supports 16:9, 1:1, 4:5, and 9:16 aspect ratios for native video. For repurposed webinar content published as organic posts in 2026, vertical 9:16 (1080 x 1920 pixels) is the format that maximises feed real estate and qualifies for LinkedIn's dedicated vertical video tab — giving your clip two distribution surfaces instead of one.
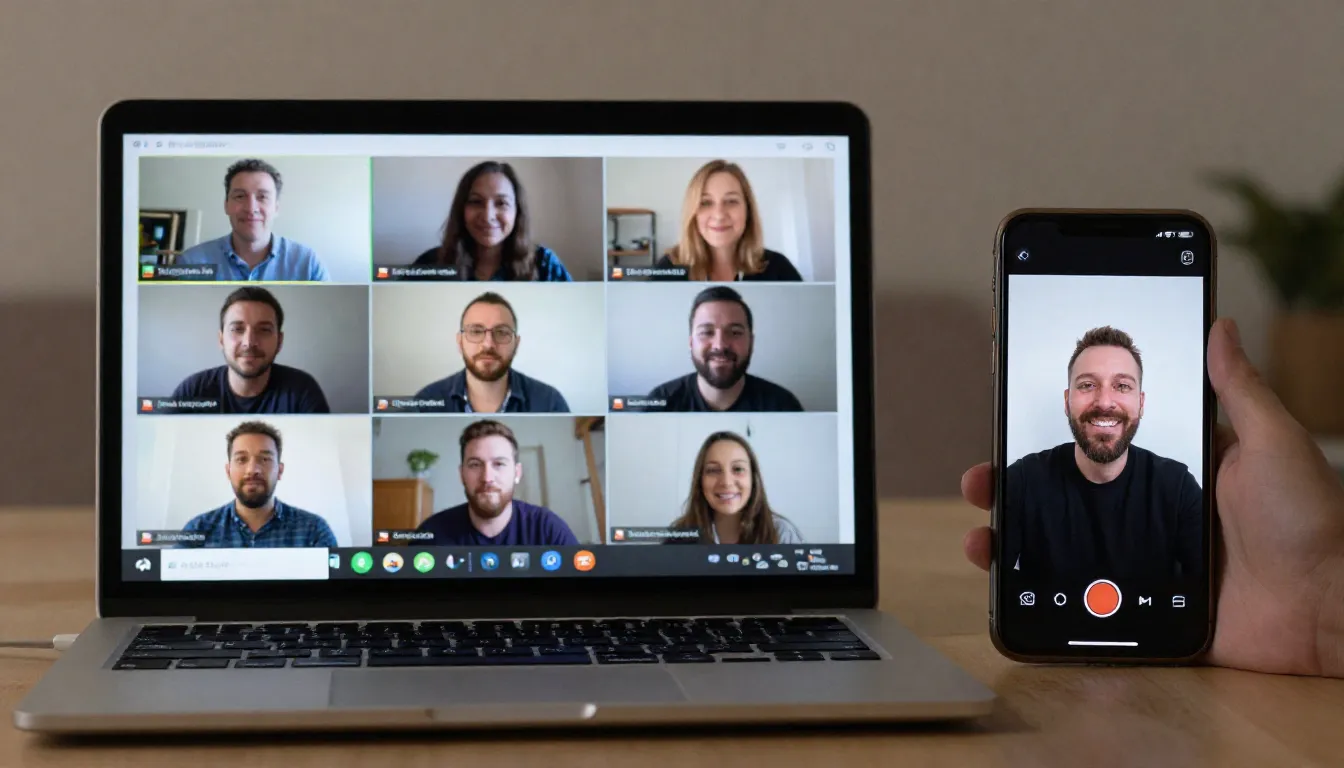
Zoom records webinars in landscape 16:9 by default — a wide rectangle built for a desktop screen. That format works fine as a recording link. As a LinkedIn post, it occupies a narrow strip in the feed compared to the vertical alternative.
When you upload a 9:16 vertical clip, LinkedIn displays it full-width on mobile, which is how most LinkedIn users consume their feed between meetings. More importantly, vertical video is the format surfaced in LinkedIn's dedicated video discovery tab, which operates like a separate TikTok-style feed that landscape video does not appear in. A 9:16 clip therefore has two routes to organic reach: the standard feed and the video tab.
The practical implication for webinar content is that you cannot simply upload your Zoom recording as-is. Every clip needs to be reframed to vertical before posting. That means either cropping to the speaker's face and torso (which works well for talking-head webinar moments) or using a speaker-tracking crop that follows the active speaker automatically.
LinkedIn's full native video spec summary:
| Spec | Value |
|---|---|
| Supported aspect ratios | 16:9, 1:1, 4:5, 9:16 |
| Recommended for organic reach | 9:16 (1080 x 1920 px) |
| Maximum file size | 5 GB (native organic) |
| Maximum duration | 10 min (mobile upload) / 15 min (desktop upload) |
| Minimum duration | 3 seconds |
| Accepted formats | MP4, MOV |
| Recommended codec | H.264 video / AAC audio |
| Captions | Auto-generated available; burned-in recommended |
4.How long should a LinkedIn video clip be?
For B2B webinar clips on LinkedIn, 30 to 90 seconds is the range that balances completion rate with sufficient depth to communicate a real idea. Clips under 30 seconds see the highest completion rates but may not fully land a business concept. Clips over 90 seconds see significant drop-off. The 45-60 second range is the practical B2B sweet spot.
LinkedIn's own data and third-party research consistently point to short video as the format that performs in the feed. Videos under 30 seconds show substantially higher completion rates compared to longer formats. That said, B2B content is different from consumer entertainment — your audience is watching to learn something or to evaluate whether you know your subject. A 20-second clip that makes one clean point is good. A 45-second clip that explains a framework, gives an example, and closes with an implication is often better because it demonstrates actual depth.
The practical guidance by clip type:
- Data point or statistic with context: 20-35 seconds. State the number, explain why it matters, and name the implication for the viewer's business. Anything shorter feels like trivia; anything longer dilutes the punch.
- Framework or methodology: 45-75 seconds. Frameworks need enough time to have three named components or a before/after comparison. Under 30 seconds, a framework sounds like a slogan.
- Contrarian take: 30-60 seconds. State the conventional wisdom, challenge it, and give your one-sentence alternative. Provocative ideas benefit from a slightly longer runway so they don't read as glib.
- Customer story: 60-90 seconds. The minimum viable customer story has a situation, a specific action, and a measurable result. You cannot compress that below 45 seconds without losing the result, which is the only part the audience actually cares about.
- Process walkthrough: 60-90 seconds. Step-by-step content needs to move at a pace where the viewer can track each step. This is the format where going slightly longer is worth it.
For Imagera's AI Video to Reels tool, you can select 15, 30, or 60-second clip lengths at the point of processing, so you can generate multiple length variants from the same source moment and test which performs better for your audience.
5.Should you upload natively to LinkedIn or share a link?
Upload natively. Sharing a YouTube or Vimeo link does not give you autoplay, in-feed captions, or watch-time signals — all of which the LinkedIn algorithm uses to determine distribution. Research on the LinkedIn algorithm consistently shows native video receives substantially more organic reach than an externally linked video, with some analyses putting the difference at 3-5x or higher.
This is one of the most consequential decisions in the entire workflow, and it is frequently ignored because sharing a YouTube link feels faster. Here is what actually changes between the two approaches:
Autoplay. Native LinkedIn video autoplays on mute as a user scrolls past it. A YouTube link shows a static thumbnail with a play button. The viewer has to deliberately click and leave LinkedIn to watch it. Most do not. Autoplay means your clip starts communicating the moment it enters the viewport — before the viewer has made any decision about whether to engage.
In-feed captions. Native video supports captions that display inside the player as the video plays. Since the majority of LinkedIn video is watched without sound (autoplay starts on mute, and most viewing happens in office environments), captions are not optional — they are the primary communication channel for a muted watch. A YouTube link gets none of this.
Watch-time signals. LinkedIn's algorithm uses how long people watch a given video as a quality signal for distribution. When a viewer watches your native upload, LinkedIn captures that signal. When they click a YouTube link and watch the same video, LinkedIn captures nothing — they have left the platform.
Video tab eligibility. LinkedIn's dedicated video discovery tab (vertical video feed) is only available to natively uploaded content. A link share is ineligible regardless of format.
The practical conclusion: Download your Zoom recording as an MP4, process your clips, and upload each one directly as a native LinkedIn post. The extra two minutes per clip is not optional if reach is the objective.
6.How do you pick the best moments from a webinar?
The moments that make the best B2B LinkedIn clips share four properties: they are self-contained (no setup from a previous slide required), they are specific (a named framework, a real number, a named company or outcome), they deliver a clear takeaway in under 90 seconds, and they create a reason for the viewer to think or act differently. Frameworks, contrarian takes, specific data points, and customer stories reliably pass all four tests.
| Moment type | What to search the transcript for | Why it clips well |
|---|---|---|
| Named framework | "three steps", "the X model", "the principle is" | Gives viewers a reusable mental model, not just a fact |
| Contrarian take | "most people think", "the real problem is", "instead" | Validates the viewer's frustration — high share intent |
| Data point + context | a %, timeline or $ figure with a comparison | A number plus an implication reads as insight, not trivia |
| Customer story | a named company, "one of our customers", an outcome | Concrete proof beats abstract claims for B2B trust |
| Definitional reframe | "what people call X is really Y" | Reframes a familiar term — sparks comments and saves |
Webinar recordings are full of moments that fail one or more of these tests. A good facilitator transition ("Now let's move on to our next segment...") is important live but useless as a clip. A panel discussion where four people take turns agreeing with each other feels collegial in the room but generates no intellectual tension in a feed. A slide-heavy explanation that requires the viewer to see the slide to understand the speaker is not extractable as a talking-head clip.
Here is how to audit your recording for clip-worthy moments without watching all 90 minutes every time:
Use the transcript. Zoom cloud recordings automatically generate a transcript. Download it. Search for your own signal words: the name of any framework you introduced, any specific number you cited (percentages, timelines, dollar amounts), the phrase "the real problem is" or "most people think" (setup for a contrarian take), and the name of any customer you referenced. Each of these is a likely clip candidate.
Category 1: Named frameworks. If you introduced a three-step process, a 2x2 matrix, or a named principle, that is a clip. Frameworks are shareable because they give the viewer a mental model to keep — not just a piece of information. The clip works if it names the framework, explains each component briefly, and closes with when to use it.
Category 2: Contrarian takes. "Most teams approach this by doing X. The problem is Y. The move that actually works is Z." This structure is highly shareable because it validates the viewer's experience of X failing, which creates a feeling of being understood. The best contrarian clips from webinars tend to come from the Q&A section, where the speaker is responding without a script.
Category 3: Specific data points with context. A number by itself is trivia. A number plus a comparison plus an implication is a clip. "Our average customer reduces onboarding time by 40%. That sounds good until you realise the industry average is 15% — so the question is what the top quartile is doing differently." That is a clip. "Our customers are happy" is not.
Category 4: Customer stories with results. A customer story clips well if it names the problem (not vaguely, but specifically — "they were losing 30% of leads at the proposal stage"), names what changed, and states the result with a real number. If your webinar included a case study panel, the moment where the customer names their specific result is often the best 45 seconds in the entire recording.
Category 5: Definitions that reframe. If you defined a commonly misunderstood term in a way that makes the viewer reconsider their assumptions, that is a clip. "Everyone calls this a sales problem. It's not. It's a discovery problem masquerading as a closing problem." Definitional reframes travel well because they are memorable and attributable.
7.How to turn a Zoom webinar into LinkedIn clips, step by step
This is the full workflow, from a raw Zoom cloud recording to a published LinkedIn post.

Step 1: Download your Zoom cloud recording as an MP4. Log in to the Zoom web portal at zoom.us. Navigate to Recording and Transcripts in the left sidebar, then select the Cloud Recordings tab. Locate your webinar, click the download icon next to the video file, and save the MP4. Zoom also provides a transcript in VTT format — download that too. Note: Zoom deletes cloud recordings after 30 days by default, so do this promptly. File sizes for a typical 60-90 minute webinar will range from 500 MB to several GB depending on your video quality settings.
Step 2: Review the transcript for clip candidates. Open the VTT transcript in any text editor. Scan for your signal words from the categories above: framework names, percentages, customer names, phrases like "the problem is" or "most people think." Mark each timestamp. You are looking for 8-15 candidates from a 90-minute webinar. Not all will survive the next step.
Step 3: Watch each candidate moment in context. For each timestamp, watch 10 seconds before and 10 seconds after the marked moment. You are confirming three things: (a) the moment is self-contained without requiring the viewer to see a slide, (b) there is a clear opening sentence that works as a hook without setup, and (c) the moment concludes with a clear landing rather than trailing off mid-thought. Discard any candidates that fail these three checks. You should be left with 3-8 strong candidates.
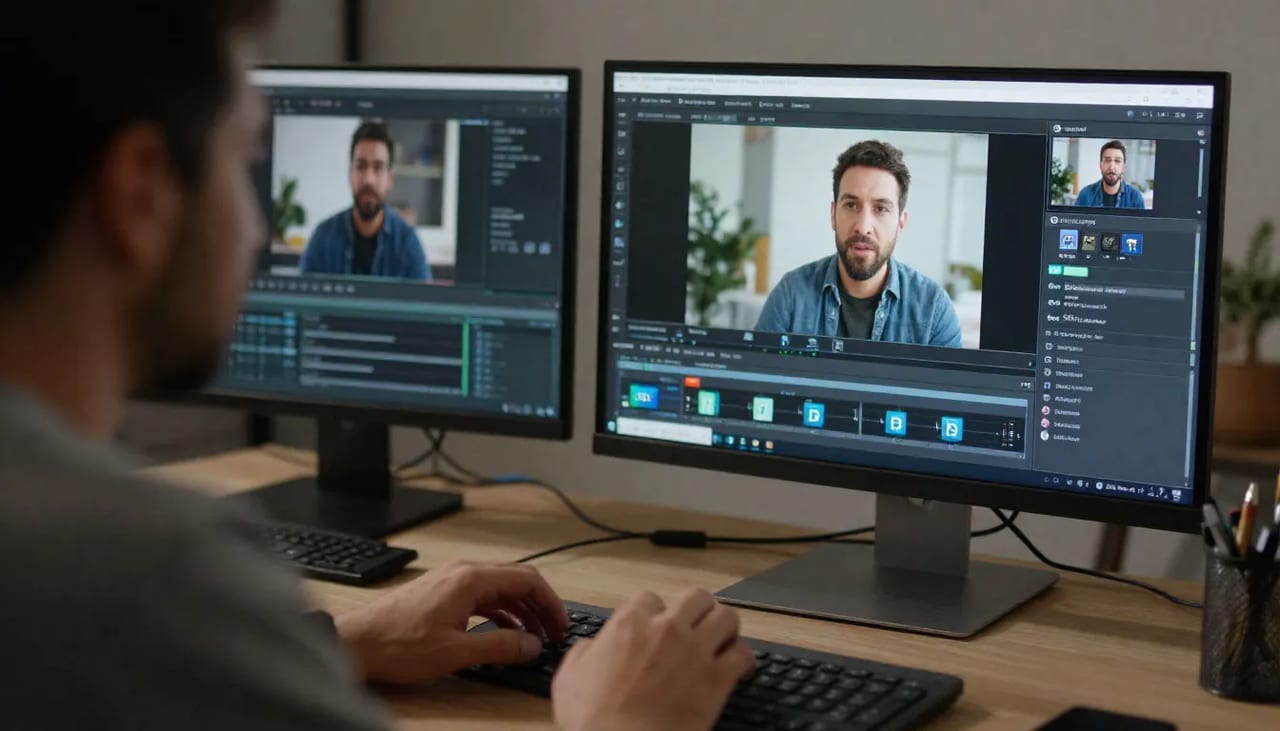
Step 4: Upload the full recording to Imagera's AI Video to Reels. Go to AI Video to Reels and upload your MP4 (up to 500 MB — if your recording is larger, trim to the relevant sections first in any basic video editor). Select your preferred clip count (3, 5, 8, or 10 clips) and target clip length (15, 30, or 60 seconds). The AI transcribes the recording, identifies the most self-contained and high-value moments, crops each to vertical 9:16 with active-speaker tracking, burns word-synced captions into each clip, and adds a hook to the opening frame. You receive each clip as a ready-to-post file with commercial rights included.
Step 5: Review each clip before posting. Watch each clip with the sound off first — this simulates how most LinkedIn users will experience it. Check that the captions are accurate and readable, that the hook on the first frame creates a reason to keep watching, and that the clip makes sense without the rest of the webinar as context. Watch it once with sound to verify the audio quality is acceptable (Zoom recordings from webinars with a dedicated microphone are usually fine; phone audio from a participant-led meeting may need attention).
Step 6: Write a native post for each clip. The video is not the whole post. LinkedIn distributes posts based on engagement signals, and the text above the "See more" fold is what determines whether someone clicks through on a post. For each clip, write 2-4 lines that (a) name the specific claim or framework in the clip, (b) give a reason to watch ("the part at 0:30 surprised every founder in the room"), and (c) end with a direct question or point of view to seed the comment thread.
Step 7: Upload natively and disable auto-captions. Upload the clip file directly to a LinkedIn post — not as a YouTube link. Because your clips already have burned-in captions, turn LinkedIn's auto-captions off before publishing. Leaving both on creates a doubled-caption experience that is visually cluttered and hard to read. On the upload screen, find the captions toggle and disable it.
Step 8: Post on a consistent schedule, not all at once. Spacing clips 24-48 hours apart gives each one time to generate its own engagement signals before the algorithm moves on. Posting all five clips in a single day competes for the same audience and resets the algorithm's distribution for each post before the prior one has been fully surfaced.
8.Caption format that actually works on LinkedIn
Approximately 85% of LinkedIn video is watched without sound — autoplay begins on mute and most viewing happens in office or commute contexts. Captions are not an accessibility feature to add at the end. They are the primary communication layer.
Burned-in captions (text encoded directly into the video frames, visible from frame one regardless of the viewer's settings) outperform LinkedIn's auto-generated closed captions for webinar clips because they are present the instant autoplay starts and require no viewer action. LinkedIn's auto-caption option is available but the quality on technical B2B language — specific product names, industry terminology, acronyms — is inconsistent, and the editing interface in LinkedIn is not designed for efficient correction.
Format guidance for webinar clips:
- One to two words per caption block. Fast, word-by-word or two-word caption timing keeps the eye tracking with the speaker and creates a reading rhythm that works on mute. Long-sentence captions ask the viewer to read a paragraph while watching a face, which results in choosing one.
- High contrast. White text with a dark outline or on a semi-transparent band. Webinar footage backgrounds are unpredictable — speaker home offices, branded virtual backgrounds, boardrooms — so captions that rely on background contrast alone will fail on some recordings.
- Horizontal safe zone. Keep captions in the middle third of the frame vertically. LinkedIn's video interface overlays controls at the top and bottom of the player, and mobile status bars can cover the very top and bottom edges.
- Highlight emphasis words. Bold or colour-accent the key word in each phrase — the number, the framework name, the verb. This lets the muted viewer track the argument even if they are only glancing at the screen.
Imagera's AI Video to Reels burns word-synced captions automatically, matched to the speaker's timing, so each word appears as it is spoken rather than displaying as a static block for the full sentence duration.
9.Why webinar content specifically outperforms scripted LinkedIn video
Most LinkedIn video content is produced specifically for the platform — carefully scripted, filmed in good lighting, with a clear angle prepared in advance. That content has a ceiling: it looks polished but the speakers are performing, not speaking, and audiences can tell.
Webinar footage is the opposite. The speaker is genuinely teaching a room of people who paid to attend. They are in expert mode, not marketing mode. The questions are real. The tangents are unscripted. The moments where a speaker pauses to think before answering a hard question from an attendee are often more credible and more watchable than any scripted piece of the same length.
The formatting challenge (landscape to vertical, no captions, too long, not self-contained) is what prevents webinar footage from performing. When that challenge is resolved — the right aspect ratio, the right length, the right captions, native upload — webinar footage can outperform scripted content because authenticity is the scarcest resource on LinkedIn's feed.
This is the same principle that makes well-edited podcast clips outperform corporate-produced brand videos on most professional social platforms. The production signals competence. The raw expertise signals credibility. Webinars have both.
For teams running regular webinars — monthly thought leadership sessions, customer education series, partner events — a single webinar becomes 5-10 LinkedIn posts when processed correctly. A quarterly webinar programme becomes a consistent weekly LinkedIn video cadence, drawn entirely from footage you already have.
If you are also interested in creating video content from still images or photos from events, see our guide to making reels of yourself from photos and our overview of how to turn photos into cinematic reels for those workflows.
10.The compound return on a single webinar
Most B2B organisations run webinars as one-time events: live, then a recording link that 12% of registrants ever open, and then nothing. The content investment — speaker preparation, event promotion, platform costs, attendee coordination — is made once and yields one use.
The vertical clip workflow changes the return profile. One 60-minute webinar becomes 5-8 LinkedIn posts, posted over two to three weeks, each one reaching a professional audience that did not register for the original event. The same content compound over time instead of depreciating after the recording link expires.
The technical barrier to this has historically been the time cost: download the recording, find the moments, crop each clip, add captions, resize, repeat. For teams without a dedicated video editor, that cost was prohibitive enough that the clips never got made.
AI Video to Reels compresses that workflow into a single upload. Drop your Zoom recording MP4 — up to 500 MB — select your clip count and target length, and receive processed vertical clips with word-synced captions and speaker-tracking crops. Each clip includes full commercial rights. Credits are charged per clip, so you only pay for what you use.
If your organisation is running webinars and not clipping them for LinkedIn, you are making the content investment and skipping the return.
Imagera AI is a pay-first creative suite. Credits are purchased in advance and shown before each generation. There are no subscriptions required to start.