Quick answer: With Imagera you upscale an image to 16K by uploading your file and choosing the 16x AI upscale preset, which reconstructs missing detail and typically finishes in under 60 seconds.
1.How does AI upscale an image all the way to 16K resolution?
Imagera's 16K upscaler uses AI to add new detail rather than just stretching pixels, taking a 1080p or 4K source up to roughly 15360 pixels wide. It sharpens edges, textures, and faces in a single pass, usually finishing in under 60 seconds so a batch of 10 images clears in a few minutes. You can step up through 4K, 8K, and 16K depending on how much resolution you need.
2.What kind of source image gives the best 16K upscaling results?
A sharp, well-lit source at 2K to 4K upscales cleanest, since the AI has more real detail to work from than a blurry 720p file. Even so, Imagera can recover noticeably crisper results from low-resolution inputs. As a rule, output quality is limited by the detail present in the original, so starting near 4K tends to beat upscaling a soft 480p photo. If your source is small, run it once, review the result, then decide whether a higher target adds value.
3.The Direct Answer First
You can upscale an image to 16K resolution using an AI image upscaler online — no Photoshop, no plugins, no desktop software. Imagera's AI image upscaler takes your existing photo, runs it through a deep-learning model that synthesizes genuine new detail, and delivers an output file large enough for billboard printing, large-format gallery work, or aggressive detail crops. The entire process takes a few minutes from upload to download.
The key difference from ordinary resizing: AI upscaling does not just stretch pixels. It analyzes textures, edges, and patterns in your image and reconstructs what the missing detail would plausibly look like at higher resolution. The result holds up under close inspection in a way that bicubic or Lanczos interpolation never could.
4.What Is 16K Resolution — and When Do You Actually Need It?
16K refers to an image approximately 15,360 × 8,640 pixels in dimension, which places it at around 132 megapixels. For reference:
- Standard HD (1080p): 2.1 megapixels
- 4K: ~8.3 megapixels
- 8K: ~33.2 megapixels
- 16K: ~132 megapixels
Most photographers never need to think about 16K for screen-based delivery. Where it becomes relevant is in physical output at large scale.
4.1Use cases that justify 16K upscaling
Large-format print and billboards. Commercial printing at full size — think a 6-meter billboard or a trade-show backdrop — is usually viewed from a distance, so effective DPI at the final output size is lower than you might expect. But you still need a massive raw pixel count to avoid visible softness when the printer samples the file. A photograph shot on a standard mirrorless camera at 24 megapixels might need to be upscaled 3× or more to meet your print supplier's minimum pixel requirement at the target dimensions.
Gallery and fine-art prints. A large-format inkjet print at 60 × 40 inches and 300 DPI requires a source file of 18,000 × 12,000 pixels. Upscaling to 16K or beyond is a practical path to reaching that specification from a standard-resolution source.
Aggressive detail crops. If you photographed a wide scene and want to isolate and print a small portion of it — a face in a crowd, a product detail in an architectural shot — the crop drops your effective pixel count sharply. AI upscaling restores the resolution you need after cropping.
Digital signage and cinema LED walls. Installations using LED panels with very high pixel density demand source content that matches that density. 16K asset preparation is increasingly common in the events and broadcast industries.
Archive restoration. Historical photographs, scanned film negatives, and old digital files can be dramatically improved for modern presentation or publication by pushing them to high resolution before printing or reproducing at large scale.
5.How AI Upscaling Actually Works (Without the Technical Jargon)
Traditional resizing algorithms — the ones built into image editors — use mathematical formulas to estimate the color of new pixels by averaging their neighbors. They are fast and predictable, but at large scale factors the result looks soft or blocky because they are inventing pixels from limited local information.
AI upscaling models are trained on large collections of paired high-resolution and low-resolution images. The model learns structural relationships: how a sharp edge should look, how fabric texture is organized, how hair strands behave. When it upscales your image, it applies that learned knowledge to reconstruct detail that fits the context of each region of your photo.
This is why you can run a crisp AI upscale on an old smartphone photo and produce an output that holds up at A1 size — not because the AI guessed perfectly, but because the statistical reconstruction of missing detail is far more plausible than anything a simple interpolation algorithm produces.
6.Step-by-Step: Upscale Your Image to 16K with Imagera
Here is exactly how to get from your source file to a high-resolution output using Imagera's AI image upscaler.
6.1Step 1: Open the Image Upscaler
Navigate to https://imagera.ai/image/image-upscaler. No download or installation is required. If you do not have an account, you can sign up in under a minute.
6.2Step 2: Upload Your Source Image
Click the upload area and select your file, or drag and drop it directly onto the page. Imagera accepts common formats including JPEG, PNG, and WebP. For the cleanest upscale result:
- Start with the highest-quality version of your source file you have available. Avoid sources that have already been compressed multiple times, as JPEG artifacts can be amplified at scale.
- If your image has been heavily cropped, that is fine — the AI handles low-resolution inputs well, though a cleaner source always produces a cleaner output.
6.3Step 3: Select Your Scale Factor
Choose how much you want to enlarge the image. The available multipliers are shown in the tool, ranging from a modest 2× up to the maximum multiplier offered. To reach 16K from a common starting point:
- A 4K source image (approximately 3,840 × 2,160 pixels) upscaled 4× reaches approximately 15,360 × 8,640 — the 16K threshold.
- A 1080p source at a higher multiplier reaches a similar destination, though the model has more reconstruction work to do.
- A standard 12-megapixel smartphone photo at around 4,000 × 3,000 pixels upscaled 4× produces approximately 16,000 × 12,000 pixels, which exceeds 16K width.
If your goal is a specific print dimension and DPI, work backward: (print width in inches) × (DPI) = required pixel width. Then choose the scale factor that gets you there or above.
6.4Step 4: Run the Upscale
Click the upscale button. The credit cost is shown on the button before you confirm — you will always see exactly what the operation costs before committing. Processing time varies with file size and scale factor, but for most images it completes in under two minutes.
6.5Step 5: Review and Download
Once processing is complete, use the before/after viewer to inspect the result. Zoom in on areas with fine texture — hair, fabric, foliage, architectural details — to assess quality. If the output meets your needs, download the file. Imagera delivers the upscaled image in high-quality format ready for print or further editing.
7.Combining Upscaling with Detail Enhancement
For images where you need not just larger pixels but visibly sharper, more articulated detail — particularly portraits, product photography, or shots where fine texture is the point — consider running Imagera's smart detail enhancer alongside or after the upscale pass.
The detail enhancer is designed to sharpen micro-textures: skin pores, material grain, fine architectural features. The two tools address different aspects of quality:
- The image upscaler increases the pixel dimensions of your file.
- The smart detail enhancer amplifies the perceptual sharpness and clarity of what is already in the image.
Running both in sequence — upscale first to hit your target resolution, then enhance to bring out detail — is a practical workflow for demanding print applications.
8.Free and Online Options: What to Expect
"Upscale image 16K free" is a real search because many people are testing before committing. Here is an honest picture of what free tier access looks like:
Imagera includes free credits on sign-up, which you can use to run your first upscale at no cost. Buy a small credit pack to evaluate quality on a real image from your project before you decide whether to purchase additional credits.
For ongoing, production-scale work (multiple images per week, large file sizes, maximum scale factors), credits are consumed per upscale and priced on a pay-as-you-go basis. The credit cost for each run is always displayed before you start, so there are no surprises. You can also review Imagera's pricing page to see how plan options affect per-credit cost.
What you should not expect from any free online 16K upscaler: instant unlimited output with no quality trade-off. Tools that advertise no-cost unlimited 16K upscaling are typically capping actual output resolution, compressing the output file, or limiting throughput. For work that matters — print, client delivery, large-format production — the credit cost of a proper AI upscale is small relative to the production value it protects.
9.Input and Output Format Reference
| Detail | Specification |
|---|---|
| Accepted input formats | JPEG, PNG, WebP |
| Output format | High-quality image file (format matching input or optimized for size) |
| Minimum useful input resolution | No hard minimum; lower input = more reconstruction work |
| Maximum scale factor | Up to the maximum multiplier shown in the tool at time of use |
| Processing | Cloud-based; no local GPU required |
| Account required | Yes (free to create) |
| Credit cost | Shown on button before you run |
10.When Upscaling Works Best
AI upscaling reconstructs plausible detail, and it delivers the strongest results when you start from a clean source. A few practical notes so you get the best output on the first run:
- Heavily motion-blurred images: Blur is a different problem from low resolution. An AI upscaler will make the blur larger and sharper-edged rather than removing it. For video frames with motion blur, Imagera's video enhancer addresses motion artifacts specifically.
- Noise-heavy files: Upscaling amplifies noise alongside signal. If your source image has significant sensor noise, apply noise reduction before upscaling for a cleaner result.
- Images with strong JPEG banding: Multiple rounds of lossy JPEG compression create block artifacts. Start from the least-compressed version of your file for the sharpest output.
For generating entirely new high-resolution imagery from scratch rather than upscaling an existing photo, Imagera's image generator can produce output at high base resolution that you can then push even further with the upscaler.
11.Deeper guide (practical production)
12.Related tools on Imagera
13.See it in action — real Imagera output
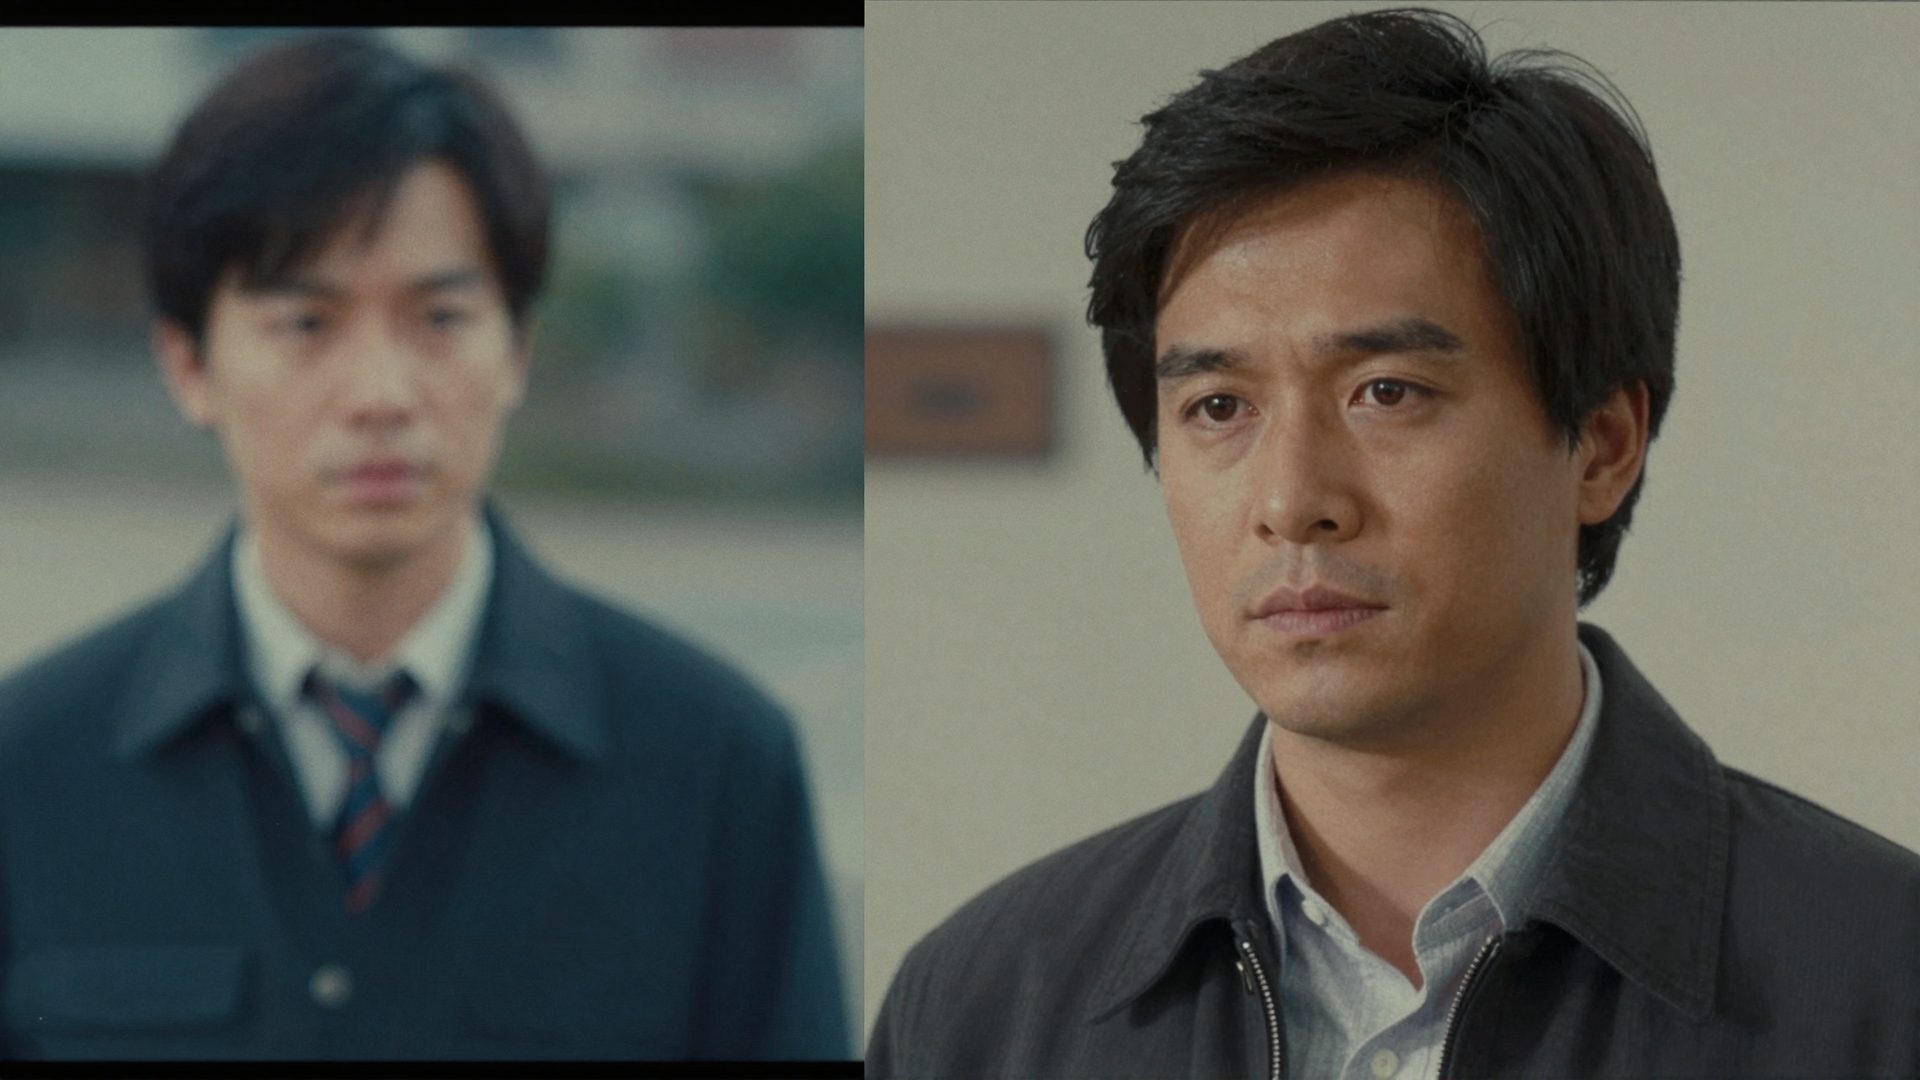
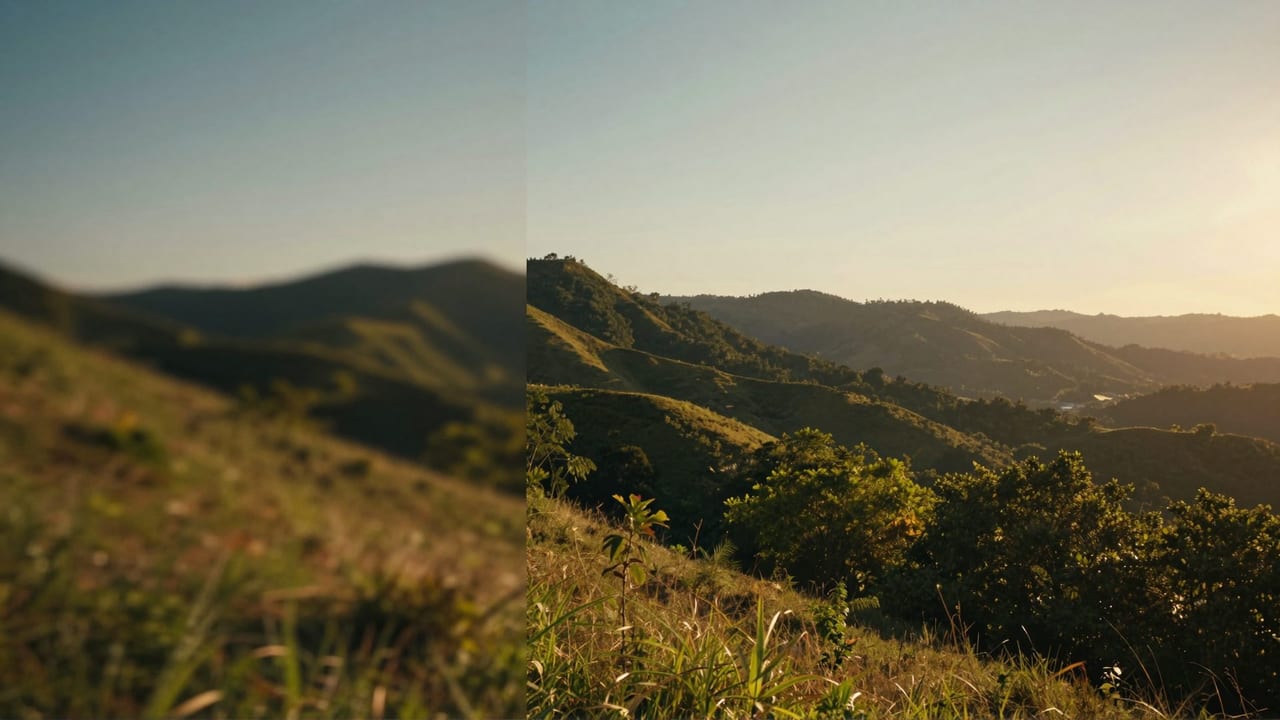
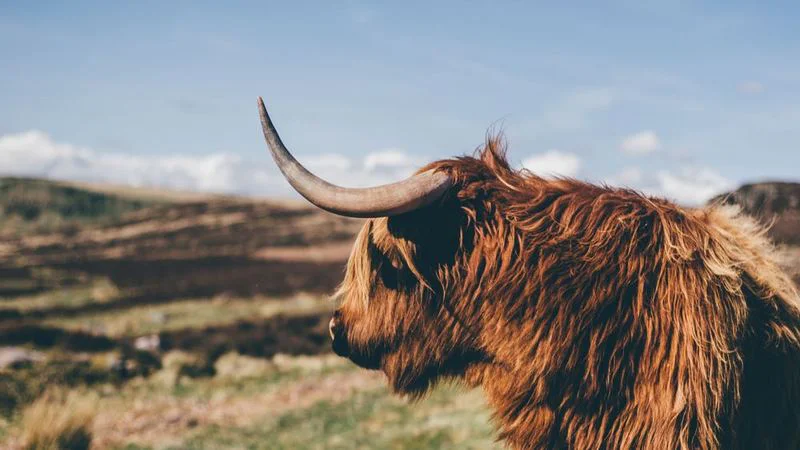
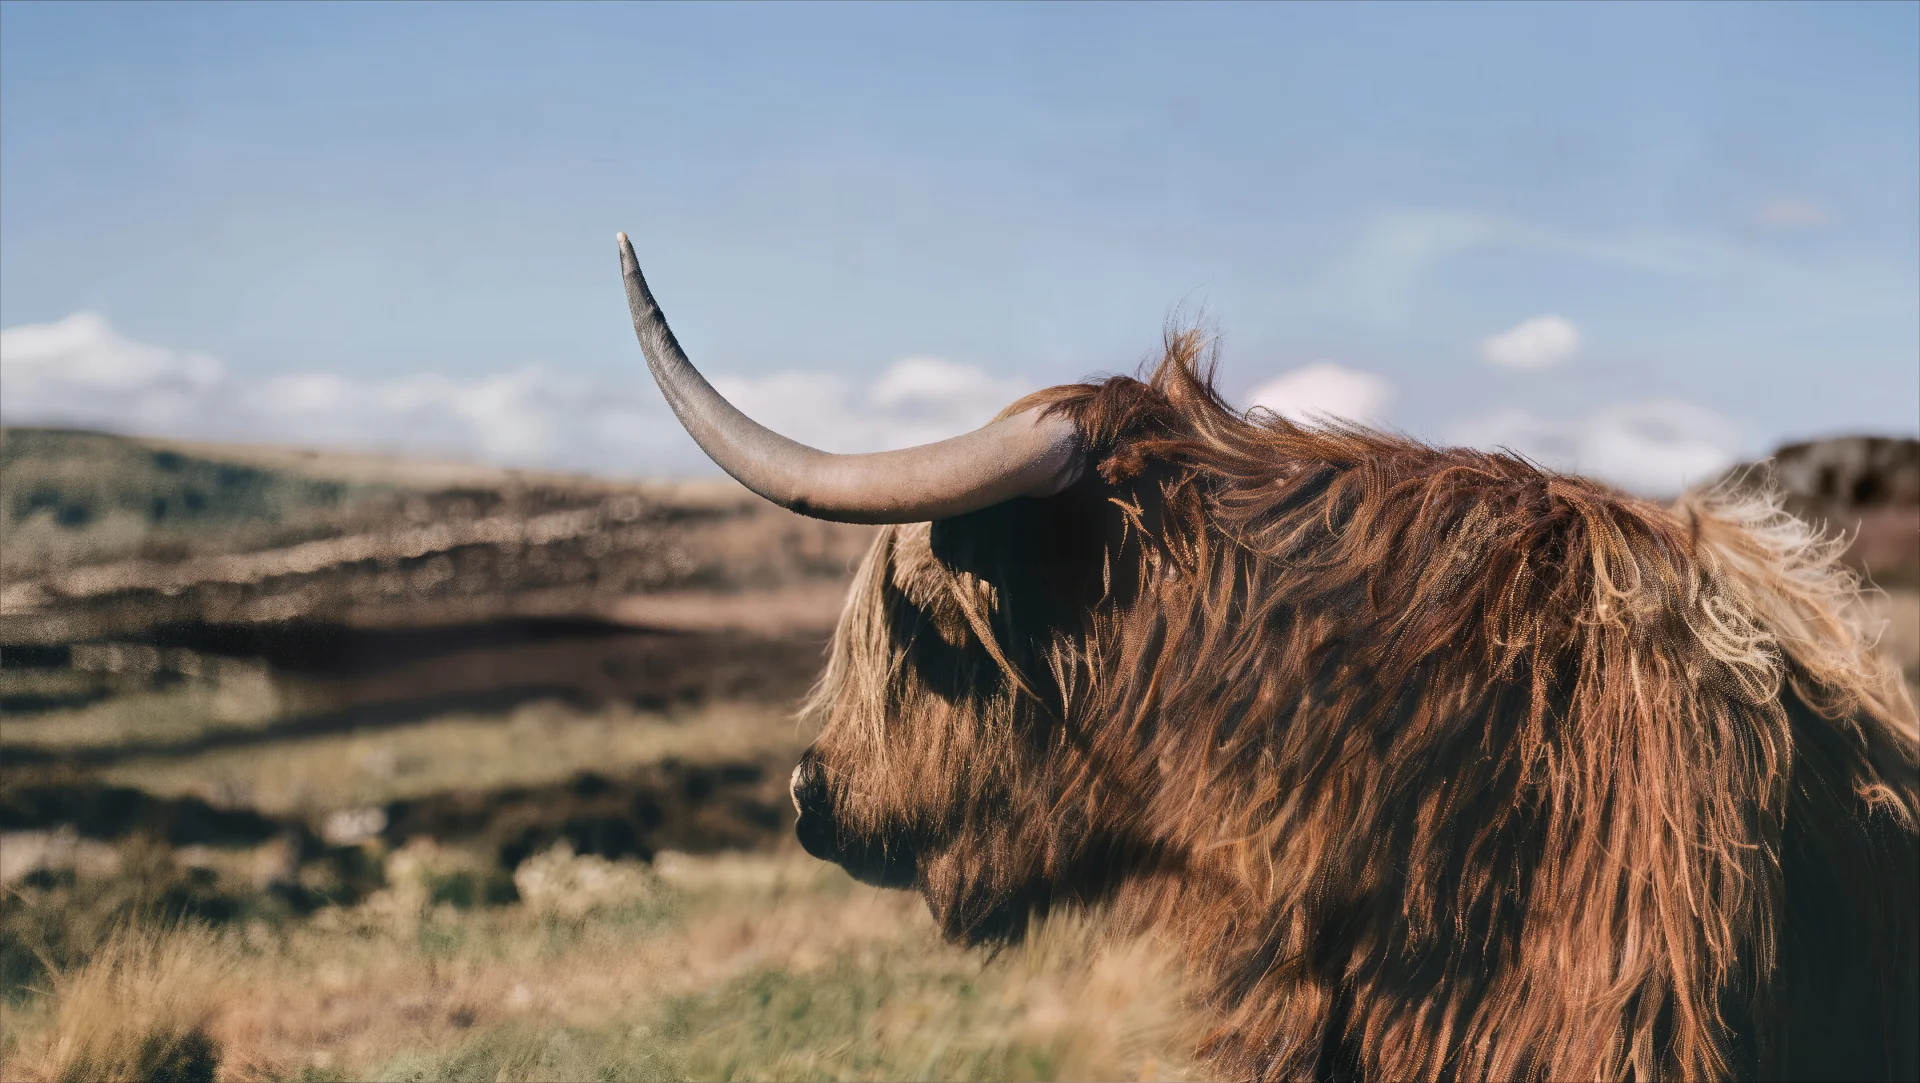
These are real, unedited results from the Imagera image upscaler — the exact tool this guide covers.
14.Get Started With Your 16K Upscale
If you have a photo, scan, or illustration that needs to reach high resolution for print, large-format display, or archival purposes, Imagera's AI image upscaler is the most direct path from where you are to where you need to be. Upload your file, select your scale, review the credit cost, and run it. The before/after viewer lets you confirm quality before you download.
For images where sharpness and micro-texture matter as much as pixel count, pair the upscaler with Imagera's smart detail enhancer for the best large-format print result. And if you are working with video content that needs the same resolution treatment, Imagera's video enhancer applies comparable AI reconstruction to moving footage.