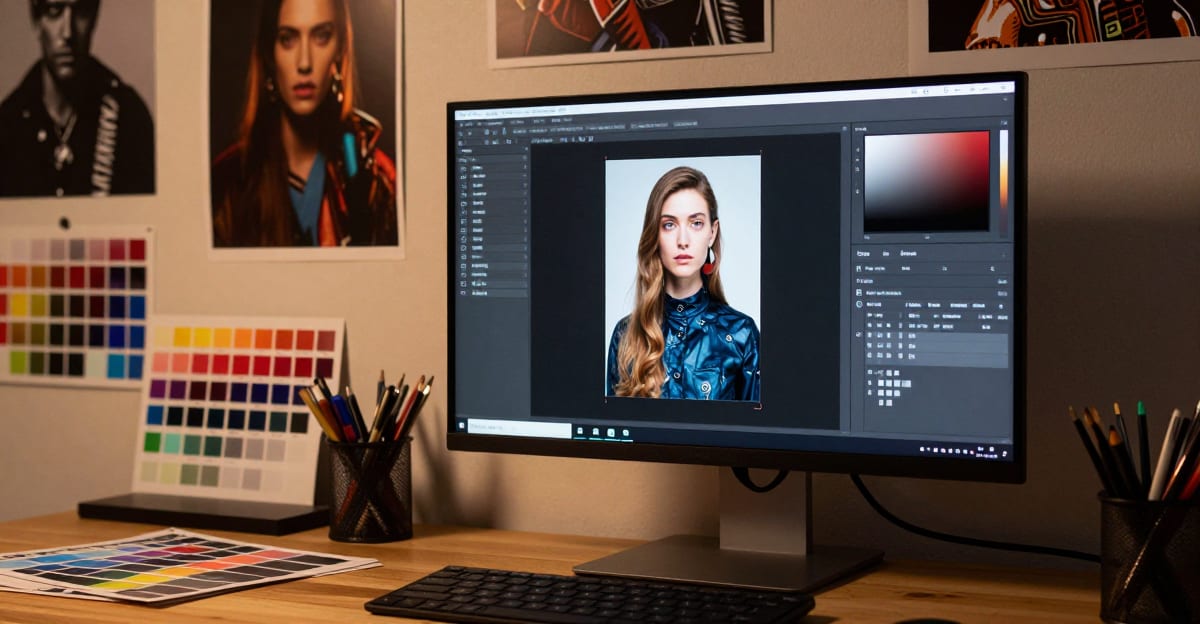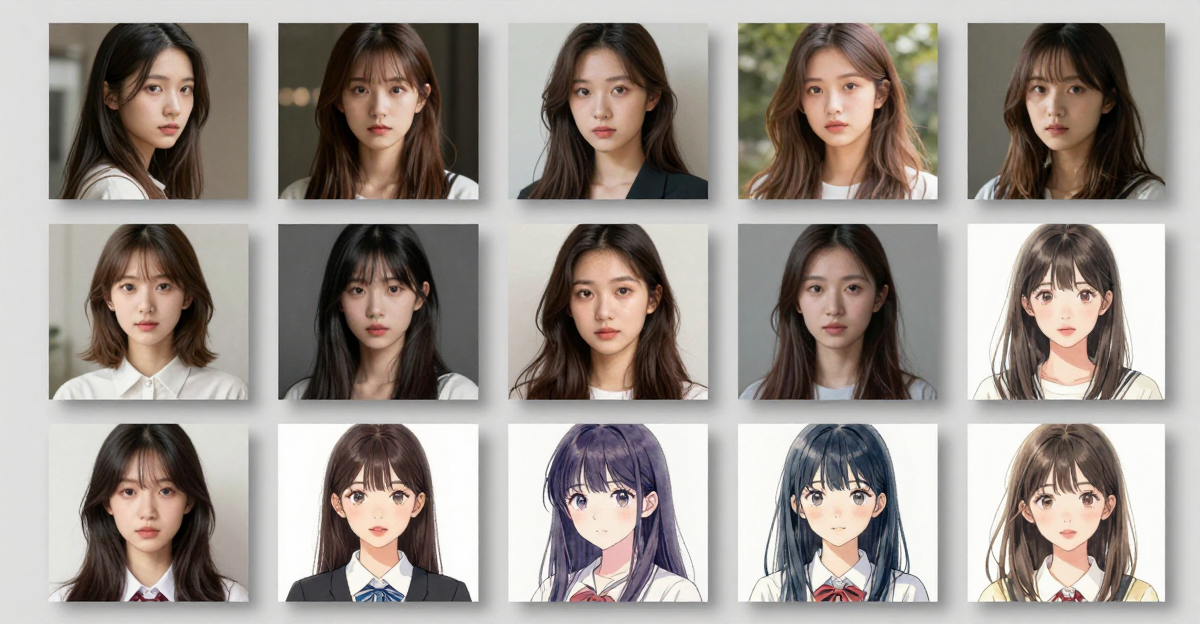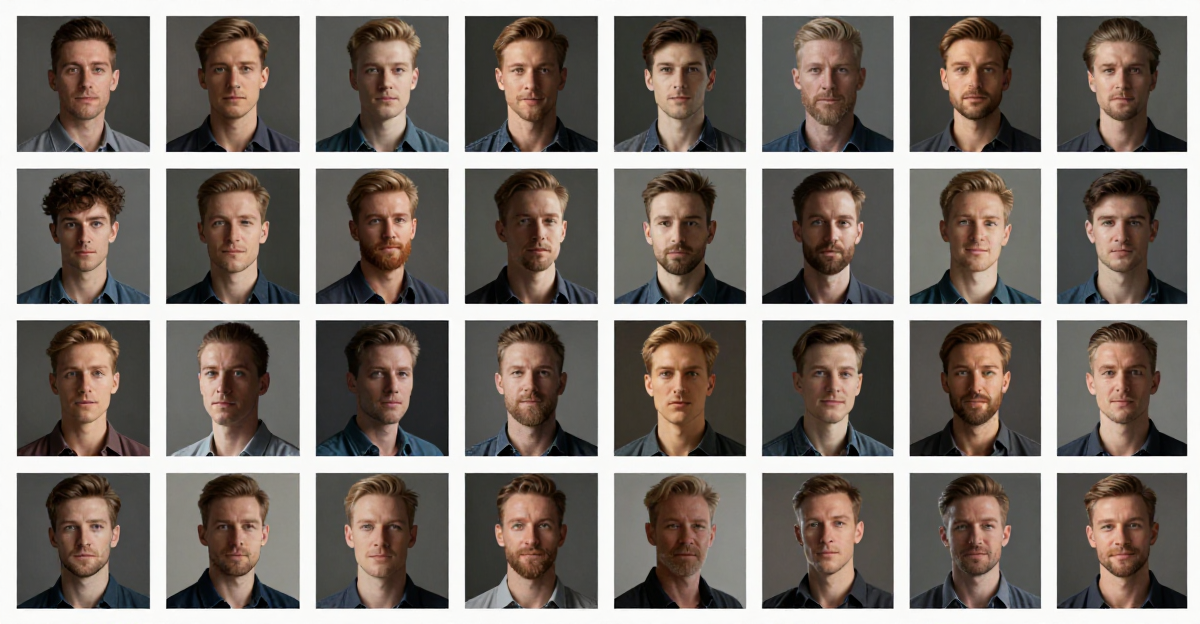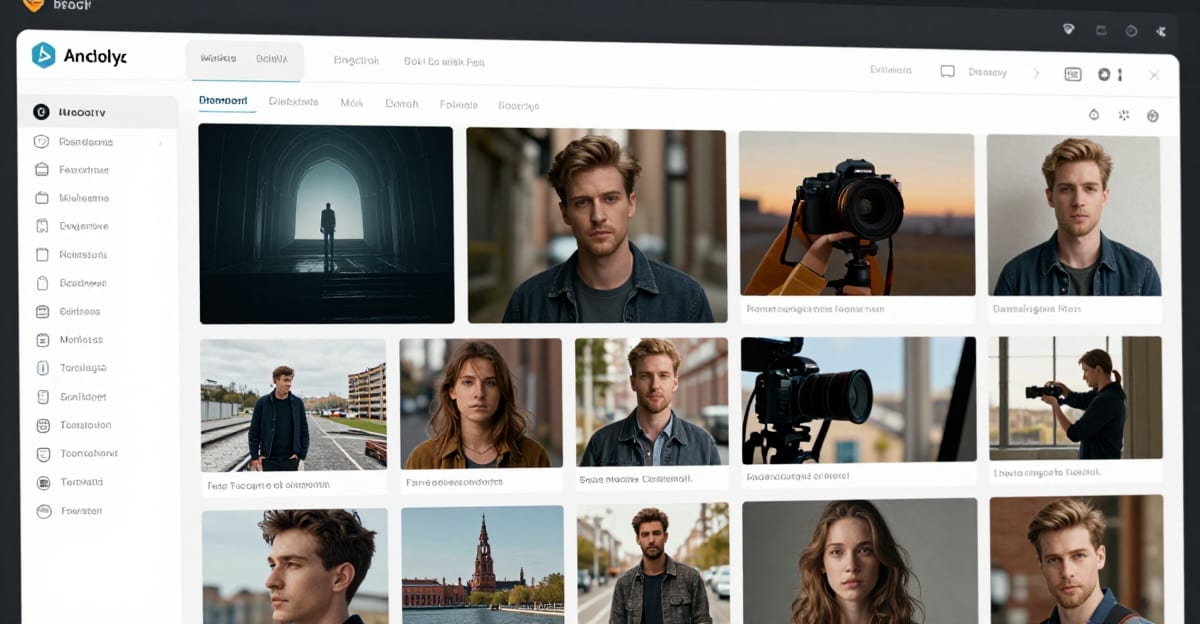
Popular AI Image Generator 2026 — Multi-Model Studio (No Single-Model Lock-In) is a practical Imagera workflow: pick an image model, describe what you want, generate with the credit cost shown up front, and review before you publish. This guide covers the steps, quality checks, and when to reach for related tools.
Most people don't need "the one best AI image model." They need the right model for the job in front of them — a photoreal product shot today, a scalable SVG logo tomorrow, a quick background swap on an existing photo the day after. The problem is that each of those tasks has historically meant a different website, a different login, and a different bill. The Popular AI Image Generator exists to collapse that sprawl into one studio, one prompt box, and one credit wallet, so you can match the model to the task instead of forcing every task through whatever model you happen to be subscribed to.
Quick answer: Imagera's Popular AI Image Generator is a multi-model studio that routes generation across leading image engines from one prompt box and one shared credit wallet, so you match the model to each task instead of paying for a separate app per job.
1.What makes a multi-model AI image generator better than a single-model tool in 2026?
A single model excels at only a narrow range of tasks. Imagera's 2026 studio spans many image engines behind one prompt box and one credit wallet, so you can create photoreal product shots, logo art, and background swaps in the same session — with output up to 4K and the exact per-resolution credit cost shown before you commit. Instead of juggling multiple logins and bills, you switch models with a click.
2.How much does the Popular AI Image Generator cost, and is any of it free?
Cloud generation is pay-first: credit packs start at 100 credits, and each render displays its exact credit cost per resolution up front, from a low of 5 credits for smaller jobs. Free on-device utilities live only under /free/*. Credits are shared across image, video, and LoRA tools, so one wallet covers every 2026 workflow.
3.Quick verdict
| Need | Path |
|---|---|
| Multi-model stills in one place | Popular AI Image Generator |
| Custom character / style LoRA | LoRA Image Generation + LoRA training |
| Face identity system | Personal Influencer |
| Print / detail | Image upscaler |
If you are tired of juggling five AI image sites, Imagera’s multi-model image studio consolidates generation under one credit wallet. It is not free cloud generation — buy credits, then create.
4.What the Popular AI Image Generator does
The Popular AI Image Generator is a single studio that lets you switch between several leading image models from one prompt box — instead of keeping separate accounts and separate bills for each. You pick a model from a dropdown, type a description, and generate. The same studio handles text-to-image and, for models that support it, image-to-image editing: attach one or more source images and describe the change, and the studio routes your request to that model’s edit mode automatically. Every output downloads at full resolution with a commercial license and no watermark on paid plans.
Because different models are good at different things, the studio surfaces each model’s real controls instead of a lowest-common-denominator form. Some models expose a raster/photo path, some a scalable SVG vector path for logos and icons, and some let you set a resolution tier, an aspect ratio, an output format, a negative prompt (what to avoid), or a color palette. The controls you see change with the model you select, and the credit cost updates live as you change resolution, quality, or speed — so there are no billing surprises before you click Generate.
A few specifics worth knowing before you start:
- Model families, not just single models. Some entries in the dropdown are grouped families with a variant selector. The included Recraft V4 group, for example, offers a fast raster variant, a premium raster variant that renders at up to 2048×2048, an SVG vector variant, and a premium SVG vector variant — each with its own credit cost — all under one card.
- Live, honest credit display. Each model card shows its starting credit cost, and the number on the Generate button updates as you change resolution, quality tier, or processing speed. What you see on the button is what you're charged.
- A processing-speed choice on models that offer one. Where a model can run through more than one route, you can pick a Normal or an Ultra Fast option. The studio only shows the toggle when the choice actually changes the credit cost or the available settings, so you never stare at a switch that does nothing.
- A built-in prompt enhancer. An optional enhancer can expand a short prompt into a fuller description before generating, and it shows you a diff so you can accept or revert. It runs once per batch, not once per image.
- A built-in image editor. You can annotate specific regions of an uploaded image — mark what to change — and the studio turns those marks into an edit instruction the model can act on.
5.How it works
- Open Popular AI Image Generator and pick a model from the dropdown. Each option shows a short description and its starting credit cost.
- Write a tight prompt — subject, lens/lighting, mood, and (where supported) a negative prompt for anything to avoid, such as "blurry, distorted hands."
- Set the parameters the model exposes: resolution tier, aspect ratio, output format, and style/color palette for vector or raster work.
- Optional: attach one or more images to switch into edit mode, or use the built-in image editor to annotate regions you want changed.
- Confirm the credit cost shown on the Generate button, then run 2–4 quick tests before committing to high-res finals.
- Review results in the queue, download the winners at full resolution, and export.
5.1What happens under the hood
When you click Generate, the studio does three things you don't have to think about. First, if the prompt enhancer is on, it runs a single enhancement pass and shows you the expanded prompt. Second, it decides which mode to dispatch to: if you've attached one or more images and the model has an image-to-image counterpart, it silently routes to that edit mode and reprices to the edit cost — so the credit number you see always matches what actually runs. Third, if you asked for more than one image in a batch, it groups the runs together so the queue shows them as a single tile you can track and download as a set. This routing is what lets one prompt box cover text-to-image, image-to-image editing, and multi-image batches without you switching tools.
6.Step-by-step walkthrough
Here is a concrete pass through the studio for a common task — producing a set of product images and a matching logo.
- Pick a photo-oriented model from the dropdown for the product shots. Read the short description on each card; some are tuned for photorealism and marketing visuals, others for illustration or vectors.
- Write the prompt with real detail. "White ceramic pour-over coffee dripper on a matte concrete surface, soft window light from the left, shallow depth of field, minimalist, high detail" beats "coffee dripper." Include subject, surface, lighting direction, mood, and any framing you care about.
- Add a negative prompt if the model supports it. In the "Avoid in image" field, list traits you don't want — for example "blurry, low contrast, cluttered background, text artifacts." The field only appears for models that accept it, so you never have to guess.
- Set aspect ratio and resolution. Choose the aspect ratio for where the image will live (square for a product grid, wide for a banner), and pick a resolution tier if the model offers one. Higher tiers cost more credits — the number updates as you choose.
- Run a small batch of tests first. Generate two to four low-cost variations to find a direction before committing credits to a high-resolution final. This is the single biggest way to avoid wasted credits.
- Refine the winner. Once one composition works, re-run it at a higher resolution tier, or attach it as a reference and describe a small change (different background, tighter crop) to iterate.
- Switch models for the logo. For the logo, pick a vector-capable model so the output is a scalable SVG that stays crisp at any size. Optionally set a color palette — either choose a preset or add your own brand colors as hex values (up to the model's color limit).
- Download and export. Review results in the queue, download the winners at full resolution, and export. On paid plans the files come with no watermark and a commercial license.
7.Common use cases
- Agencies A/B testing a concept across multiple engines without five logins
- Marketers producing social posts, blog headers, and product shots from one credit wallet
- Designers generating scalable SVG logos, icons, and illustrations that stay crisp at any size
- Creators editing an existing photo — swapping backgrounds, outfits, or elements — via image-to-image
- Teams that will later lock a consistent identity with LoRA or Personal Influencer tools
- Buyers comparing Midjourney-class workflows who need browser access + commercial rights on paid plans
7.1Who it's for — concrete scenarios
- A solo founder building a brand overnight. Generate a logo as an SVG, a set of on-brand illustrations with a fixed color palette, and hero images for the landing page — all from the same studio, without stitching together three subscriptions.
- A content marketer shipping a weekly blog. Produce a custom header for each post, keep everything under one credit balance, and re-run the best composition at a higher resolution when a post starts to perform.
- An e-commerce seller refreshing a catalog. Start from an existing product photo, attach it, and describe a cleaner background or a different setting — image-to-image editing keeps the product recognizable while changing the scene around it.
- A design team exploring a direction. Batch a concept across several models to see how each interprets the same brief, then hand the winning look to LoRA training to make it repeatable.
- A social creator who needs volume. Generate a batch of variations for a campaign, pick the strongest frames from the queue, and download them together.
8.Who should use something else
- Users who only want a free playground with watermarks
- Teams with air-gapped offline requirements
- Pure research users who need open weights running locally
9.Tips for best results
- Start small: generate a batch of low-cost tests to find a direction, then re-run your winner at a higher resolution tier.
- Use the negative-prompt field (on models that support it) to steer away from common artifacts rather than fighting them in the main prompt.
- For logos and icons, pick a vector-capable model so the output scales without pixelation; for photos, pick a raster/photo model.
- Attach a reference image when you want to preserve a subject, layout, or style instead of describing it from scratch.
- Watch the live credit total as you adjust resolution, quality, and speed — the number on the button is exactly what you'll be charged.
- Describe your image in at least a few words. Ultra-short prompts ("a dog") give the model too little to work with; the studio nudges you toward a fuller description because it produces better results.
- Let the prompt enhancer do the heavy lifting on wording, then edit its suggestion. It's faster to trim an over-described prompt than to build one from scratch, and you can always revert to your original.
- Set the aspect ratio for the final placement before you generate, not after. Regenerating at a new aspect ratio costs credits; getting it right the first time doesn't.
10.Common mistakes to avoid
- Committing to high resolution before you've found a composition. The most common way to burn credits is generating finals first and testing later. Reverse it: test cheap, then finalize.
- Ignoring the model description. Picking a vector model for a photoreal product shot (or vice versa) wastes a run. The one-line description on each card tells you what it's built for — read it.
- Fighting artifacts in the main prompt. If hands or backgrounds keep coming out wrong, add them to the negative-prompt field instead of piling more instructions into the positive prompt.
- Overloading a single prompt. Ten competing instructions produce muddy results. Lead with the subject and the two or three things that matter most, then iterate.
- Forgetting the credit number is live. The cost on the Generate button reflects your current model, resolution, quality, and speed. If it looks higher than you expected, one of those settings changed — check before running a big batch.
- Uploading oversized files. Input images have a size limit; keep source files reasonable so uploads don't get rejected.
11.Examples
- Product on a clean set. Model: a photo-oriented raster model. Prompt: "Matte black wireless earbuds in an open charging case on a pale sand surface, soft top light, subtle shadow, product photography, high detail." Negative: "blurry, reflections, text, cluttered background." Aspect ratio: 1:1. Test four variations, finalize the best at a higher resolution tier.
- Scalable brand logo. Model: a vector-capable model. Prompt: "Minimalist fox head logo, geometric, single continuous line, flat." Color palette: two brand hex values added manually. Output: an SVG that stays sharp from a favicon to a billboard.
- Editing an existing photo. Attach a headshot, then describe the change: "Replace the office background with a soft neutral gray studio backdrop, keep the subject unchanged." Because an image is attached, the studio routes to image-to-image editing and reprices to the edit cost automatically.
- Concept exploration. Same brief, run across two or three models in sequence to compare interpretations, then pick the direction that fits the brand before investing in a repeatable pipeline.
12.Pricing honesty
Imagera public floor: credit packs from $19.99, Pro $19.99/mo (SSOT in shared-config/base-pricing.ts). Pay-first. The per-image cost is shown in credits on the model card and the Generate button, and it varies by model, resolution, and speed — check it before large batches. Free WASM tools under /free/image-upscaler are for on-device enlarge only — not a substitute for multi-model cloud generation.
Because the credit cost per image differs by model, resolution tier, and processing speed, there is no single "price per image" figure that would be honest across the whole studio — which is exactly why the number is shown live on the Generate button instead of buried in fine print. Budget-tier models cost fewer credits per image; premium and high-resolution runs cost more. The credit balance is shared across every model in the studio and across related Imagera tools, so credits you buy aren't locked to one engine.
13.Comparison frame vs single-model apps
| Single-model app | Imagera Popular AI Image | |
|---|---|---|
| Model variety | One family | Multi-model studio |
| Billing | Separate sub | Shared credits |
| Identity tools | Often external | Influencer / LoRA in suite |
| Upscale / humanize | External | In-suite |
The trade-off is worth stating plainly. A single-model app gives you deep familiarity with one engine's quirks, and if that engine happens to fit every job you do, a dedicated subscription can be simpler. The multi-model studio wins when your jobs vary — when a photoreal shot, a vector logo, and a photo edit all land in the same week — because you stop paying for and learning multiple tools, and you stop being locked into whichever model you subscribed to first. Competitor pricing is quoted in dollars per plan on their own sites; on Imagera, per-image cost is expressed in credits on the button, and plan prices are shown in dollars on the pricing page.
See also CivitAI / Midjourney alternative notes.
14.Start here (product links)
15.Bottom line
Imagera’s Popular AI Image Generator is a multi-model studio for creators who refuse single-model lock-in. Pay-first credits from $19.99, with the per-image credit cost shown before you generate. Pair with LoRA training and upscalers when you need identity or print-ready detail.
CTAs: Popular AI Image Generator · LoRA Image Generation · Personal Influencer · Pricing