You got the perfect shot — great light, everyone smiling — except for the stranger who walked right into the frame. Or maybe it is a family member you cropped out but their arm is still hanging in the corner. Either way, you need to remove a person from a photo, and you need it done without a subscription, without a desktop app, and ideally without uploading private photos to some unknown server.
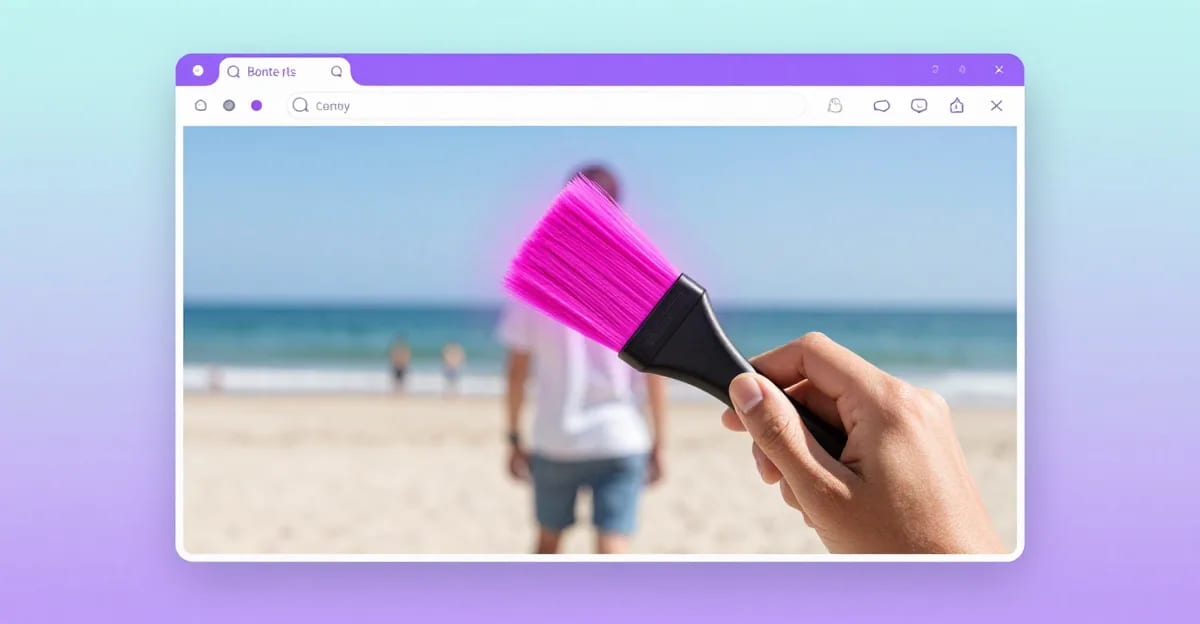
Good news: Imagera's free Object Remover handles exactly this. Brush over the person, hit Erase, and the tool reconstructs the background behind them. The whole thing runs in your browser — your photo never leaves your device.
This guide walks you through the full process, shares the techniques that produce the cleanest results, and answers the questions most people have before they try a tool like this for the first time.
Quick answer: Yes. Imagera removes any person or photobomber from a photo free to start, using AI inpainting that rebuilds the background behind them in under 60 seconds, with no watermark on your first exports.
1.How does Imagera remove a person from a photo without leaving a smudge?
You brush over the unwanted person, and Imagera's AI analyzes the surrounding area to rebuild the background, matching lighting, shadows, and texture. Most single-subject removals finish in under 60 seconds. You can export the cleaned image at up to 4K (and upscale to 8K), and re-run the tool on stubborn edges at just a few credits per pass.
2.Can I remove a background photobomber and still keep 4K quality?
Yes. Imagera reconstructs the erased area at full resolution, so a crowded beach or busy street cleans up while your subject stays sharp at 4K or 8K. A cleaner background keeps the focus on your subject, which is why removing one or two distracting figures often matters more than any filter. Free previews cost 0 credits before you commit.
3.Why Removing People From Photos Is Harder Than It Looks
Cutting someone out of a photo is not the same as removing them. When you simply crop or cut, you leave a hole — or worse, a jarring empty space where the person used to be. A good removal tool does two things at once: it erases the pixels that make up the person, then it fills in the area behind them by reading the surrounding background and synthesizing what was logically there.
That second step — the fill — is where most free tools fall short. They either leave a blurry smear, repeat a visible texture patch, or produce an obvious seam at the edge. Imagera's Object Remover uses an approach that reads the full context of the surrounding scene — sky, pavement, grass, crowd — and constructs a coherent fill that matches color, texture, and lighting.
The results are not magic in every situation. A person standing in front of a complex architectural feature will require more care than someone standing on an open beach. But the same technique professionals have used for years in desktop software is now available in a browser, and it is free to use.
4.What Makes a Photobomber Removal Succeed or Fail
Before you open any tool, it helps to understand what the software is working with. A few factors determine whether your result looks seamless or looks edited.
Background complexity. A plain sky, sand, grass, or a simple wall is the easiest background to reconstruct. The tool has plenty of surrounding context to work from. A person standing in front of a bookshelf, a crowd, or a detailed mural is harder — the fill needs to invent content that was never visible in the original frame.
How much of the frame the person occupies. Someone in the distance takes up a small patch of pixels. Someone in the foreground who fills a third of the image requires generating a large area of new background. Both are doable, but the larger the fill area, the more you want to refine your brush work.
Edge sharpness. If the person is in sharp focus and the background is blurred (shallow depth of field), the tool can lean on the blurred background texture and usually fills very naturally. Sharp focus all the way through the frame means the fill has to match a detailed background accurately.
Lighting and shadows. Hard shadows cast by the person onto the ground or a wall become their own removal problem. Brush over the shadow too when you paint your mask — not just the person's body.
5.How to Remove a Photobomber Using Imagera's Free Object Remover
Here is the step-by-step process. You can follow this on desktop or on your phone — the tool works on both.
-
Go to imagera.ai/free/remove-object. No account required. The tool loads directly in your browser.
-
Upload your photo. Click the upload area or drag your image onto it. JPG, PNG, and WebP files all work. Nothing is sent to a server at this step — the file loads into your browser session only.
-
Choose your brush size. For a person standing in the midground or background, start with a medium brush. For someone large and close to the camera, use a slightly larger brush so you can cover the area efficiently.
-
Paint over the person you want to remove. Brush over every part of the person — their body, clothing, hair, and any shadow they cast. You do not need to be surgical about the edges; in fact, painting slightly outside the person's edges tends to produce cleaner results because the tool gets a little more background context to work with at the boundary.
-
Check your mask before erasing. The painted area will appear as a colored overlay. Make sure you have covered the full person including any stray arm, leg, or shadow. If you missed a section, paint it in now.
-
Click Erase. The tool analyzes the surrounding scene and fills the masked area. Most photos process in a few seconds.
-
Review the result. Zoom in on the filled area to check for any seam lines, repeated texture patches, or color mismatches. If you see a problem in one spot, use the brush to paint just that spot and run Erase again. You can iterate as many times as you need.
-
Download your cleaned photo. Click the download button to save the result to your device. The file saves at the same resolution as the original — there is no forced downscale.
6.Getting the Cleanest Fill: Brush Technique Tips
The quality of your mask directly determines the quality of the fill. A few habits will save you from having to redo the process.
Paint generously at the edges. The single most common mistake is a tight mask that clips the person right at their outline. The tool then tries to reconstruct background from inside the person's pixels, which produces fringing or a smear of skin tone bleeding into the fill. Paint a few pixels outside the visible edge of the person.
Include shadows and reflections. Shadows on the ground, reflections in water or glass, and soft glows on a wall behind the subject are all visually connected to the person. Leave them in and the fill will look wrong. Brush over them as part of the mask.
Work in passes for large subjects. If someone occupies a large portion of the frame, consider masking and erasing in two passes — upper body first, lower body second. This gives the fill algorithm a partially restored background to reference on the second pass, which can produce a more coherent result.
Use a smaller brush near detail edges. If the person is standing in front of something with distinct structure — a doorframe, a fence, a painted sign — switch to a smaller brush near those edges so you do not accidentally mask background detail you want to keep.
7.When You Have Multiple Photobombers
The process is the same whether you are removing one person or three. You can either mask all of them at once and run a single Erase pass, or handle them one at a time.
Handling them one at a time is generally the better approach when the people are spread across different parts of the frame — especially if each one is in front of a different background type. The fill for a person standing on grass is different from the fill for a person standing in front of a building, so treating them as separate tasks lets the algorithm focus on each area's context independently.
If all the photobombers are clustered together (a group that wandered into the background of a single shot), masking them together in one pass works well and is faster.
8.Comparison: Free Tools for Removing People From Photos
Different tools take different approaches. Here is an honest look at how the main free options compare on the criteria that matter most for this task.
| Tool | Runs in browser | No account needed | No file upload to server | Works on mobile | Handles large fill areas |
|---|---|---|---|---|---|
| Imagera Object Remover | Yes | Yes | Yes | Yes | Yes |
| Adobe Express Remove (free tier) | Yes | Account required | Files uploaded | Yes | Good |
| Canva Magic Eraser (free tier) | Yes | Account required | Files uploaded | Yes | Good |
| Cleanup.pictures | Yes | No | Files uploaded | Yes | Good |
| GIMP (desktop) | No (download) | No | N/A — local | No | Excellent with skill |
| Photoshop (desktop) | No (download) | Paid subscription | N/A — local | No | Excellent with skill |
The main thing Imagera's free tool offers that the account-based tools do not: your photo stays entirely on your device. For vacation photos, family pictures, or anything with people's faces in it, that matters. You can read more about why it matters in our post on whether it is safe to upload photos to online editors.
If you are already invested in Adobe or Canva, those tools are solid and worth using. If you want something with zero friction and zero upload, Imagera's approach is straightforward.
9.Tricky Cases: What to Do When the Fill Looks Off
The tool does its best with every photo, but some results need a second look. Here is how to handle the common issues.
Visible seam or hard edge around the filled area. This almost always means the mask was too tight. Undo, repaint the mask with slightly looser edges, and run Erase again.
Repeated texture patch (the background looks tiled or stamped). This happens when the background has a strong repeating pattern — brick, cobblestone, a tiled floor — and the fill copies a patch rather than synthesizing a fresh section. Try masking a slightly larger area that includes some variation in the background, so the algorithm has more diverse context to sample from.
Wrong color in the filled area. Usually caused by the person casting a color shadow on the background (for example, someone wearing a bright red shirt standing near a white wall). Make sure to include any discoloration in your mask, not just the person's body outline.
The fill generated a partial face or body part. Rare, but it can happen when the person was partially occluded by something else in the frame. In this case, mask the resulting artifact and run Erase a second time — second passes on small areas are usually very clean.
10.Privacy: Your Photos Stay on Your Device
This is worth a single clear statement: Imagera's free Object Remover processes your photo locally in your browser. The image is not sent to a server, not stored, and not used for anything after you close the tab. For photos that contain faces — your own, your family's, strangers caught in the background — that is a meaningful difference from tools that require an upload.
If privacy across all your photo editing tasks is a concern, our roundup of the best private no-upload image tools for 2026 covers several more tools built on the same principle.
11.After the Removal: Finishing Touches
Once the person is gone and the fill looks clean, a few optional finishing steps can make the photo feel completely natural rather than edited.
Crop if needed. If the removed person was at the edge of the frame and the fill area is slightly soft, a light crop can tighten the composition and remove the margin where the fill meets the original photo.
Adjust brightness or saturation slightly. The filled area is synthesized to match the surrounding scene, but occasionally there is a very subtle difference in tone. A quick brightness or color adjustment applied to the whole image (not just the filled area) blends everything together.
Compress before sharing. If you are sending the photo somewhere with a file size limit, Imagera's free image compressor handles that in the same session — no upload, same privacy. See our guide on how to compress an image to 100KB online without uploading it.
12.Use Cases Beyond the Obvious Photobomber
"Remove a person from a photo" covers more scenarios than the classic stranger-in-the-background. A few common ones that work just as well with the same technique:
- Ex-partner removal. Old couple photos where you want a solo portrait of yourself.
- Crowded landmark shots. Removing tourists from a photo of a monument or cathedral to get a cleaner travel shot.
- Product photography. Removing an assistant's hand or foot that crept into the frame.
- Real estate listings. Removing a person who was standing in the background of an otherwise good interior shot.
- Group photos. When someone blinked or looked away but you want to keep the rest of the group.
The same tool, the same technique. The results depend more on the background complexity than on what type of subject you are removing.
13.Deeper guide (practical production)
14.Related tools on Imagera
15.See it in action — real Imagera output
These are real, unedited results from the Imagera edit image — the exact tool this guide covers.