1.Why You Look Worse on Video Than You Do in the Mirror
You look fine in person. Then you join a Zoom call and something is off — washed out, tired, oddly shadowed, or older than you feel. The culprit is almost never your face. It is almost always one of three things: where the light is, where the camera is, and what quality of image the lens is sending.
Fix those three variables and your video presence changes immediately. This guide covers each one with specific, actionable numbers — then explains where a software filter like GlowCam earns its place as a realistic complement when the room itself is fighting you.
For the full picture of everything that affects how you look on camera — posture, background, clothing, platform settings — read our broader guide: How to Look Better on Video Calls. This page stays focused on light, angle, and lens.
2.Quick Fixes: 7 Things You Can Do Right Now
These are ranked roughly by impact. Most cost nothing.
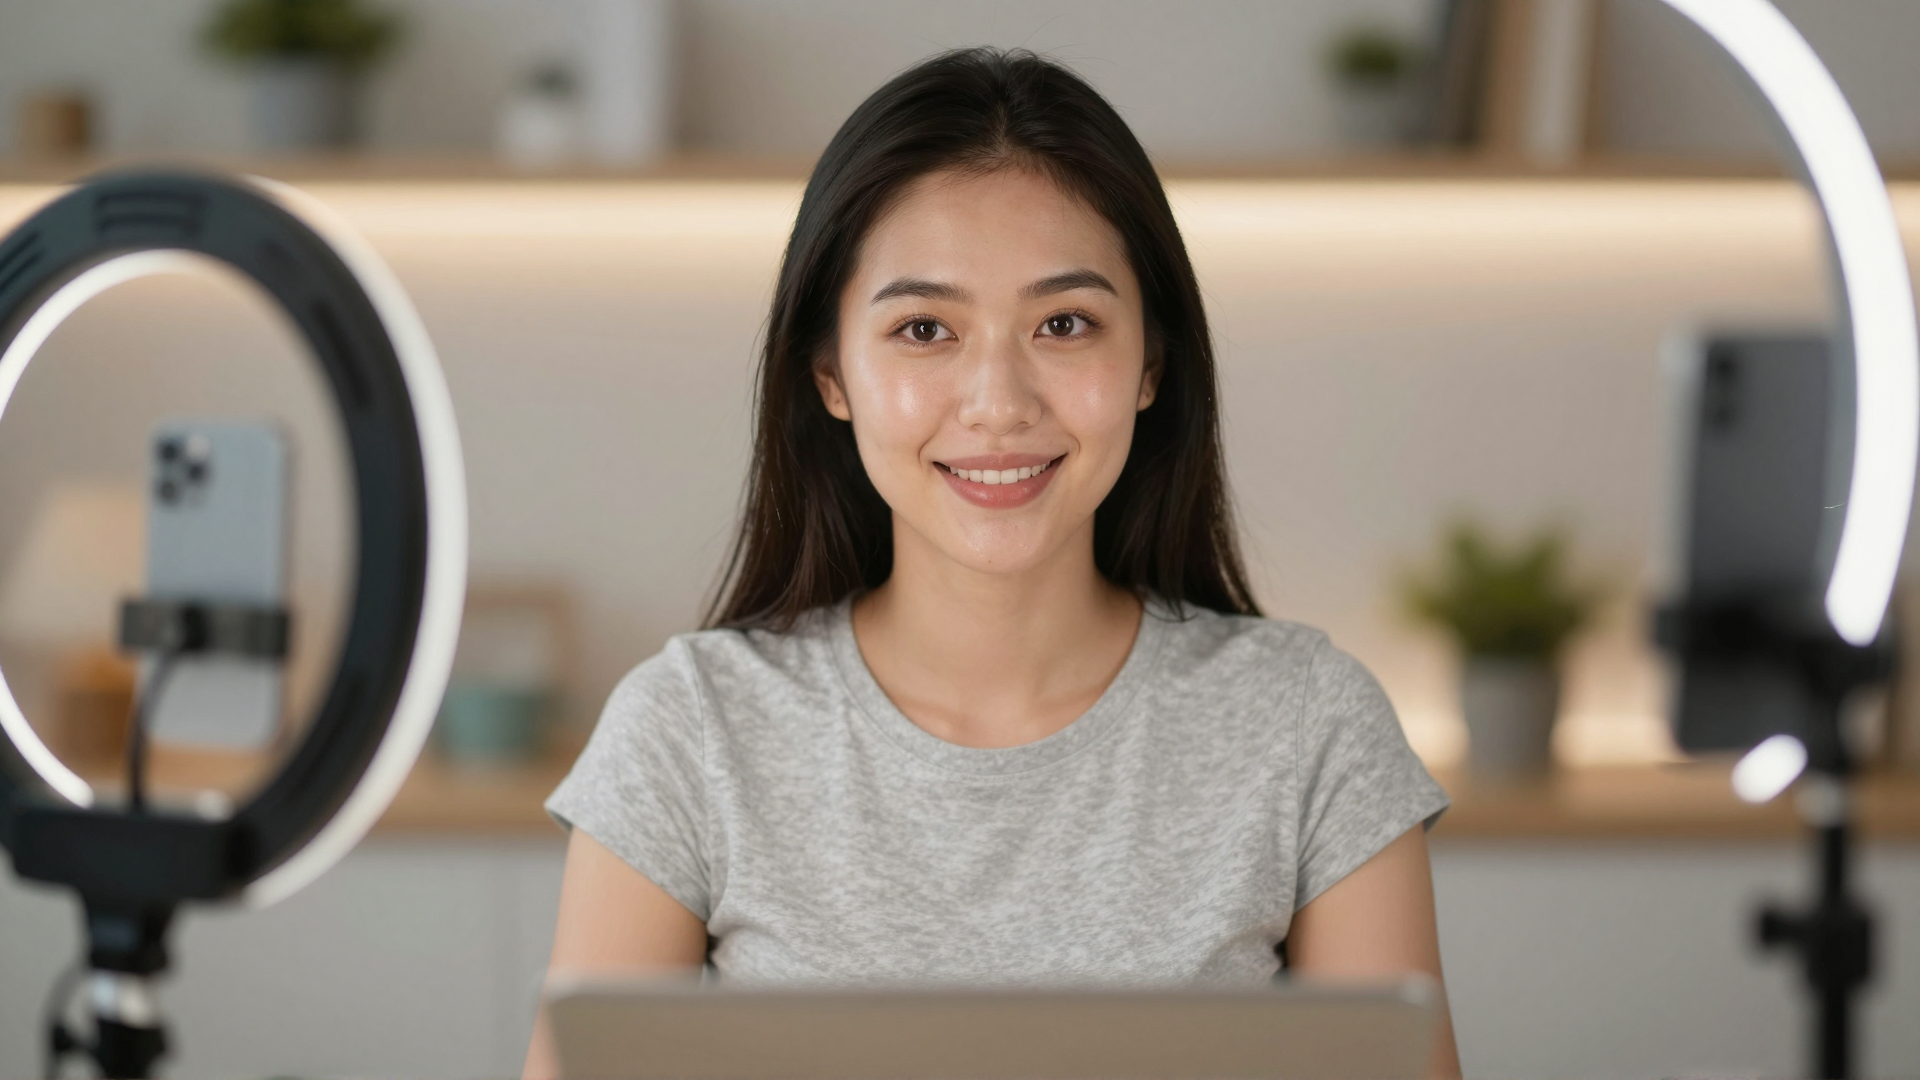
- Face a window, do not sit with one behind you. A window behind you causes your webcam to expose for the bright background and silhouette your face. Spin your chair or desk so the window is in front of you.
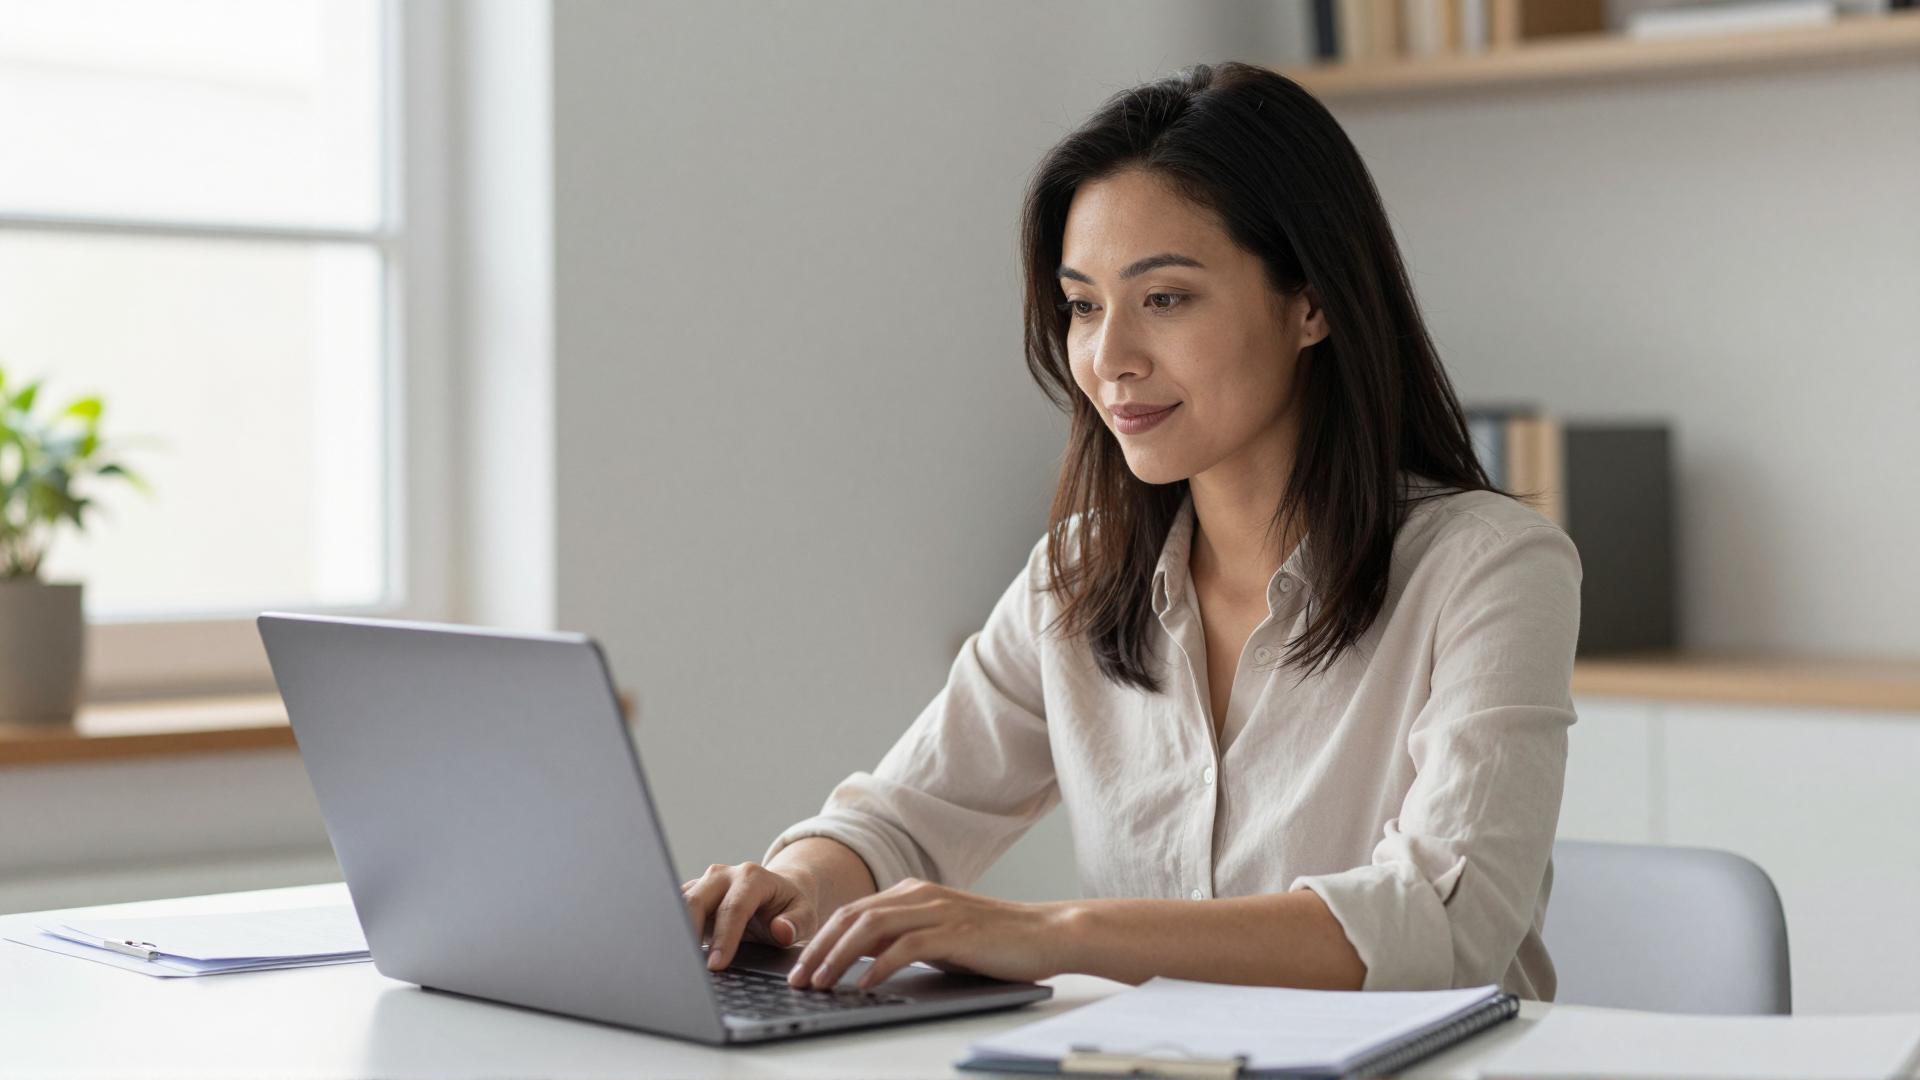
- Raise your laptop or webcam to eye level. Stack books, use a monitor stand, or buy a cheap laptop riser. Camera below chin level creates an upward angle that emphasises under-chin fullness and distorts your features.
- Add one soft light source at face height, directly in front. A lamp with a diffusing shade on your desk — positioned behind your monitor, pointing at your face — is all most people need.
- Match your bulb colour temperatures. A warm desk lamp mixed with a cool overhead fluorescent creates a split colour cast that looks unnatural on camera. Swap to bulbs in the 4000–5000 K range throughout the room you record in.
- Cover or move the window behind you if you cannot rotate your desk. A white curtain softens backlight from a window you cannot avoid; a roller blind eliminates it entirely.
- Move your webcam back to arm's length (~60–80 cm). Wide-angle built-in laptop lenses distort faces at close range. More distance from the lens reduces that barrel-distortion effect.
- Run GlowCam's Brightness and Glow sliders as a real-time top-up. When the room is dim and you cannot add a physical light — hotel room, home office after dark, open-plan with no control over overheads — software brightness lift and skin-glow processing close most of the gap. Try it free for 7 days.
3.The Physics of Why Light Position Matters
3.1Front light vs overhead-only vs backlight
Webcam sensors are small. They expose automatically for the brightest region in the frame. Backlight (a window or bright wall behind you) means the sensor exposes for that brightness — and your face becomes a dark, grainy silhouette.
Overhead-only light (typical office ceiling fixtures) casts hard downward shadows into your eye sockets, under your nose, and beneath your chin. The effect is unflattering in photographs; on low-quality webcam sensors it is more severe.
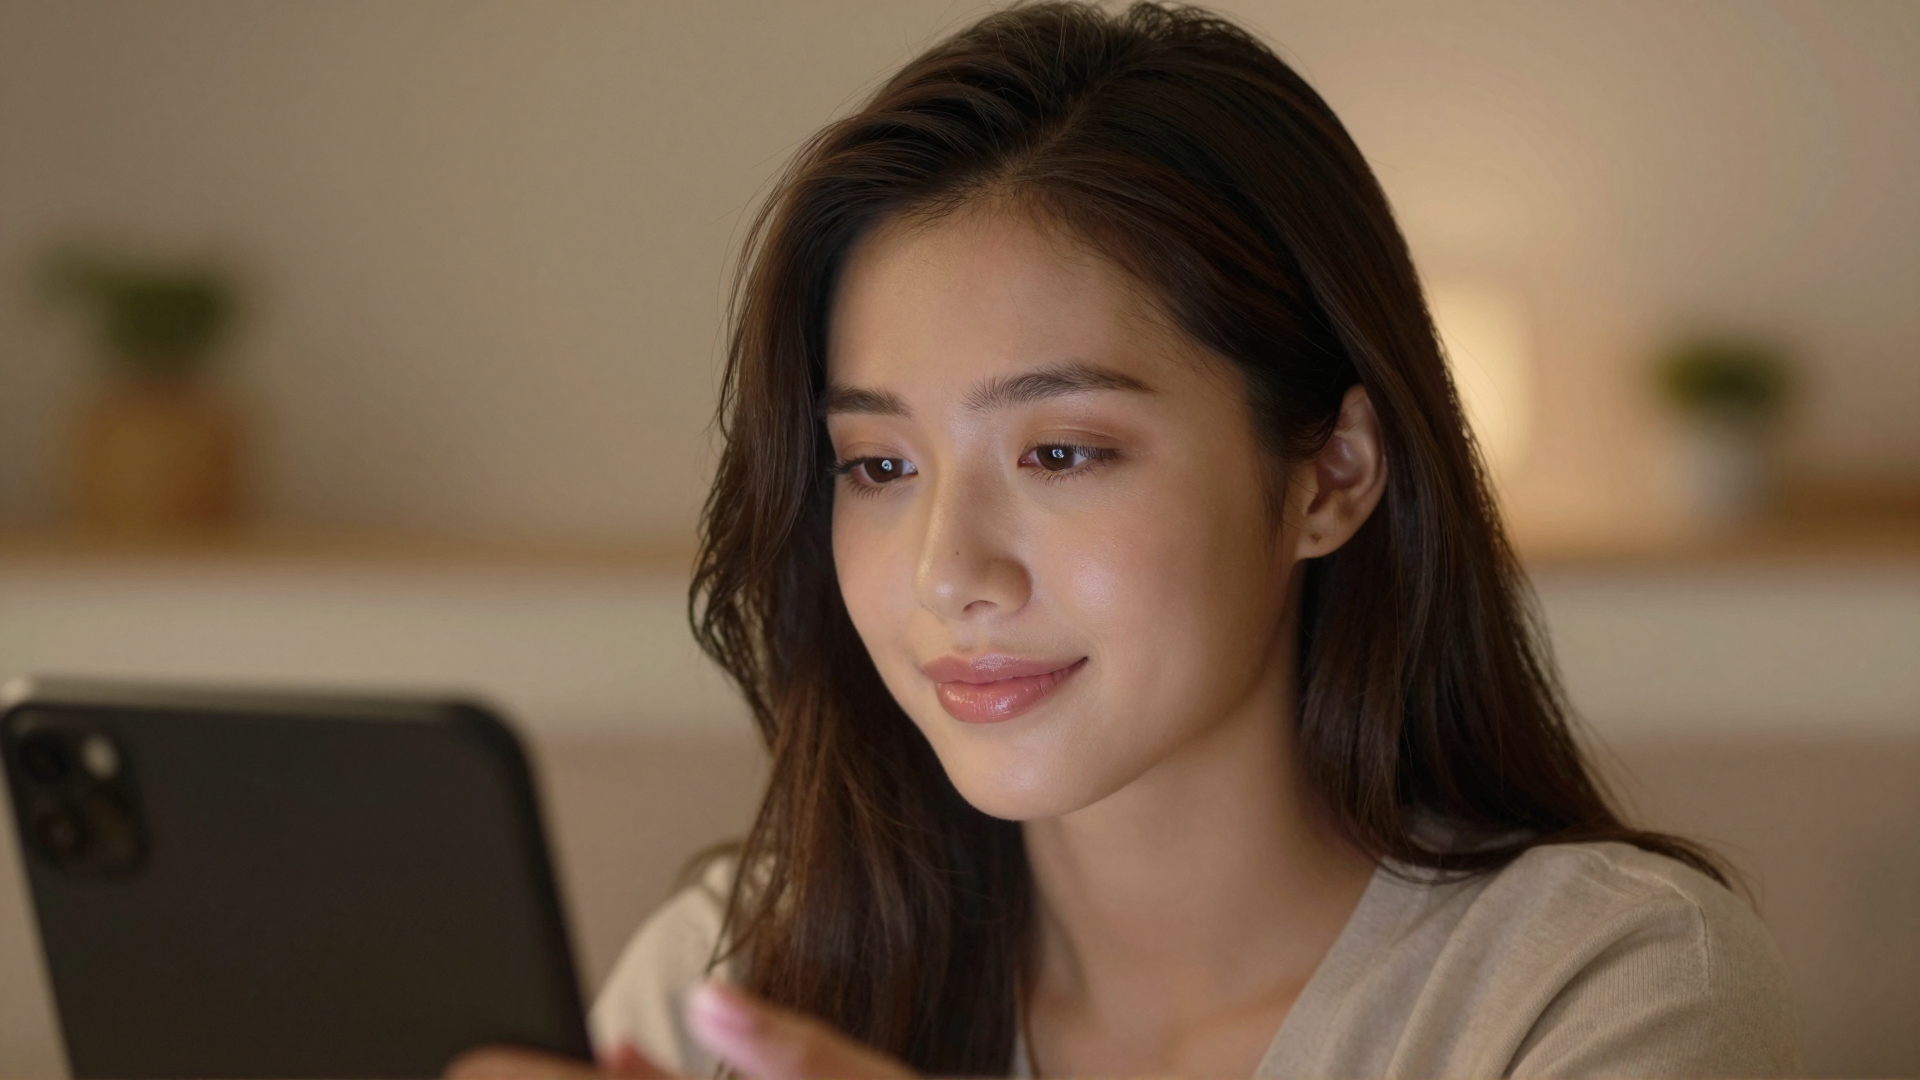
Front light — a source positioned in front of your face, at or near face height — fills in those shadows. The sensor no longer has to work as hard, noise drops, and the image reads as cleaner and warmer even without any adjustments on the software side.
3.2The lux number that matters
Professional video production targets 250–400 lux at the subject's face. That is roughly equivalent to a bright desk lamp with a diffuser, or soft daylight from a window on an overcast day. You do not need expensive equipment to reach this range; a single well-placed LED desk lamp frequently clears 300 lux within its effective range.
A bare overhead bulb directly above you may be brighter in raw lux but delivers most of that light to the top of your head rather than your face.
3.3Colour temperature
Aim for 4000–5000 K for video calls. That sits between warm incandescent (2700 K, which reads orange on camera) and harsh cool-white office tubes (6500 K, which reads clinical and ageing). Most modern LED bulbs labelled "Natural White" or "Daylight" fall in this window. The difference between a 2700 K and a 4500 K bulb in the same position is visually significant on camera even when it looks subtle to the naked eye in the room.
4.Camera Angle: The Single Fastest Way to Look Better
4.1Eye level is the baseline
The webcam lens should sit at or very slightly above your eye level — no more than a few centimetres. At this position:
- Your face reads in correct proportion
- There is no upward-angle distortion that amplifies chin and neck fullness
- Eye contact with the lens feels natural to the other person
If you are on a laptop on a desk, the screen hinge puts the camera at roughly chest or chin height. That angle alone explains why people look worse on laptop calls than on desktop calls with an elevated external webcam. A laptop stand that raises the hinge to eye level costs under £20 and is one of the most effective single purchases for video call appearance.
4.2Slightly above eye level: when it helps
A camera 3–5 cm above eye level, tilted slightly downward, is a subtle variation that works well for many people. It reduces the visibility of under-chin fullness and creates a mild "looking up at the lens" effect that reads as attentive and engaged. Beyond roughly 10 cm above eye level the angle starts to feel dominant or clinical rather than natural.
4.3Camera below eye level: avoid
A camera below your chin produces the reverse: wide nostrils, strong jawline/neck distortion, and visible ceiling or harsh overhead lights in the background. It is the most common setup on desks with laptops placed flat, and it is the single quickest thing to fix.
4.4Distance from the lens
Built-in laptop webcams are wide-angle lenses. Close to the lens (30 cm), faces look barrel-distorted — foreheads appear larger, features can look stretched. At arm's length (60–80 cm) the distortion flattens and features read in normal proportion. If you use an external webcam, you can increase the focal length slightly, which further reduces distortion. Frame yourself so that your head and a few inches of shoulder are visible — cropped tightly at the top of the frame, not floating in a large empty space.
5.Lighting Setups by Situation
5.1Setup A: Natural window light (ideal, zero cost)
Position your desk so you face the window directly. Overcast days are better than direct sun — direct sun creates hotspots on one side of your face that the webcam will overexpose. If direct sun is unavoidable, hang a white cotton or semi-sheer curtain to diffuse it. This is the setup professional interviewers and home podcasters use because it is free and difficult to beat.
Works for: daytime calls in a room with a usable window.
5.2Setup B: Desk lamp as a key light (~£15–40)
Place a lamp with a shade (or a clip-on diffuser) behind your monitor, centred on your face. The shade acts as a soft box, scattering the light so it wraps around your features rather than creating a sharp hotspot. Position the bulb so the bottom of the shade is roughly at eye level.
A second lamp at lower intensity on the other side (or a white wall nearby to bounce light) removes remaining shadows. This two-lamp version approximates a professional interview setup on a minimal budget.
Works for: evening calls, windowless rooms, offices.
5.3Setup C: Dedicated ring light or panel light (~£30–80)
Ring lights sit behind or around your monitor and deliver even, diffuse, front-facing illumination with a wide spread. They are popular for exactly this reason. If you use one, position it so the camera sits in the ring's centre hole — that aligns the light axis with the lens, minimising shadows entirely.
A small LED panel on a flexible arm offers more positional control. It can be placed off to one side at a 30–45° angle from your face for a slightly more three-dimensional, less flat look.
Works for: frequent video calls, content creation, professional conferencing.
5.4Setup D: The difficult room (hotel, dim rental, no control over overheads)
Sometimes you cannot move furniture, open blinds, or add a lamp. This is where software becomes a practical tool rather than a vanity option. GlowCam's Brightness and Glow controls apply real-time adjustment to your webcam feed — doing in software what a key light does in the room. Combined with Even-Tone and Under-Eye Brighten, it compensates for the flat, tired look that overhead-only or low-light environments produce.
The honest framing: software cannot replace physics. It cannot eliminate hard shadows the way repositioning a light source can. But it genuinely reduces the gap between a difficult room and a reasonable one, which is why it is worth having on calls where you have no control over the environment.
Start a 7-day trial of GlowCam — no card required
6.Webcam Quality: Does Your Hardware Actually Matter?
6.1720p vs 1080p
Most modern calls — Google Meet, Zoom, Microsoft Teams, Webex — stream at 720p or 1080p depending on bandwidth and platform tier. A 720p webcam delivers adequate clarity for everyday check-ins. A 1080p webcam shows visibly sharper detail, particularly for presentations, client calls, and any meeting where you are displayed full-screen on the other person's monitor.
If you are using an older 720p built-in laptop webcam, upgrading to an external 1080p webcam is a meaningful improvement — but only if you have also sorted lighting and angle. A sharp sensor in a badly lit room still produces a poor image.
6.2Sensor size and low-light performance
Webcam sensors vary significantly in how they handle low light. Cheaper sensors increase gain (ISO) to compensate, producing visible grain. Higher-quality sensors maintain a cleaner image in lower lux conditions. If you find your calls consistently look grainy despite adequate ambient light, the sensor is likely the limitation and a hardware upgrade will help more than any software adjustment.
6.3Lens quality and autofocus
Entry-level built-in webcams use fixed-focus lenses. They are optimised for a specific distance range (typically 50–90 cm). Sitting much closer or farther blurs the image. External webcams with autofocus track you as you move and maintain sharpness. For people who shift forward and back during calls, autofocus is a genuine usability improvement.
7.Settings Table: Light, Angle, and Hardware at a Glance
| Variable | Avoid | Target | Notes |
|---|---|---|---|
| Light position | Behind you, directly above | Front-facing, at face height | Soft/diffuse source preferred |
| Light intensity | Under 100 lux at face | 250–400 lux at face | One good desk lamp typically reaches this |
| Colour temperature | Mixed warm + cool, or under 2700 K | 4000–5000 K | "Natural White" or "Daylight" LED labels |
| Camera height | Below chin level | Eye level ±3 cm | Raise laptop; use a stand |
| Camera angle | Upward-facing, or more than 10 cm above | Level or 2–5 cm above, tilted slightly down | Avoids double-chin and ceiling-in-background issues |
| Camera distance | Closer than 40 cm (wide-angle distortion) | 60–80 cm (arm's length) | Reduces barrel distortion from built-in lenses |
| Webcam resolution | 480p (blurry) | 1080p for professional calls | 720p acceptable for internal meetings |
| Background | Cluttered, bright window behind you | Neutral wall or simple background | Light-coloured wall bounces fill light onto your face |
| Software top-up | Over-processed, unnatural skin effects | Subtle brightness, glow, even-tone | GlowCam sliders — use sparingly for realism |
8.GlowCam as a Lighting Complement
GlowCam works inside your browser on Google Meet, Zoom, Microsoft Teams, Cisco Webex, Whereby, and Discord. It processes your webcam feed in real time, on your device. The features that directly relate to the lighting and angle problems described in this guide:
- Brightness — lifts overall exposure when the room is underlit
- Glow — adds the luminous quality that good soft front light produces naturally
- Even-Tone — reduces uneven colour from mixed lighting or patchy shadows
- Under-Eye Brighten — compensates for the darkening effect of overhead-only light, which creates shadows under the eyes
- Warmth — corrects the cool, clinical appearance of fluorescent or harsh daylight
These controls are available during the 7-day trial alongside the full skin-smoothing, makeup, and background tools. Pro adds hair colour and subtle reshape options.
The right sequence: fix your physical setup first using the advice in this guide. Then use GlowCam for the remaining gap — and for calls where the environment is entirely out of your control.
For focused advice on skin texture and tone on camera, see: How to Make Skin Look Good on Webcam.
Get GlowCam for Chrome — 7-day trial, no card required
9.Summary
The biggest visual improvements on video calls come from:
- Moving your light source from behind or above you to in front of you at face height
- Raising your camera to eye level
- Matching your bulb colour temperatures to 4000–5000 K
- Sitting at arm's length from the lens
These four physical changes cost nothing beyond a lamp and a laptop stand. When the room is fixed and imperfect — which it often is — software adjustments in GlowCam close the remaining gap in real time, on whichever platform you are using.
Sources: