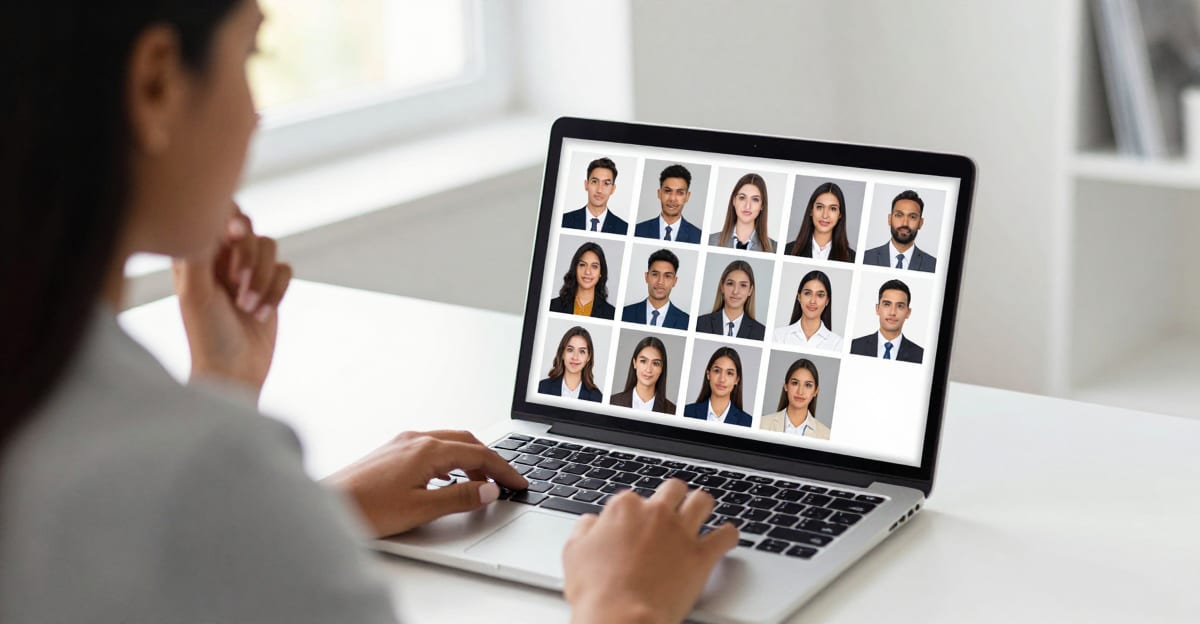
The best AI headshot generator for LinkedIn is not the one with the most templates or the flashiest marketing — it is the one that keeps your real likeness while producing a sharp, professional, correctly framed photo fast. A headshot that looks amazing but no longer looks like you is worse than a mediocre selfie, because the moment you show up to a meeting the mismatch erodes trust.
This is a buyer's guide, not a ranking of brand names. It gives you the six criteria that actually separate good AI headshot tools from bad ones, a scoring framework you can apply to any tool you test, and an honest explanation of where Imagera's AI Headshot studio fits.
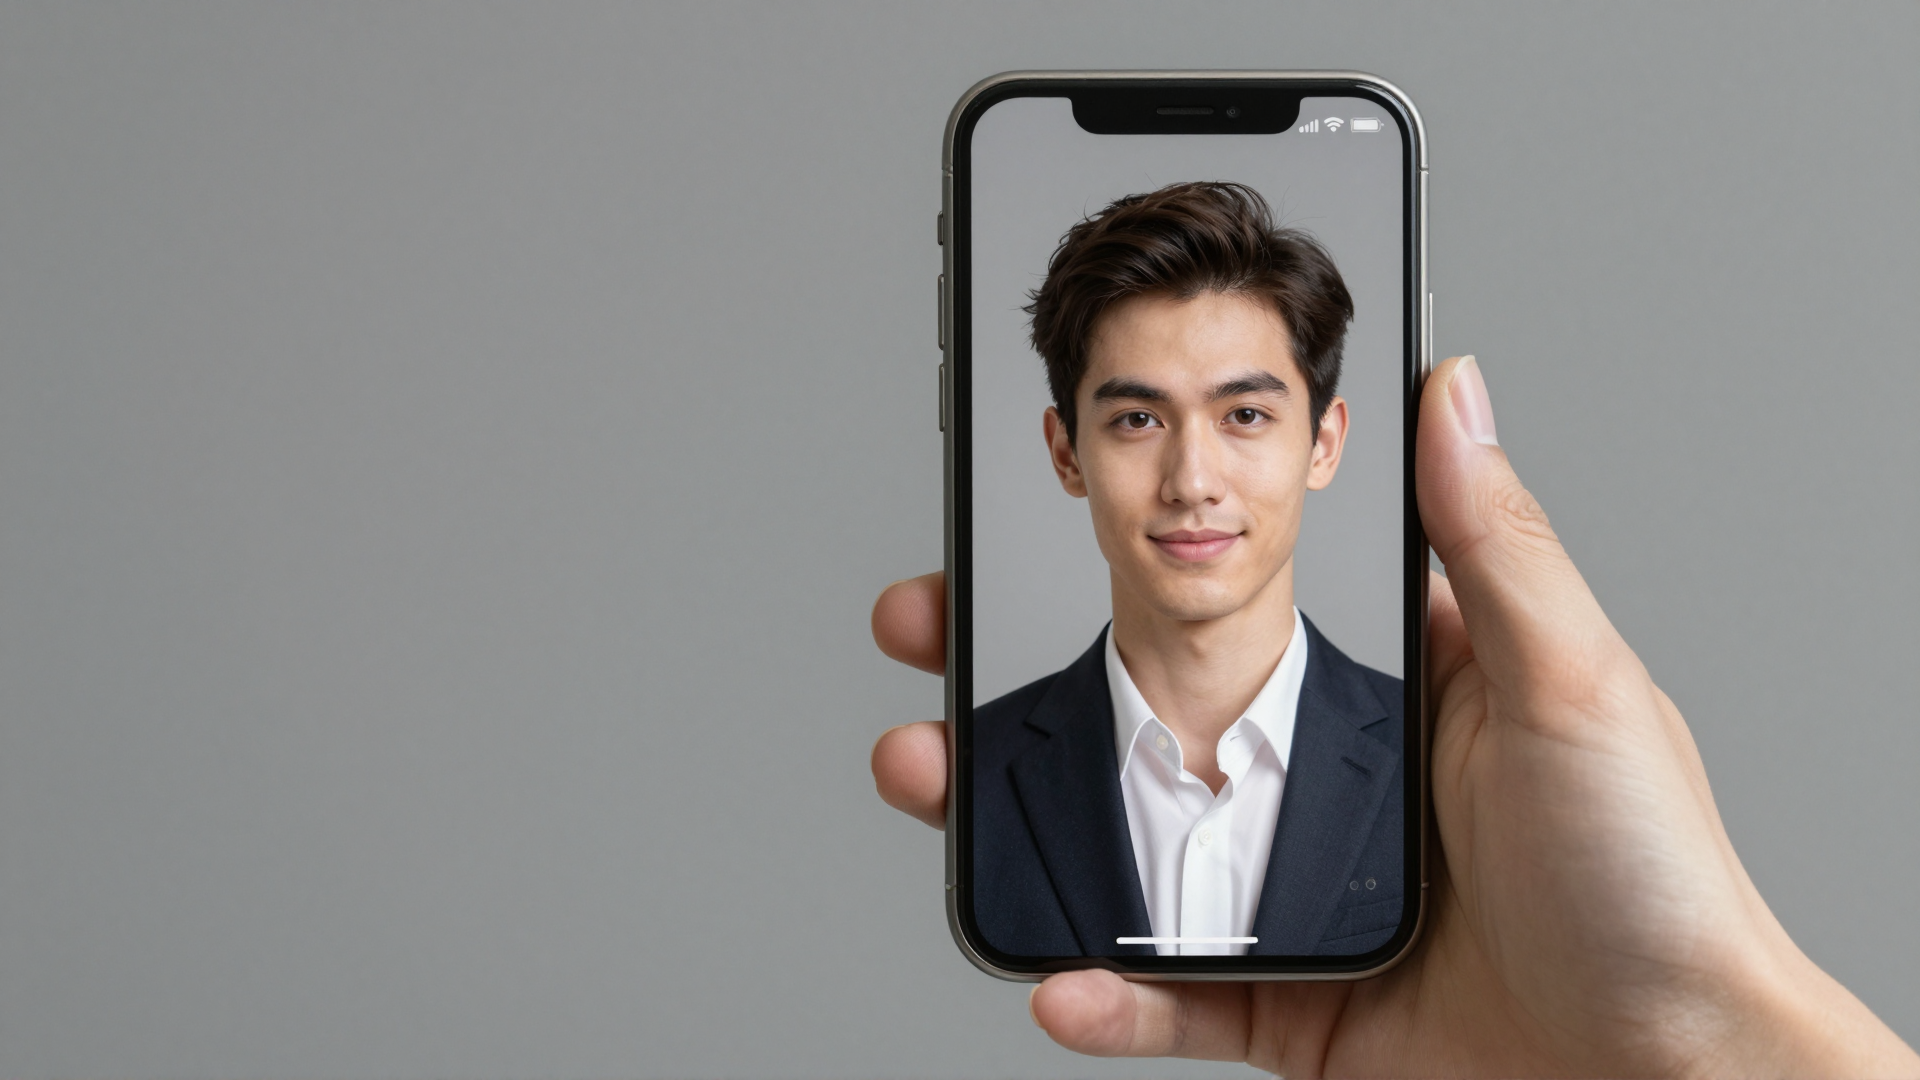
Quick answer: Imagera generates studio-quality LinkedIn headshots from a few selfies in under 60 seconds, producing 4K portraits with professional lighting, business attire, and clean backgrounds—no photographer or studio booking required.
How many photos do you need to create an AI headshot for LinkedIn?
Imagera needs as few as 5 to 10 clear selfies to learn your face, then delivers 40+ polished headshot variations in a single batch. Each run finishes in under 60 seconds at 4K resolution, and you can regenerate unlimited outfit, background, and lighting combinations in 2026 until one matches your personal brand.
Are AI-generated headshots good enough for a professional LinkedIn profile?
Yes—modern 4K AI headshots from Imagera hold up for most profile use cases, giving you a clean, professional look without the cost or scheduling of a traditional studio sitting. The output pairs sharp detail with natural lighting and business attire, and Imagera prices each batch in credits so you can experiment freely until a headshot feels right for your personal brand.
Why "most templates" is the wrong way to choose
Many AI headshot tools compete on volume: "300 styles," "hundreds of outfits," "50 backgrounds." That is the wrong metric. You need exactly one headshot for LinkedIn, and it needs to do a specific job — look like a competent, warm, current version of you.
Three failure modes account for almost every disappointing AI headshot:
- Lost likeness — the output is a good-looking stranger. Polished, symmetric, and useless for a profile people will match against the real you.
- The "AI look" — plastic skin, glassy eyes, impossible symmetry, weird ears or teeth. Readable as fake, which quietly costs you credibility.
- Wrong framing or resolution — a beautiful render that is cropped badly or too soft to hold up at LinkedIn's display size.
A tool that avoids these three things with even a handful of professional styles beats a tool with 300 styles that fails on likeness.
The reason volume marketing works is that "hundreds of styles" is easy to put on a landing page and impossible to verify before you pay. Likeness, by contrast, is the one thing you cannot fake and the one thing that actually determines whether a hiring manager, client, or connection recognizes you. Optimize for the hard-to-market quality, not the easy-to-market number.
What a good LinkedIn headshot actually needs to do
Before you evaluate any tool, be clear on the job. A LinkedIn profile photo is small (LinkedIn recommends at least 400 × 400 px and displays it as a modest circle), so it has seconds to communicate three things:
- Recognition — this is a real, specific person, and it is you.
- Approachability — an open, relaxed expression that reads as trustworthy, not stiff.
- Competence — clean framing, good light, and attire that fits your field.
Everything below is in service of those three outcomes. If a headshot nails recognition, approachability, and competence, it works — regardless of how many "styles" produced it.
The six criteria that actually matter
Score any AI headshot tool 1–5 on each of these before you pay.
1. Likeness preservation (most important)
Does the output still look like you — your bone structure, your features, your age — not a generic model wearing your general vibe? This is the single biggest differentiator and the one most tools quietly fail. Test it by generating and asking a friend: "Does this look like me?" If they hesitate, the tool failed.
2. Professional style range (quality over quantity)
You want a relevant set of professional styles — corporate, tech-casual, creative, healthcare — with backgrounds and attire appropriate to your field. A handful of well-executed, on-brief styles beats hundreds of gimmicky ones.
3. Realism / no "AI look"
Skin texture should look like skin, not wax. Eyes should look natural. Symmetry should be human, not machine-perfect. This is what separates a photo people trust from one that reads as synthetic.
4. Resolution and framing
The result must be sharp at LinkedIn's display size and framed chest-up. If a tool outputs soft images or forces an odd crop, you will spend time fixing what should have been right.
5. Speed and iteration
Can you get results in minutes and regenerate variations without rebooking or re-uploading everything? Fast iteration is a real advantage over a studio, where a reshoot costs another appointment.
6. Cost and privacy
What does it cost for a usable set of headshots, and what happens to your uploaded photos? Prefer transparent pricing and clear handling of your images over "free trials" that lock the good outputs behind a surprise paywall.
Scoring framework: apply it to any tool
Use this weighted table. Likeness and realism carry the most weight because they are the criteria most tools fail and the ones that determine whether the headshot is usable at all.
| Criterion | Weight | What a 5/5 looks like |
|---|---|---|
| Likeness preservation | 30% | Friends confirm it's clearly you |
| Realism (no "AI look") | 20% | Natural skin, eyes, and symmetry |
| Professional style range | 15% | On-brief styles for your industry |
| Resolution & framing | 15% | Sharp at 400 px, correct chest-up crop |
| Speed & iteration | 10% | Results in minutes, easy regeneration |
| Cost & privacy | 10% | Transparent price, clear image handling |
Multiply each score by its weight and sum. Anything that scores low on likeness or realism should be disqualified regardless of its total — those two are non-negotiable for a professional profile.
How the Imagera AI Headshot studio works
Imagera's AI Headshot studio is built around the two criteria most tools miss: likeness preservation and realism. Rather than retouching a single photo, it studies your face across the selfies you upload and renders a fresh, studio-lit portrait that keeps your real features while improving the lighting, framing, wardrobe, and background. The workflow is deliberately short:
- Upload up to four selfies. Add clear photos of yourself from slightly different angles. One good photo works, but two to four images — varied angles, varied light — give the studio more of your real likeness to work from, which noticeably improves the result.
- Pick your style. Choose the look that matches where the photo will be seen: LinkedIn, corporate, real-estate, creative, resume, or actor. Each preset applies appropriate attire, background, and expression for that context.
- Choose your quality tier and resolution. Select the tier and output resolution that fit the destination. The Pro quality tier is tuned for the truest likeness — use it when recognition matters most, which for a LinkedIn photo is always.
- Generate. Your portrait renders in minutes, saves to your history, and is ready to download and use anywhere. Because it is built from your own photos rather than an invented face, it stays true to you.
There is no scheduling, no travel, and no back-and-forth with an editor. If a frame is not quite right, you regenerate — the studio produces new variations without re-uploading everything.
Step-by-step: your first LinkedIn headshot
Here is a concrete walkthrough from selfies to a finished profile photo.
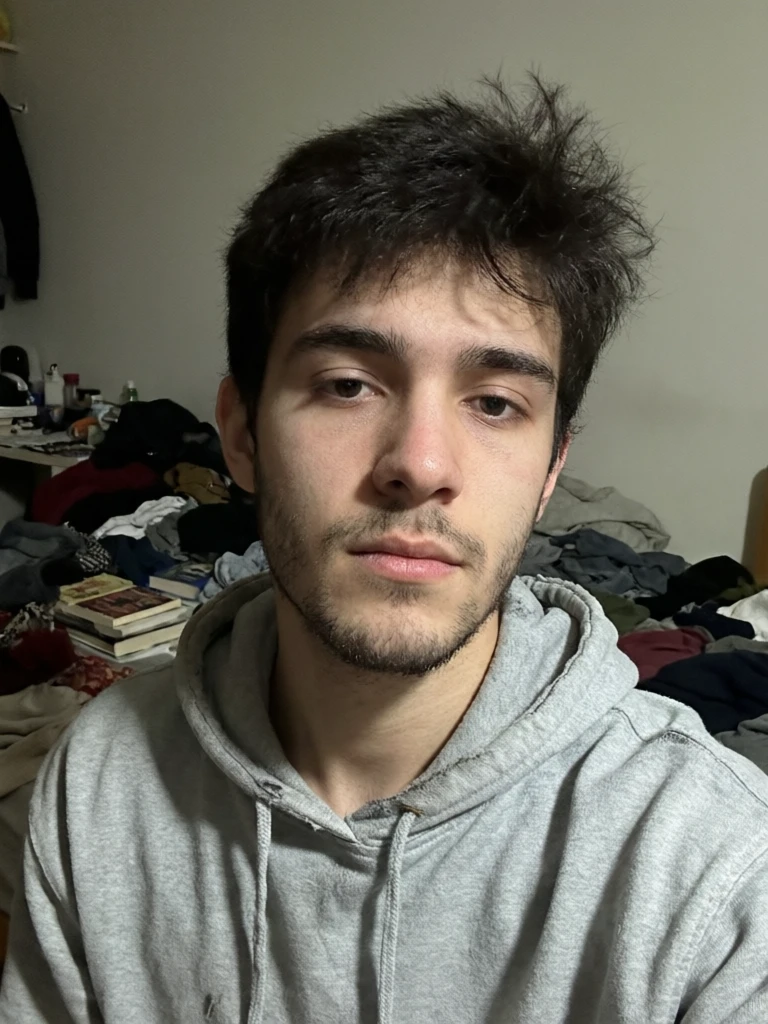
- Gather your source photos. Take or find three to four recent selfies in natural daylight. Face front-facing and fully visible, no sunglasses or hats, no heavy filters. Slightly different angles and lighting across the set help more than four near-identical shots.
- Open the studio. Go to the AI Headshot studio and upload your selfies.
- Choose the LinkedIn style. It applies business-appropriate attire, a clean background, and a warm, approachable expression by default.
- Select the Pro tier. For a profile people will match against the real you, prioritize the tier tuned for likeness over speed.
- Generate a small batch. Produce a few variations so you have options to compare rather than committing to the first render.
- Run the likeness check. View outputs at full size, then show two or three to someone who knows you and ask, without leading them, whether it looks like you.
- Zoom-inspect the finalist. Check skin, eyes, ears, teeth, and hairline for any "AI look" artifacts. Pick the frame that is both flattering and unmistakably you.
- Download and upload. Save the file and set it as your LinkedIn photo, cropped chest-up so your face fills the frame.
The whole process takes minutes, and the last, decisive step — choosing the frame where you still look like you — is a human judgment no tool makes for you.
Common use cases: who it's for
The same studio engine is tuned for wherever your headshot will actually be seen:
- Job seekers and LinkedIn upgraders — a clean, approachable profile photo is the first thing recruiters and clients see, and a current one signals you are active and professional.
- Corporate and team headshots — everyone on a team uploads their own selfies and picks the same style, so an about page or staff directory ends up consistent without coordinating a single group shoot.
- Real-estate agents — a bright, trustworthy photo for listings, signage, and brokerage profiles, easy to refresh when your branding changes.
- Resume and CV photos — a formal portrait for applications where a photo is expected (common across continental Europe; less so in the US, UK, Canada, and Australia).
- Doctors and medical staff — credible portraits for hospital directories, residency applications, and practice websites.
- Actors and casting — editorial lighting and a characterful expression for casting profiles and comp cards.
- Students and new graduates — a first professional headshot for internship and first-job applications or a university profile.
If your headshot needs to serve more than one of these — say, LinkedIn plus a company about page — one upload can produce several looks, so you are not paying for separate shoots.
Imagera vs a traditional studio shoot
Both are legitimate options. The honest comparison is about turnaround, flexibility, and cost, not about one being universally "better." Competitor pricing below reflects commonly listed studio session rates; Imagera's cost is expressed in credits because the per-credit price varies by plan.
| Factor | Imagera | Traditional photographer |
|---|---|---|
| Turnaround | Minutes, from your own device | Days to book, travel, then wait for edits |
| Outfits & looks | Several styles from one upload | One sitting, limited changes |
| Reshoots | Regenerate any time | Pay for another session |
| Whole team | Same studio look for everyone, no scheduling | Coordinate schedules and a location |
| Source of likeness | Built from your real photos | Your real photo, captured live |
| Cost | Runs on Imagera credits (per-image cost) | Commonly listed at ~$150–$450 per session |
A professional photographer still wins for very large prints, elaborate art direction, or executive brand shoots where in-person rapport matters. For a LinkedIn thumbnail, the practical gap is small — and the ability to refresh in minutes is a real advantage a studio cannot match.
How much does an AI headshot cost?
Headshots run on Imagera credits, at a small per-image cost that is a fraction of a studio session. You top up credits as you go, and because a single upload can produce several looks, you get multiple usable options for the price of one shoot — with no re-booking fee to try again. Paid Imagera plans include commercial rights, so you can use the headshots on your profiles, your company site, and marketing materials, and the outputs you generate are yours.
Watch for tools that advertise "free" and then paywall the only usable outputs. Before you commit to any generator, confirm what a downloadable, high-resolution result actually costs — not the teaser price.
How to test a tool in 10 minutes
You do not have to guess. Run this quick trial on any candidate:
- Upload your standard selfie set (three to four varied shots, good light, face unobstructed).
- Generate one professional style that matches your industry.
- The likeness test: show three outputs to someone who knows you and ask if it looks like you. No leading.
- The zoom test: view at full size and check skin, eyes, ears, teeth, and hair for the tell-tale "AI look."
- The crop test: confirm you can frame it chest-up, sharp at 400 px.
- The cost test: confirm what a usable, downloadable set actually costs before you commit.
If a tool passes 1–5 and the price is transparent, it is a real option. If it fails the likeness or zoom test, move on — no amount of style variety fixes those.
Tips for the best results
- Feed it good inputs. Clear, recent, well-lit photos where your face is fully visible and roughly front-facing produce the truest likeness. Natural daylight usually beats indoor lighting.
- Vary your source shots. Slightly different angles and expressions across your four uploads give the studio more to work with than four near-identical selfies.
- Start from neat clothing. Style presets apply business attire, but uncluttered, simple necklines in your uploads help the result read as clean and professional.
- Use the Pro tier for LinkedIn. When recognition is the point, choose the tier tuned for likeness rather than the fastest option.
- Generate a batch, then judge. Produce a few variations and pick the one a friend recognizes instantly instead of settling for the first render.
- Match the style to the platform. A warm, approachable expression suits LinkedIn and corporate use; a more neutral, characterful look fits actor and editorial profiles.
Common mistakes to avoid
- Uploading blurry or filtered photos. AI is not magic on bad inputs. Dark, soft, or heavily filtered selfies limit how faithful and sharp the output can be.
- Choosing the flashiest frame over the most accurate one. The best-looking render is worthless if it no longer reads as you. Recognition beats glamour.
- Skipping the likeness check. Never publish a headshot you have not shown to someone who knows you. Your own eye adjusts to a face quickly; a second opinion catches drift.
- Over-cropping or using a soft image. Frame chest-up and confirm sharpness at LinkedIn's display size before you upload.
- Chasing template counts. Do not pick a tool because it lists more styles. Pick it because its outputs pass the likeness and zoom tests.
- Letting your photo go stale. Update your headshot every couple of years, or whenever your appearance or role changes. Regenerating takes minutes.
Example scenarios
- The recent graduate: No professional photos, a phone full of casual selfies. Four daylight shots plus the LinkedIn style produce a clean, approachable first headshot for internship applications — the missing piece on an otherwise thin profile.
- The five-person startup team: Everyone works remotely, so a group shoot is impractical. Each person uploads their own selfies and picks the same corporate style, and the about page ends up consistent without anyone coordinating a location.
- The real-estate agent rebranding: New brokerage colors mean the old signage photo no longer matches. A fresh, bright agent headshot in the real-estate style refreshes listings and profile in an afternoon instead of waiting on a photographer.
- The mid-career professional between roles: An outdated photo from three jobs ago. A quick regenerate with a current selfie set brings the profile back in line with how they actually look today, before a round of applications.
Where Imagera fits — honest trade-offs
Imagera's AI Headshot studio generates from your own selfies and keeps your actual face, so the output still reads as you. It offers a focused set of professional styles for common industries rather than an overwhelming template count, outputs at a resolution that stays sharp at LinkedIn's display size, and lets you regenerate variations in minutes. That said:
- A professional photographer still wins for very large prints, elaborate art direction, or when in-person rapport matters (executive brand shoots). For a LinkedIn thumbnail, the practical gap is small.
- AI is not magic on bad inputs. If your selfies are dark, blurry, or all one angle, no generator can invent a great headshot. Feed it decent, varied source photos.
- Always sanity-check likeness yourself. Pick the frames where you still look like you — that judgment is the last, human step no tool replaces.
For the vast majority of professionals who want a strong, current, on-brand LinkedIn photo without a $150–$450 studio booking, an AI headshot that nails likeness and realism is the pragmatic choice.
Bottom line
Choose your AI headshot generator on likeness and realism first, style range and framing second, and price and speed last. Templates are marketing; a photo that looks like a credible, current you is the product. Run the 10-minute test on any tool before you pay, and pick the one whose outputs your friends recognize instantly.
Ready to try? Open the AI Headshot studio, upload a few selfies, and judge the likeness for yourself.
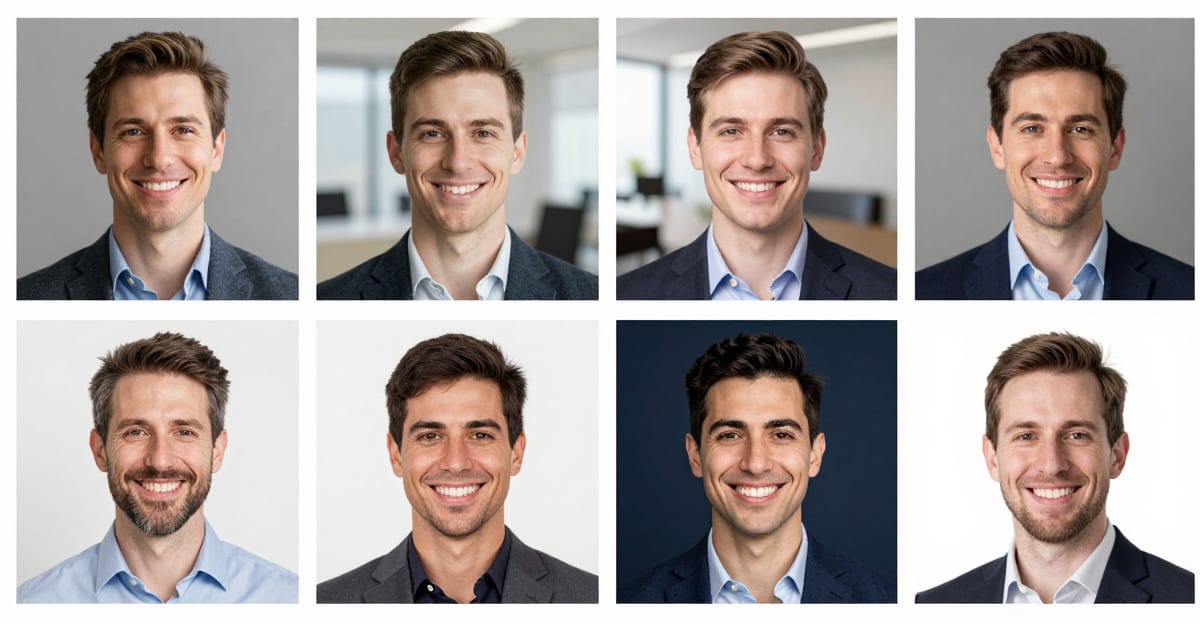
See it in action — real Imagera output
These are real, unedited results from the Imagera ai headshot — the exact tool this guide covers.