How to Make an AI Headshot Look Realistic
A good AI headshot is indistinguishable from one a photographer took. A bad one screams "AI" — glassy eyes, airbrushed skin, weird ears, lighting that doesn't match the face. The difference usually isn't the tool; it's the inputs and the choices. Here are the eight fixes that reliably remove the "AI look."
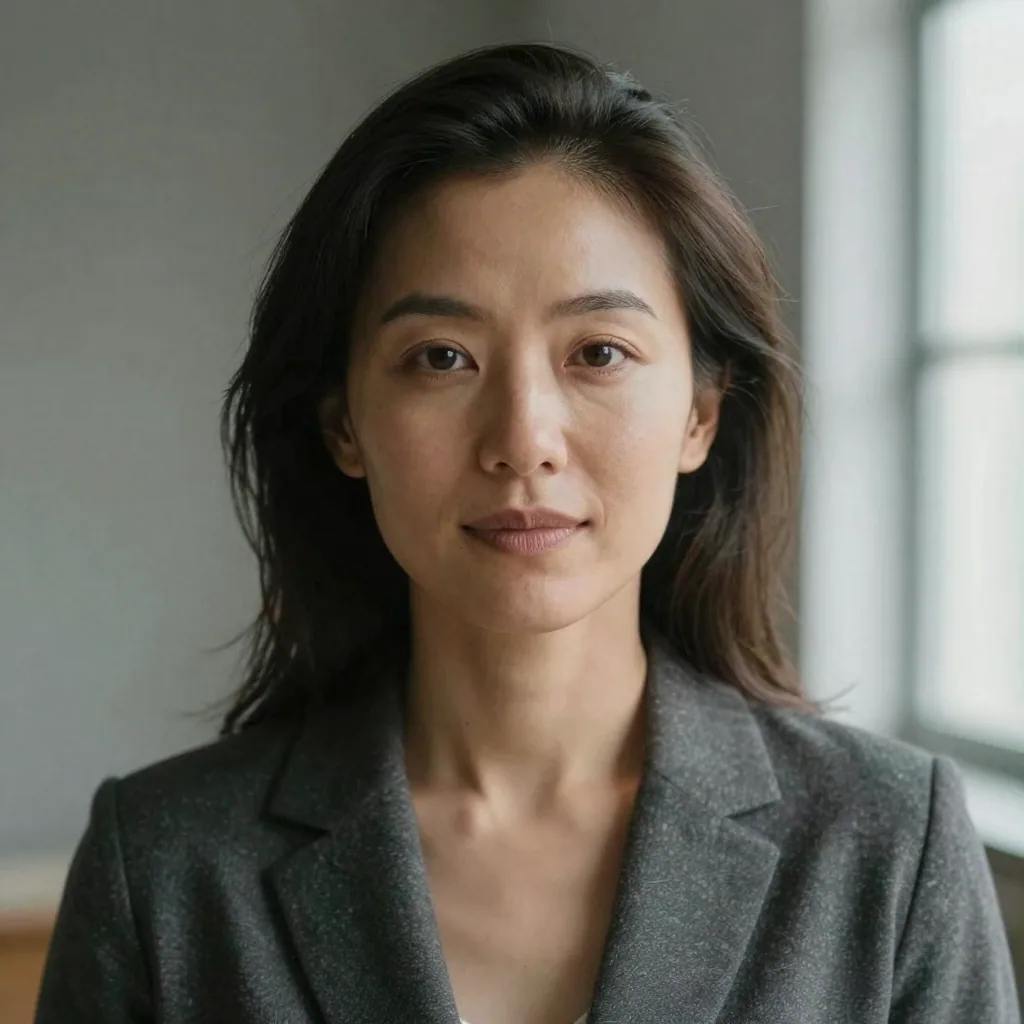
Quick answer: AI headshots look realistic when you upload sharp, well-lit source photos, keep the crop chest-up at eye level, and correct the usual giveaways: over-smoothed skin, warped ears or teeth, and mismatched studio lighting. Imagera renders 4K portraits in under a minute so you can regenerate flaws fast.
1.How many source photos do you need for a realistic AI headshot?
Upload at least 8-12 varied photos: a few straight-on, a couple at slight angles, and two different backgrounds, all shot recently. Too few images hurts likeness accuracy, while dozens of near-identical selfies add little. Imagera then outputs 4K frames in under a minute, so a few quick regenerations usually fix the last artifacts.
2.Why do AI headshots look fake, and how do you fix it?
A handful of flaws cause most of the "fake" feel: plastic skin (turn the detail-enhance setting down), distorted ears or glasses, and flat lighting. Upscaling to 8K restores pores that read as human. Keeping a catchlight in both eyes is one of the fastest credibility cues, and Imagera preserves it across its 4K renders by default.
3.Why AI headshots look fake
Most tell-tale signs come from over-processing and thin input data:
- Plastic skin — the model smooths away pores and texture until the face looks like wax.
- Dead eyes — catchlights are missing or symmetrical in an unnatural way.
- Lighting that doesn't sit on the face — highlights and shadows that don't agree with a single light source.
- Proportion drift — ears, jawline, or hairline subtly wrong because the model had too few angles to learn from.
- Over-sharpening — a crunchy, HDR-ish look no real camera produces.
Fix the inputs and dial back the processing, and almost all of these disappear.
4.1. Feed varied, high-quality input selfies
The single biggest lever. Give the generator a range of clear photos: different angles, expressions, and backgrounds, all in good light. Avoid heavy filters, sunglasses, hats, and other people in frame. More real information about your face means fewer invented (wrong) details.
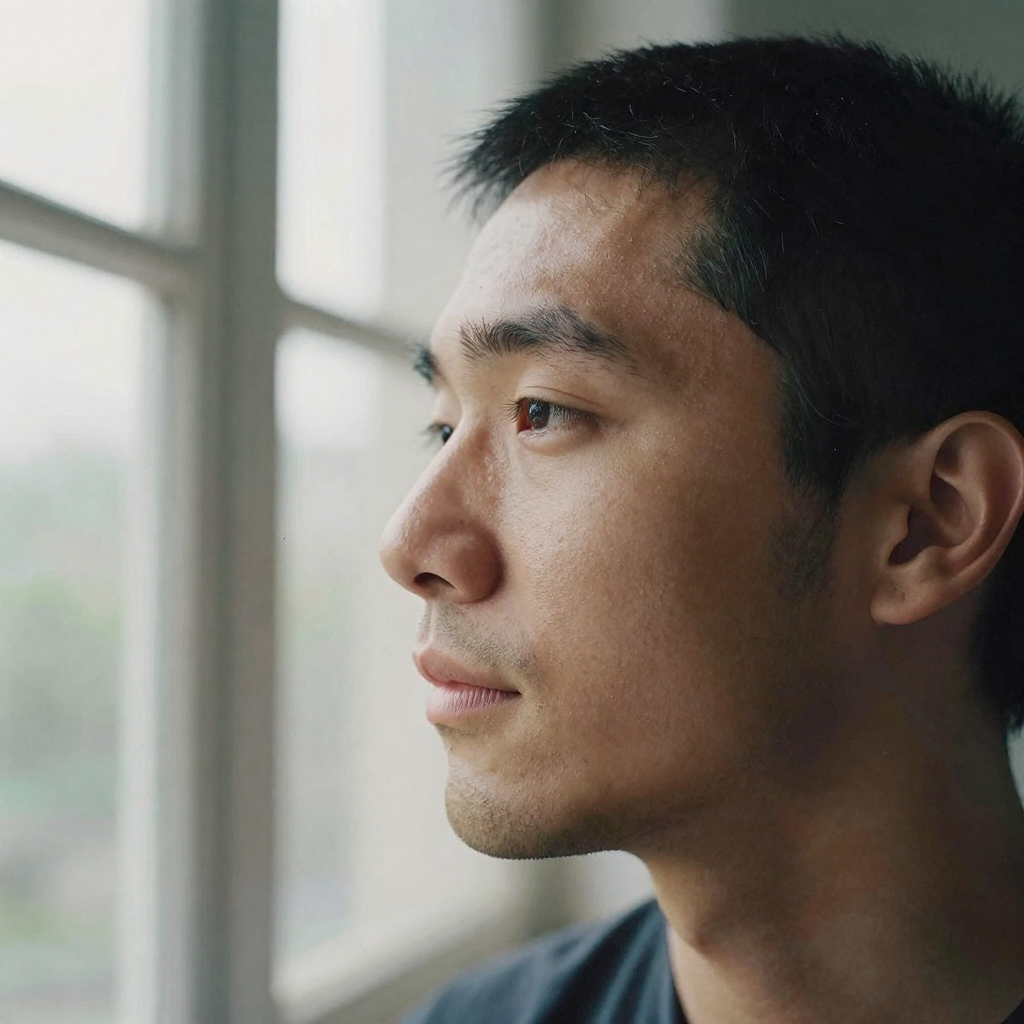
5.2. Keep real skin texture
Realistic skin has pores, faint lines, and subtle unevenness. If your headshot looks airbrushed, reduce smoothing/"beautify" strength. A touch of texture reads as photographic; a flawless matte face reads as generated.
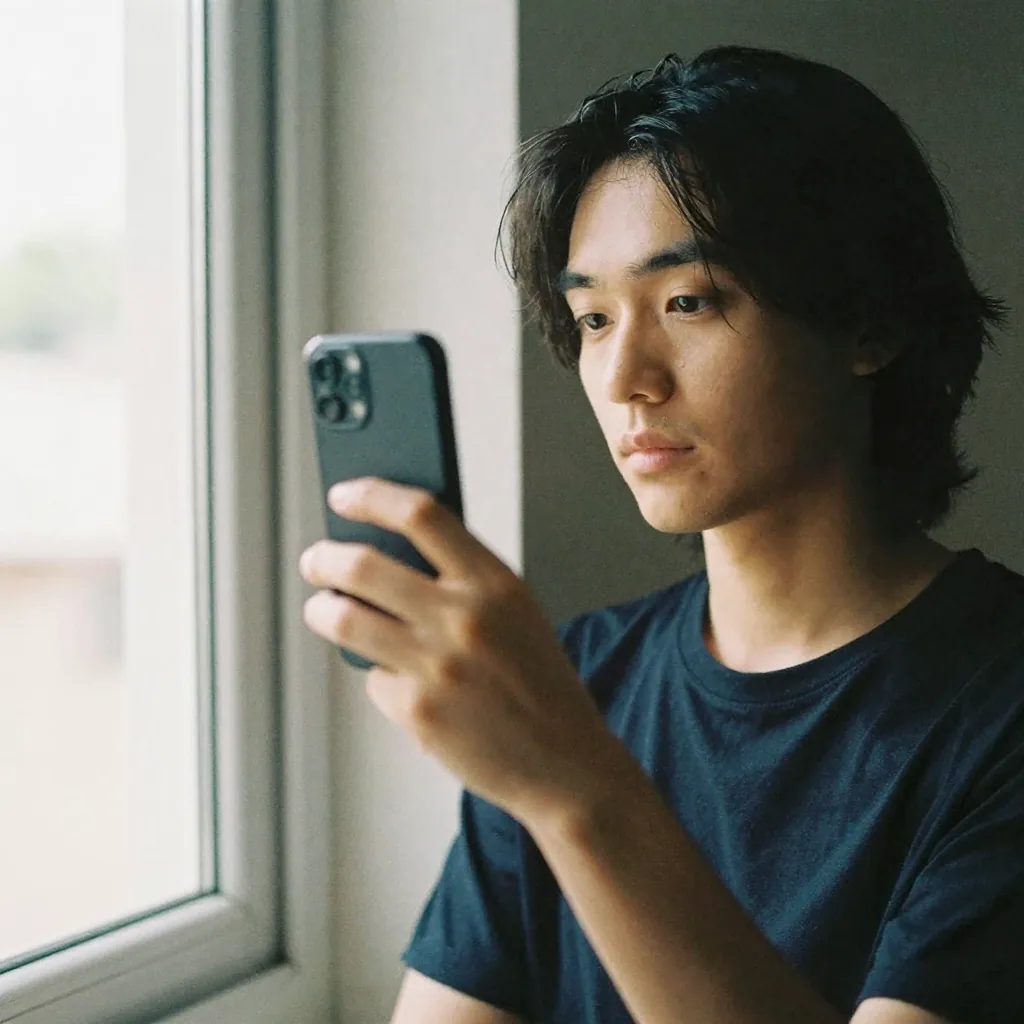
6.3. Choose soft, directional lighting
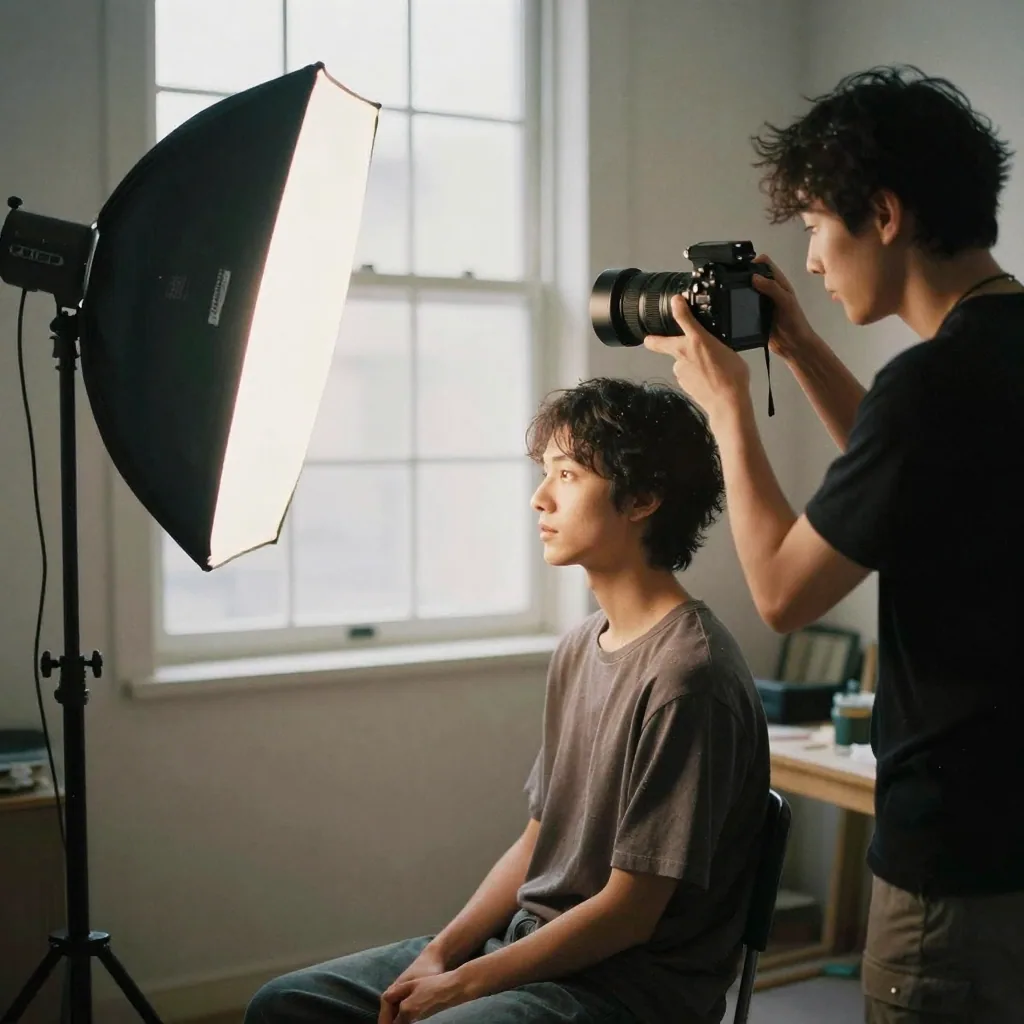
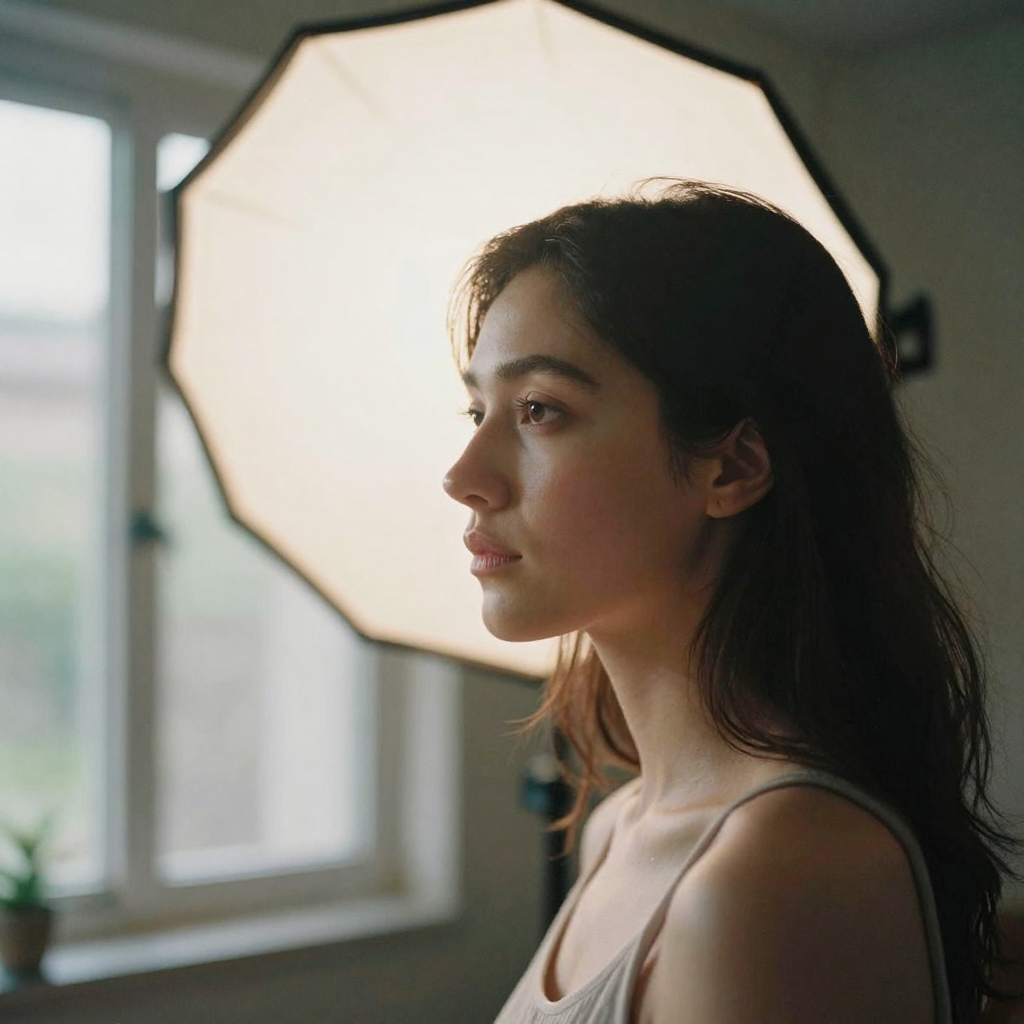
Real studio portraits use a key light slightly to one side with gentle fill. Pick lighting presets that create soft shadows and a natural gradient across the face, not flat, even, shadowless light (which looks synthetic) or harsh contrast (which looks composited).
7.4. Watch the eyes
Eyes sell realism. Look for natural, slightly asymmetric catchlights and clear (not glowing) irises. If the eyes look glassy or over-bright, regenerate or pick a different variation — don't try to fix them with more sharpening.
8.5. Match wardrobe and setting to the use case
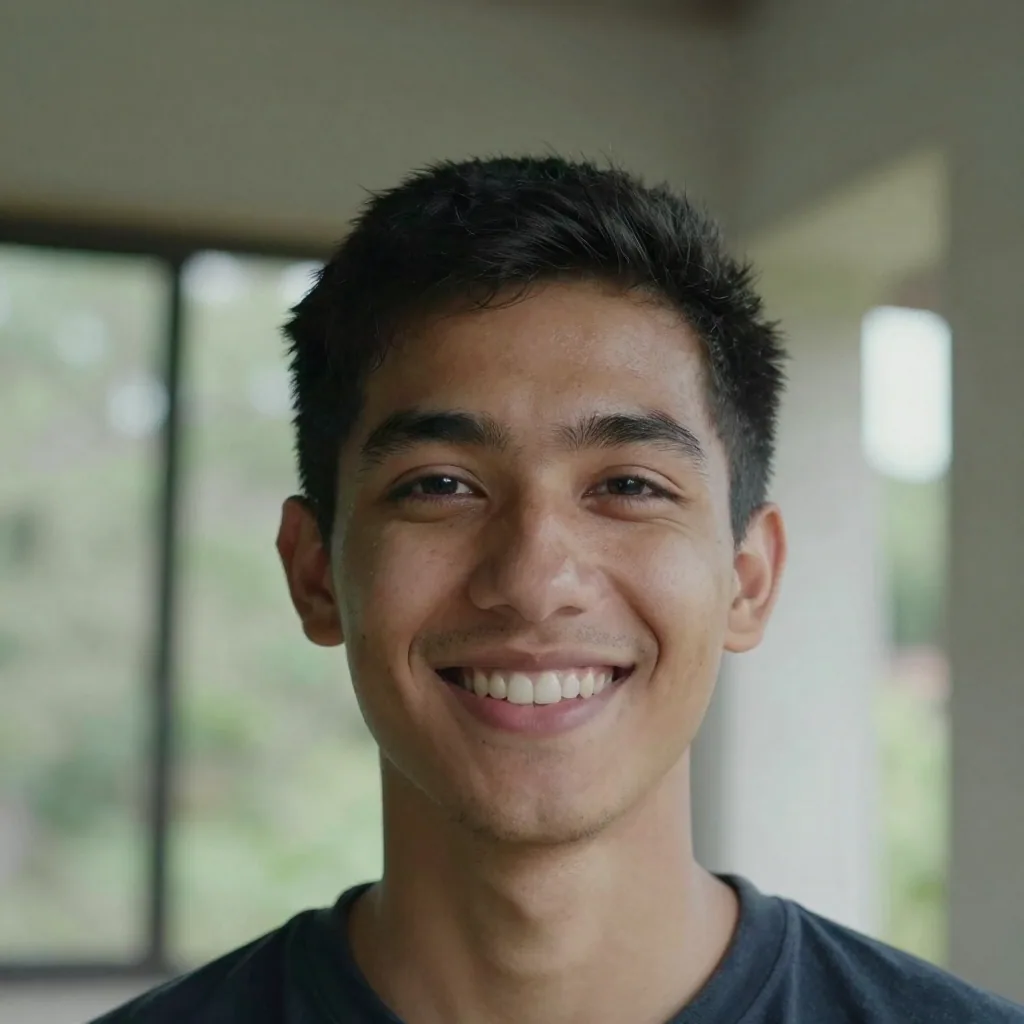
A LinkedIn headshot wants simple professional attire and a clean, softly blurred background. Over-styled outfits and busy fantasy backdrops are where AI images tend to fall apart. Simpler settings are both more realistic and more useful.
9.6. Don't over-retouch
The instinct to "clean up" is what ruins most AI headshots. Resist maxing out smoothing, sharpening, and saturation. A believable portrait is slightly imperfect. Light, restrained edits beat heavy ones every time.
10.7. Upscale for crisp, natural detail
Once you have a good result, a gentle AI upscale sharpens genuine detail (hair, fabric, skin) without the plastic look that in-model sharpening adds. Export at a high enough resolution for LinkedIn, a company page, or print.
11.8. Generate a batch and curate
Even with perfect inputs, some outputs land better than others. Generate several, then pick the two or three that look most like a photo of you — natural expression, correct proportions, believable light. Curation is part of the craft.
12.The realistic-headshot checklist
| Signal | Fake look | Realistic look |
|---|---|---|
| Skin | Airbrushed, matte | Visible pores, subtle texture |
| Eyes | Glassy, glowing | Natural catchlights, clear iris |
| Lighting | Flat or harsh | Soft, directional key + fill |
| Background | Busy, fantasy | Simple, softly blurred |
| Processing | Over-sharpened | Restrained, photographic |
Run your result against this before you use it. If it passes all five, it'll read as a real photo.
13.Make one that looks real
Start with 8–12 clear, well-lit selfies, keep the processing light, and choose soft lighting and a simple background. The AI Headshot Generator handles the studio work; your inputs and choices handle the realism. For a deeper look at how close AI has gotten, see do AI headshots look real.
14.Which selfie mistakes cause the most fake-looking headshots?
The two inputs that wreck realism most often are heavy phone-camera beauty filters and single-angle selfie sets. Beauty filters pre-smooth your skin before the model ever sees it, so the generator learns a face with no pores and compounds the plastic look. Same-angle sets starve the model of the profile and three-quarter information it needs to keep your ears, jaw, and hairline correct.
Turn off every "smooth skin," "slim face," and "brighten" setting on your camera before you shoot input selfies — those adjustments bake in the exact wax-figure look you are trying to avoid. Shoot in daylight near a window rather than under a single overhead bulb, which casts an unflattering shadow under the eyes and nose that the model faithfully reproduces. Vary the angle across the set: a straight-on frame, a gentle left three-quarter, a gentle right three-quarter, and one chin-slightly-down shot give the generator the geometry it needs. Keep your expression relaxed and natural rather than a fixed smile held across every frame — a mix of neutral and lightly smiling inputs produces outputs that look like a person caught mid-conversation rather than posed. If your best input photos are slightly soft, run them through the AI image enhancer before uploading so the generator learns from crisp detail instead of guessing.
15.How do input quality and settings map to the final look?
Realism is mostly decided before you generate — by input variety, skin-texture retention, and lighting choice. The table below maps each input decision to the result you get, so you can predict whether a set will read as photographic or synthetic before you spend credits.
| Input decision | Weak choice | Strong choice | Effect on realism |
|---|---|---|---|
| Number of selfies | 3–4 near-identical | 8–12 varied | More real detail, fewer invented features |
| Camera filters | Beauty/smoothing on | All filters off | Preserves natural pores and skin tone |
| Angle range | All straight-on | Front + both 3/4 + chin-down | Correct ears, jaw, hairline |
| Lighting source | Single overhead bulb | Soft window daylight | Natural shadow gradient, no eye-bags |
| Expression | One fixed smile | Neutral + light smile mix | Reads as candid, not posed |
| Post-processing | Max smoothing/sharpening | Light, restrained edits | Photographic finish, no wax look |
Read the table top to bottom before a session: if most of your choices sit in the "strong" column, the output will almost always pass as a real photo. If several sit in the "weak" column, no amount of after-the-fact editing rescues it — regenerate from better inputs instead.
16.Related tools on Imagera
17.Quick verdict
For realistic AI headshots, start on the money pages below. Imagera is pay-first — credit packs from $19.99, not a free unlimited tool. Measure success by usable published assets, not demo screenshots.
17.1Money pages
18.Operator checklist
- Prepare clean inputs (lighting, crop, rights).
- Generate a minimum viable test.
- QA on mobile.
- Enhance finals only if needed.
- Publish and measure conversion, not vanity views.
- Top up credits only after a winner is clear.
19.Deep notes for teams
Document winning settings. Share a folder of approved inputs. Assign one owner for credit budget. Revisit this process monthly as models improve. Related commercial content should always deep-link to product landings so organic readers can convert without hunting the nav.
20.Quick verdict
For realistic AI headshots, start on the money pages below. Imagera is pay-first — credit packs from $19.99, not a free unlimited tool. Measure success by usable published assets, not demo screenshots.
20.1Money pages
21.Operator checklist
- Prepare clean inputs (lighting, crop, rights).
- Generate a minimum viable test.
- QA on mobile.
- Enhance finals only if needed.
- Publish and measure conversion, not vanity views.
- Top up credits only after a winner is clear.
22.Deep notes for teams
Document winning settings. Share a folder of approved inputs. Assign one owner for credit budget. Revisit this process monthly as models improve. Related commercial content should always deep-link to product landings so organic readers can convert without hunting the nav.
23.Quick verdict
For realistic AI headshots, start on the money pages below. Imagera is pay-first — credit packs from $19.99, not a free unlimited tool. Measure success by usable published assets, not demo screenshots.
23.1Money pages
24.Operator checklist
- Prepare clean inputs (lighting, crop, rights).
- Generate a minimum viable test.
- QA on mobile.
- Enhance finals only if needed.
- Publish and measure conversion, not vanity views.
- Top up credits only after a winner is clear.
25.Deep notes for teams
Document winning settings. Share a folder of approved inputs. Assign one owner for credit budget. Revisit this process monthly as models improve. Related commercial content should always deep-link to product landings so organic readers can convert without hunting the nav.
Additional guidance: keep comparisons fair, update pricing claims against live pages, and never promise free generation on Imagera.
Additional guidance: keep comparisons fair, update pricing claims against live pages, and never promise free generation on Imagera.
Additional guidance: keep comparisons fair, update pricing claims against live pages, and never promise free generation on Imagera.
Additional guidance: keep comparisons fair, update pricing claims against live pages, and never promise free generation on Imagera.
Additional guidance: keep comparisons fair, update pricing claims against live pages, and never promise free generation on Imagera.
25.1Production note 1
Treat realistic AI headshots like a pipeline step. Inputs in, QA out, credits tracked. Link every tutorial section back to a live studio or landing URL so readers can act immediately after reading.
25.2Production note 2
Treat realistic AI headshots like a pipeline step. Inputs in, QA out, credits tracked. Link every tutorial section back to a live studio or landing URL so readers can act immediately after reading.
25.3Production note 3
Treat realistic AI headshots like a pipeline step. Inputs in, QA out, credits tracked. Link every tutorial section back to a live studio or landing URL so readers can act immediately after reading.
25.4Production note 4
Treat realistic AI headshots like a pipeline step. Inputs in, QA out, credits tracked. Link every tutorial section back to a live studio or landing URL so readers can act immediately after reading.
25.5Production note 5
Treat realistic AI headshots like a pipeline step. Inputs in, QA out, credits tracked. Link every tutorial section back to a live studio or landing URL so readers can act immediately after reading.
25.6Production note 6
Treat realistic AI headshots like a pipeline step. Inputs in, QA out, credits tracked. Link every tutorial section back to a live studio or landing URL so readers can act immediately after reading.