Most Stable Diffusion images give themselves away in the first second. The skin looks like smoothed plastic. The lighting has no direction. The background has that unmistakable soft-focus blur that no real lens produces at that focal length. The gap between AI output and real photography is not about the model — it is about how you configure it, what you layer on top, and how you finish the image.
This guide covers every lever that matters in 2026: which checkpoints and LoRAs to use, which sampler and CFG settings move output toward photography rather than illustration, how Hi-Res Fix adds the micro-detail that makes images convincing, and why a finishing pass in Imagera is the step most people skip.
If you want a broader look at what makes AI images read as genuine photographs, the make AI images look real guide covers the full landscape across tools and models.
Quick answer: To make Stable Diffusion images realistic, run them through Imagera's realism and upscaling tools to fix plastic skin, warped hands, and soft detail, then upscale to 4K or 8K photographic sharpness in one pass.
1.How do you make Stable Diffusion images look realistic in 2026?
In Imagera, upload your render and apply the realism pass, which rebuilds pore-level skin texture, corrects mangled hands, and adds true depth of field. Then upscale 2x to 4K or 4x to 8K. Most images finish in under 60 seconds, and a single edit costs a handful of credits rather than re-rolling prompts dozens of times.
2.Why do Stable Diffusion images look fake in the first place?
Raw diffusion outputs often show waxy skin, symmetric "AI eyes," and flat lighting because the model averages millions of training images. Imagera's 2026 realism engine adds micro-detail across all three problem zones, restoring the sharpness that diffusion tends to smooth away. Believable texture and correct anatomy usually matter far more than resolution alone for achieving a real-camera look.
3.Why Stable Diffusion Struggles with Realism by Default
Out of the box, most Stable Diffusion setups use a general-purpose checkpoint trained on a mix of photographic and illustrated content. The model has no strong prior toward photography, so it splits the difference: colors are vivid but flat, skin is smooth but textureless, and sharpness is distributed evenly across the frame rather than falling off with depth the way a real lens behaves.
Three things fix this:
- A checkpoint trained specifically on photographic data gives the model a photographic prior from the start.
- LoRAs that add skin, material, and lighting detail push the output further toward what a camera captures.
- Correct sampler and CFG settings prevent the model from over-process
ing the image into something that looks digitally painted.
All three need to work together. A great checkpoint with a bad sampler setting still produces artificial-looking output.
4.Step 1: Start with a Photorealistic Checkpoint
For SDXL in 2026, two checkpoints stand above the competition:
Juggernaut XL (v9 and later) is the most-downloaded SDXL model on Hugging Face, with over 6 million downloads. Each version has incrementally improved skin texture, hand anatomy, and lighting plausibility. The Ragnarok variant, released in early 2026, added stronger pore-level skin detail and more accurate shadow rendering. If you are generating portraits, this is the starting point.
RealVisXL V5 is the alternative for close-up work where hair and fine facial structure matter most. It trades some of Juggernaut's cinematic quality for a more neutral, documentary-photography look that works well for headshots.
If you are working with Midjourney or DALL-E and want to achieve the same level of photographic finish, the make Midjourney images look real guide covers the parallel process.
For those who want access to both SDXL and Flux-based generation in one place, the realistic AI image generator on Imagera supports both architectures without requiring a local install.
5.Step 2: Stack the Right LoRAs
LoRAs are small fine-tuned weight files that push a checkpoint toward a specific look without replacing it. For realism, a three-LoRA stack gives the best results:
- Detail Tweaker XL (weight 0.6-0.8): The most-used SDXL LoRA with 384,000+ downloads on CivitAI. It sharpens micro-detail across the whole image — skin, fabric, background — without requiring trigger words. Start at 0.7.
- Realistic Skin Texture LoRA (weight 0.4-0.6): Updated in March 2026, this LoRA focuses specifically on subsurface scattering, visible pores, and the subtle variation in skin tone that plastic-looking AI skin lacks. Use at 0.5.
- Cinematic Lighting LoRA (weight 0.3-0.5): Optional but impactful. Real photographs always have a light source direction. This LoRA biases the model toward motivated lighting — the kind that comes from one side and creates shadows — rather than the diffuse, sourceless illumination that makes AI images look like they were shot in a softbox.
Keep your combined LoRA weight below 1.5. Stacking too aggressively causes competing features to interfere and produces artifacts.
6.Step 3: Sampler and CFG — the Settings Most Guides Get Wrong
This is where most tutorials give advice that was accurate two years ago. Here is what works in 2026:
| SD Setting | Recommended Value | Realism Effect |
|---|---|---|
| Sampler | DPM++ 2M Karras or DPM++ SDE Karras | Preserves natural texture; avoids over-smooth Euler artifacts |
| Steps | 25-30 | Enough passes for detail without over-processing |
| CFG Scale | 4-6 | Low CFG produces natural tonal gradation; high CFG looks digitally painted |
| Image Size (SDXL) | 1024x1024 minimum | SDXL was trained at 1024px; smaller sizes produce proportion errors |
| Hi-Res Fix upscaler | R-ESRGAN 4x+ | Adds back micro-detail lost at base resolution |
| Hi-Res denoise strength | 0.35-0.45 | Low enough to preserve composition; high enough to draw new fine detail |
| Hi-Res upscale factor | 1.5x-2x | Enough resolution gain to resolve pores and hair strands |
CFG is the most misunderstood setting. A CFG of 7 or higher makes the model follow your prompt more literally, but it also pushes contrast and saturation beyond what a camera captures. Photographs have compressed highlights and lifted shadows. AI images with high CFG have blown whites and crushed blacks that read as processed. Drop CFG to 4-6 and the image immediately reads closer to film.
DPM++ 2M Karras is the workhorse. Its Karras noise schedule preserves the natural variation in texture that the older Euler sampler tends to smooth out in final steps. DPM++ SDE Karras is slower but slightly sharper — use it when rendering time is not a constraint.
7.Step 4: Hi-Res Fix — Where Realism Actually Happens
The single biggest jump in perceived photorealism comes from Hi-Res Fix, and it is not used correctly often enough.
At 1024x1024, Stable Diffusion cannot resolve skin pores, individual hair strands, or the weave of fabric. These details exist in photographs and their absence is what the human eye catches immediately. Hi-Res Fix re-renders the image at a higher resolution using a low denoising strength, which means the model keeps the composition and lighting from the first pass but redraws fine detail at the new size.
The correct settings:
- Upscaler: R-ESRGAN 4x+
- Denoising strength: 0.35-0.45 (higher values change the image too much; lower values add no useful detail)
- Upscale factor: 1.5x for portraits, 2x for full-body or environmental shots
At 0.4 denoising and 1.5x scale, you get an image where the skin has visible pore structure, the hair has strand separation, and fabric shows actual texture — all of which are characteristics of photographs rather than illustrations.
8.Step 5: Prompt Structure for Photographic Output
Even with the right checkpoint, LoRAs, and settings, your prompt needs to anchor the model to photography rather than art.
Camera-specific language works. Terms like "shot on Canon EOS R5," "85mm f/1.4," "ISO 400," and "golden hour" give the model photography-domain reference points rather than illustration ones. Include lighting direction: "soft light from camera left" or "rim lighting from a window behind." Specify a shallow depth of field explicitly: "bokeh background, subject in sharp focus."
Your negative prompt should exclude illustration artifacts. Common inclusions: "painting, drawing, illustration, cartoon, render, CGI, smooth skin, airbrushed, overexposed, plastic, glossy." Flagging these explicitly steers the model away from the illustrated modes where most checkpoints default.
For a deeper dive into prompt construction across tools including Midjourney and DALL-E, the best prompts for realistic AI images guide covers phrase patterns and negative prompt stacks that consistently produce photographic output.
9.Step 6: Finishing in Imagera for Camera-Real Output
Hi-Res Fix closes most of the gap. Finishing in Imagera closes the rest.
What remains after a well-configured SD generation: minor lighting inconsistencies where the AI has extrapolated rather than calculated, slight over-smoothing in the mid-tones that comes from diffusion averaging, and occasional face detail loss in off-angle or partially occluded faces.
Imagera's enhancement tools address each of these:
- Detail refinement adds back the texture-level sharpness that diffusion softens in the last few steps.
- Face restoration corrects the symmetry errors and feature softness that appear in SD faces without ControlNet.
- Lighting correction balances the image's tonal range toward the compressed highlights and lifted shadows that characterize real photography.
The result is an image that holds up to close inspection — the kind of image you could place next to a photograph and not immediately identify which is which.
Imagera plans start at $19.99 per month for standard resolution processing. The Pro plan at $49.99 per month unlocks high-resolution output, priority processing, and access to the full suite of enhancement tools. See the full feature breakdown on the pricing page.
10.The Realism Stack at a Glance
If you want to implement this in the next 20 minutes:
- Checkpoint: Juggernaut XL v9+ or RealVisXL V5
- LoRAs: Detail Tweaker XL (0.7) + Realistic Skin Texture (0.5) + Cinematic Lighting (0.4)
- Sampler: DPM++ 2M Karras, 25-30 steps
- CFG: 4-6
- Hi-Res Fix: R-ESRGAN 4x+, 1.5x upscale, 0.4 denoise
- Prompt: Camera language + lighting direction + shallow depth of field
- Finish: Imagera for texture, face, and lighting refinement
This stack works across portrait, environmental, and product photography use cases. It is the configuration that consistently narrows the distance between AI generation and real photography in 2026.
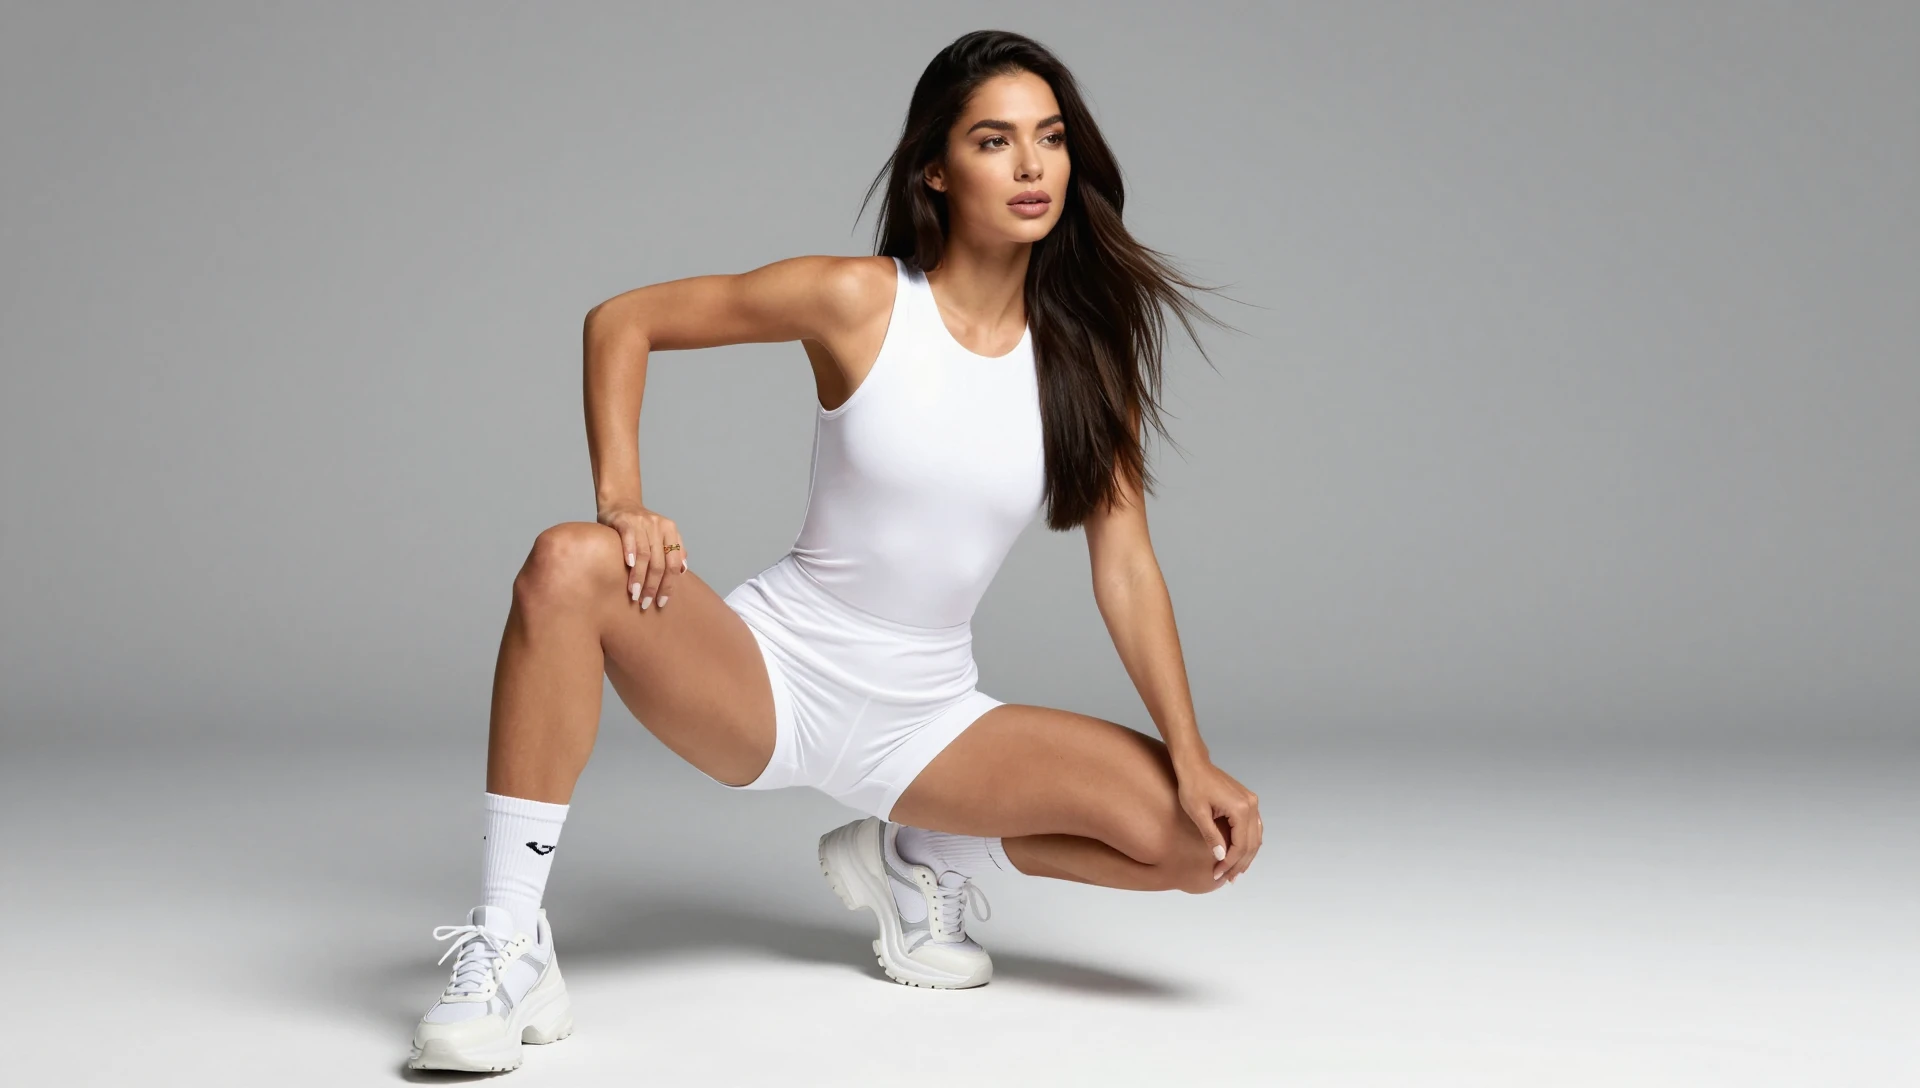
11.See it in action — real Imagera output
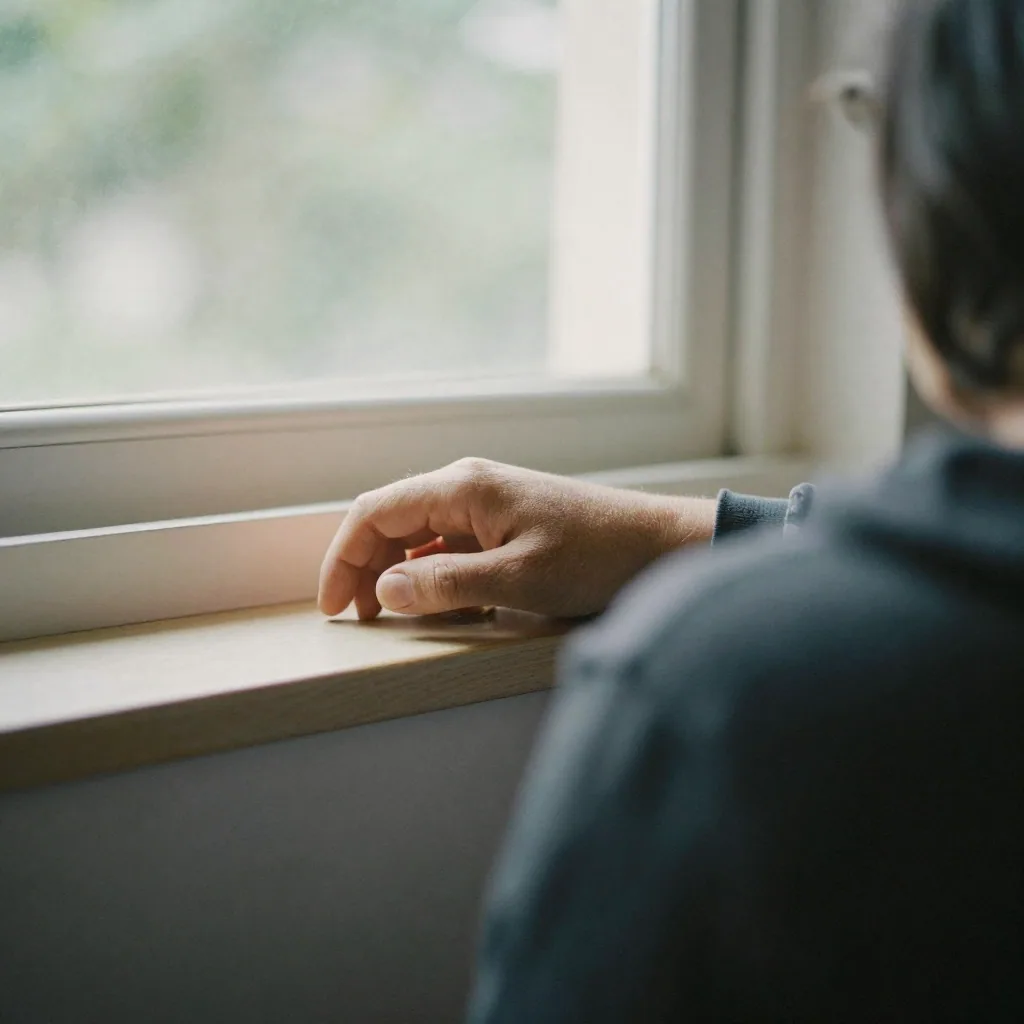
These are real, unedited results from the Imagera image generator — the exact tool this guide covers.
12.Diagnose the Tell Before You Re-Roll
Most people fix a fake-looking render by regenerating with a fresh seed and hoping. That wastes generations. A faster habit: zoom to 100%, name the single tell that breaks the illusion, then apply the one fix that targets it. Diffusion realism failures cluster into a handful of recognizable patterns, and each has a specific cause worth treating differently.
| Tell you see | Likely cause | Targeted fix |
|---|---|---|
| Waxy, poreless skin | CFG too high; over-smoothing in final denoise steps | Lower guidance a notch; add a light grain/texture pass in finishing |
| Both eyes catchlight identically, dead stare | Symmetric face synthesis without pose anchoring | Face restoration on an off-axis crop; avoid perfectly frontal framing |
| Background bokeh with no real geometry | Model inventing blur instead of simulating a lens | Prompt an actual location, then depth-aware refinement, not a blur filter |
| Text on signs is scrambled | Diffusion cannot spell reliably | Inpaint the text region or crop it out; don't rely on re-rolls |
| Hair melts into the background | Weak edge separation at generation resolution | Regenerate larger, then edge-aware detail recovery |
The skin tell is the one that matters most, because viewers judge faces first. The instinct to crank sharpening backfires — it exaggerates the plastic sheen. Real skin is high-frequency detail (pores, fine wrinkles) sitting under low-contrast, slightly uneven tone. Add the detail back, then dial down midtone contrast so the surface reads as absorbent rather than glossy. In Imagera, a detail-refinement pass followed by lighting correction handles this sequence in the right order; doing them in reverse re-smooths what you just recovered.
Edge case — batches meant to look like one shoot. If you're generating a set (a product line, a character across scenes), realism isn't per-image; it's consistency. Two individually convincing renders sitting side by side betray themselves when their color temperature, grain, and highlight rolloff don't match. Lock one image as your reference, decide its look, then run the rest through the same finishing recipe rather than tuning each by eye. Uniform post-processing is what makes a set feel photographed on one camera in one session.
When a render is 90% there, stop generating. Past a certain point, re-rolling trades one set of flaws for another and burns credits without converging. The last 10% — a soft off-angle face, a flat highlight range, a mid-tone that averaged too smooth — is finishing work, not generation work. Upscaling in Imagera before those corrections is worth the extra step: detail and lighting tools have far more real signal to work with at higher resolution, and the fixes hold under close inspection instead of introducing their own halos. Treat generation as the draft and finishing as the exposure.