
Create a consistent virtual influencer — generate a face or train yours, then make photos and reels
Build a virtual creator whose face stays identical across every photo and reel — generate the look or train it on your own images.
Imagera AI - AI content creation platform for generating images, cloning voices, creating avatars, and enhancing videos. Privacy Policy | Terms
Tired of AI images that look like a different person every time? Train once on 10–30 photos, then generate endless outfits, scenes, and styles that still look like you (or your brand character).
Browser-based · minutes to train · commercial rights on paid generations · pay as you create
Last updated: September 2026
A personal AI influencer is a face you train once so every new photo still looks like the same person. On Imagera, upload 10–30 photos, train in minutes, then generate outfits, scenes, and styles with one consistent identity — for creators, brands, and virtual influencers, with commercial rights on paid generations.
Personal AI Influencer A personal AI influencer is a reusable digital likeness of a real person (or a designed character) used to create unlimited new photos without a photoshoot. Unlike one-off image generators that invent a new face each time, you train once and keep the same identity across scenes, poses, and styles.
Imagera’s suite ties training, generation, style transfer, pose control, face fix, face swap, instant character, and character studio to one identity so your content stays recognizable. No desktop install — train and create in the browser. Pay for what you use; full commercial rights on generated images from paid plans.
What problem does this solve?
AI photos that change face every generation — train once, keep one recognizable identity.
What do I need to start?
10–30 clear photos of the face (or create a character), then train in the browser in minutes.
What can I make after training?
New scenes, outfits, styles, pose-controlled shots, edits, face fixes, and swaps — same face throughout.
Who is it for?
Creators, brands, agencies, and virtual influencer projects that need volume without losing likeness.
Can I sell with the images?
Yes — full commercial rights on paid generations, with rights to the face you train.
Generators are great at pretty pictures and terrible at remembering a person. If your face drifts, trust and recognition collapse.
Random image tools invent a new face each time. Your feed looks like a casting call, not a brand. Followers and customers stop recognizing “you.”
New outfits, locations, and ad angles mean another booking, another day, another invoice. Content calendars die waiting on the next shoot.
Near-miss faces kill trust. You need the same eyes, jaw, and vibe across hundreds of posts — not a cousin who sort of resembles you.
Imagera’s answer: train the face once, then run every creative tool against that same identity — so volume does not mean lottery faces.
Three steps. No desktop install. No GPU setup.
Use varied angles, lighting, and expressions. Clear, well-lit shots train a stronger identity. Skip heavy filters and group photos where the face is tiny.
Start training — no GPU farm, no desktop install. In a few minutes Imagera learns the face so later images stay on-identity.
Create new scenes, outfits, and styles; fix near-miss faces; control poses; swap or enhance when needed. One trained identity powers the whole suite.
Demo uses Imagera’s identity-training pipeline (same family as personal influencer train → generate). Drag the slider, then run it on your photos.
This is a real result. Get the same quality on your file — plans start at $19.99.
10 credits per image on most tools · Plans start at $19.99
Anyone who needs a recognizable face at content volume — not only “influencers.”
Stay on-camera without living on-camera. Train once, then fill Reels covers, carousels, and story stills that still look like you.
Keep a human face on ads and PDPs without booking UGC every week. Same spokesperson look across campaigns and seasons.
Design a character in Character Studio or train a face, then produce a consistent feed for entertainment or brand experiments.
Professional portraits and lifestyle shots that match your LinkedIn and site — without a studio day for every update.
Lock client identity for always-on creative tests. Iterate outfits and backgrounds faster than a reshoot cycle allows.
Pair a consistent face with new outfits and sets so lookbooks feel cohesive — not like five different models.
Pretty images are easy. A face people still recognize next week is the hard part.
| Dimension | Typical one-shot AI | Imagera Personal Influencer |
|---|---|---|
| Face consistency | New face almost every prompt | Train once — same identity across tools |
| Workflow | One trick per app/tab | Train, generate, pose, edit, swap in one suite |
| Speed to content | Lucky generations + heavy re-prompting | Minutes to train, then high-volume on-brand stills |
| Commercial use | Often unclear or restricted | Full commercial rights on paid generations |
| Pricing model | Monthly lock-in for one feature | Pay for what you create — no “face tax” subscription for unused seats |
Ten tools, one identity — train once, then create without losing the face.
Upload 10–30 photos and teach Imagera your look in minutes.
Create photorealistic images of your trained identity in any scene.
Apply the look of a reference image while keeping your face.
Change clothes, props, or scene without losing identity.
Use a pose reference so body language matches what you need.
Push almost-right faces to clearly you.
Few photos → consistent images fast, without a full train.
Invent a fictional brand face that stays consistent.
Place your trained face onto another body or shot cleanly.
Rename, manage, and retrain the identities you own.
Direct answers for buyers, creators, and AI search engines.
Train only faces you have the right to use. Results vary with photo quality and prompt. Commercial rights apply to paid generations per Imagera terms.
From your first upload to a repeatable content engine — what happens at each stage, what it costs in credits, and which mode to pick.
Training is a one-time credit spend, then every image after is cheap. Standard training is 500 credits and finishes in roughly 15 minutes. If you need a stronger likeness for brand or commercial work, the 4,000-step tier is 600 credits and the maximum-quality 10,000-step tier is 1,300 credits. Once a model exists, each new generated photo of that identity is 20 credits, so the more you post, the more the maths works in your favour.
Prefer to skip the wait? Instant Character needs only 1–5 photos and returns consistent images immediately — Turbo mode is 25 credits, Balanced 30, and Quality 35 per image. Credits come from packs and Pro plans improve your effective rate; you never rent a separate monthly “influencer seat” you barely touch. Ready to start? Train your face or read the full LoRA training guide.
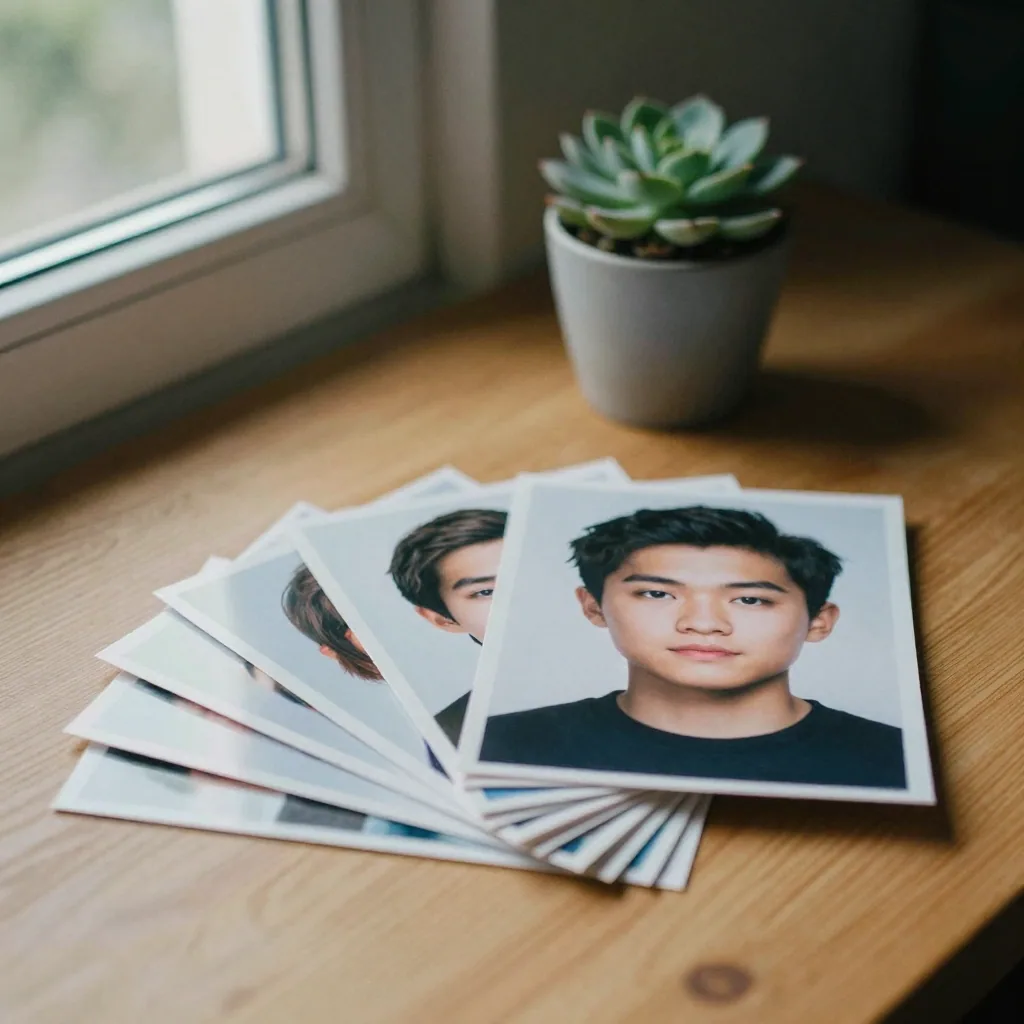
Both keep one recognizable face, but they trade setup time for durability. Use Instant Character to validate an idea in minutes; commit to a full train when you are producing a large, ongoing library and want access to Pose Control, Style Transfer, Inpaint, and Face Swap on the same identity.
| Consideration | Instant Character | Full trained model |
|---|---|---|
| Photos needed | 1–5 photos | 10–30 photos |
| Wait before first result | None — immediate | ~15 minutes to train |
| Cost | 25–35 credits per image | 500 credits once, then 20 per image |
| Long-term likeness | Good for short runs | Strongest across large libraries |
| Pose / Style / Inpaint / Swap | Limited | Full suite on one identity |
| Best for | Tests, quick campaigns | Always-on content engines |
Yes — the point of one shared identity is that every downstream tool keeps the face intact. Pose Control takes a reference photo, reads its body position, and generates your identity in that exact stance — useful for athletes, dancers, and repeatable ad framing. Style Transfer applies the colour grade, lighting, and art direction of a reference image while your face stays recognizable, so a whole campaign can share one visual language.
Need to change one detail on a finished shot? The Inpaint editor masks an outfit, background, or accessory and regenerates only that region, and Face Swap places your trained face onto another shot with lighting and skin-tone matching. Because all of these read the same trained identity, your feed stays cohesive instead of looking like five different people.
Open Character Studio and build a face from scratch — set gender, age, ethnicity, and style, and the AI generates a unique identity that stays consistent across every future image. This is how virtual influencers and brand ambassadors are made: no model release, no real person, but the same recognizable character in every post. Once the character exists, the same Generate, Pose Control, Style Transfer, and Face Swap tools all treat it exactly like a trained real face. For a full walkthrough, see our guide on creating an AI virtual influencer and the roundup of the best AI influencer generators.
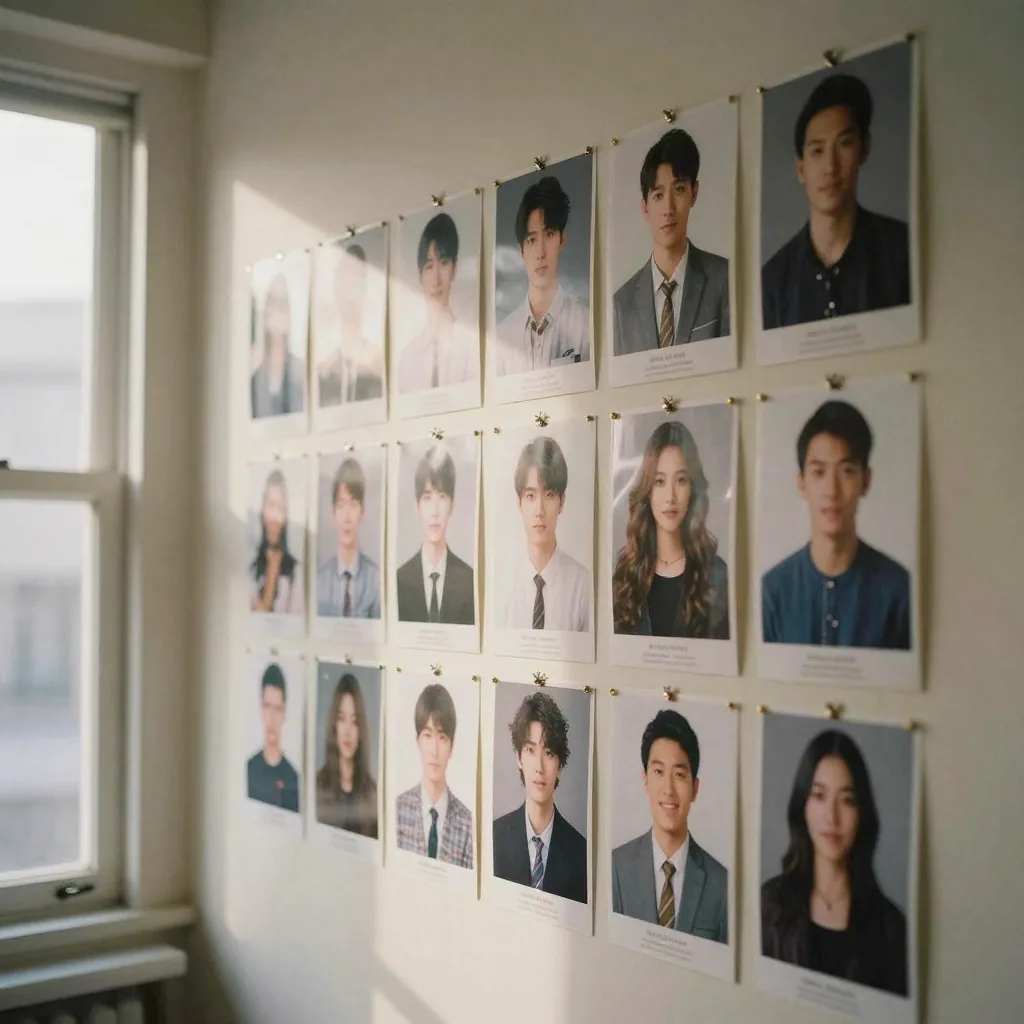
Train your character once, then generate on-brand stills in any setting — the same recognizable face across every shot.


Complete your workflow
These pair with Personal Influencer Maker. Every tile says what the tool actually does — without leaving this page.
Create a consistent virtual influencer — generate a face or train yours, then make photos and reels
Generate images with your trained personal model
Train custom AI models on your own images
Animate your personal influencer with voice
Build a training set from one face — varied angles, lighting and expressions.
Fix weird, low-res, or melted AI faces. Enhance facial features with a reference photo.
New state-of-the-art Imagera AI technology. Extremely fast, world's best consistency.
Imagera AI Team
Unified AI creation platform