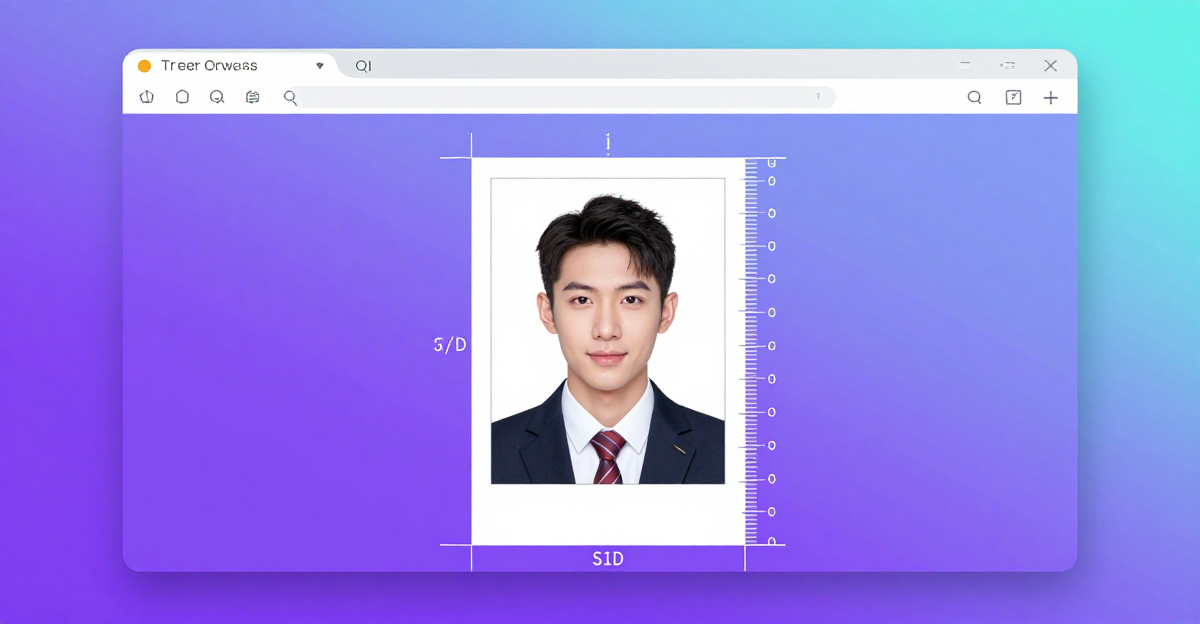
You can do this in a browser tab with Imagera's Image Compressor: set a target size, compress the photo on your device, and check the byte count before you upload. Compress a Passport Size Photo to a KB Limit — this guide covers the steps, quality checks, and when to open related tools.
Compress a Passport Size Photo to a KB Limit
Online passport and visa portals reject photos that exceed their file-size limits. The limit is stated in kilobytes — 50 KB, 100 KB, 240 KB — and a quality-percentage slider cannot reliably hit it. Imagera's Image Compressor takes a different approach: you enter the target size in MB, it lowers JPEG quality until the file fits under that number, and the photo never touches a server.
This guide focuses exclusively on the file-size problem. If you also need to resize to the correct pixel dimensions (600×600 px, 413×531 px, and similar), pair this guide with the companion piece on resizing a photo to passport and ID dimensions.
Quick answer: To compress a passport photo to a specific KB limit, resize it to the required pixel dimensions (often 600x600), convert to JPEG, and lower quality until the file drops under the target. In Imagera's compressor, enter a target a little under the limit (0.09 MB for 100 KB) and check the byte count before you upload.
1.How small does a passport photo file need to be in 2026?
Limits differ by portal. The table below runs from 60 KB (Singapore ICA) to 10 MB (UK), and the US State Department's online renewal commonly asks for a JPG of at least 600×600 px under 240 KB. Imagera's compressor takes a target from 0.05 MB (about 51 KB) upward and keeps the photo's pixel dimensions, so for limits near 50 KB, resize the photo down first.
2.Does compressing a passport photo to a KB limit ruin the quality?
Not with smart compression. Shrinking a several-megabyte photo to under 100 KB sounds drastic, yet passport photos stay clear because JPEG discards data your eye rarely notices at 600x600. Quality drops fastest when a large photo must fit a small budget at full resolution, so resize to the portal's dimensions first and check the face at full size before you upload.
3.Why Online Portals Reject Passport Photos
Most people assume the rejection is about pixel dimensions. Sometimes it is — but a surprisingly common cause is that the file is simply too large. A modern smartphone camera produces JPG files between 2 MB and 6 MB. Even after you crop to the correct head-and-shoulders frame, the file can still sit at 1–2 MB. Official portals set hard ceilings in the range of 50 KB to 500 KB, and they check the byte count before they check anything else.
The second common error is uploading a PNG where a JPG is required, or a HEIC straight from an iPhone. Format conversion and file-size compression are both things the Imagera Image Compressor handles in one step.
4.Common Passport and Visa Photo File-Size Limits
The table below lists file-size limits commonly published by several government portals as of mid-2026. These change without notice. Always verify the current specification on the official portal before you submit.
| Country / Portal | Common max file size | Common pixel dimensions | Accepted formats |
|---|---|---|---|
| United States (State Dept. online renewal) | 240 KB | 600×600 px minimum | JPG |
| United Kingdom (HM Passport Office digital) | 10 MB (unusually generous) | 600×750 px minimum | JPG |
| India (Passport Seva) | 500 KB | 200×200 px minimum | JPG |
| Australia (DHA online) | 500 KB | 400×500 px minimum | JPG |
| Canada (IRCC portal) | 4 MB | 420×540 px minimum | JPG |
| Schengen visa (typical embassy portal) | 500 KB | 35×45 mm at 300 dpi | JPG |
| UAE visa (ICP portal) | 100 KB | 200×200 px minimum | JPG |
| Singapore (ICA e-appointment) | 60 KB | 400×514 px minimum | JPG |
| Saudi Arabia (Absher / visa portal) | 200 KB | 400×400 px minimum | JPG |
Important disclaimer: All limits and dimensions above are commonly required as of mid-2026 — always verify the current spec on the official portal. File-size requirements can change between application cycles. Also note that hitting a KB target does NOT by itself make a photo biometrically compliant. Background color, face centering, gaze direction, head tilt, lighting, and ICAO standards are separate requirements that the portal checks independently. This guide solves only the file-size part.
5.File Size vs. Pixel Dimensions: Two Separate Problems
People often conflate these two requirements. They are independent.
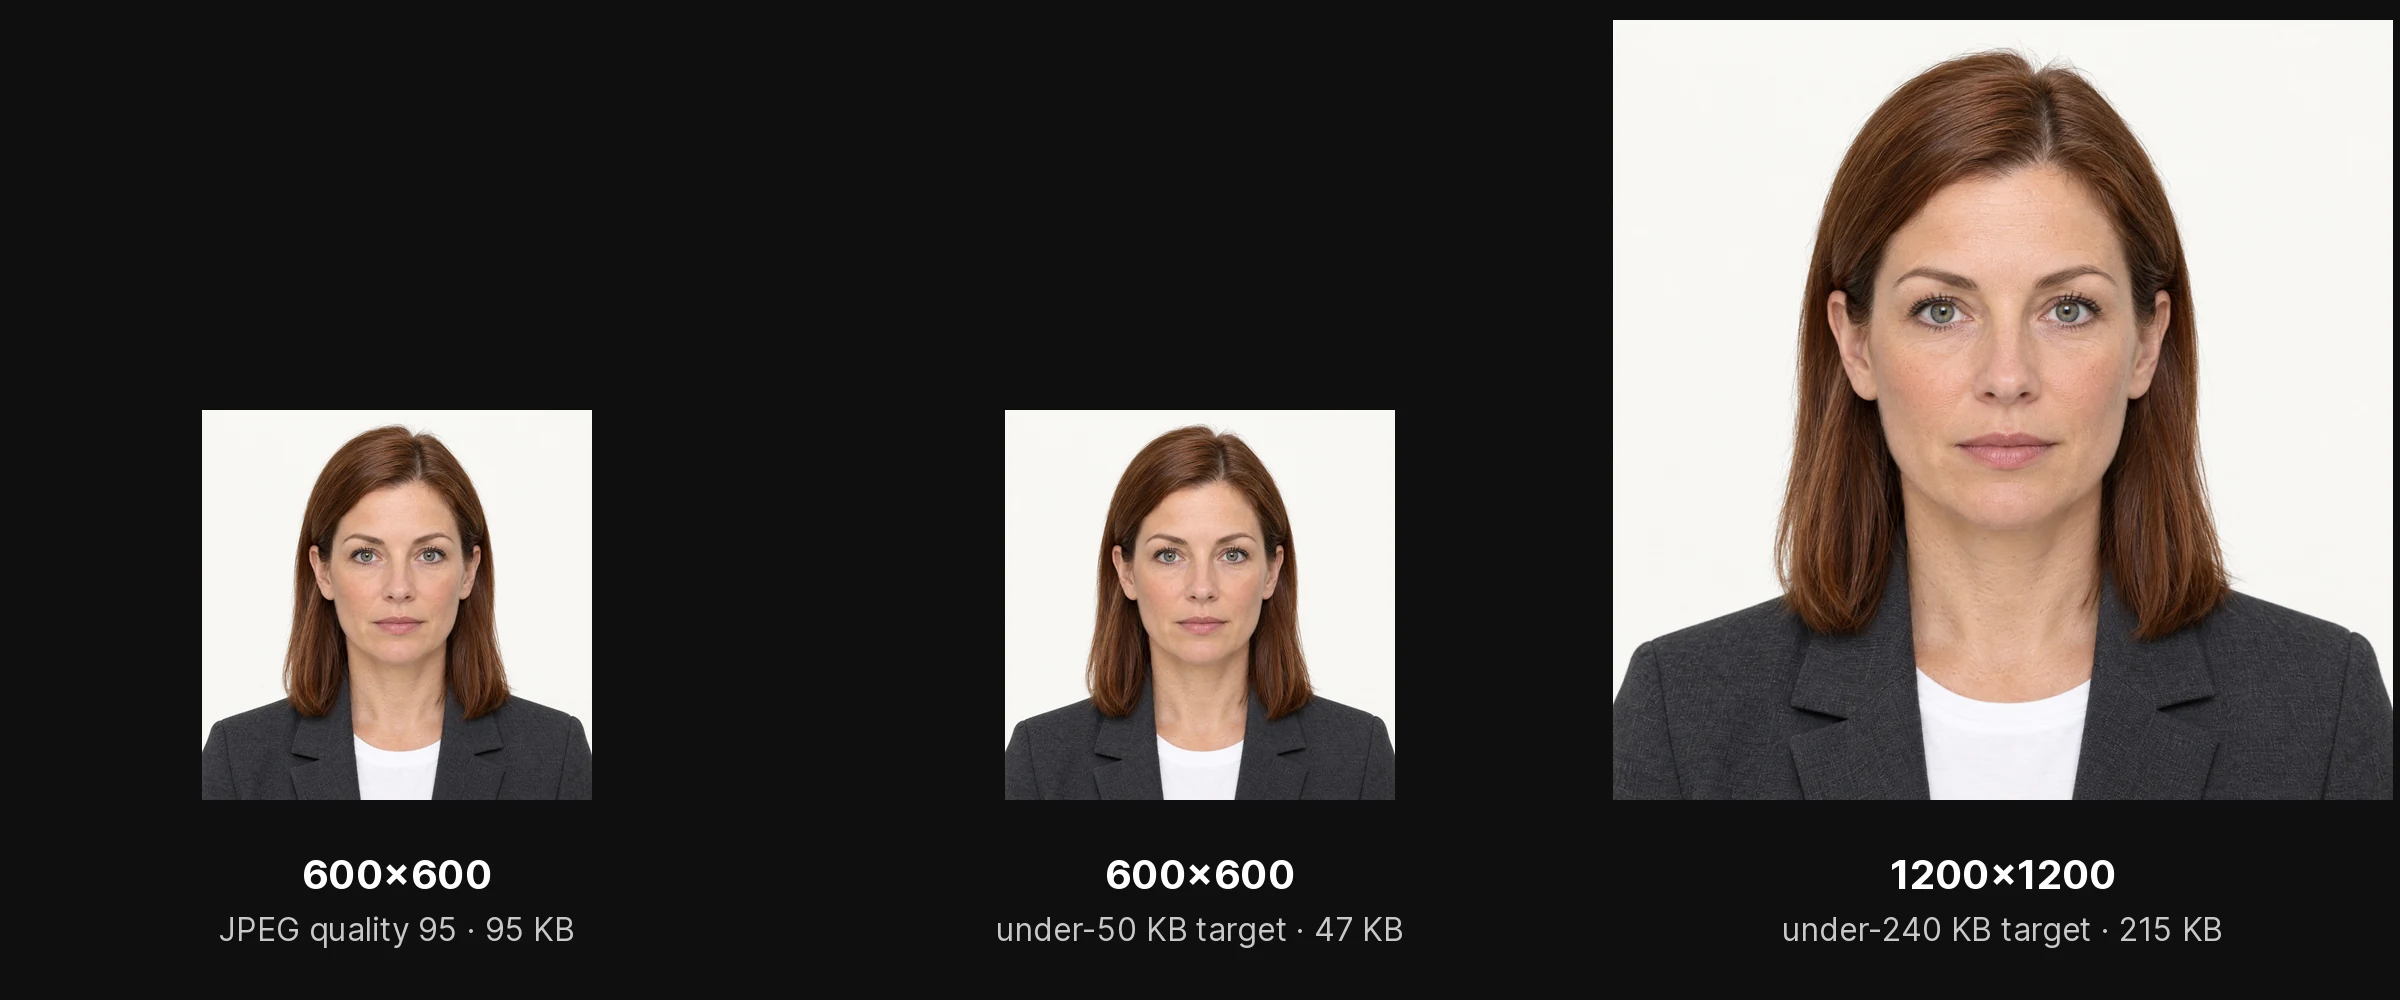
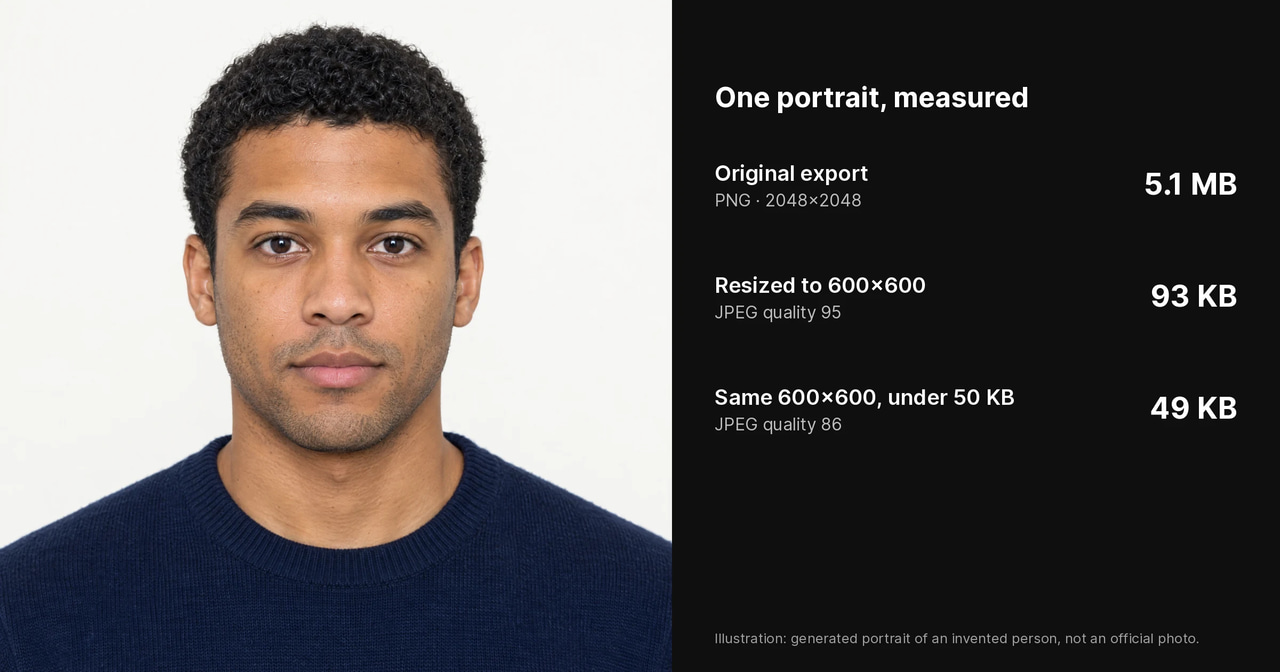
Demonstration with a standard JPEG encoder; sizes measured from the saved files. Pixel dimensions and kilobytes are separate settings, and a portal can ask for both. Illustration: generated portrait of an invented person, not an official photo.
Pixel dimensions (width × height in pixels) determine how the photo is printed and whether the face fills the required percentage of the frame. Resizing addresses this.
File size (kilobytes or megabytes) is the byte count of the compressed image data on disk. Two photos with identical pixel dimensions can have radically different file sizes depending on JPEG quality, the amount of detail in the background, and whether the file is JPG or PNG.
The Imagera compressor handles both, as separate operations. Each one works on the photo you uploaded, so resize first, download the result, then choose Change, upload the resized file and compress it to the KB target.
If you need to crop the photo to the correct head-and-shoulders composition first, do that in a separate editor (your phone's built-in Photos app, or any image editor). The Imagera compressor does not crop.
6.How to Compress a Passport Photo to a KB Limit: Step-by-Step
This numbered walkthrough uses Imagera's Image Compressor. The file never leaves your browser.
-
Open the tool. Go to Image Compressor in any modern browser on desktop or mobile.
-
Upload your photo. Click the upload area or drag your file in. Use a JPG, PNG or WebP; if your phone saved a HEIC, export it as a JPG first.
-
Select the Compress operation. In the tool panel, choose "Compress." This activates the target file-size input.
-
Enter your target size. The field takes megabytes and counts 1 MB as 1,024 KB, while a portal may count 1 KB as 1,000 bytes, so enter a value a little under the limit:
- 100 KB limit: 0.09
- 200 KB limit: 0.19
- 240 KB limit: 0.22
- 500 KB limit: 0.47
- 50 KB limit: the lowest target, 0.05, can land just over, so resize the photo down first (see "When Compression Alone Is Not Enough" below)
-
Process the image. The compression runs entirely in your browser. No data is sent to a server at any point.
-
Check the result. When processing is complete, review the output. If the portal also requires specific pixel dimensions, use the Resize operation, download that file, then upload it again and compress it; each operation works on the photo you uploaded.
-
Check the format. Compress saves a JPG unless you picked another format under Convert, so a PNG source comes out as a JPG.
-
Download the file. Save the compressed image. Before uploading to the portal, right-click the file on your device and check Properties (Windows) or Get Info (Mac) to confirm the file size is within the limit.
-
Upload to the official portal. The compressor handles the KB target. All other compliance requirements — background, face framing, ICAO standards — remain your responsibility to verify against the official portal's guidelines.
7.Why "Enter a Target Size" Is More Reliable Than a Quality Slider
Most image editors give you a quality percentage: 80%, 70%, 60%. The problem is that the output file size varies enormously depending on the source image. A busy background with lots of texture compresses differently than a plain white background. A high-detail source at 80% quality might produce a 350 KB file; a simpler source at the same setting might produce an 80 KB file.
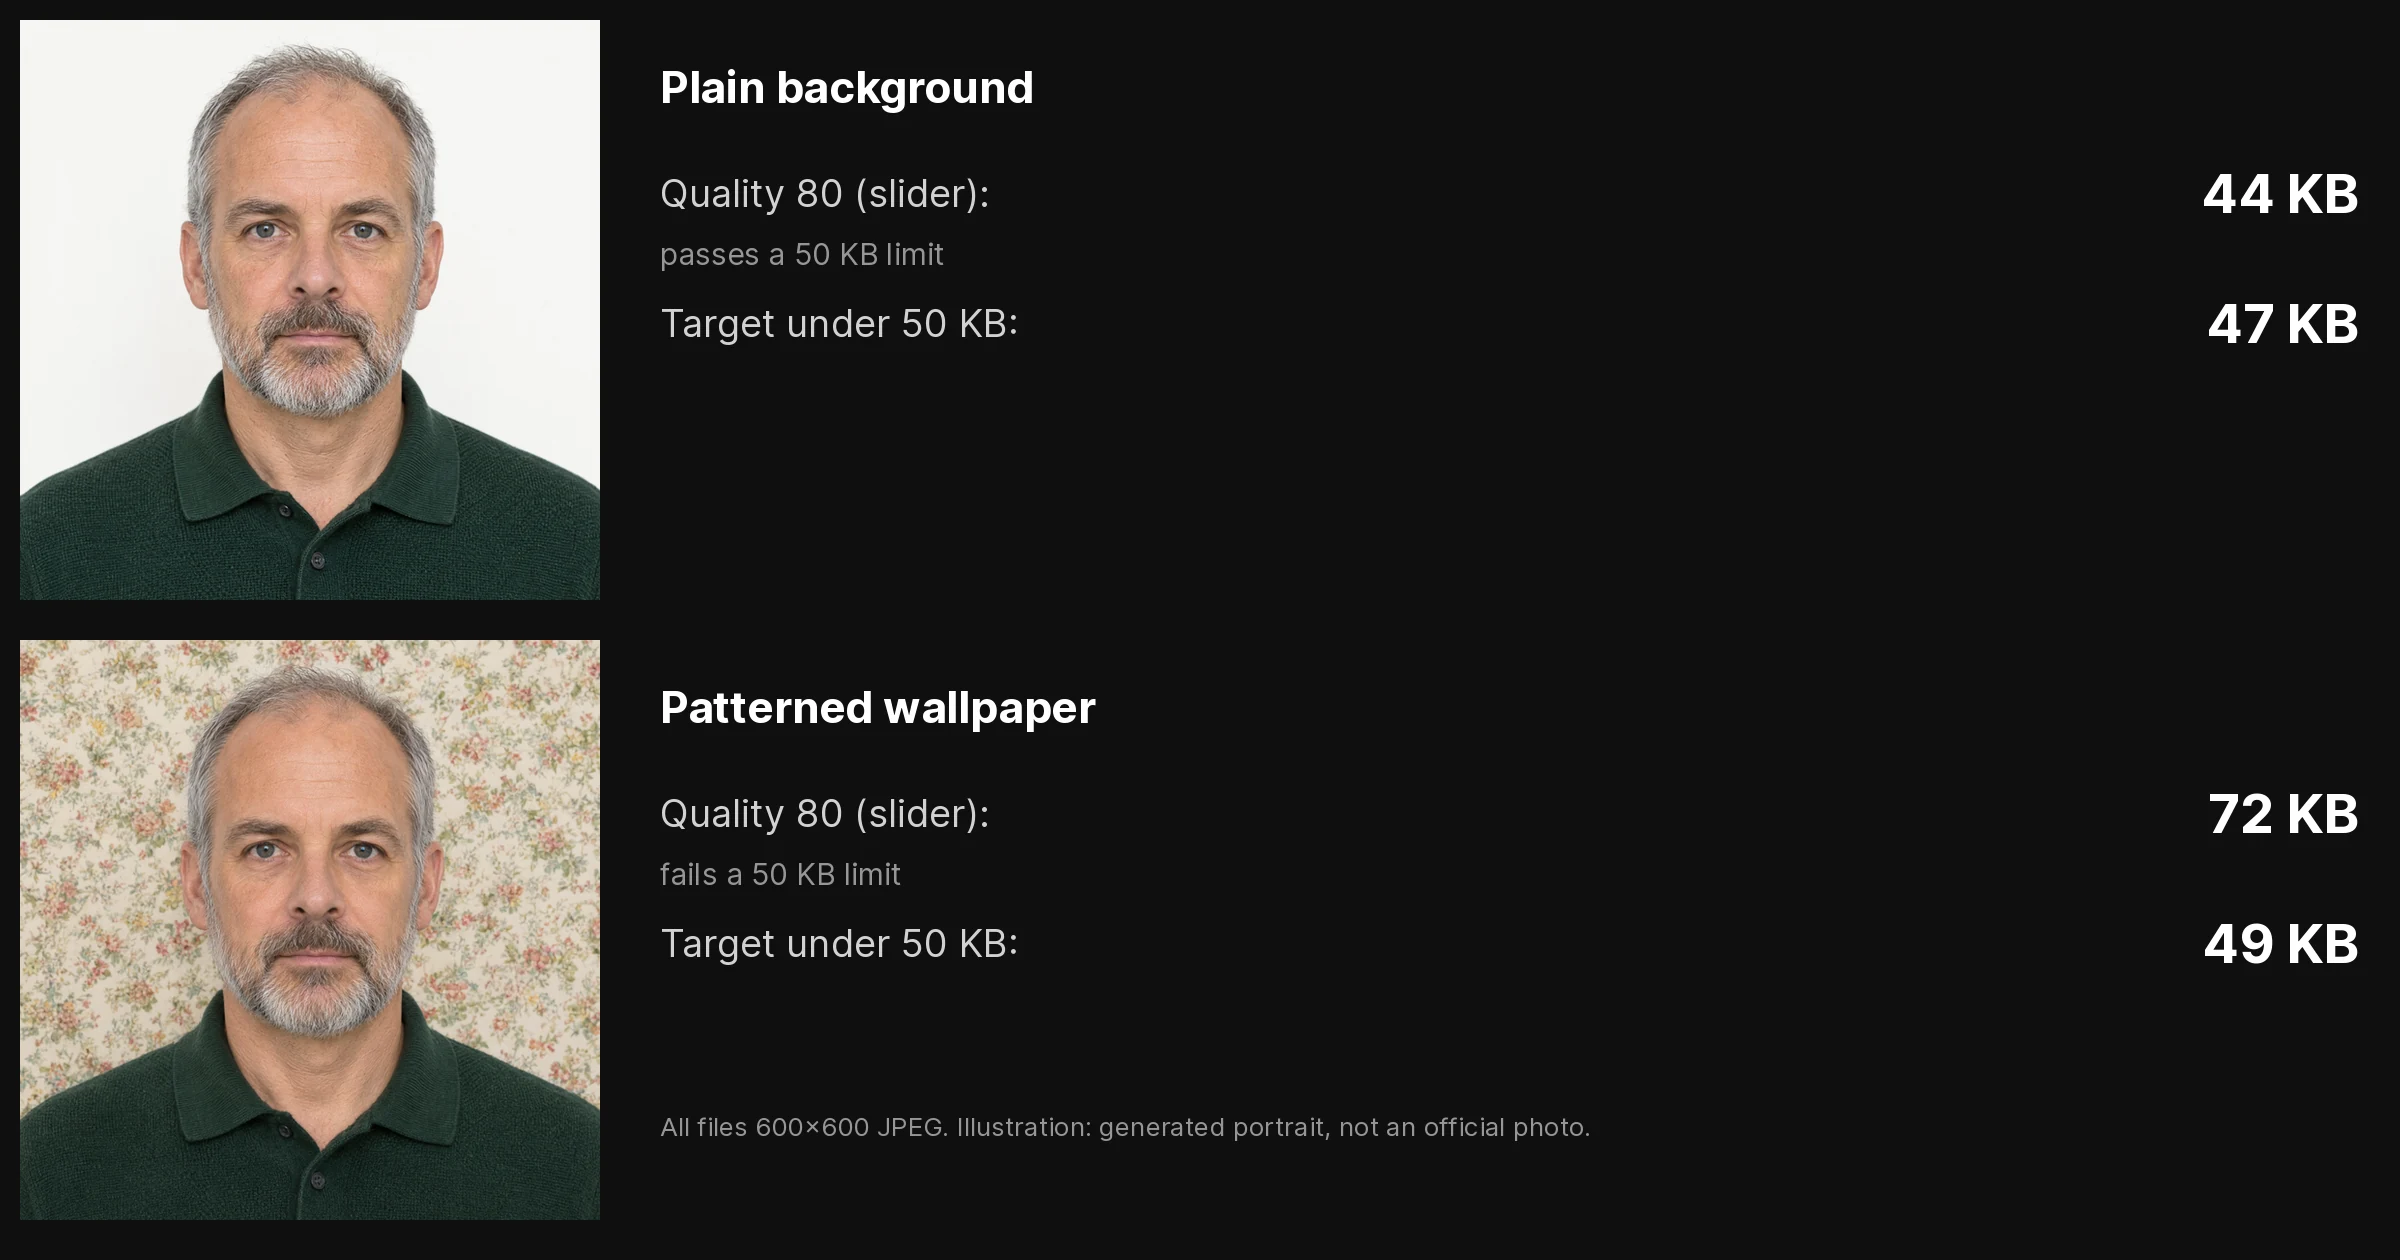
Same JPEG encoder, same 600 by 600 size, measured file sizes. A quality setting gives a different size for every photo; a size target does not. The wallpaper version was made with an image edit for this demonstration.
If you need to hit 100 KB exactly, you would have to guess a percentage, check the file size, adjust, and repeat until you land close enough. That trial-and-error loop is frustrating and imprecise.
Imagera's Image Compressor inverts the problem: you state the output budget and the tool lowers quality step by step until the file fits under it, or gets as close as it can at full resolution. This is the core differentiator and the reason it is specifically useful for official form submissions with hard byte-count limits. For how this compares with TinyPNG, see the TinyPNG alternative guide.
8.Privacy: Your Photo Never Leaves Your Device
Passport photos contain your face — biometric data. That is a legitimate reason to be cautious about which tools you use.
The Imagera compressor runs client-side. All processing happens in JavaScript inside your browser tab. The image is read from your local file system, processed in memory, and written back to your downloads folder. No data is sent to Imagera's servers. No image is stored, logged, or associated with your account (no account is required).
This is a hard architectural guarantee, not a policy promise. The network tab in your browser's developer tools will show zero image-related outbound requests while the tool runs.
For more tools in this category — format converters, enhancers, upscalers — all of which run without uploading your file — see the guide to the best private no-upload image tools.
9.Dealing with the 240 KB US Passport Renewal Portal Limit
The United States Department of State online passport renewal portal is one of the most searched cases. The portal commonly requires a JPG, minimum 600×600 pixels, and a maximum file size of 240 KB — though always verify this on the official State Department website before submitting.
A typical smartphone photo is 3–5 MB. After cropping to a square head-and-shoulders frame, it might still be 1–2 MB. The gap between 2 MB and 0.24 MB is substantial.
In the Imagera compressor, you would enter 0.22 as the target in MB (0.24 MB is about 252,000 bytes, over the limit). The tool will reduce the JPEG quality to a level that fits within that budget while keeping the pixel dimensions unchanged. If the resulting image looks significantly degraded (which can happen if the source image is already highly compressed or if the target is very aggressive relative to the resolution), consider resizing down to a smaller pixel dimension first — say 800×800 px — before compressing, since a smaller canvas requires less data to represent at the same apparent quality.
10.Compress for Schengen, UAE, Singapore, and India Portals
The pattern is identical regardless of the portal. Look up the official file-size limit, enter a value a little under it in MB, and download.
For Schengen visa applications at typical embassies (500 KB limit commonly cited), enter 0.47. For UAE (100 KB), enter 0.09. For Singapore ICA (60 KB), enter 0.05 (about 51 KB).
India's Passport Seva portal commonly allows up to 500 KB for the photo, but also requires the dimensions to be at minimum 200×200 px. If you need to resize as well, use the Resize operation first, then upload the resized file and compress it. The companion guide on resizing to passport and ID dimensions covers the full dimension workflow.
For a general workflow that applies to any portal — not just passport photos — the compress image to 100 KB guide walks through the same compressor with more detail on the conversion math.
11.When Compression Alone Is Not Enough
The lowest target the compressor takes is 0.05 MB (about 51 KB), and it keeps the full resolution. If the portal's limit is 50 KB or less, or your source image is high-resolution, compression alone may overshoot or produce visible artifacts. In that case, resize the image to a smaller pixel dimension first (for example, 400×400 px instead of 1200×1200 px), and then compress to the KB target. Fewer pixels means less data to store, so the compressor has an easier job meeting the size budget without degrading quality.
A note on PNG: PNG files are lossless and tend to be significantly larger than equivalent JPGs. If your passport photo is currently a PNG and the portal requires a JPG, convert to JPG first. This format change alone can reduce file size by 70–80% before any quality-based compression is applied. The Imagera compressor's Compress option saves a JPG by default, so the format change and the KB target happen in the same step.
12.Related tools on Imagera
13.Summary
To compress a passport photo to a KB limit:
- Go to Image Compressor.
- Upload your photo (JPG, PNG, WebP, or HEIC).
- Choose Compress and enter a target a little under the limit in MB (0.09 for 100 KB).
- Download and verify the file size on your device before submitting.
The image never leaves your browser.
Check the official portal for the current file-size requirement before every application — limits change. And remember that meeting the KB limit is one part of photo compliance. Background, face framing, expression, and format requirements are separate checks that the portal applies independently.