Compress a Photo for a Job or Exam Application (Free)
Job and exam portals reject photos that are even one kilobyte over the limit. The fix is straightforward: open Imagera's free Image Compressor, drop your photo, choose Compress, enter the exact KB ceiling shown on the portal, and download. The whole process runs inside your browser — your photo is never sent to a server. That is everything you need. The rest of this guide explains which portals set which limits, why a KB ceiling is different from a dimension resize, and how to handle the common photo-plus-signature combo that most competitive exam boards require.
1.Why Photo File-Size Limits Exist on Application Portals
Application portals are not trying to be difficult. They receive thousands of simultaneous uploads during peak registration windows — a single slot for a government exam can see hundreds of thousands of applicants submitting files within hours. If every photo were a multi-megabyte DSLR shot, storage and processing costs would scale far beyond what a public portal can absorb.
The result is a hard ceiling — commonly between 20 KB and 500 KB depending on the portal — alongside a pixel-dimension requirement. Both must be satisfied at the same time, and they are separate problems:
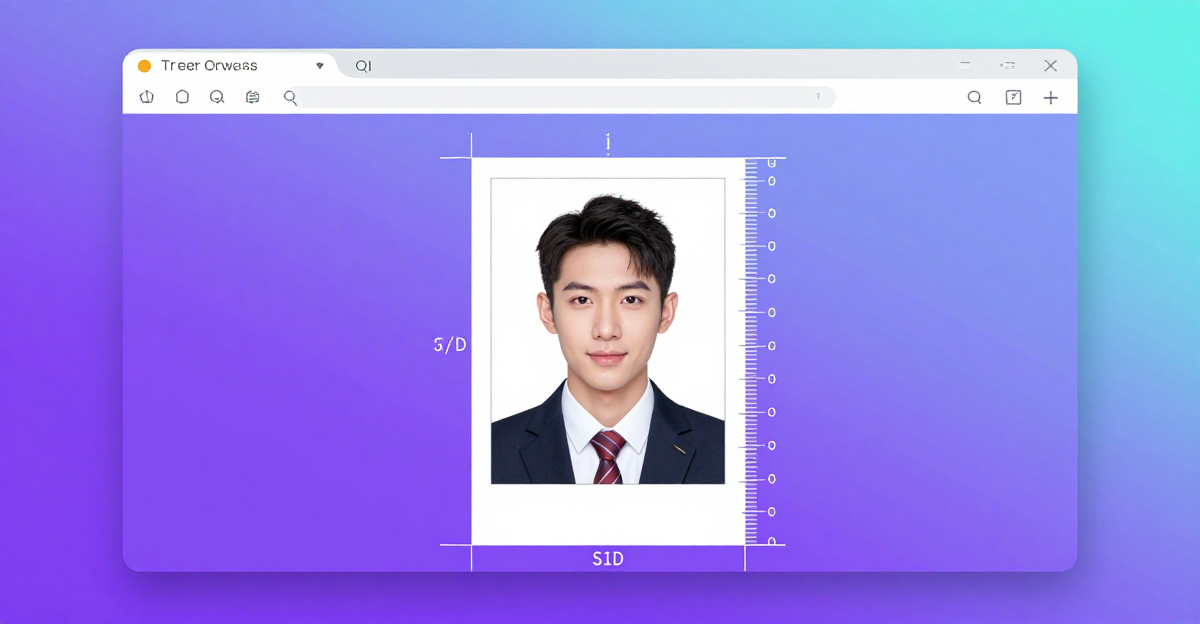
- The dimension requirement controls how large the face appears in the final print. You meet it by resizing your photo to the specified width and height in pixels. See the companion guide on resizing to exact dimensions if you need that step first.
- The file-size requirement controls how many bytes the image file occupies on disk. You meet it by compressing the photo until its file size falls under the stated KB or MB ceiling. That is what this guide covers.
Resizing and compressing are not the same operation. Reducing a 3000 × 4000 px photo to 200 × 266 px will shrink the file, but you cannot rely on dimension changes alone to hit a precise 50 KB ceiling — quality and format also drive file size. The dedicated target-size tool described below removes the guesswork entirely.
2.What the Portal Actually Checks
Before you compress anything, read the portal's photo guidelines carefully and note three numbers:
- Maximum file size in KB or MB — this is the hard ceiling the server enforces.
- Pixel dimensions — width × height in pixels, sometimes expressed as a range (e.g. 150–300 px wide).
- Accepted format — usually JPEG/JPG, sometimes PNG. A few newer portals accept WebP.
Some portals also require a separate signature image with its own smaller KB ceiling (commonly 10–30 KB). Treat the signature as a second independent compression task; the steps below apply to both.
3.Common Photo and Signature Limits on Job and Exam Portals
The table below lists limits commonly seen on major Indian and international recruitment and examination portals as of mid-2026. Always verify the current specification on the official portal before submitting — requirements change between notification cycles.
| Portal / Exam Type | Photo Max Size | Signature Max Size | Common Pixel Dimensions | Format |
|---|---|---|---|---|
| Indian government job portals (SSC, RRB, UPSC-style) | 50 KB – 100 KB | 20 KB – 30 KB | 200×230 px (photo); 140×60 px (signature) | JPG |
| State PSC / state recruitment boards | 50 KB – 200 KB | 20 KB – 50 KB | Varies by notification | JPG |
| Banking exams (IBPS, SBI) | 50 KB – 100 KB | 10 KB – 20 KB | 200×230 px (photo); 140×60 px (signature) | JPG |
| Engineering / medical entrance exams | 100 KB – 200 KB | 20 KB – 50 KB | 3.5×4.5 cm at 200 dpi | JPG or PNG |
| Multinational / private sector job portals | 1 MB – 5 MB | Not required | 400×400 px or larger | JPG or PNG |
| International visa / immigration forms | 240 KB | Not required | 600×600 px (varies by country) | JPG |
Disclaimer: These figures are commonly required as of mid-2026 — always verify the current specification on the official portal before uploading. For visa and passport photos, meeting a KB target is not the same as meeting biometric, background-colour, head-angle, or format compliance requirements. Consult the issuing authority's official guidelines.
4.The Tool: Imagera's Free In-Browser Image Compressor
Imagera's free Image Compressor is built specifically for the "hit an exact KB target" use case. Instead of a quality-percentage slider that produces unpredictable file sizes, you type the ceiling directly — for example, enter
0.05 MB0.1 MBKey facts about the tool:
- Runs entirely in your browser. Your photo is processed locally using your device's CPU. No data is sent to a server. This matters for identity documents and passport-style photos where you reasonably do not want a stranger's server storing your face.
- Target-size input, not a quality slider. You enter the ceiling the portal specifies; the tool does the arithmetic.
- Format conversion. You can convert to JPG, PNG, WebP, or HEIC as part of the same operation — useful when a portal specifies JPG but your phone saved the photo as HEIC or PNG.
- Pixel resize. You can also set width and height in the same session if you still need to resize. Do the dimension step and the compression step together or separately — either works.
- No sign-up. No cost. The compressor is part of Imagera's free private image tools suite.
What the tool does not do: it does not crop. If your photo has the wrong aspect ratio (for example, a landscape shot when the portal wants a portrait), crop it first in any standard photo editor or your phone's gallery app, then bring it into the compressor.
5.Step-by-Step: Compress a Photo for an Application Form
Follow these steps each time a portal rejects your photo for exceeding the file-size limit.
-
Read the portal's photo requirements. Write down the maximum KB (or MB), the pixel dimensions, and the required format before touching any tool.
-
Crop first if needed. If your photo has the wrong aspect ratio, crop it in your phone gallery or a desktop photo editor so the face and background look correct. Save that cropped version.
-
Open the compressor. Go to Imagera's free Image Compressor in any modern browser (Chrome, Firefox, Safari, Edge — desktop or mobile).
-
Drop or select your photo. Drag the file onto the upload area, or tap to browse. The file stays on your device.
-
Choose Compress and enter your target size. Select the Compress option, then type the portal's maximum file size. For a 50 KB ceiling, enter
. For 100 KB, enter0.05 MB
. For 200 KB, enter0.1 MB
. For 20 KB (common for signatures), enter0.2 MB
.0.02 MB -
Set the output format if required. If the portal asks for JPG and your file is PNG or HEIC, switch the format here.
-
Set pixel dimensions if you still need to resize. Enter the width and height in pixels shown in the portal's guidelines. If you already resized the photo before this step, skip this.
-
Download your compressed photo. Save the file to a folder where you can find it easily when you return to the portal's upload step.
-
Check the file size before uploading. Right-click the downloaded file on your desktop → Properties (Windows) or Get Info (Mac) to confirm the size is under the portal's ceiling. On a phone, the file manager shows file sizes in the details view.
-
Repeat for the signature image if required. Run the signature image through exactly the same steps with the signature's (usually much smaller) KB ceiling.
6.Photo vs. Signature: Handling the Combo
Most competitive examination portals require both a photograph and a signature scan in the same upload session — each with its own KB ceiling and pixel dimensions. The photograph limit is typically between 50 KB and 100 KB; the signature limit is commonly 10 KB to 30 KB.
Treat them as two separate tasks. Open the compressor twice: once for the photo with the photo's ceiling, once for the signature scan with the signature's ceiling. Because both run locally, you can open two browser tabs simultaneously without any privacy concern.
For the signature, scan or photograph your signature on white paper, crop tightly to remove blank margins, then compress. The signature size ceiling is small enough that you will likely need to convert to JPG if it is currently a PNG to get under 20 KB while keeping legible detail.
7.Common Mistakes That Get Photos Rejected
Exceeding the KB ceiling by a small margin. A file that is 102 KB when the ceiling is 100 KB will be rejected by most portals. There is no tolerance. If you are close to the limit, set your target a few KB lower — for example, target 90 KB for a 100 KB ceiling — to leave margin for any metadata the download process might append.
Confusing dimensions with file size. Resizing to the right pixel dimensions does not guarantee the file size falls under the KB ceiling. Both requirements must be met independently.
Submitting a PNG when the portal requires JPG. PNG files are losslessly compressed, which means they are often larger than an equivalent-quality JPG for photographic images. If the portal requires JPG, convert during the compression step.
Cropping after compression. If you crop after compressing, the file-size changes and may exceed the ceiling again. Crop first, compress last.
Using a screenshot of a photo. Screenshots captured on modern high-resolution displays can produce very large files. Use the original photo file from your camera app or scanner instead.
8.Privacy: Why "No Upload" Matters for Application Photos
Application photos are identity documents — they show your face alongside your name, date of birth, and application number. Uploading these to a random online compression service creates a record of your biometric data on a server you do not control, operated by an entity you may know nothing about.
Imagera's compressor avoids this entirely. The compression algorithm runs inside your browser tab using JavaScript and your device's CPU. The file bytes never leave your machine. There is no server request, no storage, no account created. You can verify this by switching to aeroplane mode before using the tool — it continues to work because it requires no network connection once the page has loaded.
For more context on which image tasks are safe to perform client-side versus which require a server, see the full guide to private no-upload image tools.
9.When You Need to Compress to an Unusually Small Target
Some older government portals set very small ceilings — 20 KB, even 10 KB — for photos that are still expected to show a recognisable face. At these targets, JPG compression artefacts become visible. A few things help:
- Start with a sharp, well-lit original photo. Compression artefacts are worse on blurry or poorly-lit inputs.
- Use the lowest acceptable pixel dimensions. A 200×230 px JPG at 20 KB is far more legible than a 600×700 px JPG at the same file size.
- If the portal accepts both JPG and PNG, try JPG — it compresses photographic content more efficiently at low file sizes than PNG.
- If the result is visibly degraded and the portal's dimension ceiling allows a smaller size, reduce the pixel dimensions further before compressing again.
For a dedicated walkthrough of hitting a 100 KB ceiling specifically, see how to compress any image to 100 KB online without uploading it.
10.Frequently Asked Questions
Q: The portal says "photo should not exceed 50 KB." What do I enter in the compressor? Enter
0.05 MBQ: My photo is already the right dimensions but still over the KB limit. Do I need to resize again? No. Pixel dimensions and file size are independent. Go straight to the Compress step and enter the KB ceiling. You do not need to change the dimensions.
Q: The portal requires JPG but my phone saves photos as HEIC. Can I convert in the same step? Yes. Select JPG as the output format in the compressor at the same time you set the target size. Both operations happen in the same pass.
Q: I hit the target size but the portal still rejects my photo. What else could be wrong? Check whether the portal also has a minimum file size (rare but it exists), a minimum pixel dimension, or a requirement for a specific colour profile. Some portals also reject photos with EXIF metadata stripped — try downloading again without changing the format. A few portals use outdated upload scripts that reject anything other than a baseline-JPG; if you converted from PNG, the resulting JPG should be fine.
Q: Can I use this tool on a phone while filling out the application form on the same phone? Yes. Open the compressor in one browser tab, complete the compression, save the file to your downloads folder, then switch back to the application portal tab and upload from downloads.
Q: Does compressing to a small KB limit make the photo unusable for printing the admit card later? Possibly, if the ceiling is very low (under 30 KB at large print dimensions). Keep your original high-resolution photo separately. Use the compressed version only for the portal upload. Download the admit card's embedded thumbnail from the portal for the admit card itself — that is already optimised for print at that specific size.
Q: I need to compress a signature image to 20 KB. Is the process identical? Yes. Drop your signature image into the compressor, enter
0.02 MBQ: Is this tool really free, or does it become paid after a certain number of uses? The Image Compressor is free to use with no usage cap. You do not need an account. Imagera offers paid credits for AI-powered generation tools (upscaling, background removal, and similar), but the compressor — along with the other free private browser tools — has no cost attached.