1.TL;DR
A 16K image upscaler enlarges an image to roughly 16,384 pixels on its longest edge using neural super-resolution — software that reconstructs plausible detail instead of stretching the pixels you already have. The video-standard "16K" (15,360 x 8,640) works out to about 132.7 megapixels, which tells you everything: this is a print-scale ceiling, not a quality dial. Use the Imagera 16K Image Upscaler when you genuinely need billboard- or gallery-scale output, because it runs in the browser with no GPU and bills per image (from 10 credits, about $0.31). For most work, a measured 2x-then-4x workflow with a 100%-zoom artifact check produces a cleaner result than forcing a single jump to 16K — and this guide shows you when 16,384px is the right call and when it is simply overkill.
2.Why "16K" trips up so many people
You exported a portrait from a phone or an AI generator, dropped it into an image enhancer, picked the biggest number on the menu — 16K — and waited. What came back was huge in megabytes but plasticky on screen: skin like wax, hair fused into ribbons, brick edges smeared into watercolor. The file is technically 16,384 pixels wide. It also looks worse than the original at the size you'll actually view it.
That gap between resolution and perceived quality is the entire problem with the term "16K." A bigger pixel count does not mean more real detail; it means the model had more empty canvas to fill, and a weak model fills it with guesses. Push too hard, too fast, with the wrong model, and you amplify every JPEG block and sensor-noise speckle the source was hiding.
This guide gives you four things competitors skip. First, a plain answer to how many megapixels 16K is and why "16K resolution" and "16x magnification" are not the same thing. Second, the 2x-then-4x workflow plus a 100%-zoom artifact check that professionals use to avoid the wax-skin trap. Third, a decision taxonomy for picking the right model for your image instead of guessing. Fourth, an honest 2026 comparison of the named tools — Topaz Gigapixel, Magnific, Upscayl, Let's Enhance, Icons8 and Imagera — so you can choose by output ceiling and price, not by marketing.
3.What is a 16K image upscaler?
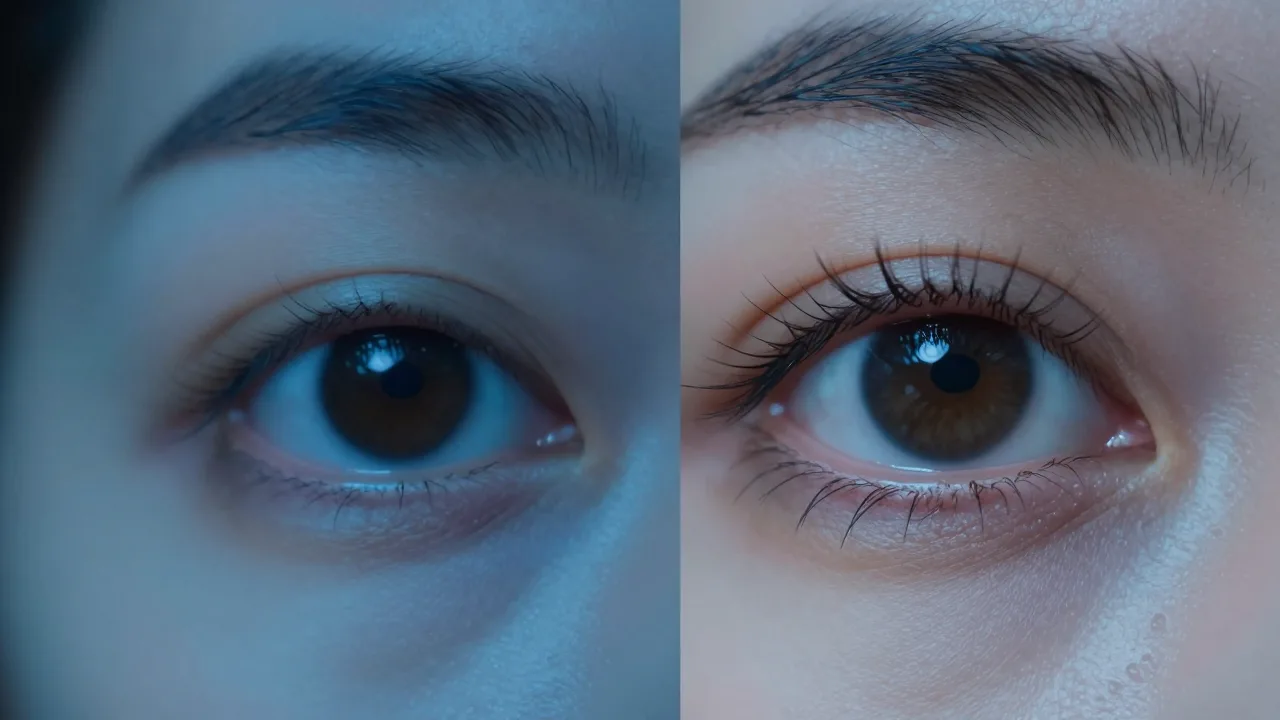
A 16K image upscaler is a tool that uses AI super-resolution to raise an image's resolution toward 16,384 pixels on the longest edge — the loose "16K" label borrowed from video. Unlike bicubic or bilinear interpolation, which average neighboring pixels and blur, neural upscalers are trained on large libraries of high-resolution photos to predict what detail should exist: individual pore texture in skin, separate strands in hair, distinct mortar lines in brickwork. The same engine doubles as a 16K photo enhancer — it doesn't just make the file bigger, it rebuilds micro-detail that compression and small sensors threw away.
The models doing this are well known. Imagera's upscaler exposes more than 500 of them — including Real-ESRGAN, SwinIR, ESRGAN, HAT and GFPGAN architectures drawn from the open-source OpenModelDB catalogue — and you can upload your own .pth model file or chain up to five upscalers in one pipeline (a restoration pass, then a sharpening pass, then a detail pass).
"Resolution is the easy part — any tool can output 16,384 pixels. The hard part is making those extra pixels true. We let you chain a restoration model and a detail model so the second pass refines what the first one recovered, instead of one model trying to do everything in a single hallucinated leap." — Imagera AI engineering team, from the Image Upscaler product notes.
4.How many megapixels is 16K? (and 16K vs 16x explained)
This is the single most-searched factual question about 16K, and almost no ranking page answers it cleanly. There are actually three numbers people mean when they say "16K," so here is the disambiguation in one place.
16K as a video resolution standard is 15,360 x 8,640 pixels — the 16:9 figure that extends the 4K/8K family. Multiply those out and you get 132,710,400 pixels, or about 132.7 megapixels. That is roughly the output of fifteen 8-megapixel phone photos stitched edge to edge.
16K as an imaging "longest-edge" ceiling is the convention many tools use, including Imagera: the longest side reaches 16,384 pixels regardless of aspect ratio. A square 16,384 x 16,384 file is ~268 megapixels; a 16:9 file at that longest edge is ~150 megapixels. This is why the Imagera tool tops out at 16,384px rather than 15,360px — it's the imaging definition, not the video one.
"16x" is a magnification factor, not a resolution. When Magnific, Upscayl or Topaz advertise "16x," they mean the output is sixteen times the input's pixel dimensions. A 1,024px source at 16x becomes 16,384px — which lands at the 16K ceiling — but a 4,000px source at 16x becomes 64,000px, far beyond 16K. So "16x upscale" and "16K upscale" only coincide for small sources. If you searched for an image upscaler 16x and an image upscaler 16k, you were asking two different questions.
Why does this matter? Because the destination determines which number you need. At 300 DPI, 132.7MP prints cleanly at about 51 x 29 inches — gallery, banner and trade-show scale. For anything you'll view on a screen, you will never resolve those pixels, which leads directly to the question everyone eventually asks.
5.Is upscaling to 16K overkill? The honest answer
For screens, almost always yes — and a tool that sells you on 132 megapixels without saying so is selling hype. Here is the math photography forums keep returning to: at a normal viewing distance, the human eye resolves roughly 1 arcminute of detail, which works out to about 300 PPI at 10–12 inches. A 27-inch 5K monitor is only ~14.7 megapixels. A 4x upscale of a 1,024px source (4,096px) already exceeds what any consumer monitor or phone can display. The extra pixels in a 16K file aren't visible on screen; they only exist to survive being printed large and viewed close.
So the practical rule is simple:
- Finish at 4x for web, social, e-commerce thumbnails, app assets and anything viewed on a screen. You will see no difference at 16K, but you'll pay for a slower render and a file that's hard to store and load.
- Reserve the full 16K / 132MP ceiling for physical output you'll inspect up close: a gallery canvas, a fine-art framed print, a backlit display, or a banner viewed from a few feet away.
- Match DPI to distance. A billboard viewed from 30 feet can be 30 DPI and still look sharp; a coffee-table book viewed at arm's length wants 300 DPI. Only the second case justifies 16K from a small source.
The honest framing: 16K is a tool, not a trophy. The skeptics on photography forums are right that 132MP is meaningless for normal viewing — and also right that it's genuinely useful when you're enlarging a small original to a large physical print. Both things are true. Because Imagera bills per image (from ~$0.31), it costs nothing to finish a web project at 4x and only spend on a 16K render when a print job actually demands it.
6.Faithful enlargement vs creative reimagining: will it change my photo?
The fastest-growing fear in upscaling communities in 2026 is "will the tool change my face or my photo?" — and it's well-founded. There are two fundamentally different jobs sold under the same "upscale" word.
Faithful enlargement reconstructs detail that was plausibly present: it sharpens existing edges, recovers texture suppressed by compression, and stays anchored to the source. This is what you want for a portrait you'll print, a product photo, or a restored family scan. A restoration → detail chain is faithful by design, because the restoration pass cleans the real signal before the detail pass adds micro-texture to that, not to an invented surface.
Creative reimagining is a different product. Tools with a "creativity" or "hallucination" slider (Magnific-style "reimagine" upscaling) deliberately invent new detail and can beautify or rebuild faces, repaint textures, and add elements that were never there. That's great for concept art and stylized renders — and exactly wrong when you need the output to still be your photo. The documented community complaint is "beautified faces": the subject comes back smoother, younger, and subtly not themselves.
Where does Imagera sit? Its strength is the fidelity-first chain — restoration models repair, detail models add plausible micro-texture, sharpening models define edges — so the output stays anchored to your source rather than reimagined. If you want a faithful 16K enlargement that doesn't redraw a face, that distinction is the whole game. (And it doubles as the answer to the ethics question later: faithful detail is still invented detail, just constrained to be plausible — never treat it as a forensic record.)
7.How to upscale to 16K without the wax-skin look
The reliable path to a clean 16K result is gradual. Here is the 2x-then-4x workflow with the 100%-zoom check that separates a usable file from a bloated one — the recipe none of the "free + 16K + no install" competitors bother to teach.
7.1Step 1: Clean the source before you enlarge anything
Upscaling amplifies whatever is already in the frame, so a noisy, over-compressed source produces a noisy, over-compressed giant. Start by uploading the highest-quality original you have — the camera RAW or PNG export, never a re-saved screenshot. Imagera's upscaler accepts JPG, JPEG, PNG and WebP up to 100MB per file, which covers virtually any phone or mirrorless export. If the image carries heavy JPEG blocking or banding, run a restoration-focused model first; the multi-stage pipeline is designed to strip compression blocks and noise before it adds detail, so you are not magnifying garbage.
- Use the original export, not a downloaded or screenshotted copy.
- Repair compression and noise before enlarging, not after.
- Confirm the source is in a supported format (JPG, JPEG, PNG, WebP) under 100MB.
7.2Step 2: Do a 2x pass first, then judge
Resist the menu's biggest number. Run a 2x upscale as your first pass and look at the result before committing to anything larger. A 2x step roughly doubles each edge, which is enough for the model to add genuine micro-detail without having to invent large empty regions. This is where you decide whether your chosen model suits the content: portrait-specialized models (GFPGAN-class) protect faces; texture and architecture models hold hard edges. Because Imagera bills per image rather than per month, a throwaway 2x test costs around 10 credits (about $0.31) and saves you from rendering a flawed 16K file you'll discard.
- A 2x pass adds detail with the least hallucination risk.
- Match the model to content: faces, anime, architecture and nature each have specialists in the 500+ library.
- Test cheaply: one pay-per-use pass beats committing a full 16K render blind.
7.3Step 3: Chain to 4x — and only then to 16K if you need it
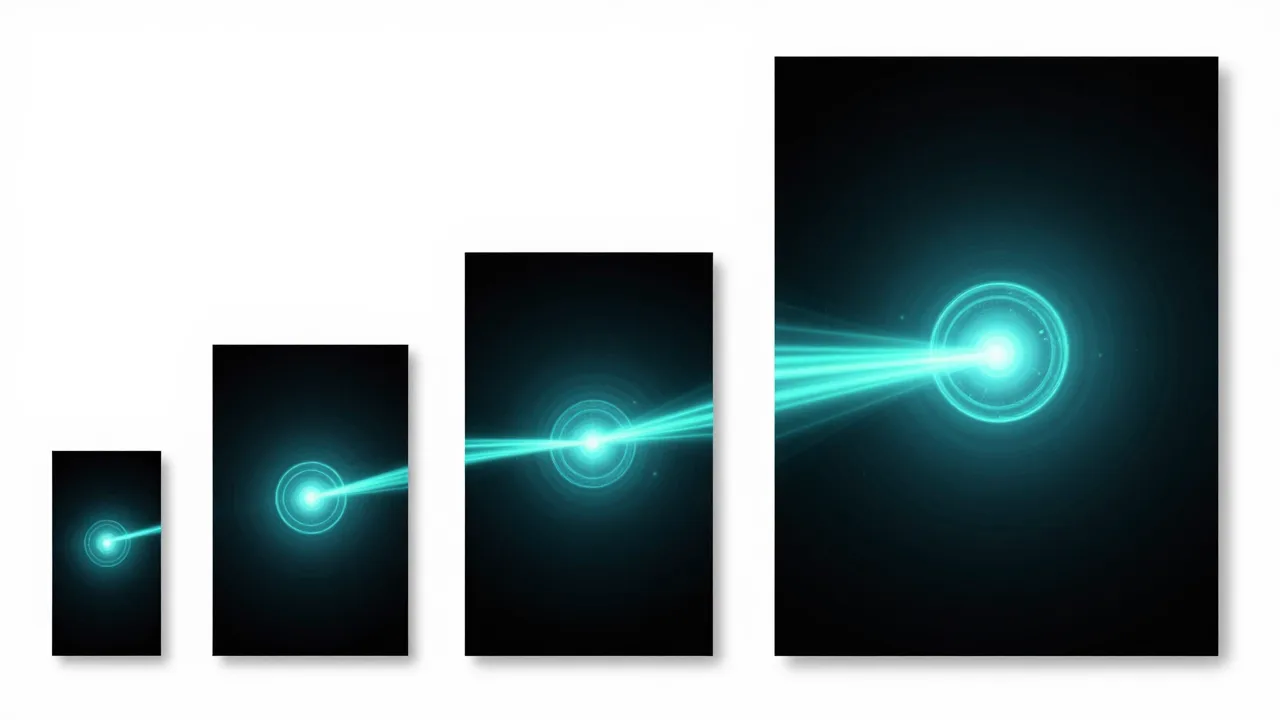
If the 2x result is clean, take it up. Rather than re-uploading and starting over, chain a second upscaler in the same pipeline so the second model refines the first pass's output. A typical clean chain is restoration → 2x detail → 4x sharpening. Most screen, web and social deliverables are finished at 4x. Only push toward the full 16K ceiling (16,384px) when the destination is a large physical print — a gallery canvas, a backlit display, a trade-show banner. Imagera supports chaining up to five upscalers, but more passes is not automatically better; each pass is another chance to introduce artifacts.
- Chain passes instead of re-uploading so each model builds on the last.
- Stop at 4x for screen, web and social — that is where most projects end.
- Reserve the full 16,384px ceiling for large-format print.
7.4Step 4: Run the 100%-zoom artifact check before you export
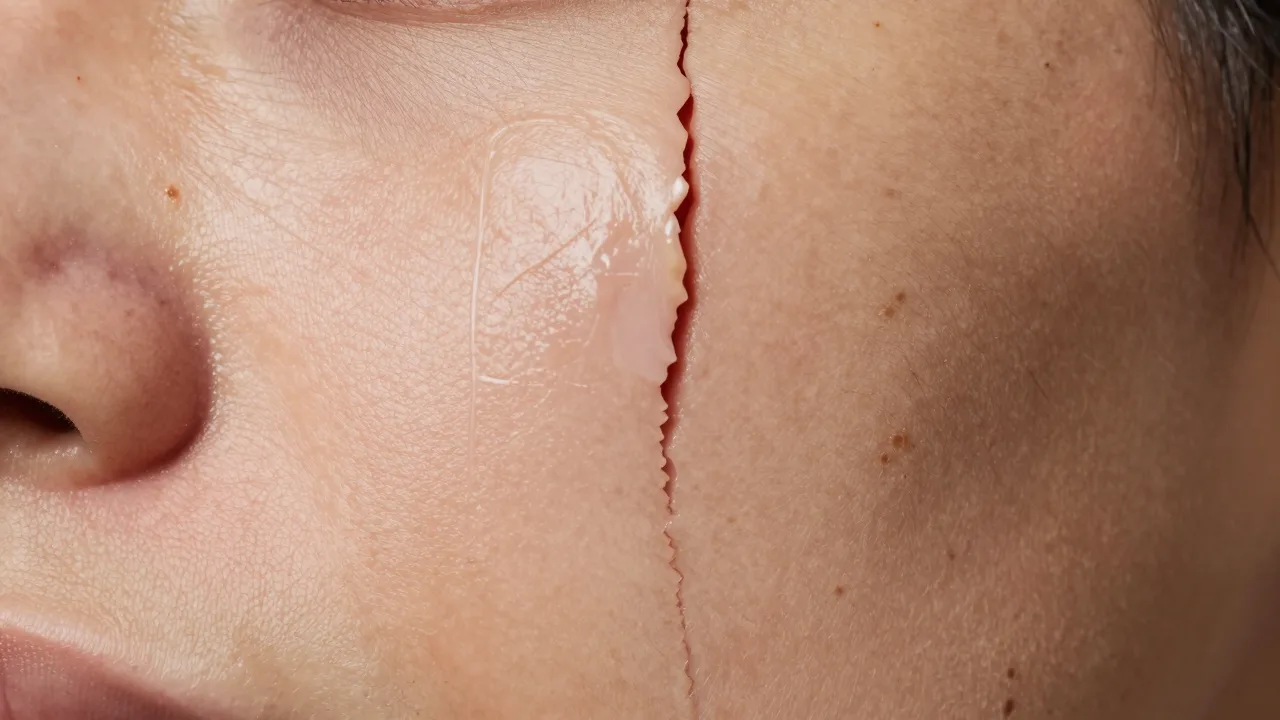
This is the step nearly everyone skips. Zoom the result to 100% (1:1 pixel view) and inspect the failure zones: skin near the nose and cheeks, the hairline, fine text, and any repeating pattern like fabric or foliage. At 100% you see what the model invented. Look for waxy smoothing, plastic-looking skin, doubled or fused edges, and "stamped" repeated textures. If you see them, step back a model or reduce the upscale factor — do not ship a file you have only viewed fit-to-screen. Imagera's before/after view in the studio makes this side-by-side comparison quick, and processing for a 16K render runs about 2–4 minutes, so the inspection costs you nothing extra.
- Always inspect at 100%, never fit-to-screen.
- Watch the four trouble zones: skin, hairline, fine text, repeating patterns.
- If artifacts appear, lower the factor or change the model — never ship unchecked.
8.Pick the right model for your image (a decision guide)
Communities troubleshoot waxy skin, warped text and halos with the same four questions every time. Here is that taxonomy as a compact decision aid — answer in order and the model class falls out. This is the part the "one big button" tools leave you to figure out alone.
| Your image type | Dominant damage | Hard constraint | Output goal | Model class to reach for |
|---|---|---|---|---|
| Human portrait / selfie | Soft, slightly noisy | Face must not be redrawn | Canvas / framed print | GFPGAN-class face model at 2x, then a gentle detail pass — never a creative/reimagine slider |
| AI-generated art | Low native res (~1024px) | Keep the original style | Wall print / poster | Texture/detail model at 2x → 4x; skip restoration (no real photo to restore) |
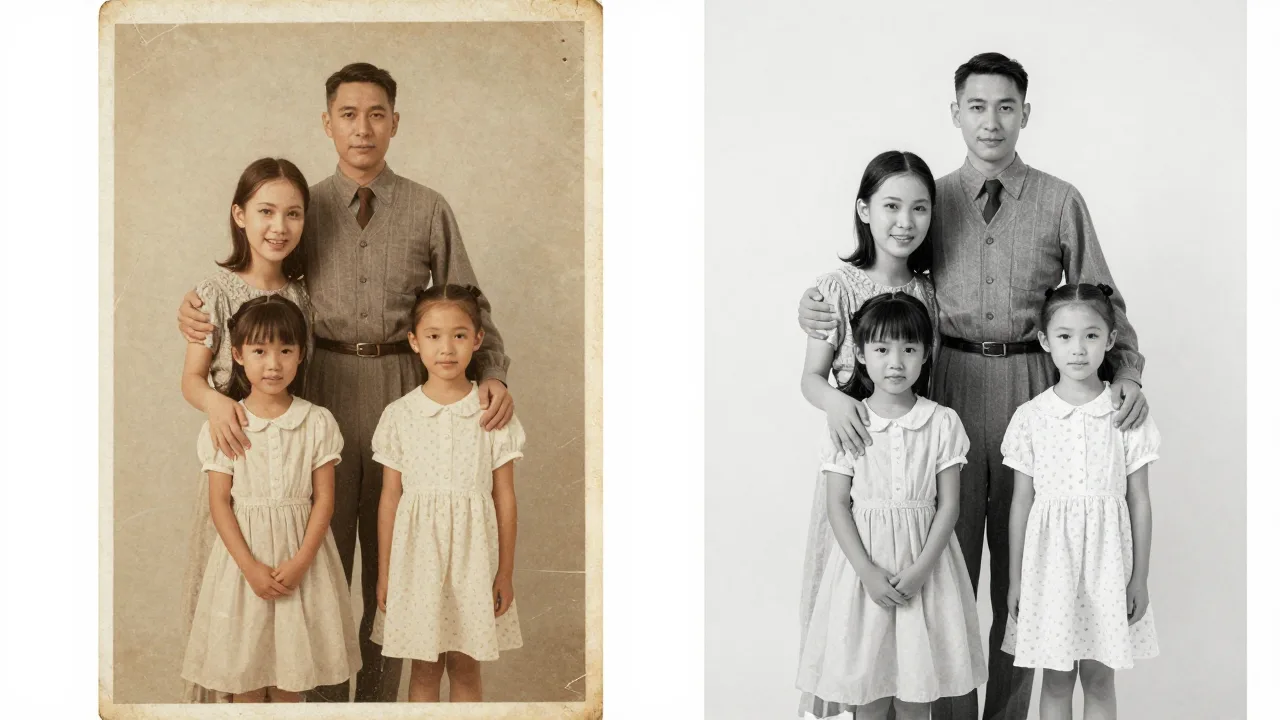
| Old scanned photo | Scratches, grain, fading | Repair before enlarging | Modest reprint | Restoration model first, then a moderate 2x–4x detail pass; avoid 16K |
| Product / e-commerce | JPEG blocking from web export | Crisp edges, true color | Full-bleed banner + zoom | Restoration → texture model; inspect fabric/stitching at 100% |
| Architecture / landscape | Compression mush on fine lines | No melted brick or foliage | Large-format display | Edge-preserving model (HAT/SwinIR-class); watch repeating-pattern stamping |
| Text / document scan | Aliased, low-DPI characters | Letters must stay readable | Print / archive | Detail model at modest factor; verify text isn't warped at 100% |
The through-line: diagnose damage before you pick a scale. Restoration belongs first (clean the signal), detail in the middle (add micro-texture), sharpening last (define edges). Get that order right and you've avoided 90% of the failure modes communities complain about.
9.16K image upscaler comparison: Imagera vs Topaz, Magnific, Upscayl & more
The "16K" label is used loosely across the market, and real maximum output and pricing vary widely. Here is how the named 2026 tools actually compare. (Pricing reflects each vendor's public 2026 listings; confirm current rates before purchase.)
| Tool | 2026 Price | Max output | Unique feature | When to choose Imagera instead |
|---|---|---|---|---|
| Imagera | Pay-per-use, from 10 credits ( | 16K (16,384px) | 500+ models, chain up to 5 upscalers, batch 100 images, custom .pth upload, runs in browser | — |
| Topaz Gigapixel | Subscription only since Oct 2025; ~$149/yr Personal, ~$499/yr Pro, ~$599/yr Bloom | Very high but GPU/VRAM-bound (16K often fails on consumer GPUs) | Local processing, no upload, strong photographic fidelity | You want 16K without a subscription or a high-VRAM GPU, and you prefer per-image billing |
| Magnific AI | ~$39/mo | Up to 16x magnification | Creative "hallucination" — reimagines and adds stylized detail | You need faithful enlargement, not creative reinterpretation, and dislike monthly fees |
| Upscayl | $0, open-source (AGPL-3.0) | Up to 16x (desktop) | Fully local, no account, no watermark | You want browser access, chaining, batch-100 and 500+ hosted models without installing software |
| Let's Enhance | ~$34–45/mo | Up to 500MP | Highest raw pixel ceiling for billboard prints | You prefer pay-per-use over a monthly credit subscription and want custom model control |
| Icons8 Smart Upscaler | $9–$99/mo | 7,680 × 7,680px (sub-16K) | Simple web UI, batch upload | You need beyond 7,680px or more than six model choices |
The pattern is clear: Topaz leads on local fidelity, Magnific on creative reinvention, Upscayl on zero cost, Let's Enhance on raw pixel ceiling. Imagera's position is browser-based 16K with chaining and an open model library on a no-subscription, per-image bill — useful when you need print-scale output occasionally and don't want a recurring fee or a workstation GPU.
9.1Why Topaz going subscription-only changed the math
This is the grievance driving most "gigapixel alternative" searches in 2026, so it deserves more than a table row. In October 2025, Topaz Labs retired the long-standing Gigapixel perpetual license (the old ~$99 one-time purchase) and moved to subscription tiers: roughly $149/yr Personal, $499/yr Pro, and a $599/yr Bloom creative tier.
For occasional users this fundamentally changes the cost picture. A perpetual license you bought once and used forever became a recurring annual charge. If you upscale a handful of images a year — a print job here, a canvas there — paying $149+ every year is hard to justify, which is exactly why communities now actively recommend pay-per-use clouds and open-source tools like Upscayl. The pay-per-use contrast is the real differentiator: with per-image billing you pay ~$0.31–$3.69 when you actually upscale something, and nothing the rest of the year. The trade-off is that you give up Topaz's fully local, no-upload processing and its tuned photographic fidelity — genuinely strong for working photographers who run volume daily.
Ready to test a real 16K render? Open the Imagera 16K Image Upscaler and run a 2x pass on your toughest source. Credits included on signup.
10.Under the hood: why a single 16K jump fails
Neural upscalers are trained on pairs of low- and high-resolution images, learning a mapping from "what's here" to "what should be here." That mapping is most accurate over modest scale factors. When you ask one model for an 8x or 16x leap in a single step, you are asking it to invent the vast majority of the final pixels from a thin signal — and invention without enough real information is where hallucination and waxy texture come from.
Chaining solves this by keeping each step within the range the models handle well, and by letting different specialists do what they're built for. The trade-offs are real, though, and worth seeing plainly.
| Approach | Pro | Trade-off |
|---|---|---|
| Single big jump (1x → 16K) | Fastest, fewest clicks | Highest hallucination risk; waxy skin, fused edges |
| 2x → 4x chain | Cleaner detail, controllable | More steps; more credits if you over-chain |
| Restoration → detail → sharpen chain | Removes artifacts before adding detail | Requires judgment on model order |
| Add more passes (4–5 deep) | Can refine genuinely soft sources | Diminishing returns; each pass can add new artifacts |
The practical lesson: order matters, and more is not better. Restoration belongs first (clean the signal), detail in the middle (add micro-texture), sharpening last (define edges). Imagera's pipeline runs intermediate steps without re-compressing between them, so quality doesn't degrade pass to pass — but the human still has to choose a sane chain and stop when the 100% view looks right.
11.Real-world use cases for a 16K upscaler
11.1E-commerce product hero shots
Challenge: A boutique re-shoots nothing but needs a 1200px product photo to fill a full-bleed banner and a zoomable detail view. Solution: Run a 2x restoration pass to clear compression, then a 4x texture model to recover fabric weave and stitching, inspecting at 100% for plastic-looking surfaces. Result: A crisp, zoom-friendly hero image at print-banner scale without a reshoot — and with batch processing, the same chain runs across an entire catalogue of up to 100 images at once.
11.2Turning a viral AI portrait into a framed canvas print
Challenge: An AI portrait or caricature was generated at ~1024px — fine on a phone, hopeless on a 24-inch canvas. Solution: Use a portrait-specialized model (GFPGAN-class) at 2x to protect facial structure, then chain to 4x or 16K depending on canvas size, checking the hairline and skin at 100%. Stick to faithful enlargement here, not a creative reimagine slider, so the face you generated is the face that prints. Result: A print-ready file that holds detail at arm's length, suitable for canvas or framed wall art.
11.3Restoring and enlarging an old family photo to a larger reprint
Challenge: A scanned 1970s print is soft, scratched and small. Solution: Lead with a restoration model to repair scratches and grain, then a moderate 2x–4x detail pass — avoid 16K, which would only magnify scan noise. Result: A repaired, naturally sharpened keepsake at a sensible print size. (For heavy damage, pair this with Imagera's dedicated photo-restoration tool first.)
11.4Large-format display and signage
Challenge: A designer needs a background image for a trade-show backdrop viewed from several feet away. Solution: This is the genuine 16K case — chain to the full 16,384px ceiling so the file clears 300 DPI at four feet wide. Result: A banner-scale asset with no visible pixelation, rendered in the browser in 2–4 minutes with no workstation GPU.
Have a print deadline? Run your source through the Imagera 16K Image Upscaler with a 2x-then-4x chain and check it at 100% before you export. Credits included on signup — no subscription required.
12.See it in action — real Imagera output
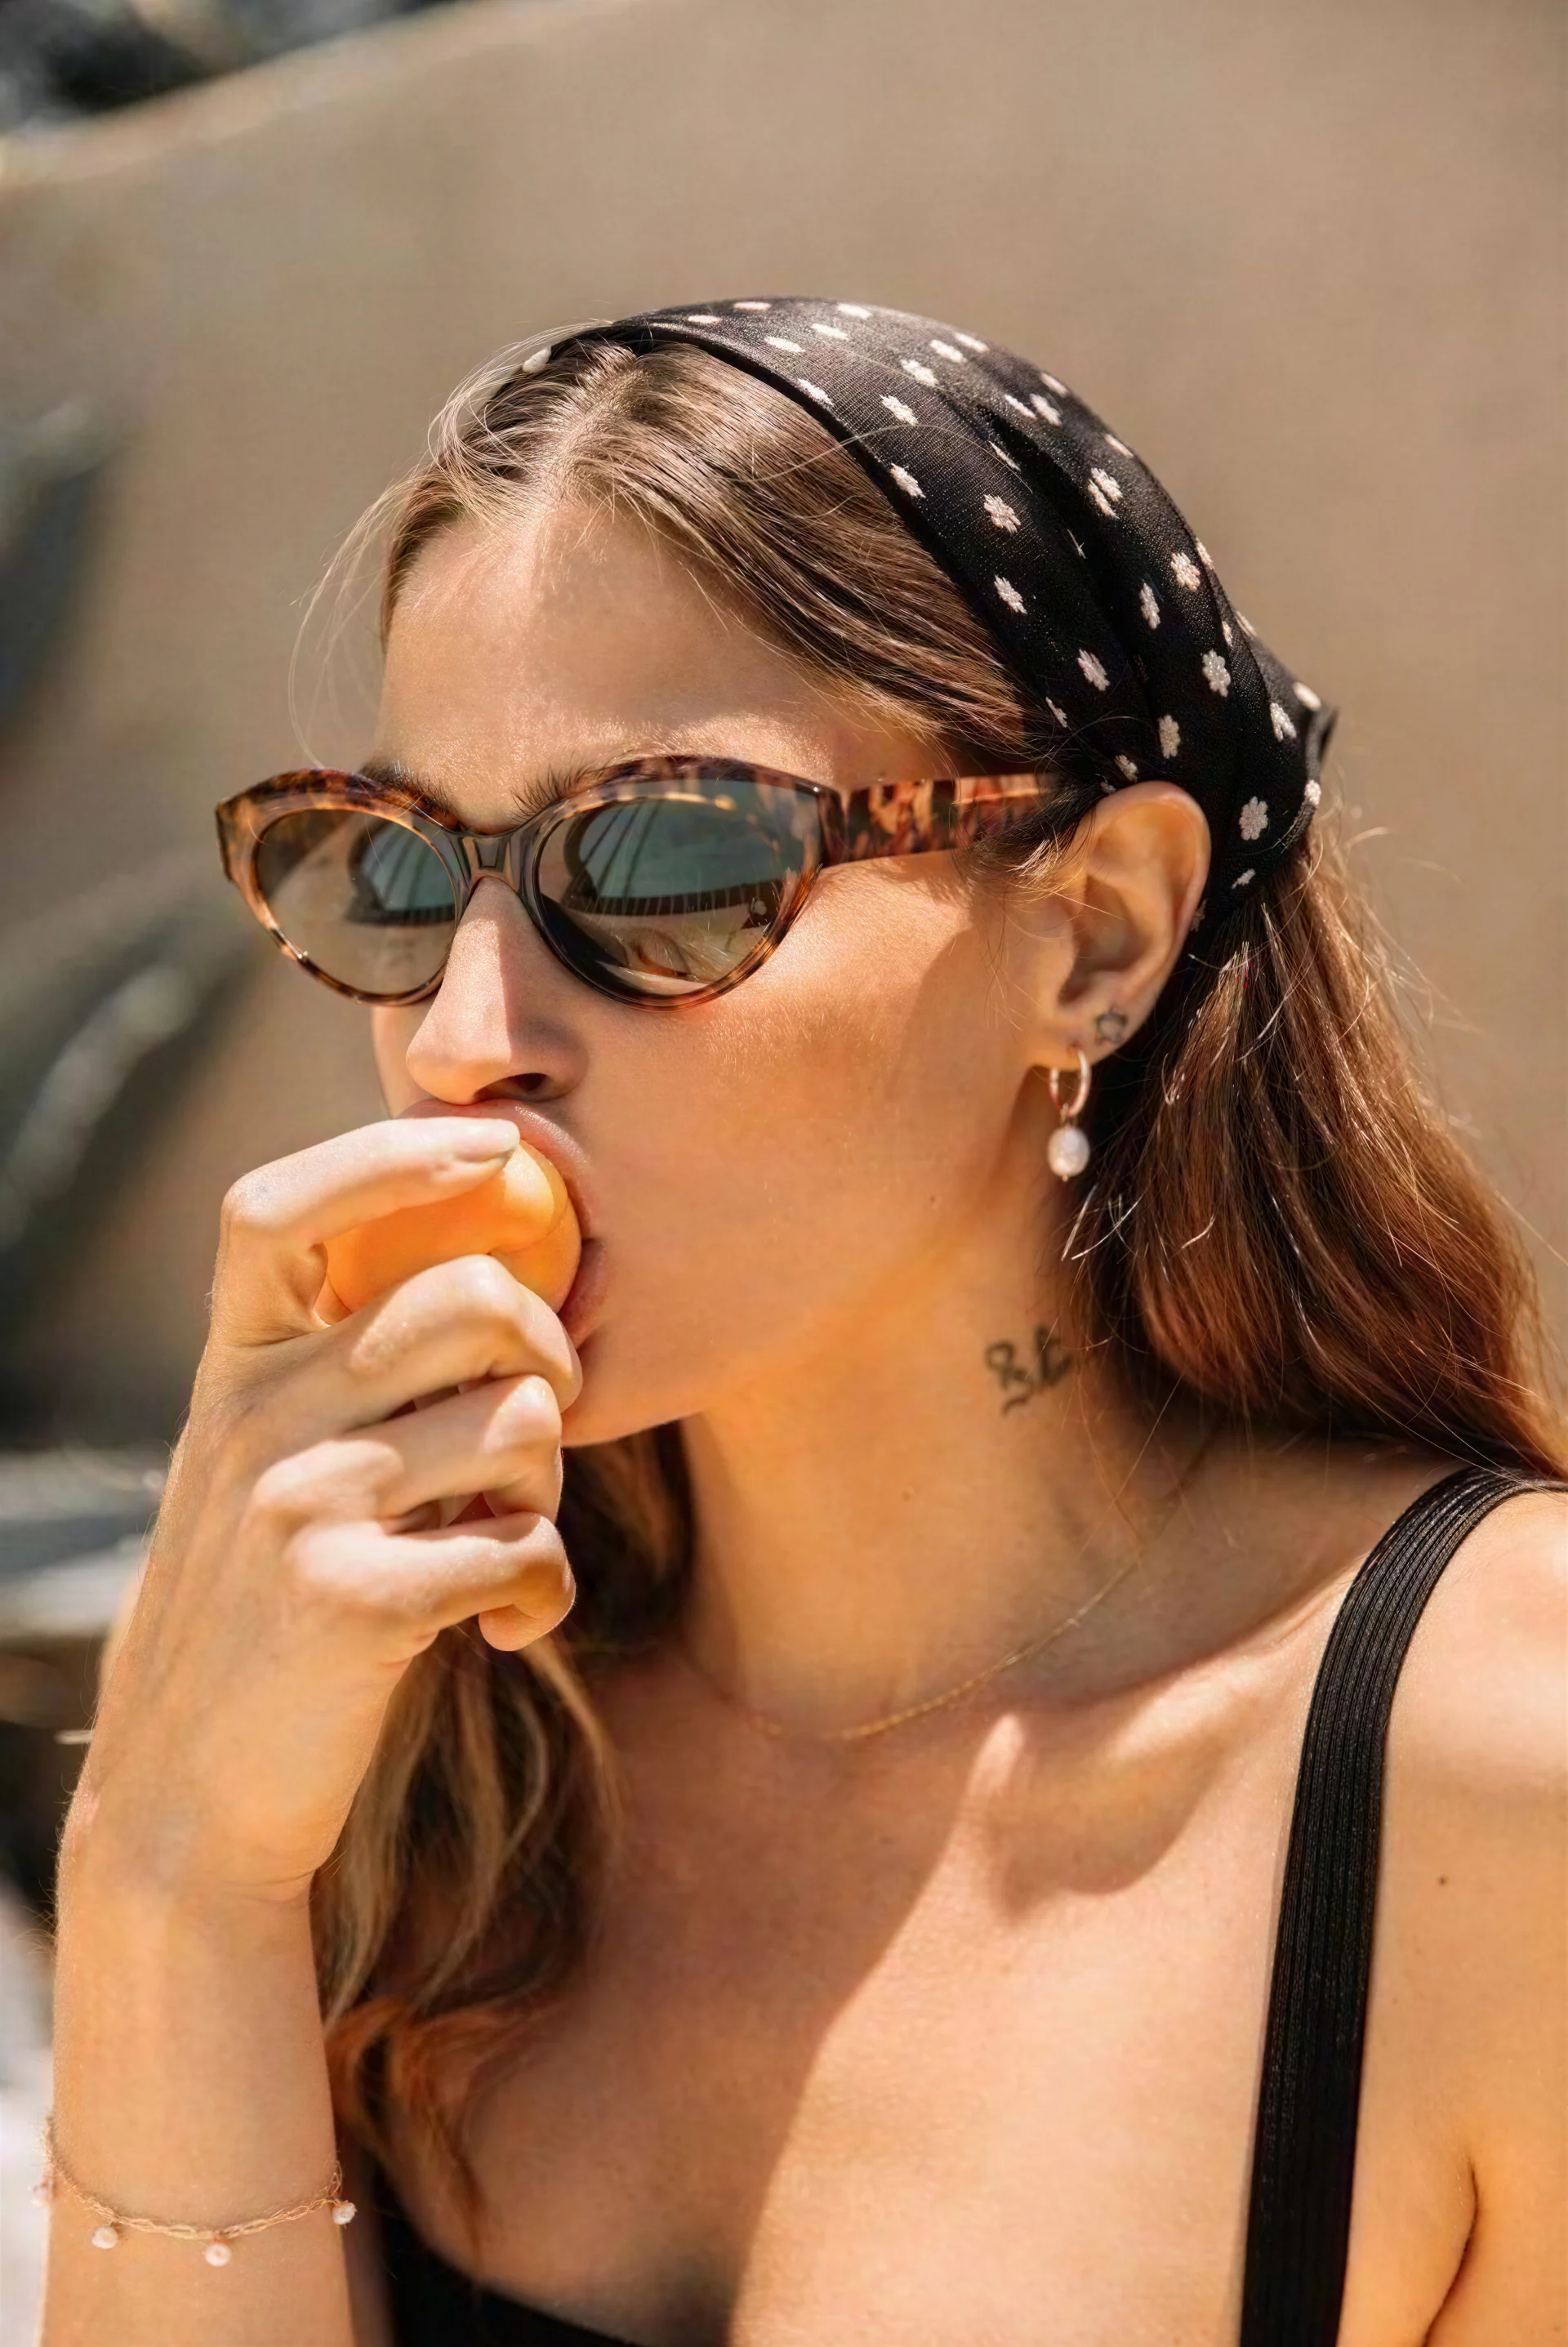
These are real, unedited results from the Imagera super resolution — the exact tool this guide covers.

13.Related resources
- 16K Image Upscaler tool — the studio this guide maps to, with chaining and batch processing
- How to upscale an image to 16K, step by step — the hands-on walkthrough companion to this explainer
- Topaz Gigapixel alternative comparison — deeper Topaz-vs-Imagera breakdown
- AI super-resolution explained — single-step upscaler tuned for AI-generated images
- Imagera vs Topaz Gigapixel — full feature and pricing comparison
- Restore and enhance old photos — repair scratches and grain before you enlarge
- Extreme detailer — push micro-texture on a clean source
- Pricing & credits — pay-per-use credit packs and plans