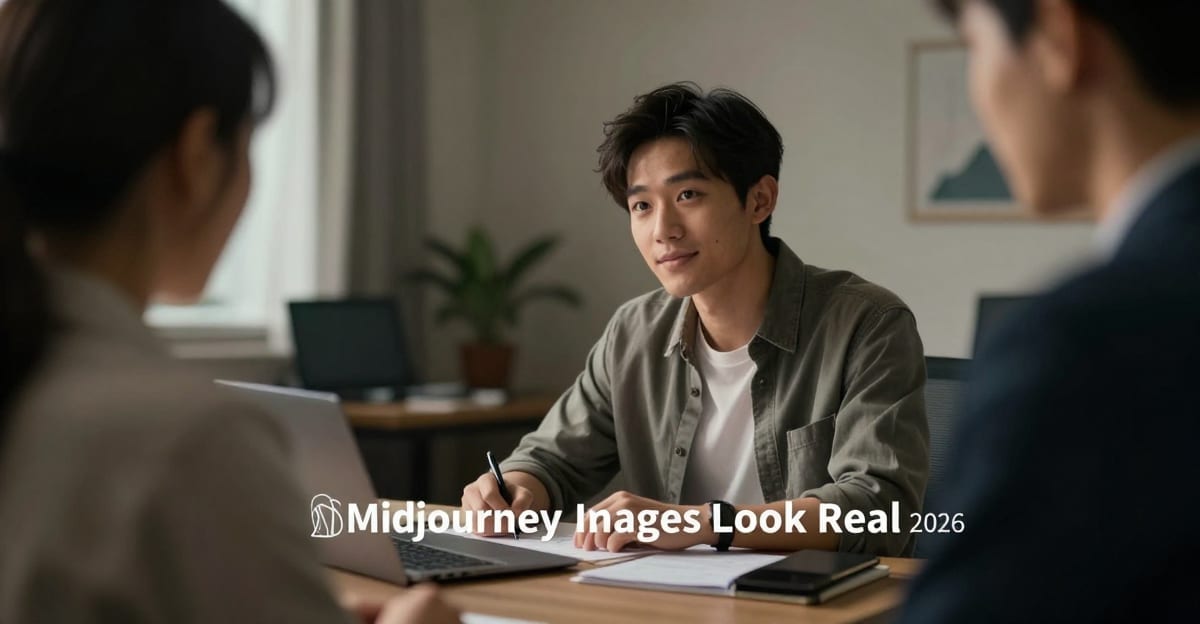
Most Midjourney images fail the photography test at first glance — not because the subject is wrong, but because the image looks too perfect. The lighting is cinematic, the skin is flawless, every edge is exactly where it should be. It reads like a render, not a photo. This guide walks through exactly why that happens and the precise techniques to fix it — from parameter choices inside Midjourney to finishing work in Imagera.
If you are working toward a broader goal of making AI images look real, the full workflow is covered in our guide to make AI images look real.
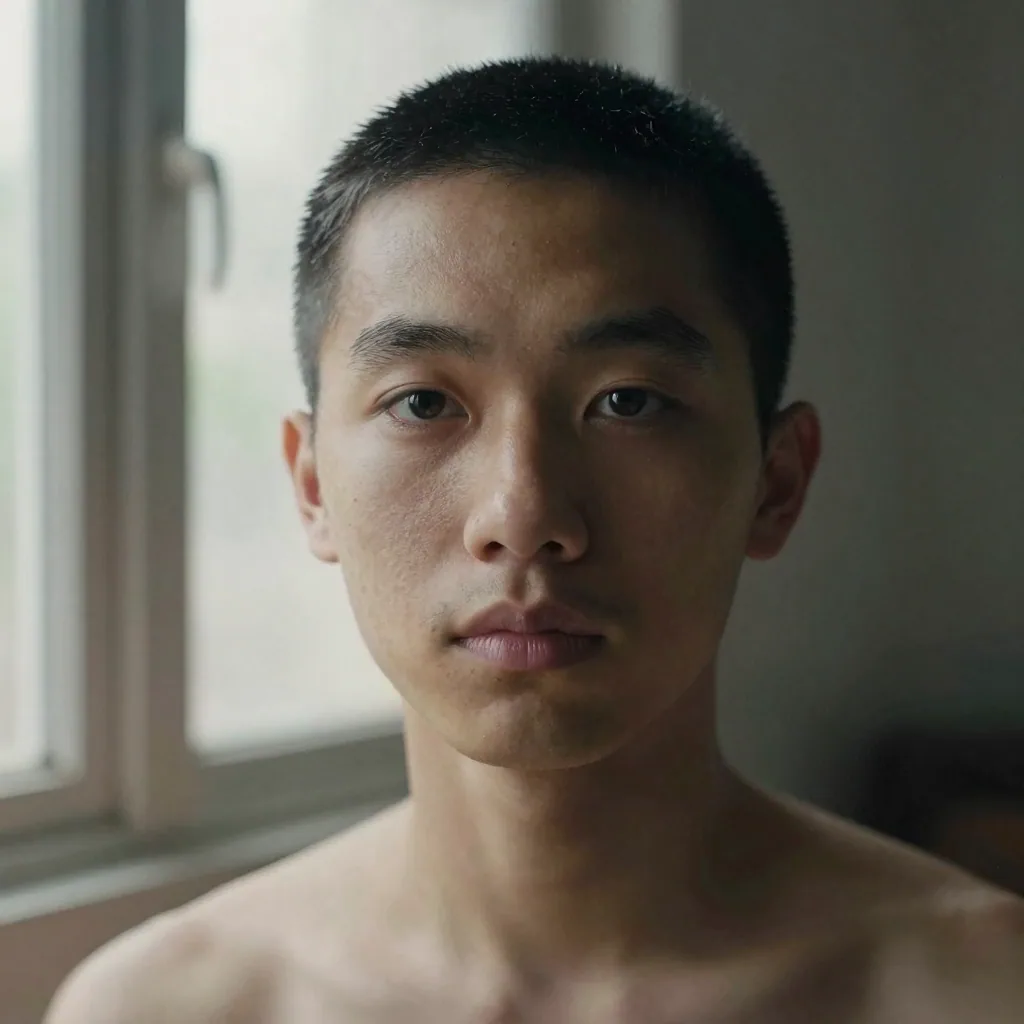
Quick answer: Real-looking Midjourney images come from fixing three tells: over-smooth skin, plastic lighting, and warped details. Imagera's photo-real enhancer restores pore-level texture, natural light falloff, and sharp edges in under 60 seconds.
1.How do you make Midjourney images look real in Imagera?
Upload your render, run the photo-real pass, and Imagera rebuilds skin texture, hair strands, and fabric weave at up to 4K in under 60 seconds. The pipeline targets the biggest AI tells (waxy skin, flat lighting, malformed hands), adds sensor-grade grain, and typically needs just 1-2 passes. Most users finish a batch of 10 images for a few credits each.
2.Why do Midjourney images look fake, and can Imagera fix it?
Renders look fake because AI over-smooths detail, so skin loses the fine pore-level texture a real photo captures, and lighting stays flat and uniform. The eye tends to lock onto those texture and light-direction inconsistencies almost instantly. Imagera counters both by re-injecting micro-texture and directional shadows, upscaling to 4K-8K, and correcting warped hands and other common failure zones.
3.Why Midjourney Has a "Signature Look" (and Why It Works Against Realism)
Midjourney is designed to produce images that are visually compelling. That is a strength for illustration, concept art, and brand imagery. It is a problem when you want output that reads as authentic photography.
The default pipeline boosts stylize, cranks contrast into a cinematic range, smooths out texture, and applies color grading that no camera in the world actually produces. The result is images that are immediately striking but instantly recognizable as generated.
Three specific tells show up in nearly every default Midjourney portrait and scene:
- Plastic skin — over-smoothed, no pores, no subsurface variation
- Hyperreal global sharpness — every plane in focus with equal crispness, which never happens
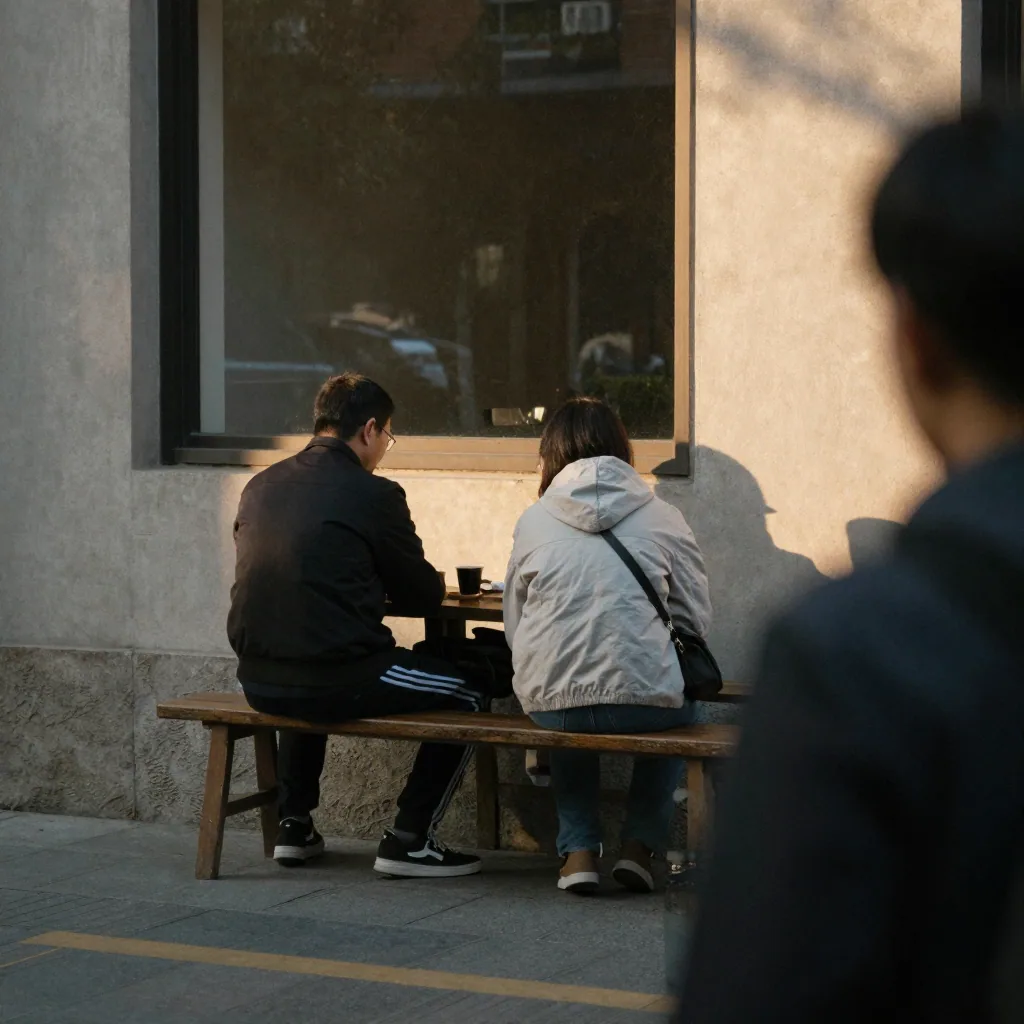
in real lens optics
- Studio-perfect light — no spill, no practical source falloff, no ambient fill inconsistency
Fix these three things and the image reads as a photograph.
4.The Core Fix: --style raw
--style raw is the highest-leverage parameter for photorealism in Midjourney. It strips away the default aesthetic processing and gives you a neutral base that respects your prompt rather than dramatizing it.
Every prompt in this guide assumes --style raw is on. Without it, the techniques below still help but you are working against the grain of the generator.
In Midjourney V7, --style raw combined with a reduced --stylize value (100 to 150, down from the 250-350 default range) gives you what one photographer described as the "digital negative" — something to actually work with rather than a finished artistic statement.
5.Prompting Like a Photographer, Not an Art Director
The single most effective shift in thinking is to stop prompting for adjectives and start prompting for equipment and conditions.
5.1Camera and Lens References
Midjourney is trained on billions of real photographs, many of which are tagged with EXIF data. When you name a real camera body and lens, the model maps your prompt to the actual rendering characteristics of that glass and sensor.
Instead of: "ultra realistic portrait, stunning photography"
Use: "portrait, Sony A7R V, 85mm f/1.4 at f/2, natural window light"
The lens reference alone forces shallower depth of field, realistic bokeh shape, and highlight falloff that matches what that optic actually produces.
Useful camera and lens references for different looks:
| Look | Camera Body | Lens Reference |
|---|---|---|
| Editorial portrait | Sony A7R V | 85mm f/1.4 or 50mm f/1.2 |
| Documentary / street | Fujifilm X-T5 | 35mm f/2 or 23mm f/2 |
| Landscape / architecture | Nikon Z8 | 24-70mm f/2.8 at 35mm |
| Fashion / studio | Hasselblad X2D | 90mm f/3.2 |
| Candid / reportage | Leica M11 | 28mm f/2.8 Summicron |
| Product / still life | Canon EOS R5 | 100mm Macro f/2.8L |
5.2Describe Light Like a Gaffer
Lighting description is the second biggest lever. Replace generic terms with physical descriptions:
- "Soft diffused window light from camera left, slight warm cast"
- "Overcast outdoor light, no hard shadows, even fill"
- "Tungsten practical source at 3200K, ambient room fill"
- "Golden hour backlight creating rim separation, slight lens flare"
Midjourney understands the physical behavior of light well enough that these descriptions produce measurably different results.
6.The Imperfection Rule
Real photographs carry the physics of capture. A lens distorts slightly. A sensor adds noise. A moving subject produces micro-blur. A long shutter picks up ambient light inconsistency.
Perfect images look synthetic. Adding one deliberate imperfection to your prompt breaks the uncanny valley more effectively than any amount of realism keywords.
Effective imperfection prompts:
- "slight film grain, ISO 800"
- "micro motion blur on hair and clothing edges"
- "subtle chromatic aberration at corners"
- "mild lens barrel distortion"
- "shallow focus with gentle foreground object out of frame"
- "visible skin pores, natural asymmetry, slight redness at nose bridge"
For skin specifically, prompting "subsurface scattering, visible pore texture, natural skin variation" targets the exact rendering path in V7 that produces authentic human skin. The full breakdown of the plastic skin problem is in our guide on how to fix AI skin's plastic look.
7.Midjourney Tell vs. Fix: Complete Reference Table
This table maps the most common photorealism failures in Midjourney output to their specific fixes at the prompt and parameter level.
| Midjourney Tell | Why It Happens | Fix |
|---|---|---|
| Plastic, pore-free skin | Default stylization smooths texture | Prompt "visible pores, subsurface scattering, natural asymmetry" + --style raw |
| Hyperreal global sharpness | Stylize boosts edge contrast everywhere | Name a real lens wide open, e.g. "85mm f/1.4 at f/2" |
| Oversaturated, cinematic color | Default color grading lifts saturation | "muted natural tones, no color grading" + --stylize 100 |
| Perfect, sourceless lighting | Default light is aesthetically balanced | Name a specific light source direction and quality |
| Symmetrical, flawless composition | Model trained on appealing framing | "slight Dutch angle", "asymmetric framing", "rule of thirds off-center" |
| Background too sharp / too blurred | Depth of field not driven by lens physics | Specify aperture value, e.g. "shot at f/2, 85mm" |
| Hair looks rendered, not shot | Stylize renders hair as illustration | "individual hair strands, slight flyaways, natural frizz" |
| Eyes too vivid / too symmetrical | Model optimizes eyes for visual impact | "natural eye asymmetry, realistic catchlights from window" |
| No environmental texture | Scene surfaces look CG-smooth | "rough concrete wall texture, dust on glass, worn fabric" |
| Airbrushed clothing | Fabric smoothed by stylize | "visible fabric weave, natural clothing creases and drape" |
8.Color Control: The Underrated Variable
Midjourney defaults to high saturation. Real photography — especially in documentary, editorial, and candid genres — uses constrained color palettes. Oversaturation is one of the fastest reads of a generated image.
Instead of describing a mood, describe the color palette explicitly:
- "muted desaturated palette, slightly cool shadow tones"
- "warm natural earth tones, no boosted saturation"
- "neutral daylight color temperature, slight cyan in shadows"
- "faded film look, low contrast, lifted blacks"
Constraining color to a believable photographic range does more for realism than most texture work.
9.Using --sref for Lighting Consistency
One underused Midjourney parameter for photorealism is --sref (style reference). Paste in a URL from a real photograph with the lighting, color grade, and texture you want to match. Midjourney will use that image as a style anchor rather than interpreting your written descriptions.
This is particularly useful when you have a clear reference photograph in mind. It removes the ambiguity of language and gives the model a direct example of what real photographic output looks like.
10.Finishing with Imagera: Where Midjourney Stops Short
Even with --style raw, specific camera references, and careful prompt engineering, Midjourney V7 has a ceiling on micro-texture quality. Skin pore fidelity, subtle film grain, and fabric weave detail are difficult to control precisely inside the generation step.
This is where Imagera's Detail Enhancer fits naturally into the workflow. After exporting your best Midjourney generation, bring it into Imagera for:
- Micro-texture enhancement — adds surface detail that lifts the image from rendered to photographic
- Natural grain application — calibrated grain at the shadow, midtone, and highlight level to match film or sensor noise profiles
- Skin detail refinement — restores pore and texture fidelity without the plastic smoothing that Midjourney's pipeline can introduce
Imagera works with any generator output — not just Midjourney. If you are running DALL-E 3, Stable Diffusion XL, or Flux, the finishing workflow is identical: generate your base image, export it, bring it into Imagera.
Plans start at $19.99/month for casual use, with a Pro plan at $49.99/month for higher-resolution output and priority processing. See the full breakdown at Imagera pricing.
For more prompt templates across all major generators, see our guide on best prompts for realistic AI images.
11.Quick-Reference Workflow Checklist
Before generating, run through this checklist:
- --style raw is appended to every prompt
- A real camera body and lens are named with an aperture value
- Light source is described with direction, quality, and color temperature
- At least one imperfection is included (grain, blur, distortion, asymmetry)
- --stylize is set to 100-150, not the default
- Saturation is explicitly constrained in the prompt if shooting for editorial realism
- An optional --sref reference image URL is attached for complex lighting
- After generation, the best output goes into Imagera for finishing
Run this checklist consistently and the gap between Midjourney output and real photography closes significantly. The images will not look like a generator made them. They will look like someone took them.
12.See it in action — real Imagera output
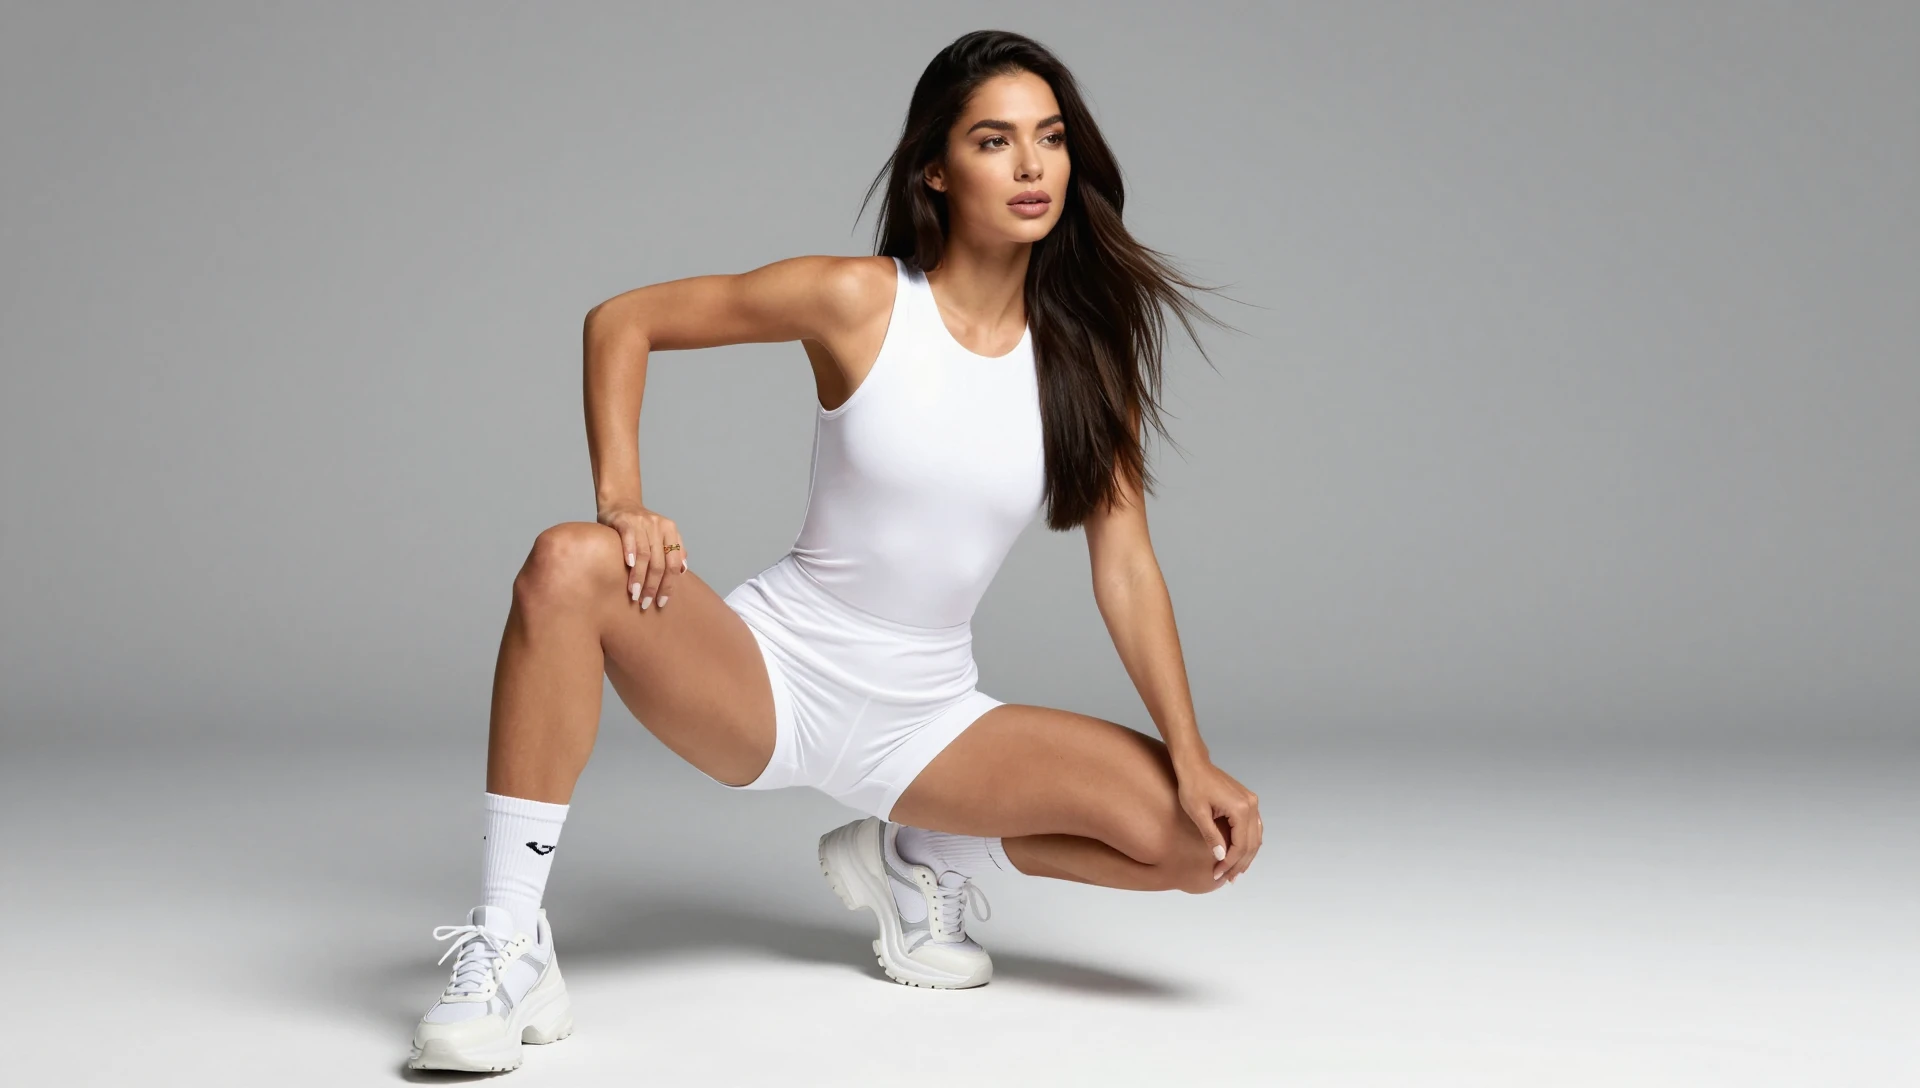
These are real, unedited results from the Imagera image generator — the exact tool this guide covers.
13.Diagnosing the specific "tells" a stylized generator bakes in
Highly aesthetic generators fail realism differently than plain diffusion models. They rarely produce obvious artifacts — instead they add a consistent house style: a soft cinematic grade, over-resolved edges, and a lighting logic that is beautiful but physically impossible. Knowing exactly which layer is broken tells you which fix to reach for, so you stop re-rolling prompts that were never going to solve the problem.
Work through the image in this order. Each tell has a distinct cause and a distinct remedy.
| Tell | What you actually see | Why it reads as fake | Fix layer |
|---|---|---|---|
| Symmetric fill light | No true shadow side; both cheeks lit equally | Real scenes have one dominant source | Relight / directional shadow pass |
| Uniform micro-contrast | Skin, fabric, and background all equally sharp | Cameras fall off with depth and lens | Selective texture + depth blur |
| "Wet" specular skin | Glossy highlights on nose, forehead, lips | Over-rendered subsurface scattering | Skin detail / matte pass |
| Impossible catchlights | Eye reflections don't match key light | Generator invents them independently | Localized eye correction |
| Grade with no source | Teal-orange look baked into flat scene | Color came from style, not lighting | Neutralize, then regrade to a real profile |
The most common mistake is treating all five as one problem and running a single global pass. They stack. In Imagera, address them in the order above — geometry and lighting first, texture second, color last — because a texture pass over a physically wrong lighting setup only makes the impossible lighting look sharper.
The depth cue nobody prompts for. Stylized output tends to render every plane at the same focus and the same edge acuity. Real lenses don't. Introducing even a modest, direction-aware falloff — sharper at the plane of focus, softer toward the frame edges and background — does more for believability than any amount of grain. Imagera's enhancement passes let you anchor sharpness to the subject rather than the whole canvas, which restores the "shot on glass" cue the original generation flattened out.
When to regenerate instead. If the pose or hand geometry is wrong, no realism pass will save it — those are structural, not surface, problems. Regenerate the base composition, then bring only clean candidates into the realism stack. Budget-wise, running one enhancement pass on a keeper costs a handful of credits; re-rolling a broken base and then enhancing it costs more and usually still fails. Sort first, enhance second.
A quick self-check. Convert the near-final image to grayscale. If you can no longer tell where the light is coming from, the lighting is decorative, not physical — go back to the relight step before you touch color. This one habit catches the failure that survives almost every other edit.