How to Make AI Images Look Natural, Not Fake (2026)
Your AI image looks perfect to the human eye — and gets called out as artificial the moment anyone looks closely. That disconnect is not random. The problem is not what you see. It is what is happening at the pixel-statistics level that cameras naturally produce and AI generators do not.
Until you fix those gaps at the source — missing sensor noise, over-smooth skin, absent lens artifacts — AI images will keep looking like AI images, no matter how good the prompt was.
This guide covers both scenarios: fully AI-generated images from tools like Midjourney, DALL-E 3, Stable Diffusion, and Flux, and real photographs that have been AI-edited — background swaps, generative fills, skin retouching, object removal. Both categories have the same tells. Both are fixable using the same underlying logic.
For a workflow focused specifically on making AI photos look indistinguishable from real photography, see our companion guide on how to make AI photos look like real photos.
Quick answer: AI images look natural when you fix the 3 giveaways that flag them as fake: over-smooth plastic skin, warped hands and text, and flat studio lighting. Imagera's skin-detail and upscale passes restore realistic pores, grain, and shadow in under 60 seconds.
1.How do you stop AI photos from looking plastic and fake?
Target the top 3 tells at once. Run a skin-detail pass to add real pores and micro-texture, upscale to 4K or 8K so grain reads as authentic (not synthetic), and correct lighting so shadows match a single source. Most fake-looking outputs fail on all 3, so fixing them together lifts realism far more than tweaking any single setting in isolation.
2.Which fixes matter most for realistic 2026 AI images?
Prioritize texture and lighting over resolution alone. Adding film grain plus skin pores does more for perceived realism than upscaling by itself, and correcting hands, ears, and background text removes the most-shared "AI tell" errors. Both people and detectors tend to notice skin smoothness and lighting inconsistency first, so Imagera weights those two passes highest across its 100+ style presets.
3.Why This Matters for Commercial Photography
E-commerce teams, brand photographers, and indie sellers are producing AI-assisted product visuals at scale in 2026. The economics are hard to argue with: traditional studio photography runs $85 to $250 per SKU when you factor in models, studio rental, and post-production. AI alternatives deliver comparable results at a fraction of that cost.
The problem is that the images still look artificial when you examine them closely, and major ad platforms and marketplaces have automated quality review in their pipelines. Images that look AI-generated can be demoted, rejected, or held for manual review even when the underlying product is accurately depicted and no deception is intended. A heavily retouched real photograph with a generative-fill background can fail quality checks the same way a fully synthetic image does.
This is a legitimate technical problem with a legitimate technical solution. What follows is about understanding what makes AI images look fake and correcting the specific signals that AI generation leaves behind.
Important framing: these techniques are for honest commercial use — accurate product imagery, brand photography, and marketing visuals with full commercial rights. Creating fake testimonials, impersonating real individuals, or fabricating events are fraud regardless of image source.
4.Why AI Images Look Fake: The Five Root Causes
Before you can make AI images look natural, you need to understand exactly what gives them away. Quality review systems and attentive human reviewers do not look at subject matter. They look at:
- Noise frequency distribution — real camera sensors introduce Photo Response Non-Uniformity (PRNU), a unique noise fingerprint. AI generators produce either no noise or synthetic noise with different statistical properties that do not match any real camera.
- Texture smoothness — AI images are too clean. Skin has no visible pores. Fabric has no thread irregularity. Stone has no micro-scratches. This hyper-smooth surface quality is the most common tell in portrait and lifestyle AI images.
- Compression artifact patterns — each AI model leaves characteristic color distribution patterns that trained review systems have memorized across millions of examples.
- Lens physics — real lenses produce chromatic aberration at frame edges, vignetting in corners, and depth-of-field gradients that fall off naturally from the focal plane. AI generators frequently omit these or apply them uniformly in ways that do not match real optics.
- Metadata — a freshly generated AI image has no camera model, no shutter speed, no aperture data. That absence is itself a signal to any system or reviewer checking provenance.
For a deeper explanation of each signal and how automated quality systems weight them, see our guide on why AI images look fake.
5.The AI Image Realism Fix Table
| What Makes AI Images Look Fake | Root Cause | How to Fix It |
|---|---|---|
| Flat, uniform noise or no noise at all | Real sensors have non-uniform PRNU fingerprints | Add luminance-based film grain at 2 to 5 percent opacity, finer in shadows |
| Over-smoothed skin and fabric surfaces | Statistically perfect surfaces do not exist in real photography | Apply high-frequency pore and thread texture overlay to matte surfaces |
| No chromatic aberration at frame edges | Real lenses always produce some RGB fringe at the periphery | Add 0.3 to 0.8px lateral chromatic aberration offset at image edges |
| Uniform depth-of-field blur zones | Real lenses blur in gradients, not in abrupt uniform regions | Verify bokeh transitions gradually outward from the focal plane |
| Perfect corner brightness | Real lenses vignette naturally; AI images typically do not | Add 5 to 10 percent corner vignette in post-processing |
| Missing or blank EXIF metadata | Camera images always carry sensor and lens data | Re-embed plausible EXIF fields consistent with the image's visual look |
| Statistical frequency anomalies in pixel transitions | Diffusion models create pixel transitions with distinct learned patterns | Re-encode as JPEG at 85 to 92 quality after all edits |
| Mismatched AI-edited regions in real photos | AI-filled areas carry different texture stats than the surrounding photo | Match noise grain and texture in AI-edited patches to the surrounding photograph |
6.Step-by-Step: The AI Image Realism Workflow
6.1Step 1: Audit for Artificial Tells Before You Edit
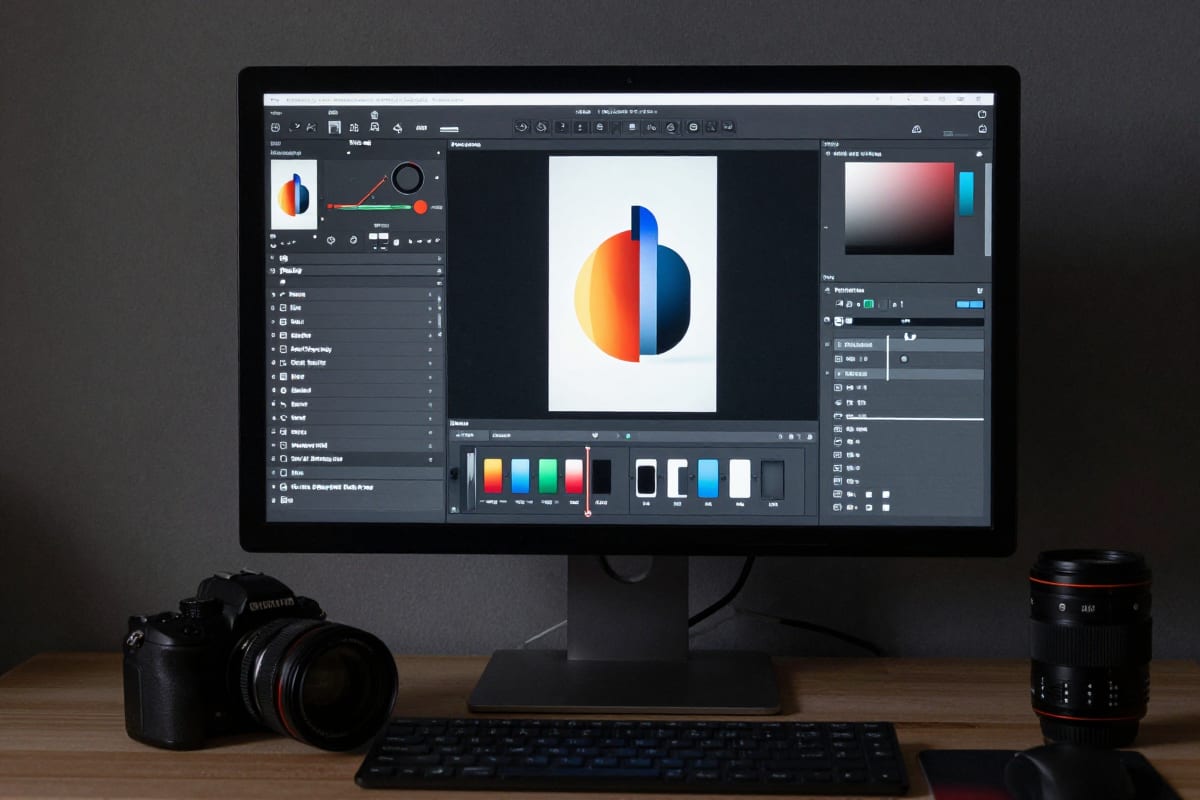
Run your image through a quality audit before touching anything. Imagera's Real Camera quality tool highlights which regions look artificial and why, zone by zone. Look at the heatmap output, not just any overall confidence level. A flagged area over the subject's skin tells you to fix texture. A flagged area over the background tells you the generative fill is inconsistent with the surrounding image. A diffuse flag across the whole image points to a noise-pattern problem.
Fixing the right thing first saves multiple rounds of iteration.
6.2Step 2: Add Calibrated Sensor Noise
This is the single most impactful fix for making AI images look natural. AI generators do not produce camera sensor noise with accurate statistical properties. Add a luminance-based noise layer — not a color noise layer, not a uniform grain filter — that respects the luminance gradient of your specific image. Grain should be finer in shadows where sensors are less sensitive and coarser in highlights.
Opacity: 2 to 5 percent for most images. Product shots with very bright backgrounds may need 3 to 4 percent. Portrait skin can tolerate 2 to 3 percent without visible degradation at normal display sizes.
Imagera's Real Camera mode applies sensor-calibrated noise as part of an automated stack, so you do not have to dial this in manually for every image.
6.3Step 3: Restore Natural Surface Texture
AI-generated skin is the most reliably artificial-looking element in portrait and lifestyle images. It is too smooth at the pixel level: no pores, no micro-shadows from individual skin cells, no subtle variation in surface sheen. This hyper-smooth look is immediately recognizable to trained reviewers and quality systems alike.
For skin: apply a high-frequency skin texture overlay at 10 to 20 percent opacity using a blend mode that respects the underlying tones, such as Overlay or Soft Light. For fabric: add slight fiber irregularity. For stone, wood, and matte products: add micro-scratch and grain texture appropriate to the material.
For AI-edited areas within a real photograph, the goal is matching the surrounding image's texture statistics, not applying a generic filter to the whole image. Treating each region independently produces far more convincing results.
6.4Step 4: Apply Real Lens Physics
Every real lens introduces aberrations. The most telling absence in AI imagery is chromatic aberration: the slight red, green, and blue fringe at high-contrast edges near the frame corners. A completely aberration-free image is a statistical impossibility in real photography.
Add 0.3 to 0.8px of lateral chromatic aberration offset at the frame edges. Confirm your vignette drops 5 to 10 percent at the corners. If your image has a shallow depth of field, check that the blur transitions gradually outward from the focal plane rather than switching abruptly between sharp and soft zones. Imagera automates all of this in the Real Camera workflow.
6.5Step 5: Re-embed Metadata for Provenance
For commercial images going to ad platforms or marketplaces, embed plausible EXIF data: camera body, lens focal length, ISO, aperture, and shutter speed. These fields should be internally consistent. An f/1.8 aperture with a 1/60s shutter speed at ISO 3200 in a bright outdoor image does not make physical sense and may attract manual review.
If your platform supports C2PA content credentials, signing the image with provenance data establishes a chain of custody that reduces friction with reviewers, even when the image contains AI-generated or AI-edited elements.
6.6Step 6: Re-encode and Validate
After all edits, save as JPEG at 85 to 92 quality. This re-encoding disrupts residual frequency patterns from the original AI generator's output pipeline. Do not over-compress: below 80 quality, visible blocking artifacts appear and you introduce new artificial-looking signals into the image.
Run the image through the quality audit tool again and review zone by zone. If specific areas still look artificial, return to the relevant step above and increase the intensity of the fix in that area only. Global changes when you have a localized problem produce weaker results.
For a more detailed walkthrough of the validation process, see our photorealistic AI image guide 2026.
7.The Special Case: AI-Edited Real Photos
If you started with a real photograph and applied AI edits — a generative background replacement, AI-powered skin smoothing, object removal, or inpainting — you have a hybrid image. The original photographic regions carry real sensor noise and real lens physics. The AI-edited regions do not.
The AI-edited regions will show different texture statistics than the surrounding photograph, and that boundary is often the highest-confidence artificial-looking zone in the whole image.
The fix: treat each AI-edited region independently. Match the noise grain intensity and texture profile of the surrounding real photograph in that specific patch. The goal is not to apply a uniform filter to the whole image — it is to make the AI-edited sections statistically and visually indistinguishable from the original photographic material around them.
This is also covered in detail in our guide on natural-looking AI photos, which addresses the hybrid editing scenario specifically.
8.How Imagera Automates the Realism Stack
Imagera's Real Camera feature was built to address every signal described above as a single automated workflow rather than a manual multi-step process. Upload your image — whether fully AI-generated from Midjourney or DALL-E 3, or a real photo with AI-edited regions — select Real Camera, and Imagera applies:
- Sensor-calibrated luminance noise matched to the image's exposure profile
- High-frequency surface texture restoration for skin, fabric, and matte materials
- Lens physics including chromatic aberration, vignette, and depth-of-field gradient refinement
- EXIF metadata embedding with internally consistent camera parameters
- Final re-encoding optimized for natural-looking frequency statistics
Plans start at $19.99 per month (Starter tier). The Pro plan at $49.99 per month adds priority processing, higher resolution outputs, and batch workflows for catalog-scale product photography. See the full breakdown on Imagera pricing.
The Real Camera quality tool lets you run a pre-check on any image before committing to edits, so you know exactly which tells you are dealing with.
9.A Note on AI Image Quality Over Time
AI image generation is not static. Midjourney, DALL-E, Flux, and Stable Diffusion all release new model versions that produce increasingly photorealistic output. What requires significant post-processing today may require less work in twelve months as generators improve their native realism.
The approach here is grounded in physical reality rather than software-specific quirks: you are reintroducing the actual characteristics of real photography — sensor noise, lens aberrations, surface texture — that any quality system or human reviewer trained on real photos will expect to see. That makes the fixes more durable than workarounds targeting a specific tool's behavior.
That said, re-evaluate your most important commercial images quarterly, or before major campaign launches. AI image quality is improving in both directions: generators produce more realistic output, and quality review systems get better at identifying what remains artificial.
10.See it in action — real Imagera output
These are real, unedited results from the Imagera real camera noise — the exact tool this guide covers.