If you have generated an AI portrait lately and something about the skin feels off — too smooth, too even, almost rubber-like — you are not alone. Plastic-looking AI skin is one of the most reported quality problems across Midjourney, DALL-E 3, Stable Diffusion, and Flux in 2026. The image is otherwise compelling: great composition, accurate lighting, believable proportions. But the moment you look at the skin, something in your visual system says "render, not photo."
This post explains exactly why that happens, and gives you a practical framework to fix it — from prompt-level changes to post-generation detailing tools.
For a broader look at the gap between AI output and real photography, see our guide on how to make AI images look real.
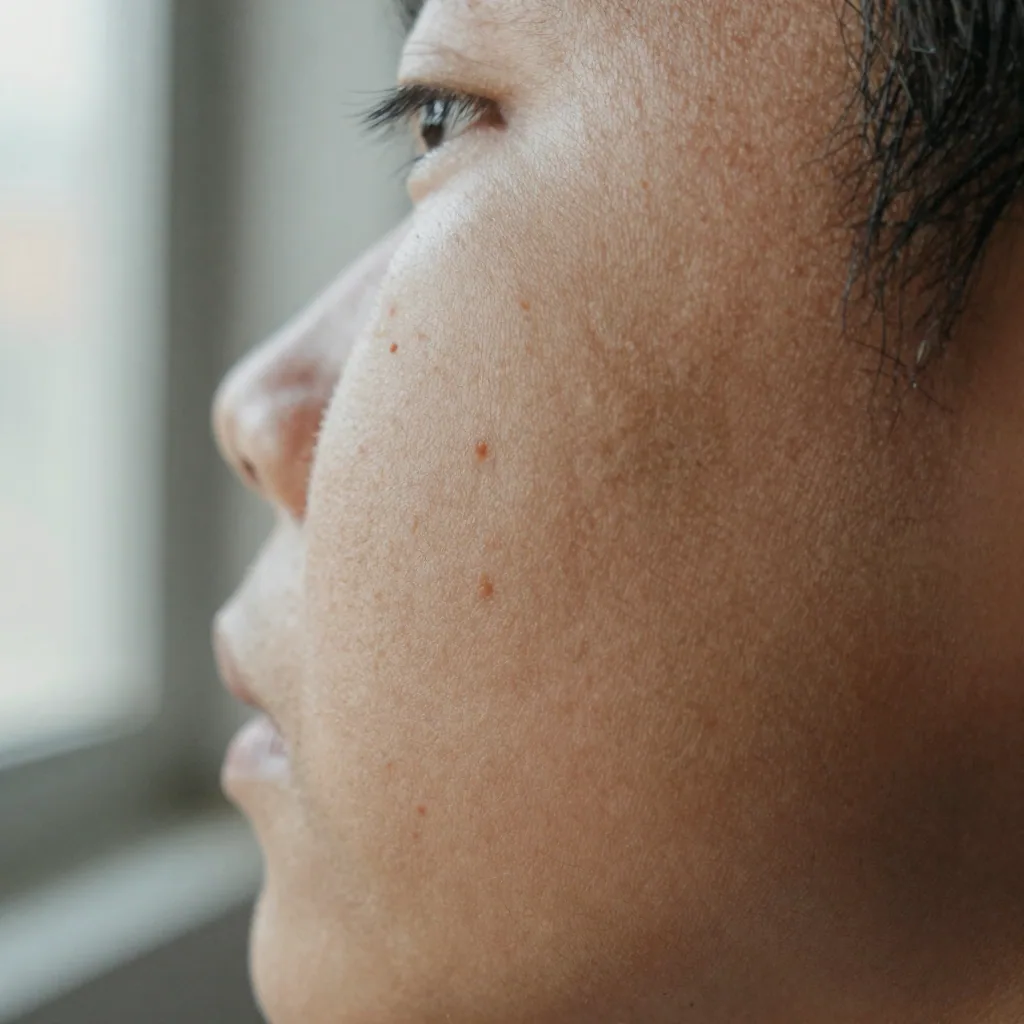
Quick answer: Plastic-looking AI skin comes from over-smoothing that erases pores, so the fix is adding back fine texture, subsurface variation, and realistic lighting with a skin-detailing pass in Imagera.
1.Why does AI-generated skin look plastic and waxy?
AI skin looks plastic because diffusion models over-smooth, wiping out the three core cues real skin needs: micro-texture (pores, fine lines), subsurface color variation, and directional light falloff. That uniform, waxy sheen is the giveaway on most "obviously AI" faces. In 2026, a targeted skin-detailing pass in Imagera restores those pores across a full 4K portrait in under 60 seconds.
2.Can you fix plastic AI skin without regenerating the whole image?
Yes. Instead of re-rolling the entire prompt, run one focused skin-detail pass in Imagera that re-adds pore texture and tonal variation while keeping composition, pose, and identity locked. It handles 4K and 8K portraits and preserves your original framing. Natural skin keeps visible micro-detail rather than a uniform matte finish, and that is exactly what this pass rebuilds.
3.Why AI Skin Looks Plastic in the First Place
The root cause is not a bug. It is the training data.
Image diffusion models — the family of architectures behind Midjourney, Stable Diffusion, and Flux — are trained by learning to remove noise from images. During that process, the model develops a strong prior about what "good" skin looks like based on the images it saw most often. And the internet's most-shared portrait photography is heavily retouched: smooth, poreless, color-corrected, and beauty-filtered.
The model learns that clean, smooth skin is the target. Pores, micro-blemishes, uneven undertones, and the subtle dimpling of real skin look mathematically similar to image noise — so the model treats them as errors and removes them. The result is skin that is technically correct by the model's training objective but wrong to human eyes because it looks like a wax figure, not a person.
There are three specific properties of real skin that AI models routinely miss:
1. Pore geometry and micro-texture. Real skin has a fine three-dimensional surface. Light hits the tops of skin cells differently from how it hits the valleys between them. AI skin tends to be a flat color field with no micro-geometry.
2. Subsurface scattering. Light does not just bounce off human skin — it enters the epidermis, scatters through the layers underneath, and exits at a slightly different point. This gives skin its warm, slightly translucent quality. AI skin often looks opaque and hard because the model skips this interaction.
3. Natural color variation. Real skin has zones of different undertone: slightly rosier at
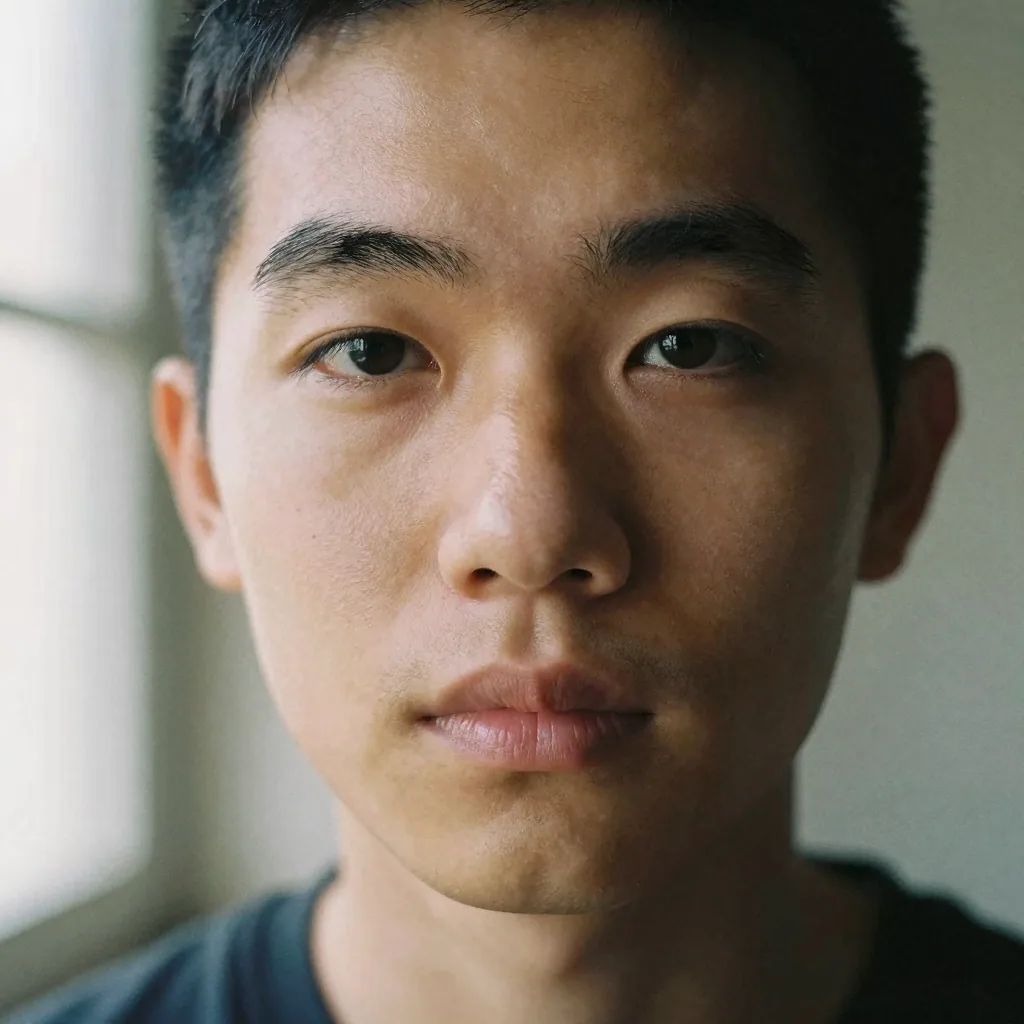
the cheeks and nose, more yellow or olive at the forehead, different pigmentation around the eyes. AI skin defaults to uniform, even color — which reads instantly as artificial.
4.The Plastic Skin Problem: A Diagnostic Table
Use this table to identify what is wrong with your specific image and choose the right fix.
| Symptom | Root Cause | Fix |
|---|---|---|
| Skin looks smooth and rubbery overall | Model defaulted to retouched-photo prior | Add texture prompt cues; use negative prompts to block smoothing |
| No visible pores even at high zoom | Insufficient resolution or model over-smoothed | Generate at 2K+; use Imagera Extreme Detailer for pore reconstruction |
| Skin has a plastic sheen or hard highlight | Missing subsurface scattering simulation | Prompt "soft subsurface glow"; run through skin detailer with SSS pass |
| Perfectly even skin tone across entire face | No color zone variation in output | Prompt "natural uneven skin tone", "slight redness at nose", "warm cheeks" |
| Face looks airbrushed or filter-applied | Beauty-filter bias in training data | Add "airbrushed" and "beauty filter" to negative prompt |
| Skin looks fine at thumbnail size but fake at full size | Texture too coarse, no micro-detail | Higher generation resolution; Imagera Skin Detailer for micro-texture pass |
| Skin looks "digital" despite good lighting | No film grain / noise floor | Add 2-4% luminosity grain as final overlay; grain anchors the image in photography aesthetics |
5.Fix 1: Prompt Engineering for Realistic Skin Texture
The fastest zero-cost fix is changing what you ask for. Most users prompt for the subject, the scene, and the lighting — but leave skin texture entirely to the model's defaults. Adding explicit texture cues changes the model's output substantially.
5.1Positive prompt additions
visible poresnatural skin texturesubtle uneven skin toneslight natural blemishessoft subsurface scattering glowfine lineseditorial photographyshot on 85mm f/1.4shallow depth of fieldphotorealistic, high detail
5.2Negative prompt additions (for Stable Diffusion and Flux)
smooth skinplastic skinwaxyairbrushedover-retouchedbeauty filterdoll3D renderporcelain skin
Midjourney does not have a formal negative prompt field, but you can add --no smooth skin, plastic skin, airbrushed to suppress these qualities.
For a complete walkthrough of how to apply these techniques to faces specifically, see how to make AI faces look real.
6.Fix 2: Generate at Higher Resolution
This is the most underused fix.
At low resolution — say 512 × 512 or even 768 × 768 — there are simply not enough pixels to encode pore-level detail. The model fills the space with flat color because there is no room for texture. Skin that would have had visible pores at 2K is rendered as a smooth surface at low resolution because the pixels are not there to support the detail.
Generate portraits at 2048 pixels on the short side at minimum. In Midjourney, use the Upscale (Max) option after generation. In Stable Diffusion and Flux, set your output resolution to at least 1024 × 1536 for portrait orientation, then use a dedicated upscaler to reach 2K or 4K while preserving the texture detail you generated at base resolution.
A clean high-resolution image with real micro-texture will always produce better results downstream than trying to rescue a low-resolution output with post-processing.
7.Fix 3: Use a Dedicated Skin Detailer
For images that are compositionally strong but have irredeemably plastic skin, re-generating from scratch is wasteful. A dedicated skin detailing tool can rebuild the surface texture of an existing image while preserving everything else.
Imagera's Extreme Detailer is built specifically for this problem. Upload your AI-generated portrait and the tool performs:
- Pore reconstruction. It adds realistic pore geometry appropriate to the age, skin type, and lighting in the image — not a generic pore overlay.
- Subsurface scattering simulation. The tool applies light-skin interaction that gives skin its characteristic warm, slightly translucent quality instead of the flat-opaque look of AI renders.
- Color zone variation. Natural undertone differences across facial zones (cheeks, nose bridge, forehead, around the eyes) are added based on skin tone and lighting direction.
- Micro-imperfection layer. Subtle, low-prominence blemishes and slight skin texture irregularities are introduced at a level that reads as natural rather than damaged.
The output resolution is high enough to support print use, and the original composition, likeness, and lighting are preserved. This is the step that consistently produces the largest visible improvement for the least amount of rework.
You can explore Imagera's full realistic AI image generator toolkit and see before-and-after examples of the detailing pass.
8.Fix 4: Add a Film Grain Pass
Real photography always has a noise floor. Digital camera sensors produce shot noise at every ISO setting. Film records grain from the silver halide crystals in the emulsion. AI-generated images have none of this — they are mathematically smooth at the pixel level in ways that no real photographic capture ever is.
A light grain pass — 2 to 4% luminosity grain in Photoshop's Camera Raw filter, or equivalent in any photo editor — anchors the image aesthetically in photography rather than rendering. It is a minor change that works synergistically with the texture fixes above: good pore detail combined with realistic grain produces results that are qualitatively different from either fix applied alone.
This fix takes under two minutes and is worth applying to every final AI portrait you produce.
9.Which AI Generators Handle Skin Best in 2026?
Not all models are equal on this dimension. Here is a practical ranking based on skin texture output quality:
Flux (Dev and Pro variants) — Currently the strongest out-of-the-box skin renderer. Flux handles subsurface scattering better than most alternatives, and skin at high resolution reads as organic rather than rendered. A strong starting point.
Midjourney V7 — Significant improvement over V6. Generates pore-level detail and age-appropriate texture variation. The airbrushed-by-default artifact from earlier versions is largely gone. Best results come from using the raw style mode and adding texture cues.
Stable Diffusion (SDXL and SD3 checkpoints) — Highly dependent on the checkpoint and LoRA stack. Base models default to smooth skin, but the right LoRA combination (skin texture + face detail, stacked at 0.4–0.7 strength) can produce exceptional results. More setup required than Flux or Midjourney.
DALL-E 3 — Improved portrait quality overall but still tends toward the retouched, smooth-skin look. Best used as a concept generator with detailing applied in post via tools like Imagera.
For a deep dive into comparing these generators for portrait realism, see our guide on how to make AI photos look real.
10.Putting It Together: A Practical Workflow
Here is the full workflow that consistently produces photorealistic skin quality:
- Craft your prompt with skin cues. Add visible pores, natural texture, subsurface glow, and photo-realism descriptors. Add smooth skin, waxy, and airbrushed to your negative prompt.
- Generate at 2K minimum. Give the model the pixel budget it needs to encode real texture.
- Select the best raw output. Run several generations and pick the one with the strongest composition and most natural-looking starting skin.
- Run through Imagera's Extreme Detailer. Rebuild pore geometry, add subsurface scattering, introduce color zone variation and micro-imperfections.
- Add a grain pass. 2–4% luminosity grain as the final step anchors the image in photographic aesthetics.
The total additional time over a basic generation workflow is 10 to 15 minutes. The quality difference is substantial.
Start with Imagera's full toolkit — plans begin at $19.99 per month, with the Pro plan at $49.99 per month for higher resolution outputs and priority processing.
11.See it in action — real Imagera output
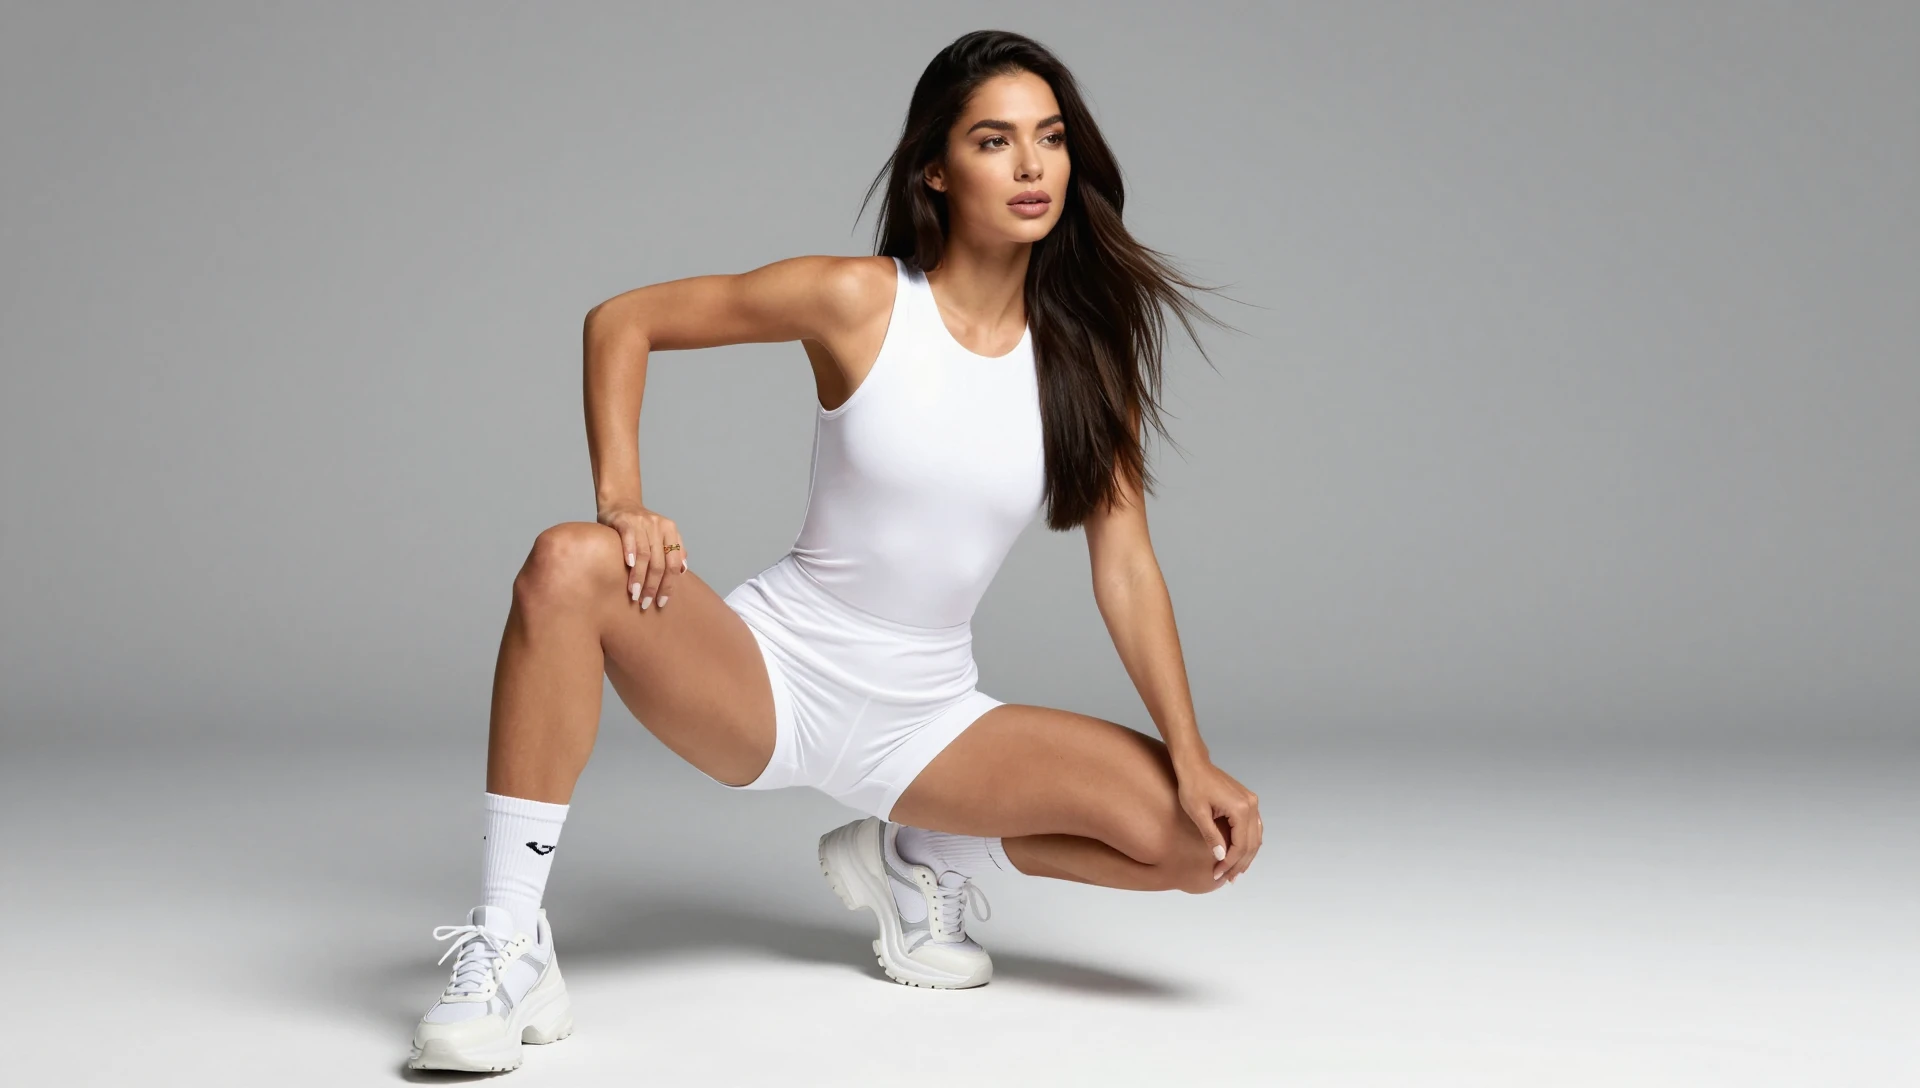
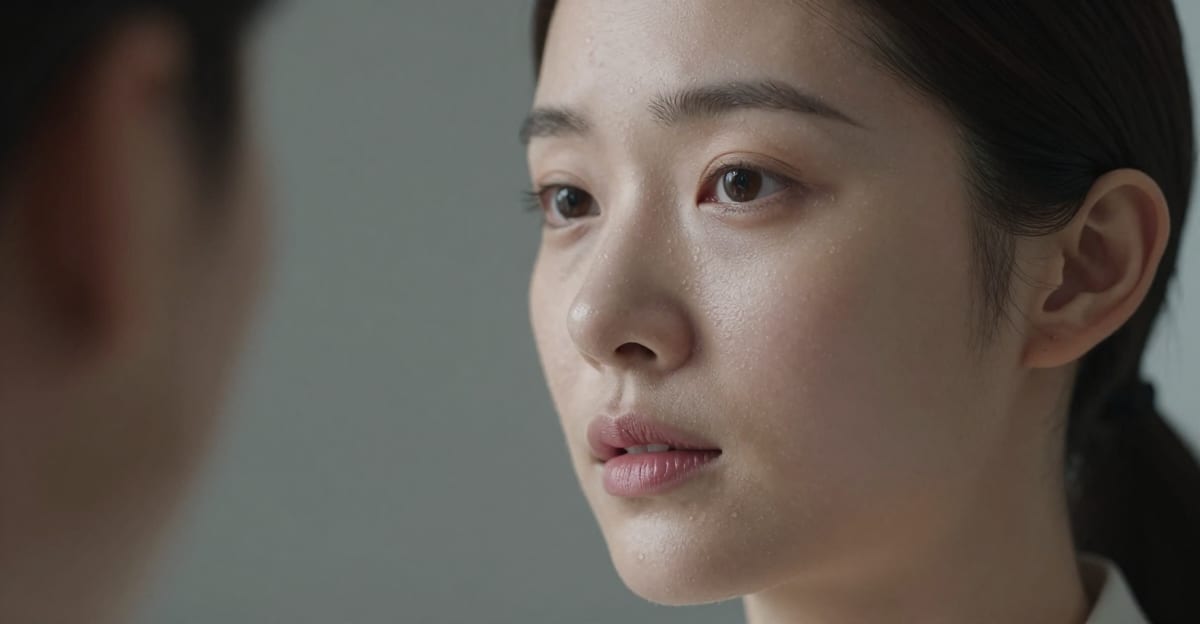
These are real, unedited results from the Imagera image generator — the exact tool this guide covers.