How to Fix AI Images That Look Fake (2026)
The problem with most AI images is not a lack of detail. It is a lack of imperfection. Real cameras introduce noise, compression artifacts, lens aberrations, and the subtle inconsistencies of light bouncing through physical glass. AI generators produce images that are too clean, too consistent, and too perfect — and the human eye (and professional photo editors) pick up on that immediately.
This guide is a diagnostic playbook. It identifies the specific reasons AI images look fake, explains the physics behind each tell, and gives you an exact workflow to fix them using Imagera's realism enhancement tools. If you want background on what analysis tools look for when evaluating image authenticity, start with what makes AI images look artificial first.
Quick answer: Fix fake-looking AI images by regenerating at 4K-8K, adding realistic skin texture, correcting lighting direction, and matching a real camera's sensor profile. In Imagera, one pass typically removes plastic skin, warped hands, and flat lighting in under 60 seconds.
1.Why do AI images look fake and how do you fix them?
AI images look fake from 3 main tells: over-smooth "plastic" skin, broken hands or ears, and flat, directionless lighting. Imagera's fixes target all 3, upscaling to 4K or 8K, re-adding pore-level texture, and correcting light so shadows fall consistently. Most images improve in a single pass in under 60 seconds, and starting credits run from 5 credits per image.
2.Which fixes matter most for realistic AI photos in 2026?
Prioritize 3 things in 2026: sensor-accurate grain, natural skin detail, and correct depth-of-field. Together they resolve the most common "AI look" complaints. Imagera applies all 3 in a single 4K-to-8K pass, boosting resolution while keeping the result convincing. Images should look authentic and add real value, so faithful, camera-realistic edits beat obvious over-processing every time.
3.Why AI Images Look Fake: The Four Core Problems
After processing thousands of AI images for commercial use, the same four problems appear again and again. Fix all four and the image reads as professional photography. Miss even one and a trained eye will spot it.
3.1Problem 1: Plastic Skin With No Texture
This is the most immediately recognisable tell. Real skin has three layers of visual complexity that cameras capture simultaneously:
- Macro structure: visible pores, fine hairs on cheeks and forehead, slight skin flakiness
- Micro variation: subtle colour shifts across the face (warmer around the cheeks, slightly more sallow at the jaw), asymmetry between left and right sides
- Subsurface scattering: light penetrates the outer skin layer and bounces back with a warm translucency, most visible at the edges of faces lit from the side
AI generators produce skin that is smooth, internally consistent, and lit as if every point on the face is a flat, opaque surface. The result is skin that looks like a high-quality 3D render — technically impressive, obviously synthetic.
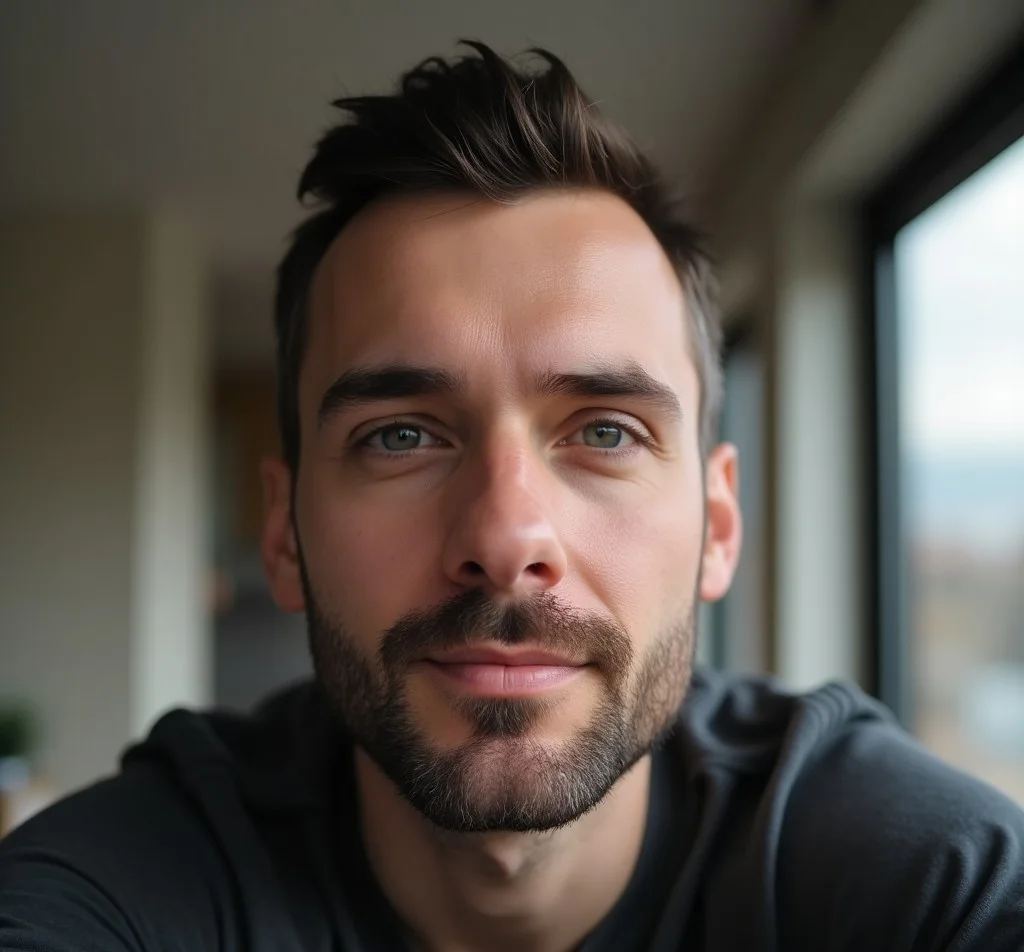
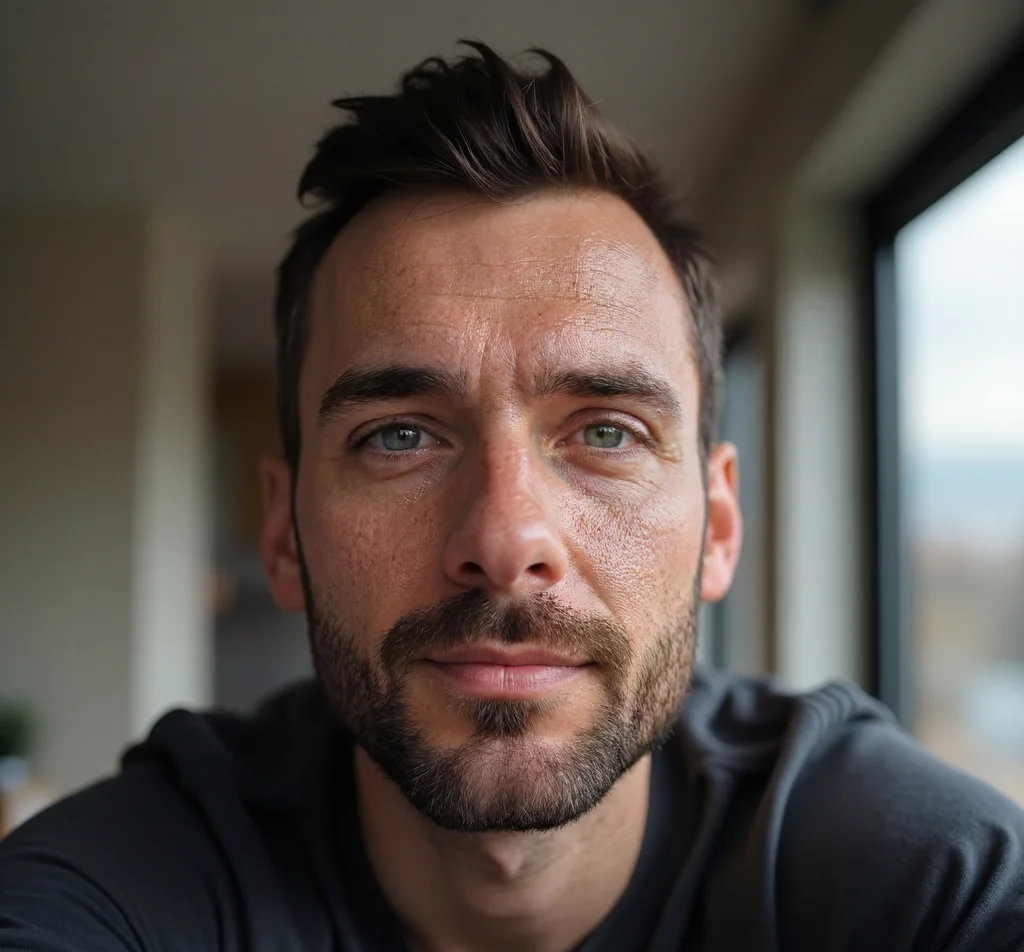
The fix: Imagera's skin texture enhancement tools restore micro-detail, introduce subtle asymmetry, and simulate subsurface scattering to produce skin that reads as photographed under real light.
3.2Problem 2: Missing Sensor Noise and Film Grain
Every photograph taken with a real camera contains noise. At low ISO (100-400), the noise is fine and barely visible. At high ISO (1600+), the noise is coarser, coloured (with a characteristic blue-green tint in shadows), and distributed unevenly across the frame. This noise is not a flaw — it is a property of how photon detection works in physical sensors.
AI images contain no sensor noise. They are mathematically smooth in a way that no camera ever produces. This smoothness is immediately obvious at 100% zoom and is one of the primary signals that trained observers and quality analysis tools look for.
The wrong fix: Adding random noise in Photoshop or similar tools. Random noise produces a flat, even grain with no colour variation or ISO-appropriate distribution. It looks artificial because it is artificial — and it can make the image look worse, not better.
The right fix: Sensor-profile noise that replicates the specific grain signature of a real camera model at a specific ISO. Imagera's noise tool applies camera-profile grain from a library of real sensor profiles, producing noise that looks captured rather than added.
3.3Problem 3: Physically Impossible Lighting
AI generators are trained to produce well-lit, attractive images. The result is lighting that is often too perfect: soft, even, flattering, and free of the secondary shadows and colour casts that real light sources produce.
In reality, any scene with multiple light sources produces competing shadows. Window light on the left side of a face produces a shadow on the right — but it also produces a faint, warmer fill from light bouncing off the floor and walls. A ring light produces a circular catchlight in the eye and no shadows at all. Outdoor midday sun produces harsh downward shadows under the nose and chin.
AI images often produce lighting that is consistent and beautiful but physically implausible — the shadows do not match the catchlights, or the lighting is directionless in a way no real environment produces.
The fix: Imagera's lighting correction tools allow you to specify the lighting setup your image should appear to have been shot under — window, studio softbox, golden hour, overcast outdoor — and apply the corresponding shadow behaviour and colour temperature, making the lighting internally consistent and physically plausible.
3.4Problem 4: Wrong Depth-of-Field and Bokeh
Background blur in AI images is often wrong in specific, diagnosable ways:
- Too uniform: real bokeh gets progressively blurrier with distance; AI images often apply a flat blur to everything past a certain plane
- Too circular: lens bokeh shape varies with aperture, lens design, and distance; AI generators default to smooth, round blur regardless of context
- No colour fringing: high-contrast edges at the edge of the focus plane produce chromatic aberration (slight colour fringing) in real lenses; AI images skip this
- Wrong gradient: the transition from sharp to blurred should follow a specific gradient that matches the focal length and aperture; AI images often make this transition too abrupt or too gradual
The fix: Imagera's depth-of-field correction tool re-applies bokeh using physics-accurate calculations. Set the equivalent aperture (f/1.8 to f/2.8 for portrait work) and the approximate focus distance, and the tool generates blur that follows real lens behaviour including gradient falloff and chromatic fringing.
4.The Realism Fix Workflow: Step by Step
This workflow applies to AI images generated on any platform — Midjourney, DALL-E 3, Stable Diffusion, or Imagera — for professional use including brand photography, stock imagery, ad creative, and product visualisation.
Step 1 — Diagnose your specific tells
Open your image at 100% zoom and look for each of the four problems above: skin texture, sensor noise, lighting consistency, depth-of-field physics. Note which are present and how severe they are. The diagnosis drives the processing order — fix the most visible tell first.
Step 2 — Fix skin texture first
Upload to Imagera and run the skin texture enhancement tool. Work from the macro level (restoring pore structure) down to the micro level (colour variation and asymmetry). Use the subsurface scattering setting to add warmth at the skin edges appropriate to the apparent light direction. At 100% zoom, the skin should look photographed, with visible pore structure and natural variation — not smooth and uniform.
Step 3 — Apply sensor-authentic noise
Use Imagera's sensor noise tool and select a camera profile appropriate to the image's apparent lighting conditions. Portrait work under studio lighting maps well to ISO 400-800 on a full-frame camera profile. Outdoor daylight maps to ISO 100-200. Apply grain at an intensity level that is visible at 100% zoom but does not call attention to itself at normal viewing size. Check the shadows specifically — real camera noise is most visible in shadow areas.
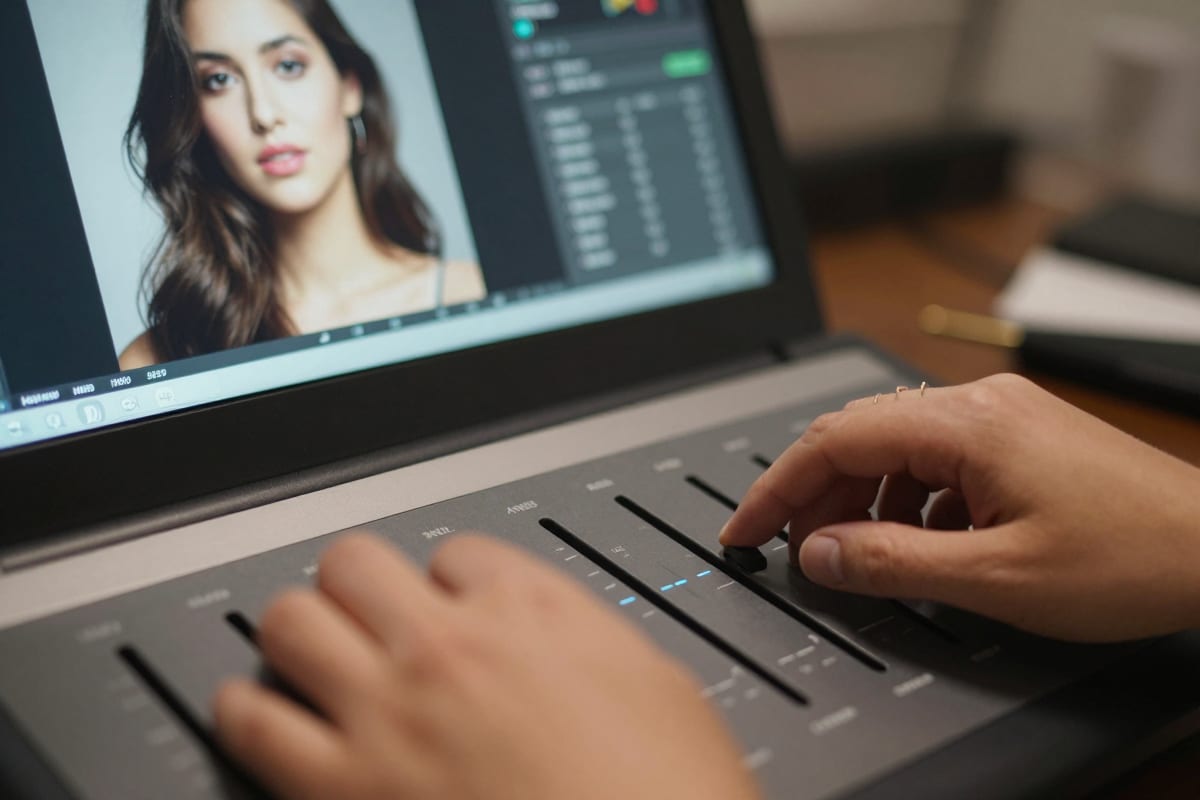
Step 4 — Correct depth-of-field if needed
If your image has background blur, use Imagera's depth-of-field tool to re-apply physics-accurate bokeh. For portrait work, f/1.8 to f/2.8 on an 85mm equivalent lens is a common studio setup. Check that the blur gradient is smooth, that the transition from sharp to blurred follows a natural falloff, and that high-contrast background edges show slight colour fringing.
Step 5 — Re-encode at a realistic JPEG quality level
This step is easy to skip and makes a meaningful difference. Export from Imagera at JPEG quality Q78 to Q82 — not at maximum quality. Real cameras save JPEGs in this range, introducing compression artifacts around fine detail areas like hair, fabric, and foliage. An image exported at Q95+ is missing these artifacts, which makes it look too pristine at the file level. Imagera's export settings include a realistic compression preset.
Step 6 — Clean metadata and do a final 100% review
Strip or replace EXIF metadata. AI generators typically write no EXIF data or generic placeholder fields that any experienced photo editor will recognise as implausible. For commercial use, either strip metadata entirely or replace it with plausible camera EXIF consistent with the image's apparent lighting and depth-of-field. Then do your final review at 100% zoom: if skin, noise, bokeh, and compression all look natural at full resolution, the image is ready for professional use.
5.What Makes AI Images Look Real: A Quick Reference
| Tell | Why It Looks Fake | The Fix |
|---|---|---|
| Plastic skin | No pore structure, no subsurface scattering | Skin texture enhancement + micro-variation |
| No noise | Mathematically smooth in a way cameras never produce | Sensor-profile grain at appropriate ISO |
| Perfect lighting | No secondary shadows, no colour casts from bounce light | Lighting correction for the apparent light source |
| Wrong bokeh | Too uniform, too round, wrong gradient | Physics-accurate depth-of-field re-application |
| Maximum JPEG quality | Missing camera-typical compression artifacts | Re-encode at Q78-Q82 |
| No EXIF data | Empty metadata or generic placeholder fields | Strip or replace with plausible camera EXIF |
6.How Imagera Fits Into a Professional AI Photography Workflow
Imagera is built for commercial AI photography that needs to hold up to professional scrutiny — photo editors at stock agencies, brand managers reviewing campaign assets, creative directors checking ad creative. The realism enhancement pipeline handles sensor noise, skin texture, depth-of-field, compression, and metadata cleanup in a single workflow rather than requiring manual calibration across multiple tools.
For photographers and creative teams producing AI images at volume, the pipeline processes each image consistently — the same sensor profile, the same compression settings, the same skin texture parameters — so a batch of twenty product images looks like it came from the same camera on the same shoot.
Plans start at $19.99/month for the Starter tier. The Pro plan at $49.99/month includes priority processing and higher resolution exports, which matters when applying film grain and texture at large print sizes. See the full Imagera pricing breakdown.
For a complete guide to producing professional AI photography that reads as real camera output across every quality dimension, the pillar guide on the professional AI photography workflow covers the full technical and commercial landscape.
7.See it in action — real Imagera output
These are real, unedited results from the Imagera skin detailer — the exact tool this guide covers.