How to Make AI Photos Look Real (2026)
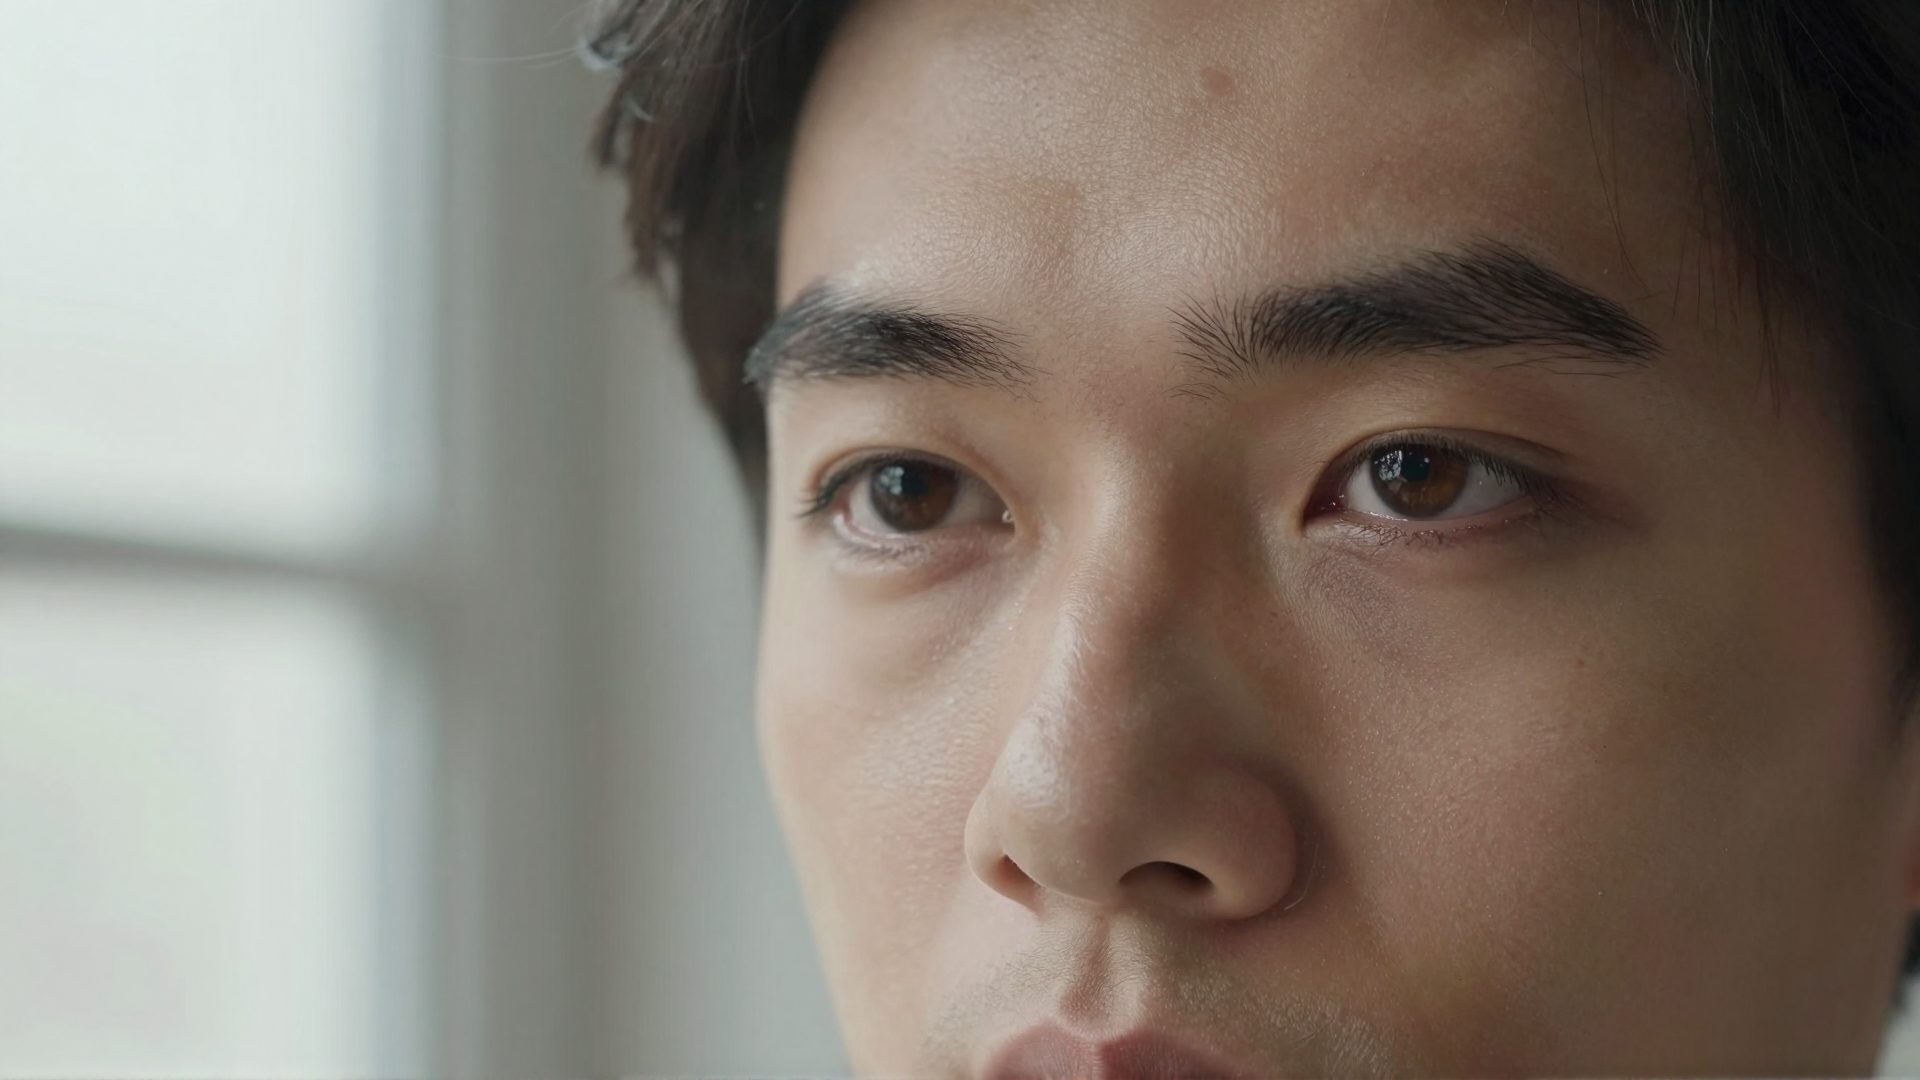
Here is the uncomfortable truth about AI photography in 2026: the images that look fake are not failing because of resolution, model quality, or GPU budget. They are failing because of craft. The tells are almost always the same — skin that looks pressure-washed, lighting that has no direction or falloff, faces so symmetrical they read as masks, and backgrounds with the visual depth of a printed backdrop. Real cameras are clumsy instruments operated by imperfect humans in imperfect light. AI, left to its defaults, produces the opposite: a kind of impossible perfection that the human eye detects instantly — and that AI quality checkers flag just as reliably.
The good news is that every one of these tells is fixable. Photorealism is a solvable craft problem, and solving it is exactly the same process whether your goal is a polished commercial image, a social media portrait, or content that simply needs to achieve genuine real-camera quality. This guide covers the five realism layers that matter most, the prompting language that unlocks them, and the post-processing tools that finish the job.
Quick answer: Making AI photos look real means matching real-camera physics: add subtle sensor grain, correct skin texture, natural lighting falloff, and lens imperfections. Imagera's skin-detail and upscaling tools can rebuild these cues in under 60 seconds per photo.
1.How do you make an AI photo look like a real camera shot?
Focus on four fixes: restore pore-level skin texture, add faint ISO grain, correct symmetrical "AI eyes," and upscale to 4K or 8K so detail holds at 100% zoom. Imagera runs all four in under 60 seconds, and its super-resolution pass sharpens the micro-detail that flat, over-smoothed 2026-era renders usually miss.
2.Why do AI photos look fake in the first place?
Most AI images fail on the same cues: plastic over-smoothed skin, impossible lighting, and warped hands or backgrounds. Texture and lighting inconsistencies tend to be the tells human eyes catch first, often within seconds. Imagera's skin-detailer and 4K upscaler rebuild pore-level realism across 100+ photos per batch, so your images hold up at full zoom.
3.Why AI Photos Still Look AI (And What Detectors Are Actually Measuring)
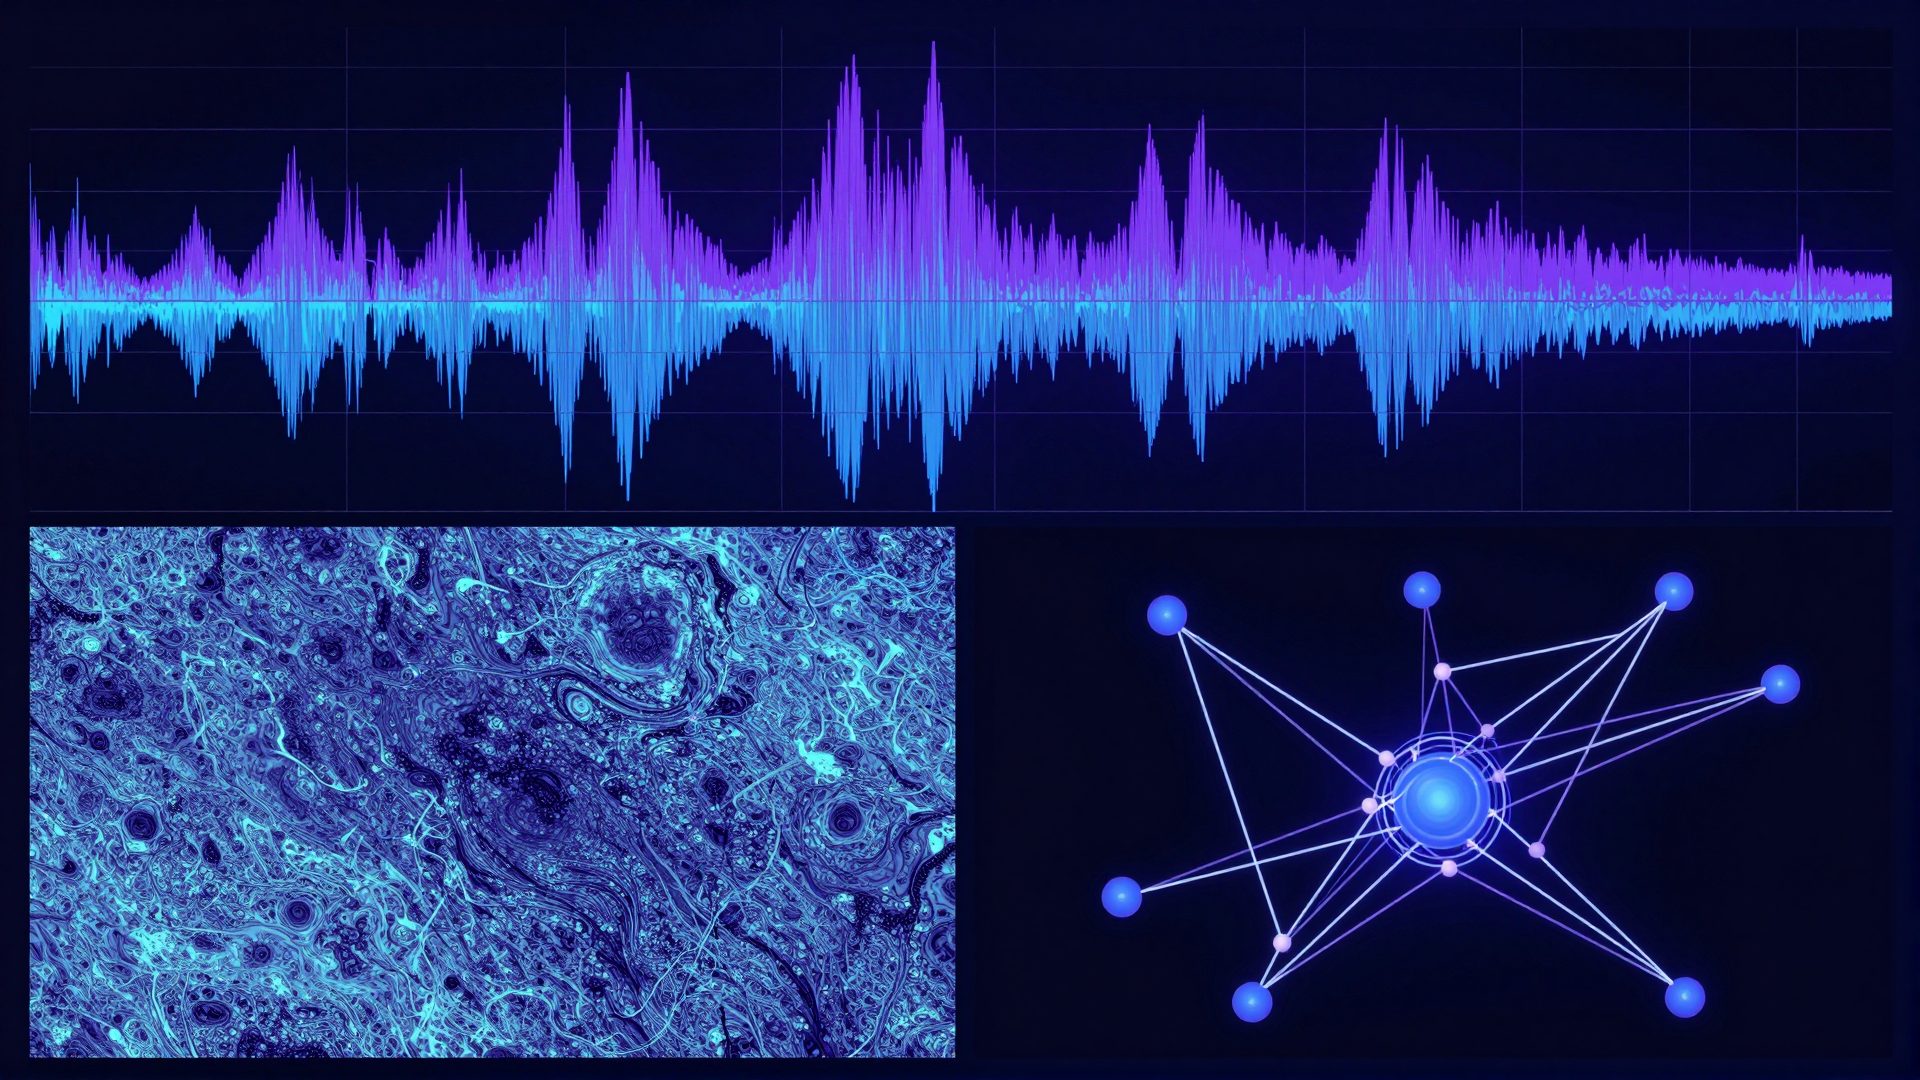
Top AI image detectors in 2026 — including Hive Moderation and Illuminarty — reach accuracy rates between 85% and 94% on standard test datasets. They accomplish this not through any kind of magic but through pattern recognition at the pixel level. Specifically, they are trained to find:
- Uniform noise distributions — real camera sensors produce luminance and chrominance noise that varies with ISO, sensor size, and scene brightness. AI generators either skip noise entirely or add synthetic noise that is too regular.
- Absent optical artifacts — real lenses produce chromatic aberration, vignetting, and slight distortion. Their absence is a fingerprint.
- Hyper-smooth gradients — real light sources have falloff physics. AI backgrounds and skin transitions often lack this.
- Bilateral symmetry — human faces are naturally asymmetrical. AI faces trend toward mirror-image perfection.
The realism craft framework below addresses each of these at the source — in the prompt and in post-processing — rather than treating it as a separate problem.
4.The Five Realism Layers
4.11. Optical Grounding: Camera and Lens Language
The single highest-impact change you can make to any AI image prompt is adding a specific camera body and lens reference. Compare:
- Weak: "realistic portrait of a woman, professional photography"
- Strong: "portrait of a woman, shot on Sony A7IV, 85mm f/1.8, ISO 800, natural window light"
The second version constrains the AI to optical physics. The f/1.8 aperture implies a specific depth-of-field falloff. ISO 800 implies a specific noise character. These are not decorative details — they communicate to the model that you want the physics of a real capture, not a rendered interpretation of one.
For commercial work, matching the camera reference to the intended mood matters: a Sony A7 at f/1.2 reads like editorial fashion; a Fujifilm X-T5 with a 35mm f/2 reads like street documentary. Specificity communicates intent across every parameter the model controls.
4.22. Lighting with Direction and Falloff
Nothing reads as artificial faster than lighting with no source. Real light always has direction, quality, and falloff into shadow. Replace generic lighting language with source-specific descriptions:
- Generic: "soft natural lighting"
- Specific: "north-facing window, camera-left at 45 degrees, soft diffused daylight, gradual falloff into shadow on the right side of the face, slight bounce fill from a white wall"
Key lighting principles to encode in prompts:
- Single dominant source — even in complex environments, one light usually wins
- Named shadow patterns — Rembrandt lighting, butterfly lighting, split lighting are understood by most models and reliably produce realistic results
- Environmental bounce — light bounces off walls, floors, and surfaces; naming the bounce source adds physical coherence
- Time-of-day specificity — "late afternoon golden hour" is more useful than "warm light" because it implies angle, color temperature, and shadow length simultaneously
4.33. Skin Texture, Pores, and Natural Asymmetry
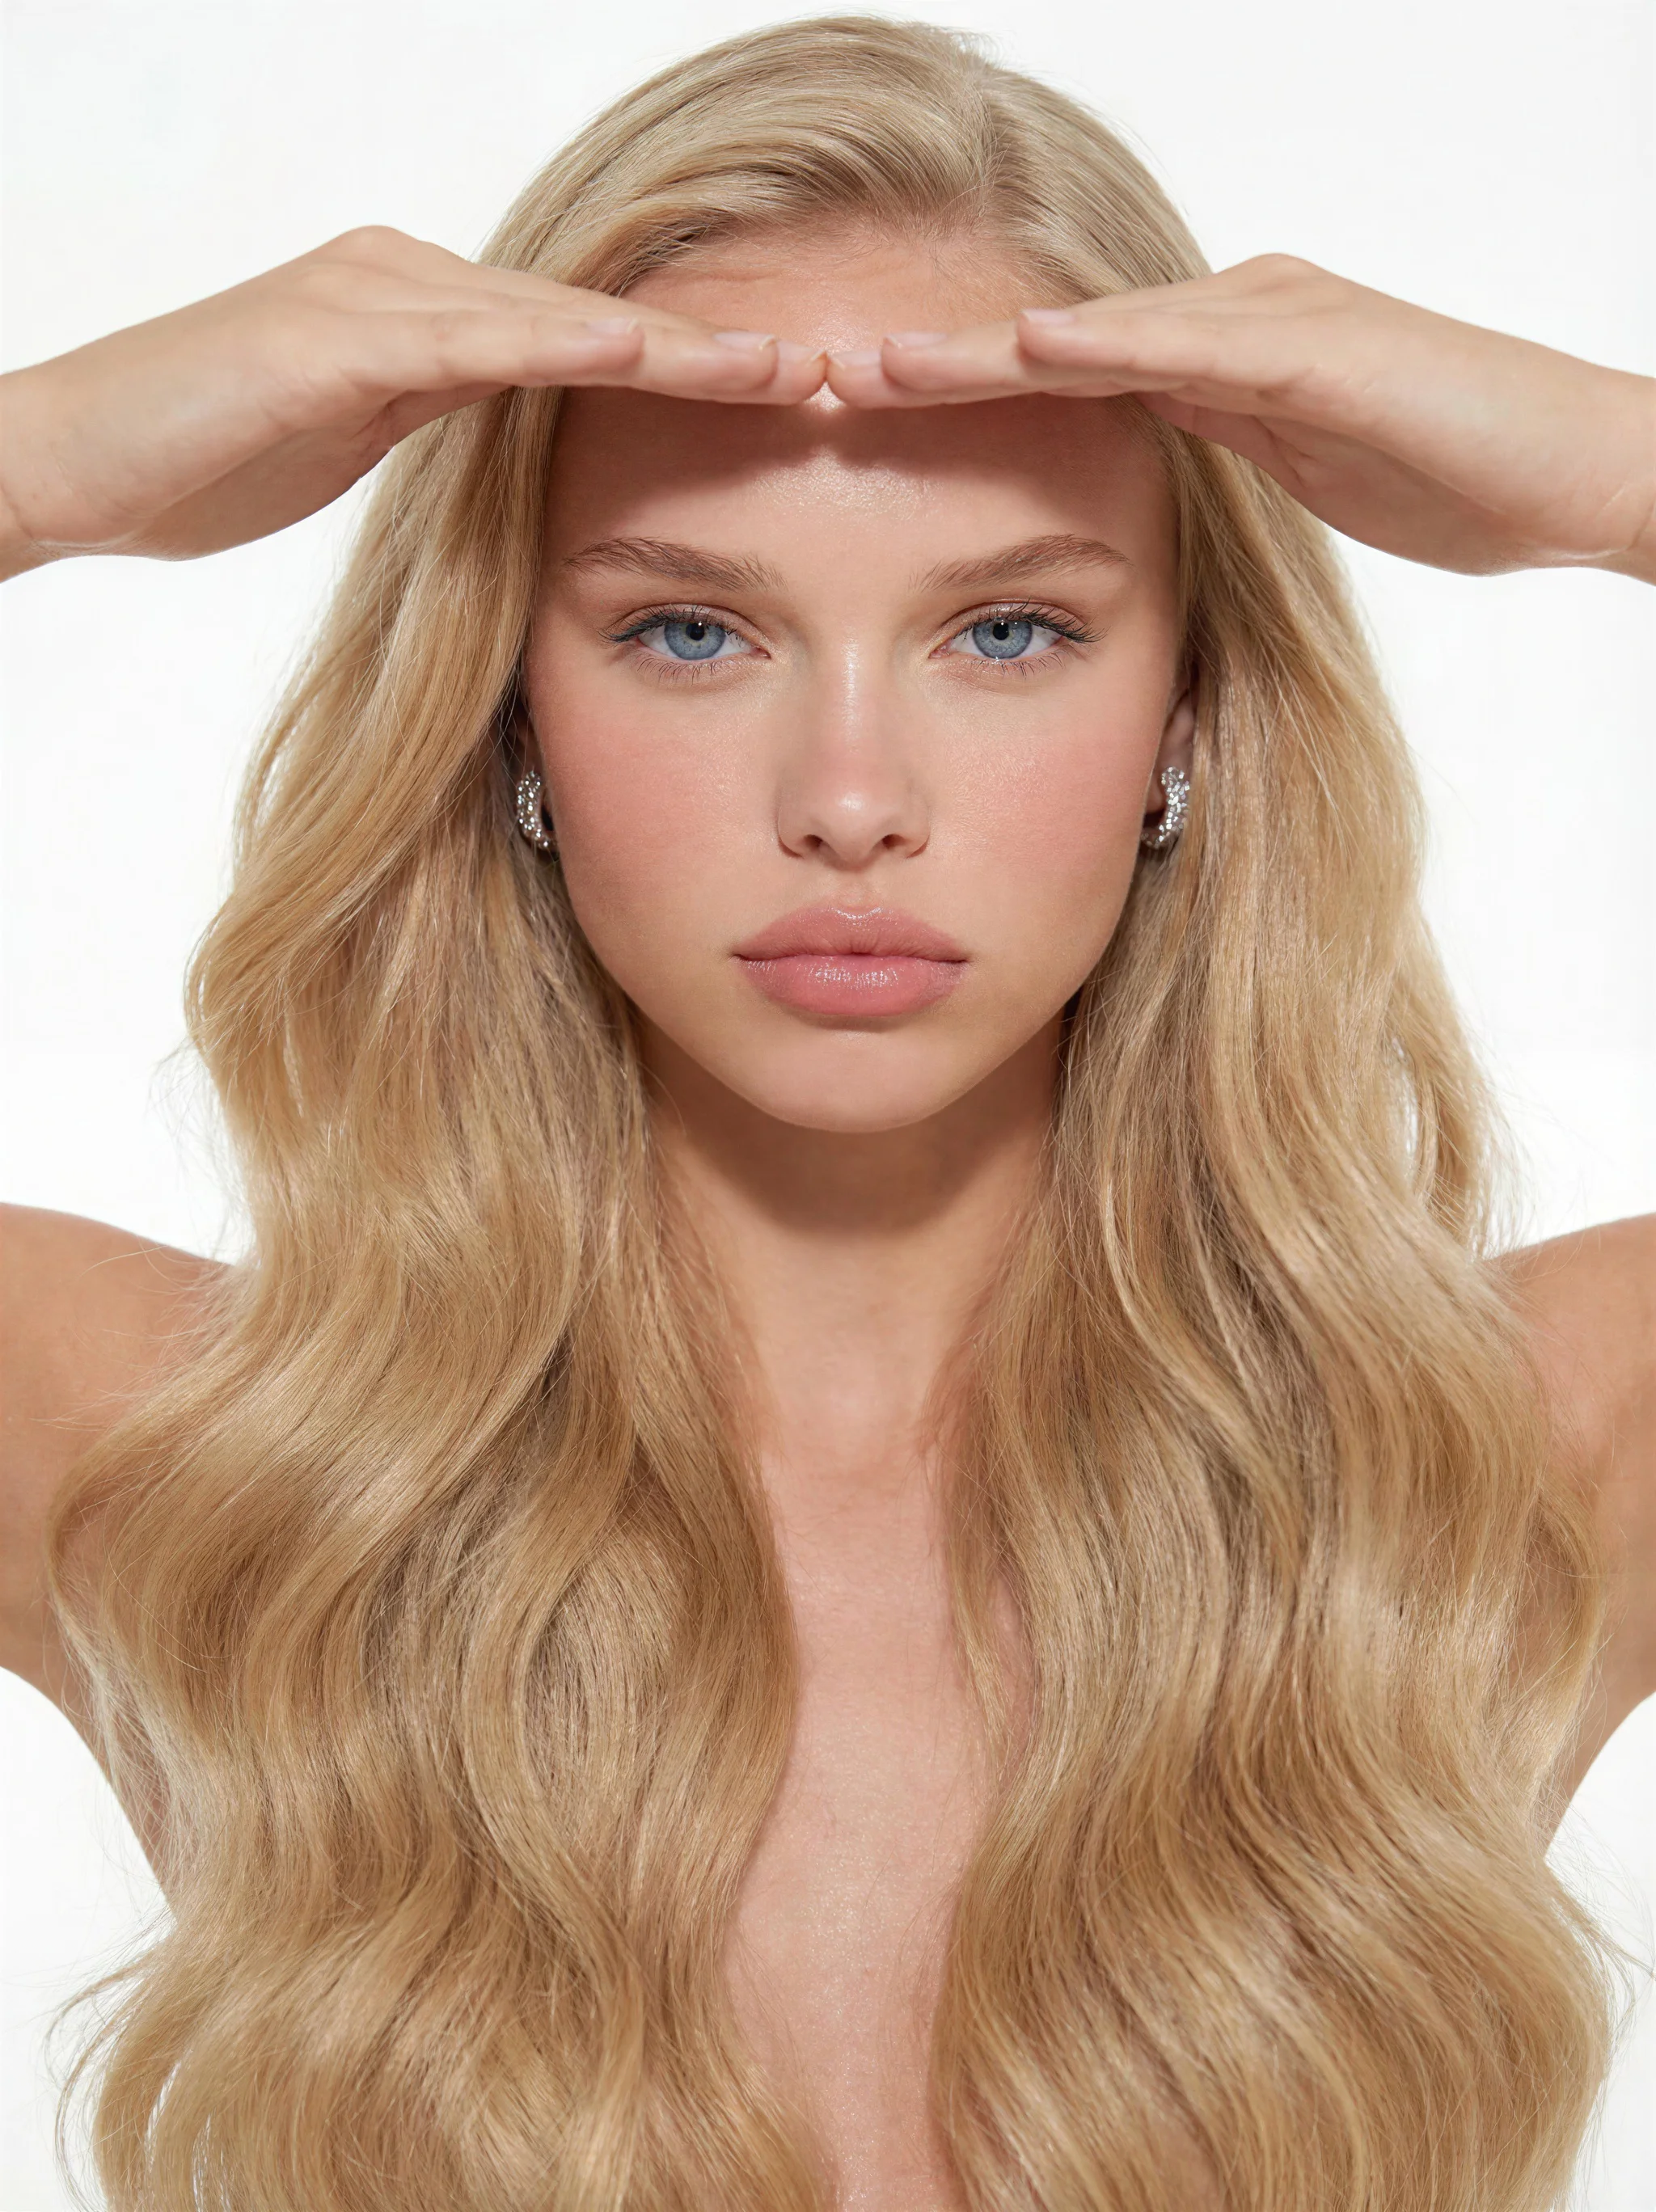
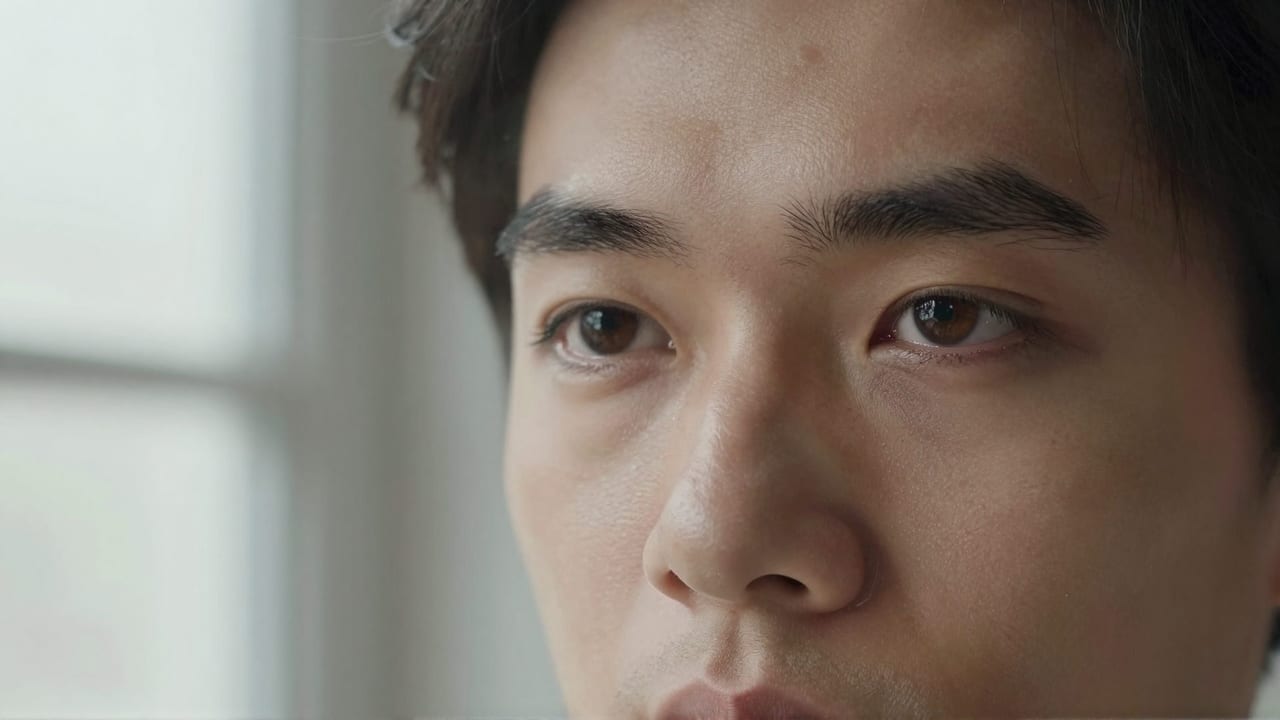
AI skin defaults are the most reliable tell in portrait work. Without explicit instruction, most generators render skin that reads as airbrushed latex: no pores, no micro-wrinkles, no variation in tone or translucency. The fix is an explicit imperfections clause in every portrait prompt:
"visible pores, natural skin texture with subtle sebaceous shine on nose and forehead, faint under-eye shadows, slight asymmetry in facial features, one strand of hair slightly out of place, natural expression without posed quality"
This clause does several things at once. It breaks the bilateral symmetry that quality checkers flag. It introduces micro-texture that real camera sensors resolve. And it produces a face that reads as lived-in rather than assembled.
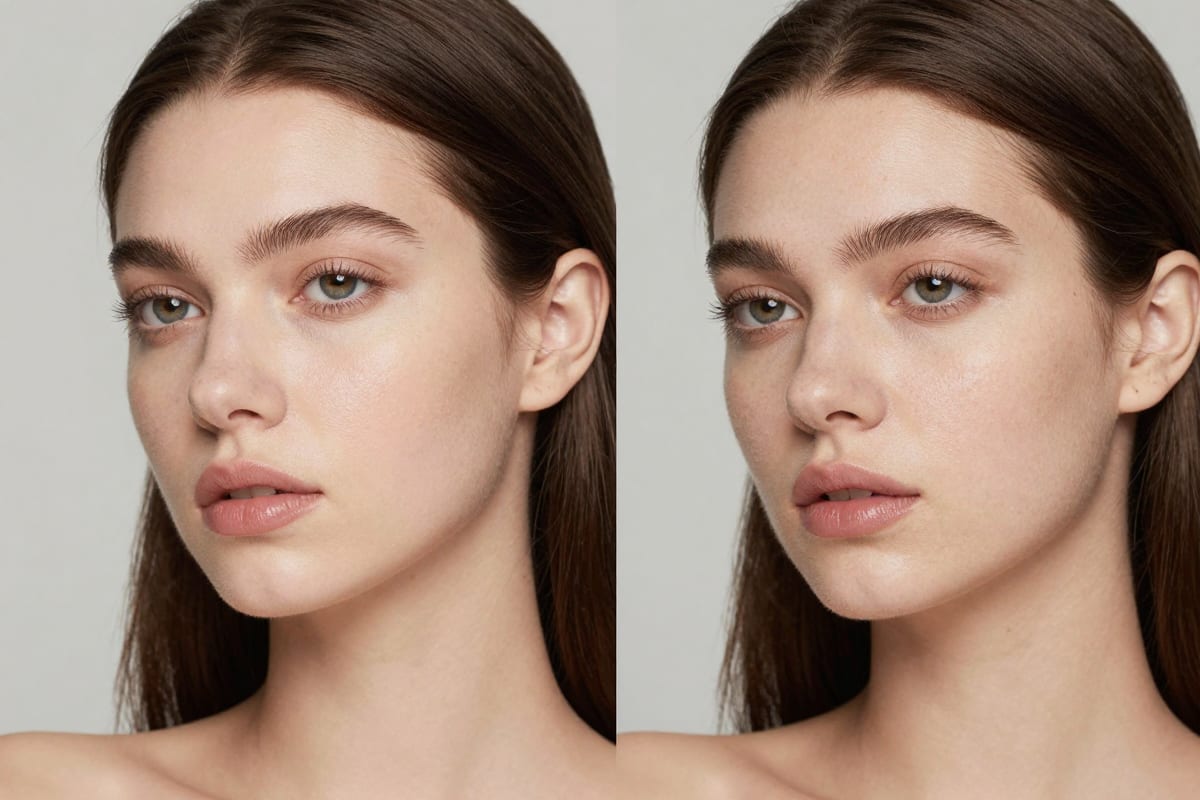
For post-processing work on already-generated images, Imagera's Extreme Detailer adds this layer automatically — restoring pores, fine hair strands, and fabric weave at 4x texture density with 10 adjustable detail levels. It is particularly effective on Midjourney and Stable Diffusion outputs, where the base generation often flattens exactly the texture you need.
4.44. Optical Artifacts: The Physical Fingerprints of Real Glass
Real camera lenses are not perfect. They produce predictable imperfections that human eyes have been trained to associate with authentic photography:
- Chromatic aberration — color fringing at high-contrast edges, especially toward frame corners
- Vignetting — natural light falloff toward frame edges
- Lens distortion — barrel or pincushion distortion depending on focal length
- Bokeh character — the specific shape and quality of out-of-focus areas varies by lens design
- Lens flare — the scatter of light across elements when shooting toward a source
Including these in prompts — "slight chromatic aberration at frame edges, natural vignetting, hexagonal bokeh, faint lens flare from camera-left window" — adds the kind of optical authenticity that both human viewers and image analysis tools associate with real capture.
4.55. Sensor Noise and Compression Fingerprints
Real camera sensors produce two types of noise: luminance noise (brightness variation, visually similar to fine film grain) and chrominance noise (color variation in shadows and mid-tones). AI generators produce either no noise or synthetic noise that is spatially too regular.
The prompt approach: "fine luminance grain consistent with ISO 800 capture, slight chrominance noise in shadows"
The post-processing approach: Imagera's AI Image Humanizer applies a statistically authentic noise and texture layer that matches the expected output of real sensor hardware — addressing the pixel-level patterns that analysis tools are specifically trained to find.
5.Realism Factor Reference Table
| Realism Factor | Technique | Why It Matters |
|---|---|---|
| Depth of field | Specify aperture (f/1.4-f/2.8 for portraits) | Creates optical separation between subject and background; absence is a synthetic tell |
| Skin texture | Prompt pores, asymmetry, natural shine; use Extreme Detailer | Smooth skin is the most reliably flagged AI artifact |
| Sensor noise | Match noise character to ISO in prompt; apply Humanizer | Real sensors produce predictable noise; AI defaults to noise-free or uniform grain |
| Lighting falloff | Name direction, source, shadow side | Physics-compliant falloff is absent in most AI defaults |
| Facial asymmetry | Prompt "natural asymmetry", "candid expression" | Mirror-image faces read as constructed at a pre-conscious level |
| Optical artifacts | Include chromatic aberration, vignetting, distortion | The absence of lens physics is a statistical fingerprint analysis tools exploit |
| Background complexity | Name environmental elements, depth cues, surfaces | Uniform or gradient-only backgrounds lack the parallax complexity of real scenes |
| Composition imperfection | Prompt off-center framing, slight tilt, candid angle | Perfectly centered, level compositions read as deliberate construction |
6.The 7-Step Realism Workflow
Step 1 — Anchor with camera and lens. Every prompt starts here. Body, focal length, and aperture establish the optical physics everything else follows from.
Step 2 — Define light with source, direction, and falloff. One dominant source. Named direction. Shadow side specified. Bounce fill if the scene calls for it.
Step 3 — Write an explicit imperfections clause. Pores, asymmetry, candid expression, stray hair. This is the highest-leverage single addition to any portrait prompt.
Step 4 — Request optical artifacts. Chromatic aberration, vignetting, bokeh character, lens distortion. These are the fingerprints of real glass.
Step 5 — Add sensor noise at the right character. Luminance grain and shadow chrominance consistent with your stated ISO.
Step 6 — Run through Imagera Extreme Detailer. Set detail level 6-8 for portraits, 4-6 for product or landscape. This adds the micro-texture layer that prompting alone rarely achieves at sufficient density.
Step 7 — Apply the AI Image Humanizer pass and validate. The Humanizer addresses statistical pixel patterns while preserving visible realism. Validate the final output against a detector — if confidence remains above 15%, re-examine for the most common residual tells: symmetric catchlights, plastic hair at the hairline, or gradient-only backgrounds.
For a deeper look at the detection mechanics and validation testing, see the full guide on real camera quality for AI images.
7.Getting Started with Imagera
All of the post-processing tools described in this guide — Extreme Detailer, Skin Detailer, AI Image Humanizer, and the full suite of 100+ AI tools — are available through Imagera, starting at $19.99/month for 400 credits. The Pro plan at $49.99/month includes 1,500 credits and priority processing, suitable for commercial workflows with regular volume.
All outputs carry commercial licensing. There is no separate licensing purchase required for stock photography use, social media content, client work, or editorial imagery.
For further reading in this series:
- Make AI Art Look Natural and Authentic: A 2026 Craft Guide
- Best Photorealistic AI Image Generators (2026)
- How to Make AI Images Achieve Real Camera Quality (2026)
8.See it in action — real Imagera output
These are real, unedited results from the Imagera real camera noise — the exact tool this guide covers.