An AI image almost never fails on its subject. It fails on six specific physical signals that a real camera leaves behind and a generator does not: skin without pores, pixels without noise, light without a source, eyes with matching catchlights, edges with no lens behaviour, and a file with no capture history.
Fix those and the frame reads as a photograph. Skip them and prompt length will not save you — asking for "hyperrealistic 8K detail" pushes the render further from photography, not closer, because those are words about pictures, not about cameras.
Quick answer: Stop asking the generator for quality adjectives and start asking it for camera behaviour — one light source, a focal length, an aperture, one named imperfection. Then add the photographic structure no generator invents on its own: micro-texture and sensor grain. On Imagera that is the AI Image Humanizer at 20 credits per image, or the lighter grain-only Real Camera Noise pass at 15 credits. Then inspect skin, eyes and edges at 100% zoom before you publish anything.
1.The six tells, at a glance
| # | Tell | What the render does | What a camera does |
|---|---|---|---|
| 1 | Skin | Smooth, poreless, evenly lit | Pores, fine lines, uneven shine |
| 2 | Noise | Uniformly clean, or evenly grainy | Noise rises with ISO, strongest in shadow |
| 3 | Light | Several soft shadows, no clear source | One dominant source, one shadow direction |
| 4 | Eyes and teeth | Identical catchlights, even teeth | Catchlights differ per eye, teeth vary |
| 5 | Edges | Subject cut out over a blurred plate | Continuous falloff, fringing, vignette |
| 6 | File | No capture data; Content Credentials that declare AI origin | EXIF from a real device |
The first five are optical and you fix them in the pixels. The sixth is not optical at all, and confusing it with the others is the most common mistake in 2026 — more on that below.
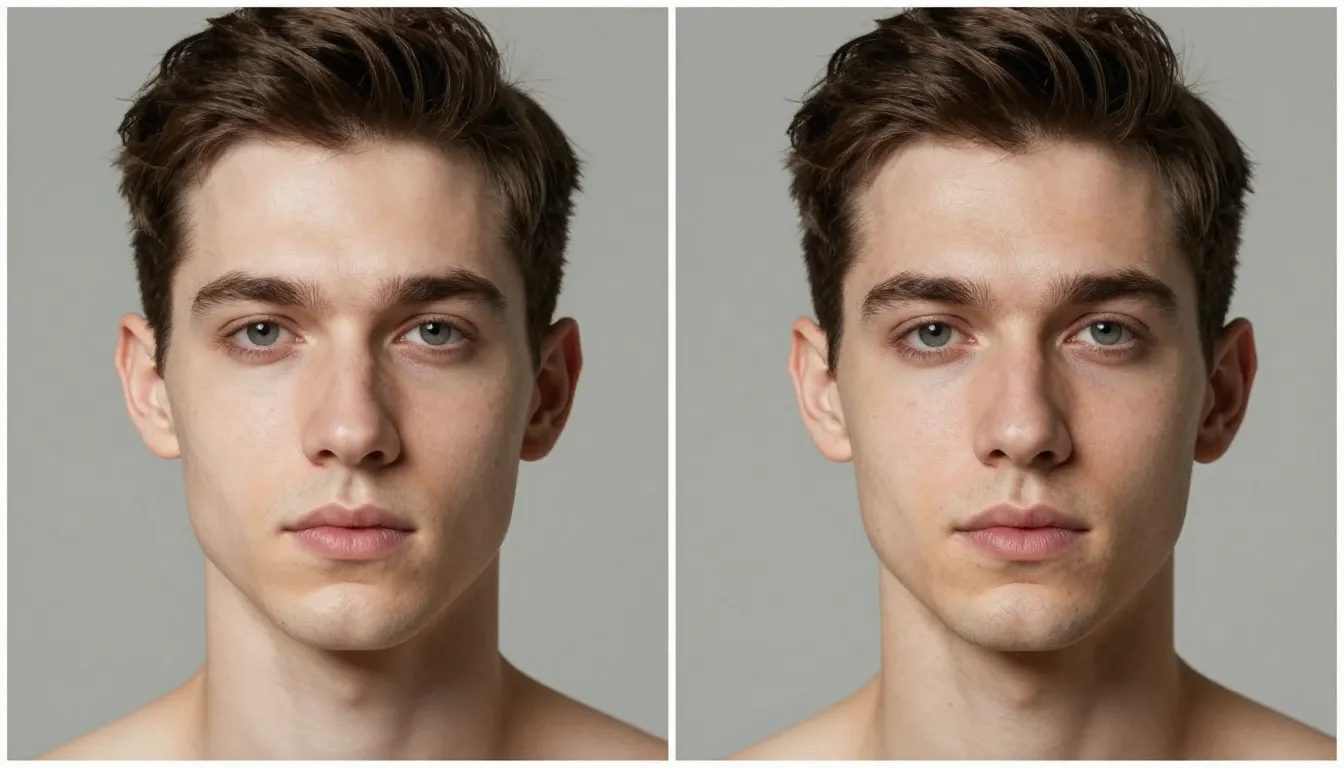
2.1. Waxy, poreless skin
The single loudest tell. Two things cause it. Generators are trained on enormous amounts of retouched and beauty-filtered imagery, so the average face they have learned is already smoothed. And rendering skin properly requires subsurface scattering — light entering the skin, bouncing around beneath it, and leaving somewhere slightly different, which is what makes skin glow rather than reflect. When that is approximated cheaply, skin behaves like plastic.
The fix. Ask for the imperfection by name in the prompt: "visible pores", "fine lines at the eyes", "slight shine on the forehead", "faint stubble". Never write "flawless skin" or "perfect complexion" — that is a request for the failure mode.
Then restore micro-texture in post, because the prompt alone rarely gets you all the way. That is the entire job of the AI Image Humanizer: it re-introduces camera-like surface structure without rewriting the composition or the face.
What not to do: sharpen. Sharpening raises contrast at edges that already exist. It cannot create pore structure, and over-sharpened plastic skin looks worse than plastic skin.
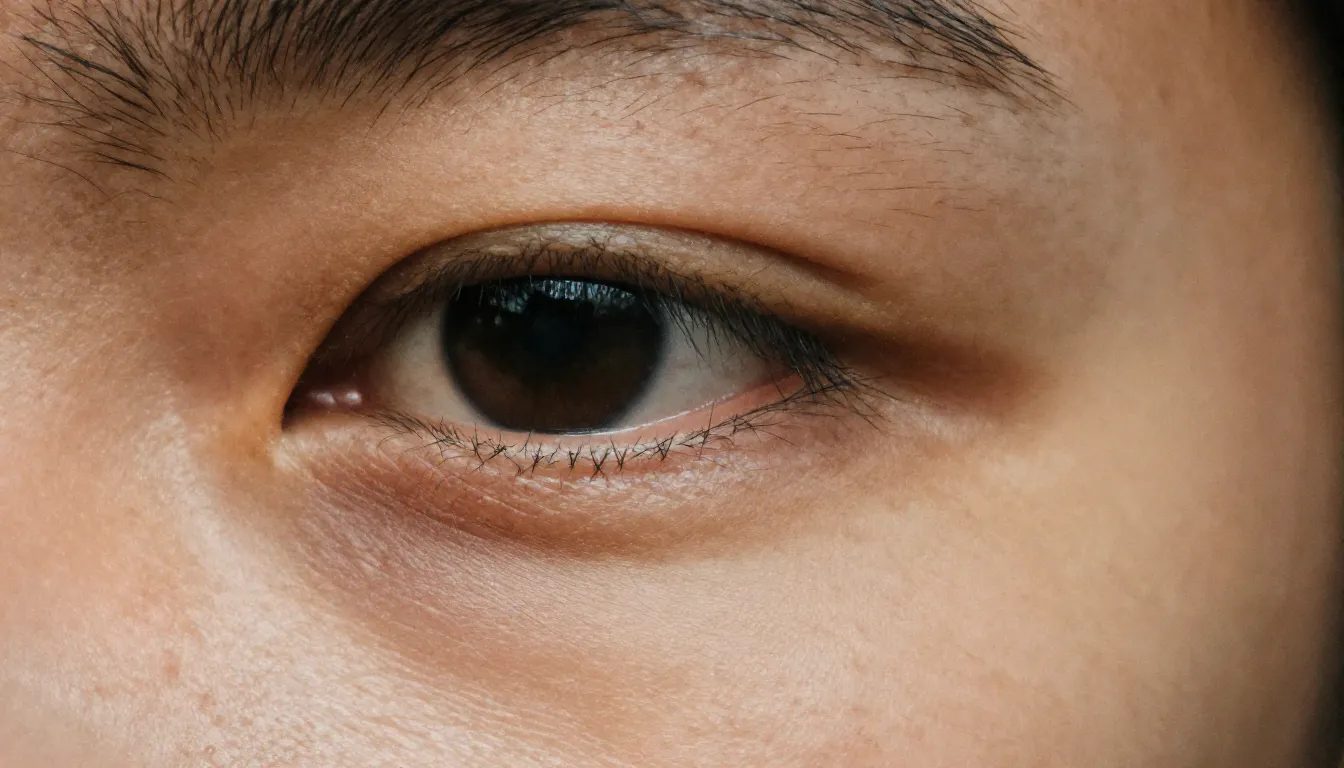
3.2. Pixels with no sensor noise
Every real sensor records noise, and — this is the part most grain filters get wrong — the amount is not uniform. It rises with ISO, it is strongest in shadows and in large flat areas like sky or a painted wall, and it has both a luminance and a colour component.
AI output tends to be either perfectly clean or covered in an even grain overlay of identical strength across the whole frame. The second reads as a filter, which is arguably worse than the first, because a viewer recognises a filter instantly.
The fix. Grain has to be weighted by luminance — more in the shadows, almost none in the highlights — with a little chroma variation. When a frame is already well composed and simply too clean, Real Camera Noise does only that job, for 15 credits.
4.3. Light with no source
Look at the shadows. If there are two or three soft ones pointing in different directions, or none at all, the scene has no physical light in it. Real light is directional and it commits: one dominant source, one shadow direction, falloff that follows the inverse square law, and a colour temperature that is consistent across the frame.
The fix. Name the light and its behaviour instead of its mood. "Single window at camera left, late afternoon, hard shadow under the jaw" produces a photograph. "Cinematic lighting", "dramatic lighting" and "studio lighting" produce a style, and style words are what push a render toward illustration.
Watch the colour temperature too: warm key light with cool fill is a real studio setup, but warm key with warm fill and a cool rim from nowhere is a giveaway.
5.4. Glassy eyes and identical teeth
Zoom to 100% on both eyes. In a render, the catchlights are frequently the same shape, the same size and in the same position in each eye. In a photograph they cannot be, because the two eyes are not the same distance from the light and are not angled identically. Eyes also come out too wet, too saturated, and too symmetrical in iris pattern.
Teeth show the same problem from the other direction: uniform width, uniform brightness, no shadow between them.
The fix. Prompt for asymmetry — "slightly asymmetric smile", "one eyebrow marginally higher" — and then actually check both eyes side by side at full zoom. This is the tell most people never inspect, and it is the one a human viewer registers subconsciously first.
6.5. Edges with no lens in front of them
A lens is a physical object and it leaves fingerprints: depth of field that falls off continuously rather than in a step, slight chromatic fringing on high-contrast edges, corner vignetting, and a little softness when shot wide open. Generators tend to produce a crisply cut-out subject pasted over a uniformly blurred plate, with a halo where the two meet.
The fix. Describe the optics: "35mm, f/2, focus on the near eye, background falling off gradually". Then look at the boundary between subject and background at 100%. If there is a bright outline following the hair, that is a compositing artifact, not depth of field, and no amount of extra blur will hide it — you regenerate.
7.6. A file with no history — the 2026 layer
This is the tell that did not exist in earlier versions of this guide, and it is now the one that changes the most.
Image detection in 2026 runs on two separate layers. The pixel layer is what the first five tells are about. The metadata layer is provenance: C2PA Content Credentials, XMP fields and IPTC markers, described by MetaStrip in "The Current State of AI Image Detection in 2026" (published 17 May 2026) as "cryptographic signatures embedded in image files". Most major generators now write something in that layer by default.
Two consequences, and they matter more than any prompt trick on this page:
Visual realism and provenance are independent. A frame can survive every optical test above and still declare its own origin in its Content Credentials. Working on skin texture does nothing to that record, in either direction.
The provenance layer is becoming a compliance question, not a style one. The same MetaStrip piece notes that from 2 August 2026, Article 50 of the EU AI Act requires AI-generated content to carry machine-readable markers. It also notes the layer's fragility from the other side: that metadata "disappears when metadata is stripped or the image is re-encoded" — which is why a stripped file is not a neutral file, and is increasingly the wrong thing to hand a client.
The workable position: treat tells 1–5 as a craft problem, because they decide whether a human believes the image, and treat tell 6 as a disclosure decision you make deliberately for each use.
8.What AI detectors actually do, with numbers
Before you spend an afternoon optimising for a detector score, it is worth knowing how much that score is worth.
MetaStrip's May 2026 survey (published 17 May 2026) reports that vendors advertise "95%+ accuracy detecting AI-generated images", while independent testing puts real detection accuracy at 65% to 90% depending on the tool. It records false-positive rates of 15% to 40% as common across community testing — meaning genuine photographs get flagged as AI at a meaningful rate. And it finds accuracy drops below 5% once an image has been recompressed, cropped or passed through social media.
EyeSift reaches the same conclusion from the other direction. In "Bypass AI Detection? 2026 Reality Check" (published 20 March 2026, updated 12 June 2026) it states that "no dependable method makes AI-written text or AI-generated images pass every detector, provenance check, platform review, and human review", that "a pass on one public checker only means that checker did not flag the sample at that threshold", and that "major detectors increasingly target bypasser-style modifications" — the artifacts left by evasion tooling have themselves become a signal.
So a detector result is a probability from one model at one threshold, not a verdict. Build for human eyes and honest disclosure, which are stable targets, rather than for a scoreboard that swings 25 points between tools and collapses after a single re-upload.
If the detector question is the one that actually brought you here, we answer it directly on its own pages rather than pretending this one does: how AI image detection works and what changes a result, and the realistic AI image generator.

9.Prompts that change pixels, not adjectives
The reliable rule: every word in your prompt should describe something a camera or a scene physically did. Words that describe how good the picture is have no physical referent, so the model resolves them toward the most stylised images it has seen.
Drop these: 8K, ultra detailed, hyperrealistic, photorealistic, masterpiece, award-winning, cinematic, dramatic, octane render, unreal engine, trending. Each one moves the output toward illustration.
Use these instead:
- Format and focal length — "35mm", "85mm portrait", "medium format"
- Aperture and focus — "f/2, focus on the near eye"
- One light, described physically — "single window camera left, late afternoon"
- Film or sensor character — "35mm colour negative", "fine grain"
- One named imperfection — "visible pores", "flyaway hair", "slight motion blur in the hand"
- Ordinary environment — "office desk with papers out of place", not "perfectly arranged minimalist desk"
A worked pair, same subject:
Before: hyperrealistic 8K portrait of a woman, perfect skin, cinematic lighting, ultra detailed, masterpiece
After: portrait of a woman in her thirties, 85mm, f/2, single window light from camera left in late afternoon, visible pores and fine lines, slight flyaway hair, background falling off gradually, faint grain
The second prompt is not longer for its own sake. Every clause replaces a judgement word with a physical fact the model can actually render.
10.The workflow on Imagera
- Generate or upload. Image generation runs at 15 credits per image, and you can start from your own photo instead of a prompt when the subject is a real person.
- Humanize. AI Image Humanizer, 20 credits per image — micro-texture, grain and lens character added without rewriting the composition or the face.
- Or grain only. Real Camera Noise, 15 credits, when the frame is already right and the pixels are simply too clean.
- Inspect at 100%. Skin first, then both eyes, then the subject–background boundary. Three checks, under a minute, and they catch nearly everything.
- Upscale last. The image upscaler is priced by output tier, from 15 credits at 2K up through 4K, 8K and 16K. Order matters: upscaling before you humanize just enlarges the plastic.
- Second-opinion check, optional. AI image detection costs 15 credits and gives you a probability before you publish. Read it as a probability, given the accuracy figures above.
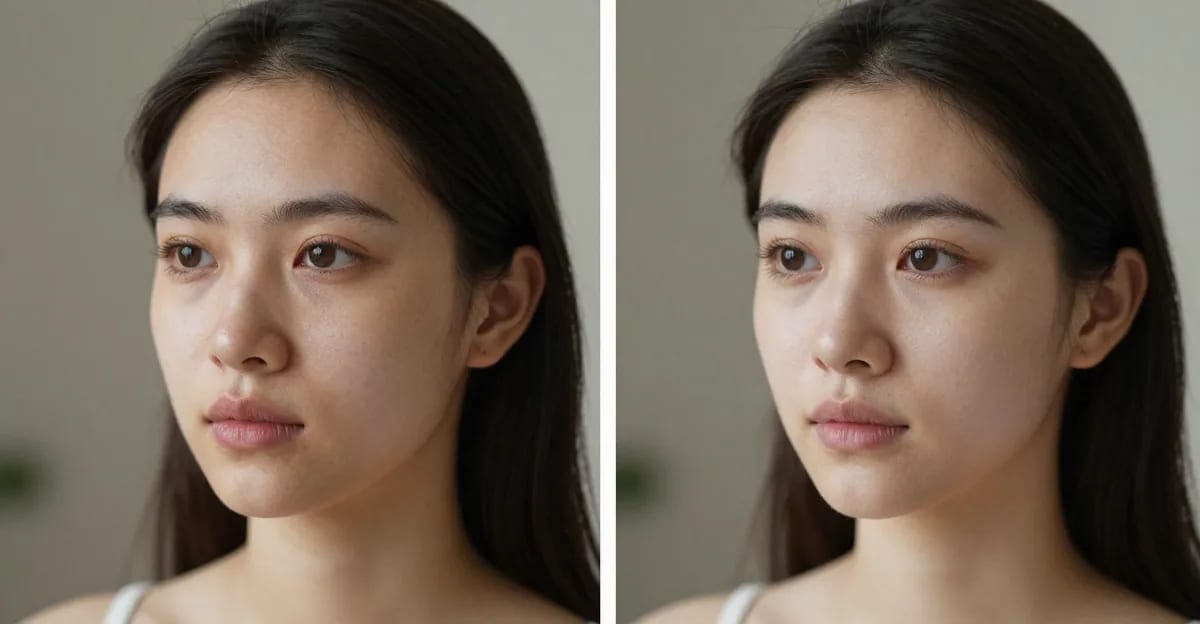
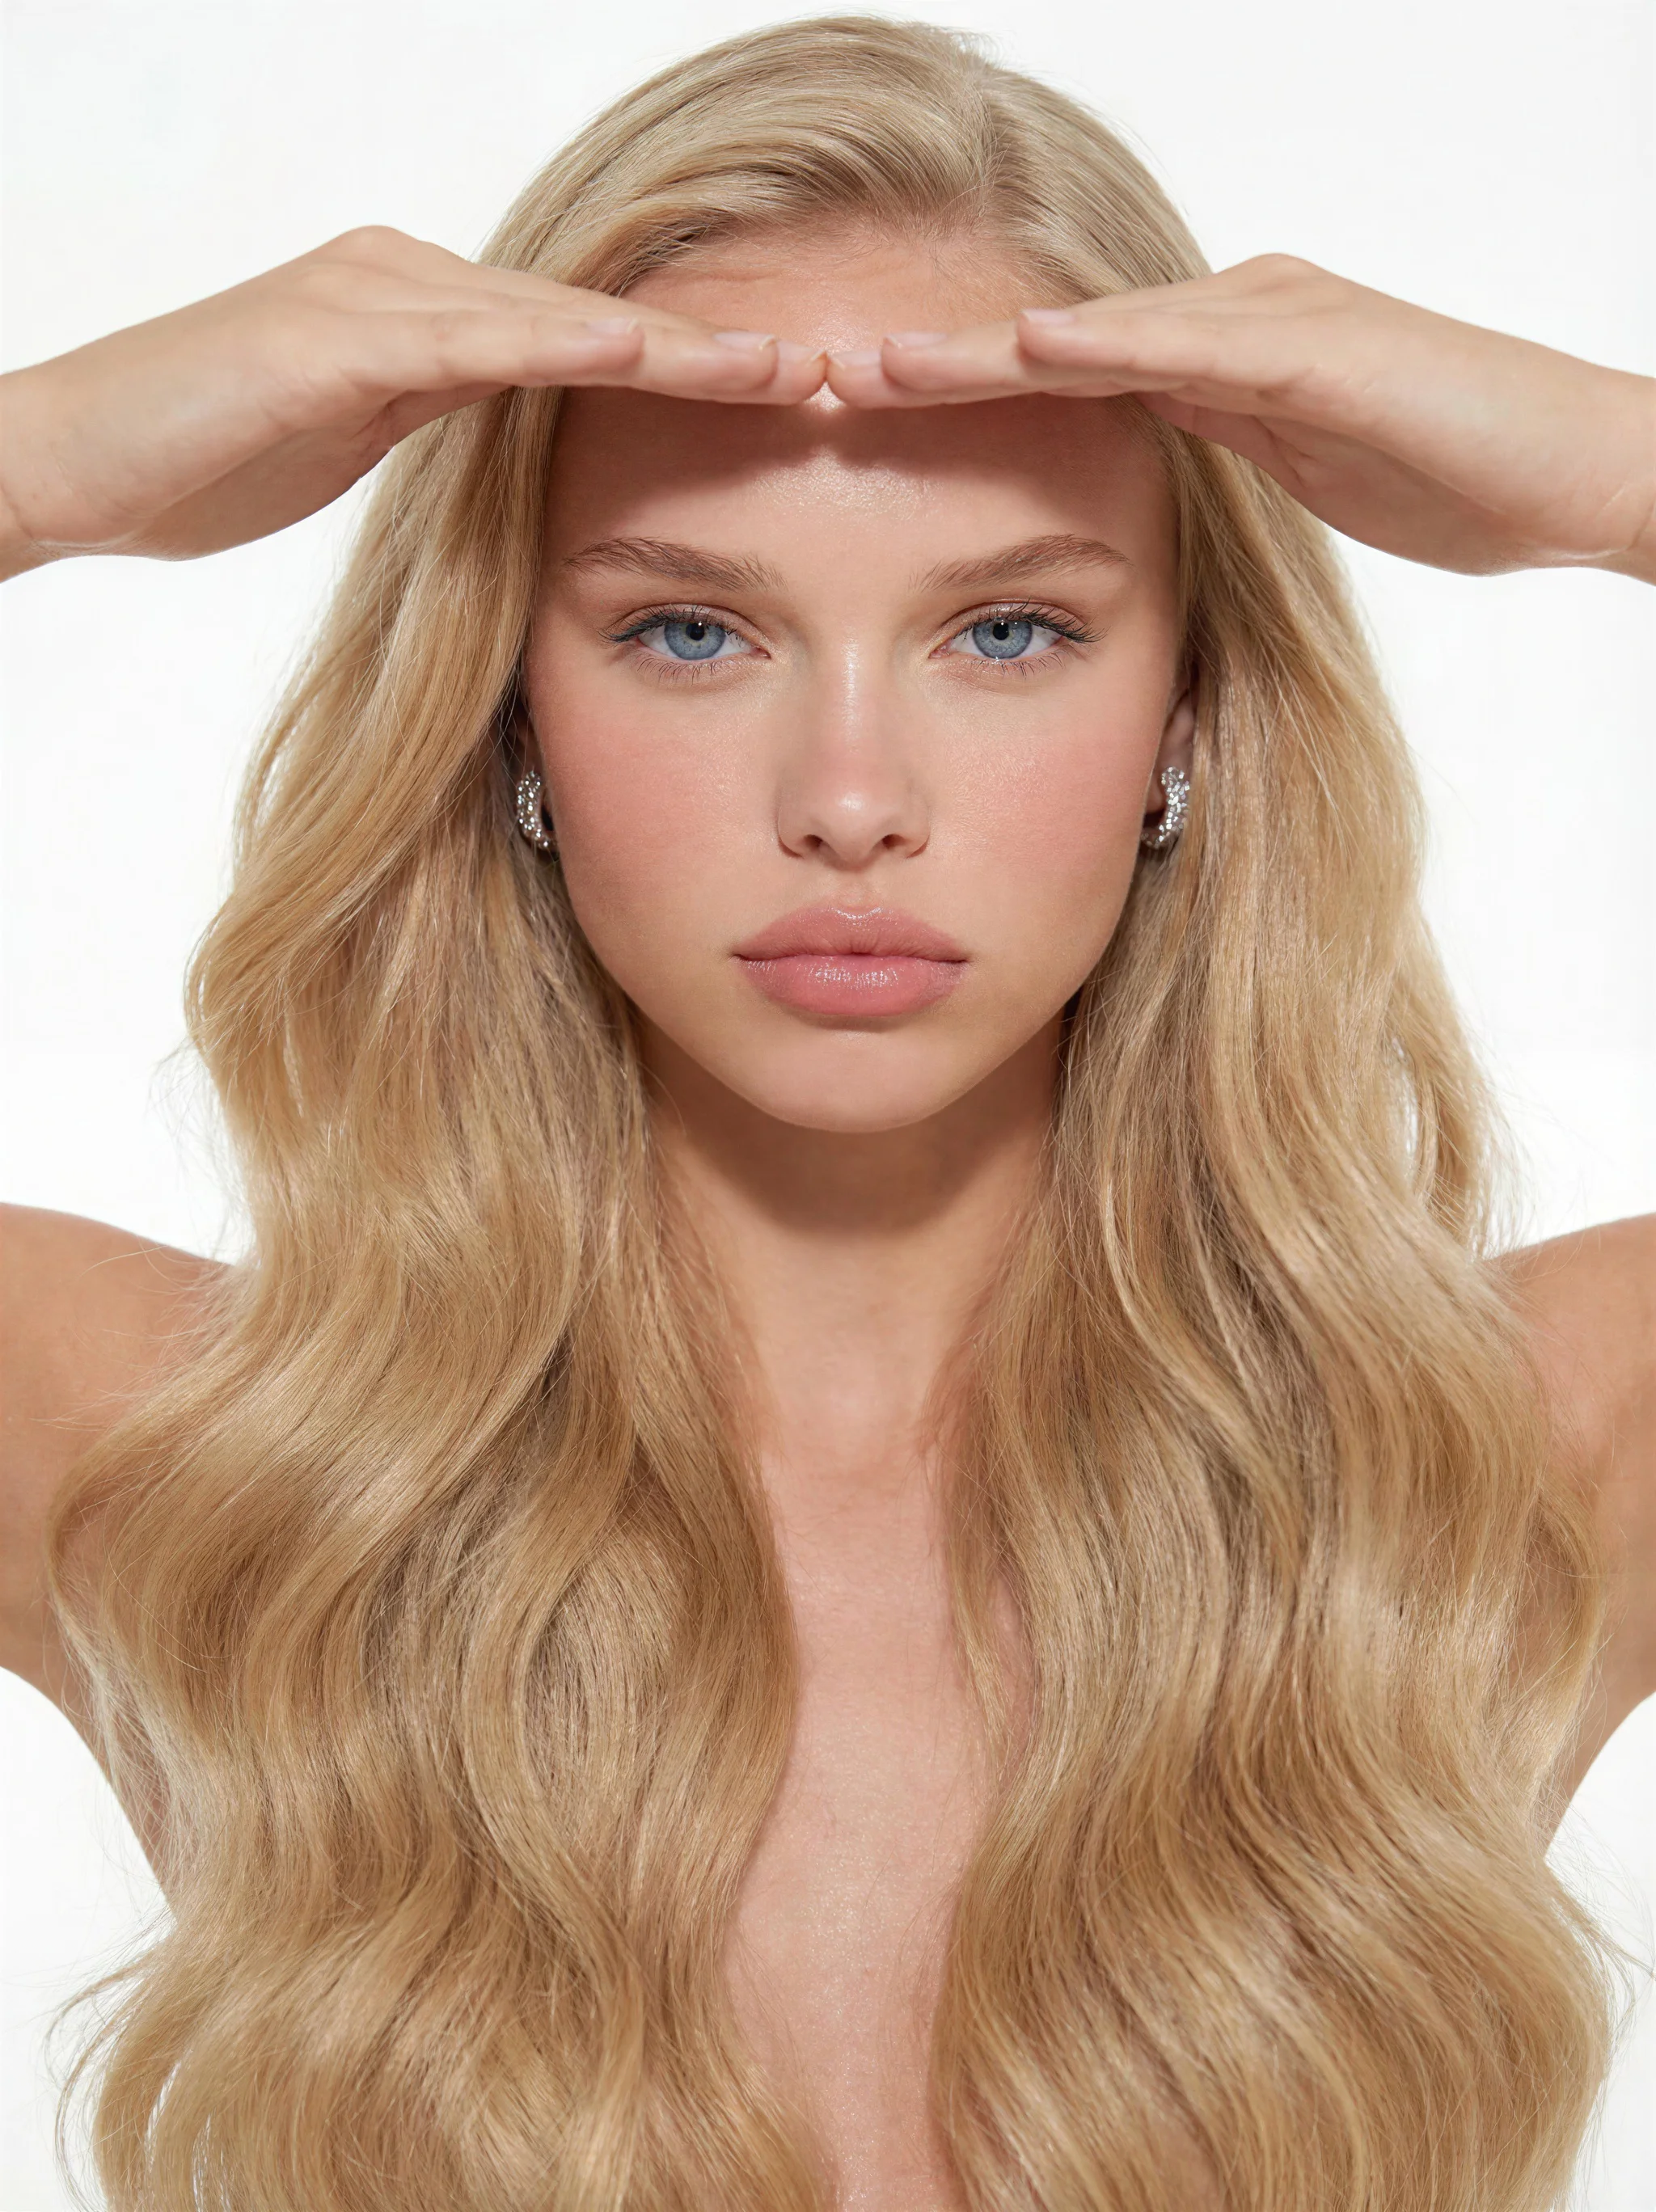
11.What does the before and after actually look like?
A real pair from Imagera's Real Camera Noise tool — the same AI image, before and after the camera-realism pass:

Make your AI image look real →
12.Where the six tells matter most
Portraits and headshots. Skin and eyes carry almost all of the judgement. Start from a real photo of the person where you can — the model then has genuine facial structure to work from rather than inventing one. See the AI headshot generator guide for the portrait specifics.
Product and e-commerce. Lighting and edges. A product cut out over a blurred plate reads as a render immediately; a product on a surface with a believable contact shadow does not.
Stock and editorial. Noise and ordinariness. Stock reviewers see thousands of over-composed frames a week — a slightly imperfect scene at a plausible resolution passes where a flawless one does not.
Marketing and social. Consistency across the set. Mixing humanized frames with untreated ones in the same campaign is more obvious than either on its own, because the viewer gets a direct comparison.
13.Pricing
Imagera is pay-per-use, priced in credits. Credit packs start at $39.99 for 350 credits, and you spend them only when you generate.
If you humanize regularly, plans are better value than packs: Starter at $19.99/month includes 400 credits, and the ladder runs up to Business at $199.99/month with 6,000 credits. Commercial use is included.
Every price on this page comes from Imagera's pricing source of truth and updates automatically — see pricing for the current ladder.
14.Ethics, stated plainly
Realism is a craft tool, and the line is not about whether the pixels were rendered. It is about whether you are misrepresenting a fact.
Reasonable: product and lifestyle imagery for goods you actually sell; a headshot of yourself; original stock work you created; campaign visuals for your own brand.
Not: testimonials from people who do not exist; images of a real person doing something they did not do; fabricated evidence of an event; a dating or profile photo of someone who is not you.
The test that holds up: if you would be comfortable explaining exactly how the image was made when someone asks, you are fine. If the value of the image depends on nobody asking, you are not — and given the provenance layer described above, "nobody asks" is a shrinking assumption.
15.Related guides
- How to make AI images look like real photos
- How to fix AI images that look fake
- How to make AI images look natural
- Best tools to make AI images look real
- How AI image detectors work
- How to make AI photos look real
16.Sources
- MetaStrip, "The Current State of AI Image Detection in 2026" — published 17 May 2026. Detector accuracy, false-positive rates, post-compression collapse, C2PA / XMP / IPTC provenance layer, EU AI Act Article 50 date.
- EyeSift, "Bypass AI Detection? 2026 Reality Check" — published 20 March 2026, updated 12 June 2026. Detectors as probabilistic signals; evasion artifacts as their own signal.