 AI real estate photo editing covers two connected tasks: correcting your listing photos (brightening dim rooms, straightening verticals, replacing a gray sky, removing a stray trash can) and then turning that polished photo set into a cinematic property reel that stops the scroll on Instagram, TikTok, and your MLS video field.
The order matters. Edit for accuracy first — an edit that misrepresents the property can violate MLS rules and fair-housing advertising standards — then assemble the finished photos into a video. This guide covers exactly which edits are safe, which are off-limits, and the fastest path from a folder of listing photos to a published reel.
Last updated July 2026.
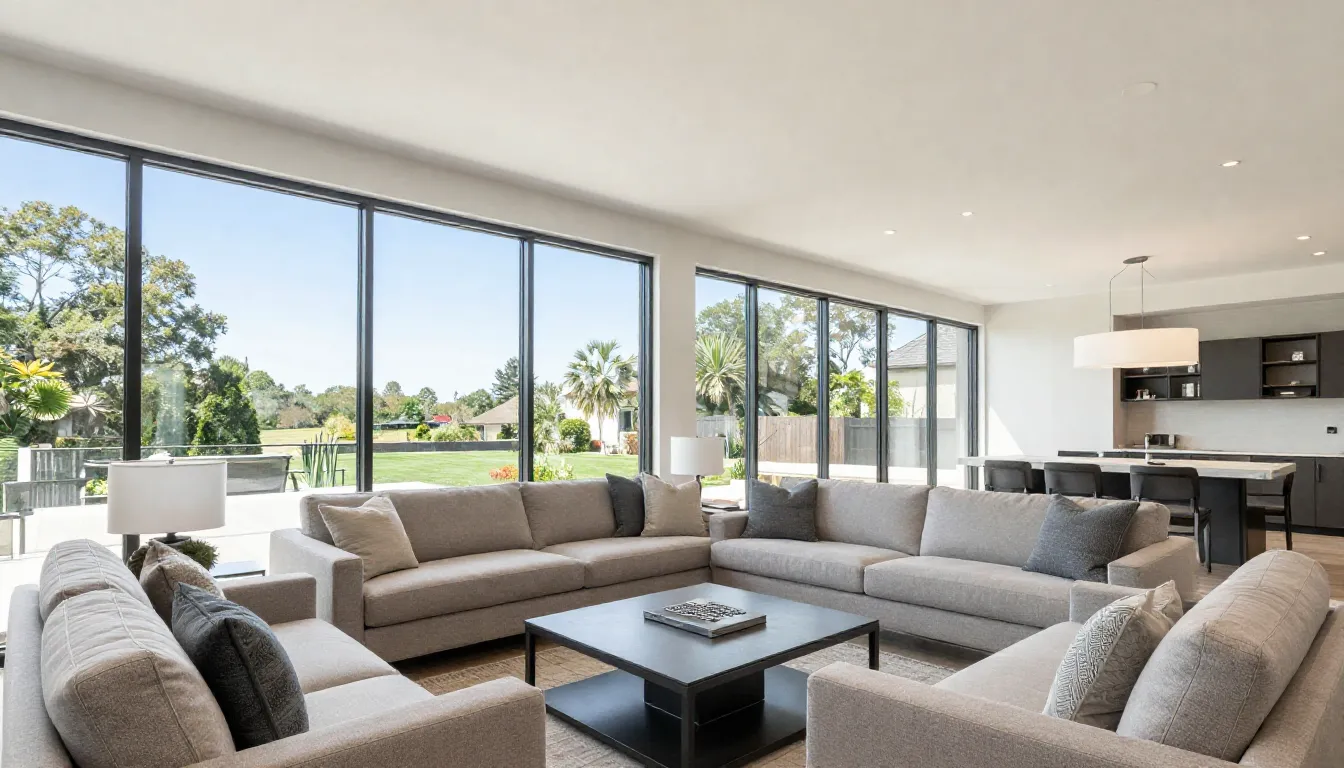
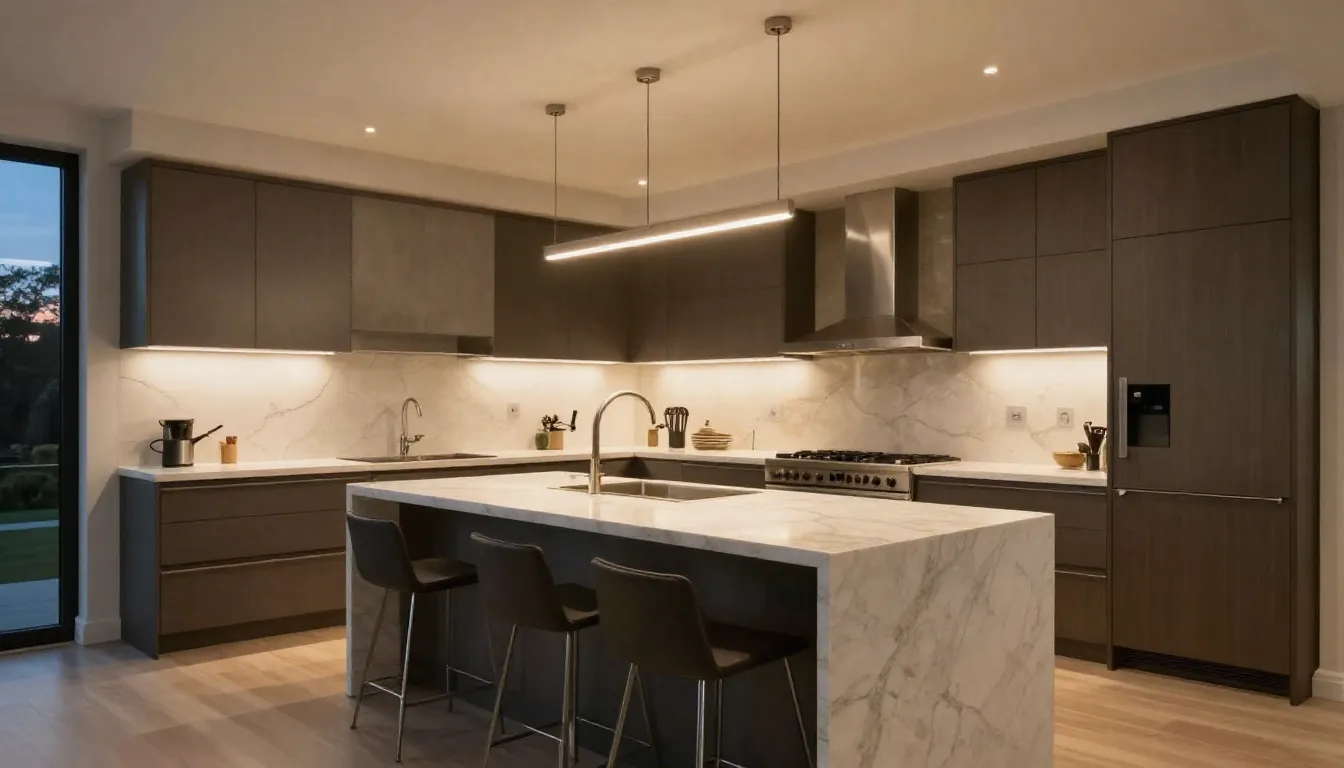
Real Imagera output: listing photos turned into a property reel.
Quick answer: AI real estate photo editing corrects listing photos (brightness, sky, straightening, clutter) and then turns that finished set into a short cinematic property reel — accuracy edits first, video second.
1.How long does it take to turn edited listing photos into a real estate reel?
With Imagera you can assemble up to 9 edited photos into a 5–15 second vertical reel in about 2 minutes, no editing skills required. The 2026 workflow does 2 jobs in 1 pass: correct each photo, then output a 4K clip sized for Instagram, TikTok, and MLS video fields. Most agents finish a full listing in just a few minutes.
2.Which real estate photo edits are allowed, and which are banned?
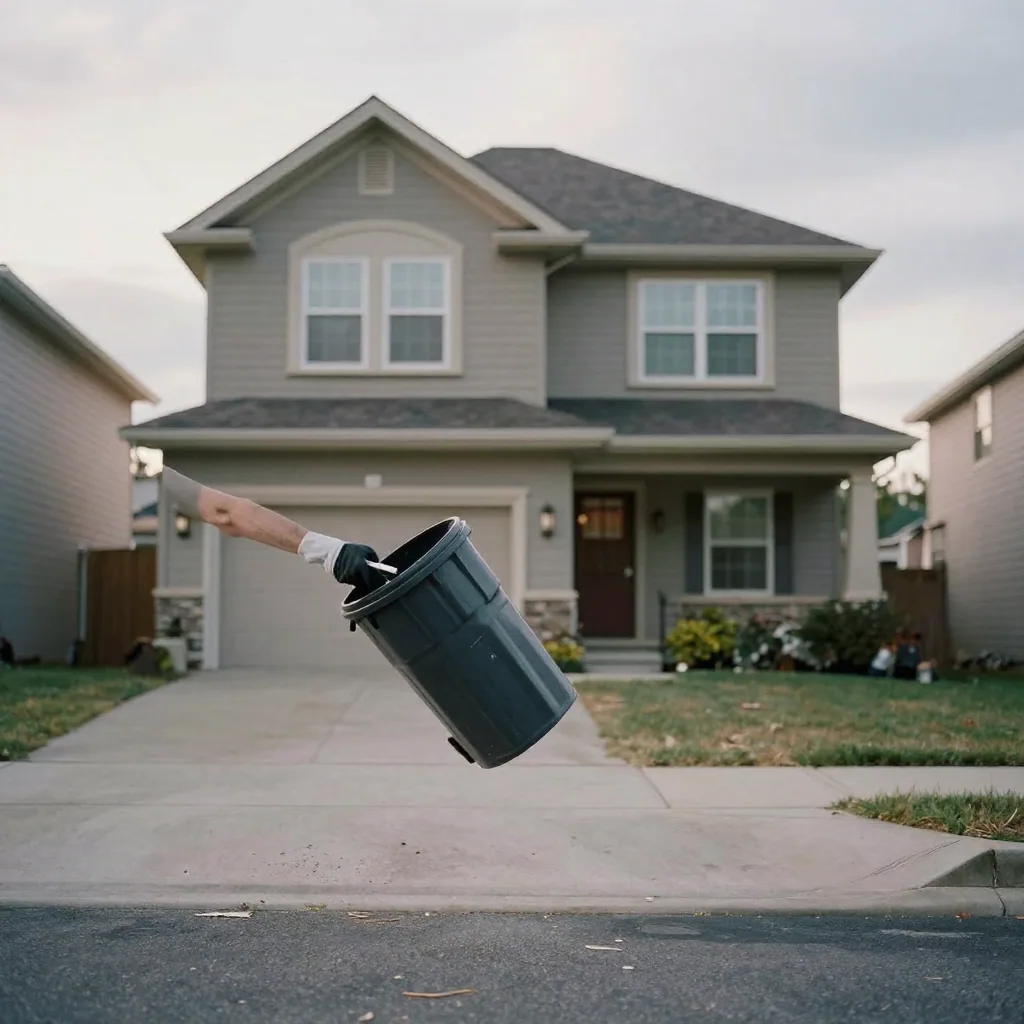
Safe edits — brightening dim rooms, straightening verticals, replacing an overcast sky, removing a stray trash can — are fine on all 100+ MLS platforms. Banned edits misrepresent the property: adding furniture without disclosure, erasing power lines, or altering structural features. Listing photos must never deceive buyers or violate fair-housing advertising rules, so Imagera keeps every edit accurate and true to the home.
3.What "AI real estate photo editing" actually means
Two things get bundled under this phrase, and buyers of the tools conflate them constantly:
- Per-photo editing — brightness/exposure, white balance, lens-distortion and vertical correction, sky replacement, and small object removal on individual images.
- Photo-to-video editing — taking the finished set and applying motion, cropping, pacing, and music so it plays like filmed footage instead of a static slideshow.
Most agents want both. You correct the photos so the property looks its honest best, then you turn them into a listing video because video keeps buyers on the listing longer. The two steps use different tools, and it helps to keep them separate in your head.
4.The edits that are safe vs. the ones that get listings pulled
This is the part most "AI photo editor" articles skip, and it is the part that actually matters for a licensed agent. The National Association of REALTORS® Code of Ethics (Article 12) and most local MLS rules prohibit photos that create a "false or misleading" impression of a property. Fair-housing advertising rules add a second layer.
Here is a practical line most brokerages draw:
| Edit | Generally safe | Risky / prohibited |
|---|---|---|
| Brightness, exposure, contrast | ✅ Correcting under/over-exposure | ❌ Faking sunlight that never enters the room |
| White balance / color | ✅ Neutralizing a color cast | ❌ Recoloring walls, floors, or cabinets |
| Straightening verticals | ✅ Fixing lens keystoning | — |
| Sky replacement | ✅ Swapping a flat gray sky for a clear one | ⚠️ Disclose per your MLS; some require it |
| Lawn / grass greening | ⚠️ Minor cleanup | ❌ Turning a dead lawn lush |
| Object removal | ✅ Cars, trash cans, a leash on the floor | ❌ Hiding damage, power lines you must disclose, or permanent fixtures |
| Virtual staging | ✅ With a "virtually staged" label | ❌ Unlabeled — many MLSs require the disclosure |
| Adding/removing rooms or windows | — | ❌ Always misleading |
| Removing people | ✅ For privacy | — |
The rule of thumb: edits that correct the camera are fine; edits that change the property are not. When in doubt, check your local MLS photo policy and always label virtually staged images. This is guidance, not legal advice — your MLS and state rules govern.
5.Step 1 — Fix the photos (per-image editing)
Before any video work, get the individual photos right. In priority order:
- Exposure and shadows. Dim interiors are the number-one listing-photo problem. Lift shadows so rooms read as bright without blowing out the windows.
- Vertical/keystone correction. Wide-angle real estate lenses lean the walls. Straighten them — leaning verticals scream "amateur."
- Sky. A flat overcast sky flattens exteriors. A clean blue sky (disclosed where required) lifts curb appeal.
- Small object removal. Remove the car in the driveway, the hose, the pet bowl, the visible reflection of the photographer in a mirror.
- Resolution. Buyers zoom. If a photo is soft or under ~1500px on the short side, it will look worse once motion is applied. Sharpen it first — a soft input photo produces a soft reel. Our AI image upscaler can add resolution and detail to listing photos before you build the video.
You do not need Photoshop for any of this. Modern AI editors handle exposure, straightening, sky, and object removal from a browser, and most of the work is one or two clicks per image.
6.Step 2 — Turn the edited photos into a property reel
Once your best photos are corrected (upload up to 9), the second half of "AI real estate photo editing" is assembling them into a video. A static slideshow crossfades between images; an AI reel maker analyzes each photo and applies motion (slow push-ins, pans across a wide kitchen), intelligent 9:16 cropping, and pacing so it feels filmed. The output is a short clip — up to about 15 seconds.
Open the Real Estate Reel Maker, upload your edited photos in buyer-journey order, pick a licensed music track, and export. The tool handles the motion and format; you supply the finished photos and the order.
6.1Ordering the photos (the buyer journey)
Do not upload in the order your camera saved them. Order by how a buyer walks — or wishes they could walk — the property:
| Position | Room / shot | Why |
|---|---|---|
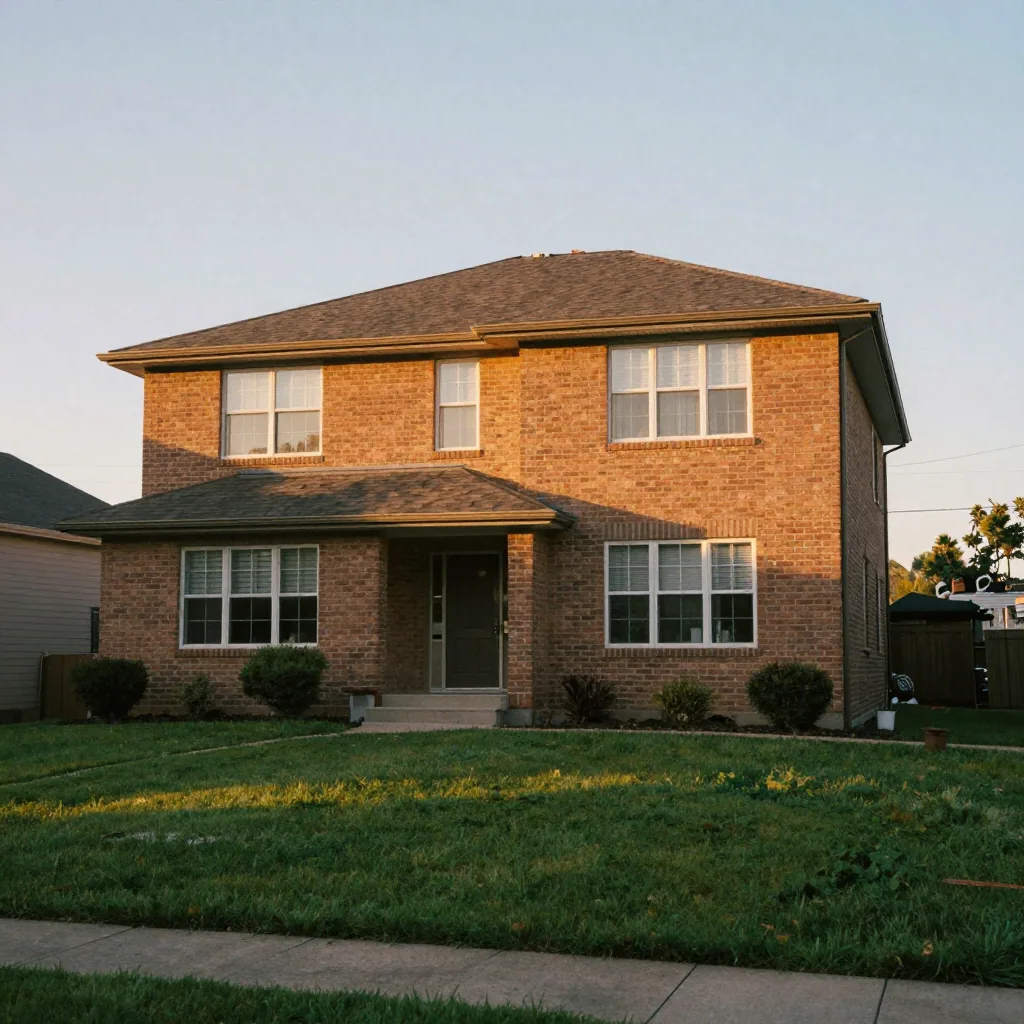
| 1 | Exterior / hero front | Sets the property and stops the scroll |
| 2–3 | Entry, main living space | Orientation and first impression |
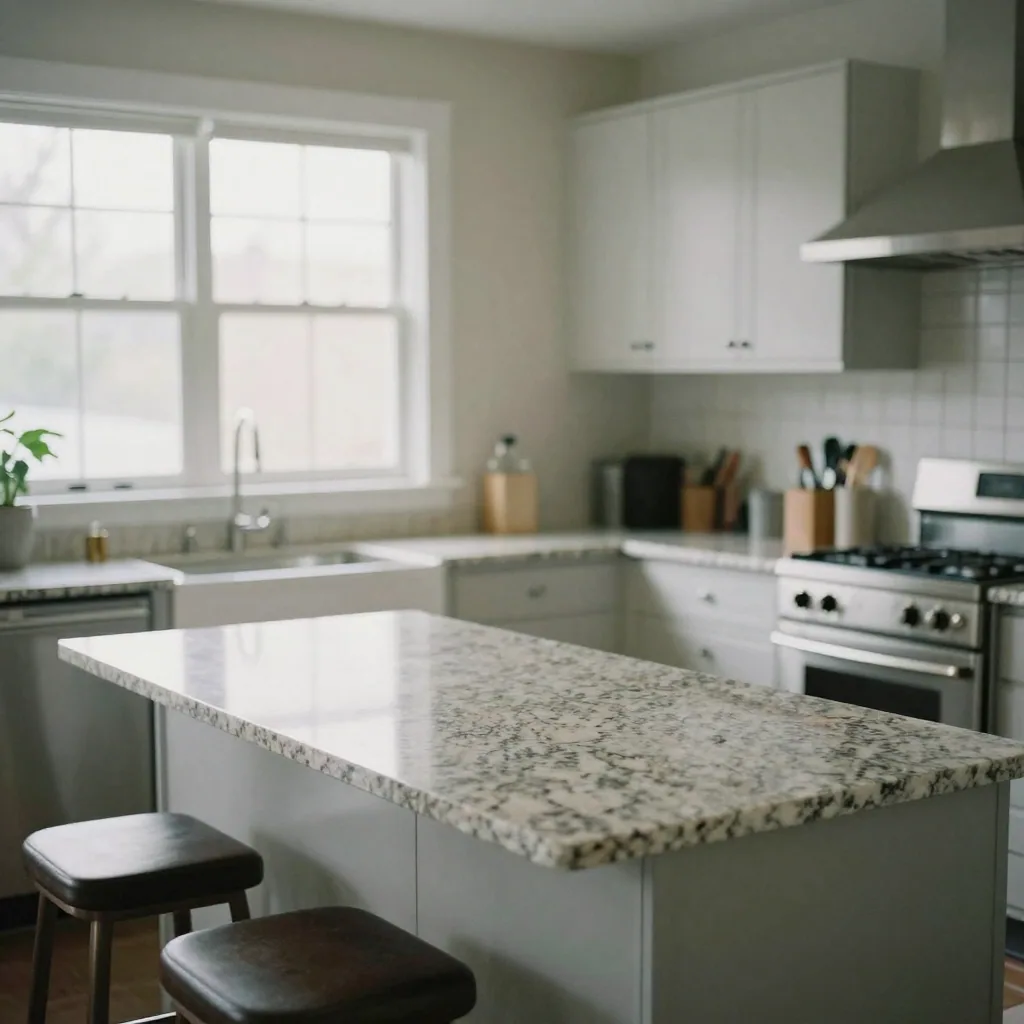
| 4–6 | Kitchen + best rooms | The rooms that sell the home |
| 7–8 | Primary bedroom, bathrooms | The "does it fit my life" check |
| 9 | Outdoor space, view, or best detail | Emotional close |
With only nine slots, cut ruthlessly — one strong photo per idea beats two mediocre ones. Add your address/agent card afterward in a separate editor (see the workflow below).
7.AI editing vs. hiring a real estate photo editor
Agents used to outsource both the retouching and the video. Here is the honest trade-off in 2026:

| Approach | Turnaround | Per-listing cost | Best for |
|---|---|---|---|
| Outsourced editor + videographer | Typically 24–72 hrs | Higher, per listing | Luxury / flagship listings |
| Outsourced photo editing only, DIY video | Typically 24–48 hrs | Medium | Agents who want hands-off retouching |
| AI editing + AI reel maker (DIY) | Same session | Lower, on a plan | High-volume agents, fast turns, price points below luxury |
For most standard listings, doing the editing and the reel yourself with AI tools is faster and cheaper, and the quality gap has narrowed sharply. Reserve outsourced human editing for listings where the marginal polish justifies the cost and the wait.
8.A realistic 20-minute workflow
- Pull your 20–30 raw listing photos.
- Correct exposure, verticals, sky, and remove small clutter on your best 8–9.
- Upscale any soft photos so they hold up in motion.
- Open the Real Estate Reel Maker and upload the finished set (up to 9) in buyer-journey order.
- Add a per-photo tag and a short vibe prompt, then generate. The clip runs up to about 15 seconds.
- Optional: drop the exported clip into a free editor like CapCut or Canva to add text overlays (address, beds/baths, one standout feature) — the reel maker doesn't burn in text itself.
- Export the MP4 and post to your listing feed, then embed on the MLS/property page where allowed.
Total working time for someone who has done it twice: about 20 minutes, most of it on the photo editing.
9.Do virtual staging and twilight edits need to be disclosed?
Yes, in most cases. Virtually staged photos (furniture added digitally) and virtual twilight / sky swaps change how the property looks, so most MLSs and the NAR Code of Ethics expect a clear label such as "virtually staged" or "digitally enhanced sky." The safe default is: if an edit changes what a buyer sees on-site vs. in the photo, disclose it. Rules vary by MLS — always check yours.
The clearest way to think about it is to separate edits that correct the camera from edits that change the property, and to label the second group:
| Edit | Disclosure expectation | Why |
|---|---|---|
| Exposure / white-balance correction | Usually none | Corrects the camera, not the property |
| Straightening leaning verticals | Usually none | Lens correction, no misrepresentation |
| Sky replacement (gray → blue) | Often required — check your MLS | Changes the depicted conditions |
| Virtual twilight (day → dusk) | Typically required | The photo shows a scene that didn't occur |
| Virtual staging (added furniture) | Almost always required | Depicts contents that aren't there |
| Object removal (car, trash can) | Usually none for clutter | Doesn't misrepresent the property itself |
| Removing a permanent fixture or defect | Prohibited | Hides material facts a buyer must know |
When in doubt, add the label — a "virtually staged" caption costs nothing and protects both the listing and the license. This is general guidance, not legal advice; your MLS and state advertising rules govern.
10.How many photos should a real estate listing have?
For the photo gallery, most agents publish 20–35 well-edited images depending on property size — enough to cover every room plus exterior and standout features without padding. For the reel, select the 9 strongest in buyer-journey order, since most AI reel makers cap at 9 photos per short clip. So you shoot broad for the gallery, then curate down to your best nine for video.
The two surfaces want different counts, and planning the shoot to feed both saves a second visit:
| Surface | Photos to use | Selection rule |
|---|---|---|
| MLS / portal gallery | 20–35 stills | Cover every room + exterior + key features; lead with the hero exterior |
| Listing thumbnail | 1 | The corrected hero exterior (or best-lit interior) |
| Reel (Instagram / TikTok / MLS video field) | Up to 9 | Sharpest, best-lit frames in buyer-journey order |
| Email / social teaser | 3–5 | Exterior + kitchen + one emotional close |
Because the reel is curated from the same edited set as the gallery, the workflow is one editing pass, not two. Correct your best photos once, publish the full set to the portal, then hand the strongest nine to the Real Estate Reel Maker. If any of those nine are soft or under-resolution, run them through the AI image upscaler first so they stay sharp when motion is applied.