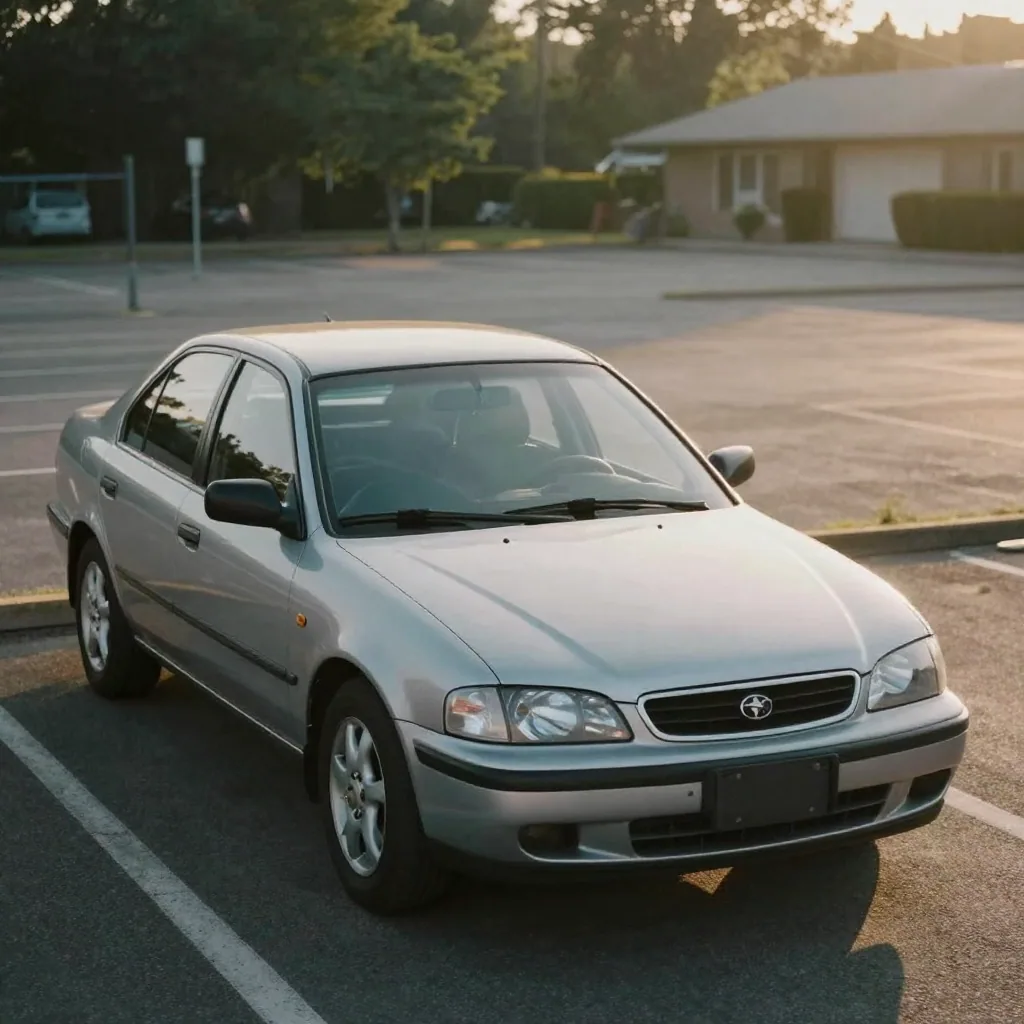
 The best car photography ideas all rest on the same foundation: a consistent core set of angles, a clean location, and good light. Whether you are a dealer moving 40 cars a month or an owner selling one, your photos need to show the car clearly, flatter its lines, and give a buyer enough to make a decision. Then — because static photos underperform video on every social and marketplace feed — you turn that same photo set into a rolling-shot reel.
Below are 21 concrete ideas grouped into three buckets: the must-have angles, creative shots that make a listing stand out, and how to convert the whole set into a car reel. You do not need a studio, a drone, or a videographer.
Last updated July 2026.
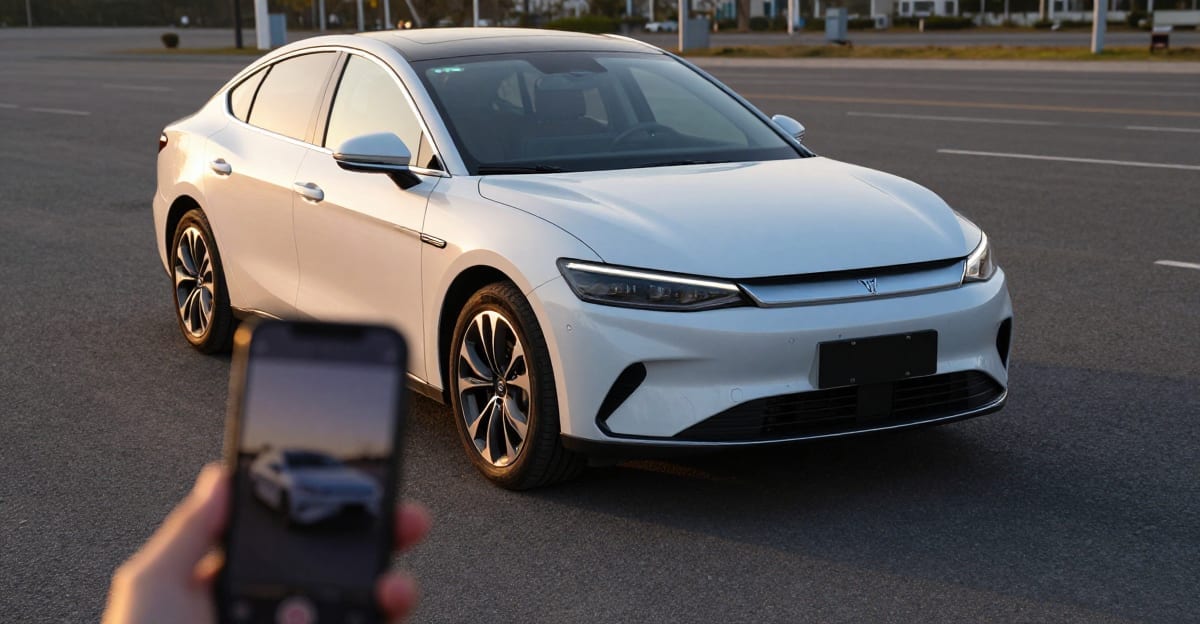
Real Imagera output: photos turned into a dynamic video.
Quick answer: The strongest 2026 car photography ideas pair low-angle golden-hour hero shots and tight detail crops (grille, wheels, badge) with short vertical reels, since motion clips tend to earn more attention than static photos on social feeds.
1.What are the best car photography angles for online listings?
Shoot a 3/4 front hero at wheel height, plus 8-10 supporting frames: full profile, rear 3/4, interior, dash, and 4 tight details. More angles keep buyers exploring the listing longer, and 4K exports future-proof zoom. In 2026, Imagera can relight and upscale a single phone photo to 8K in under a minute.
2.Why should you turn car photos into reels in 2026?
Vertical video dominates 2026 discovery feeds, and a 15-30 second reel built from 6-10 stills gives a still-photo listing far more reach on those feeds. Short vertical clips move through platform algorithms in ways flat images rarely match. With Imagera, you can generate a branded car reel with motion, captions, and 100+ style presets from your existing shots.
3.The core angle set (shoot these every time)
If you shoot nothing else, shoot these. They are what a buyer needs to trust a listing, and they are exactly the frames a reel maker sequences into a walkaround.
| # | Shot | Why it matters |
|---|---|---|
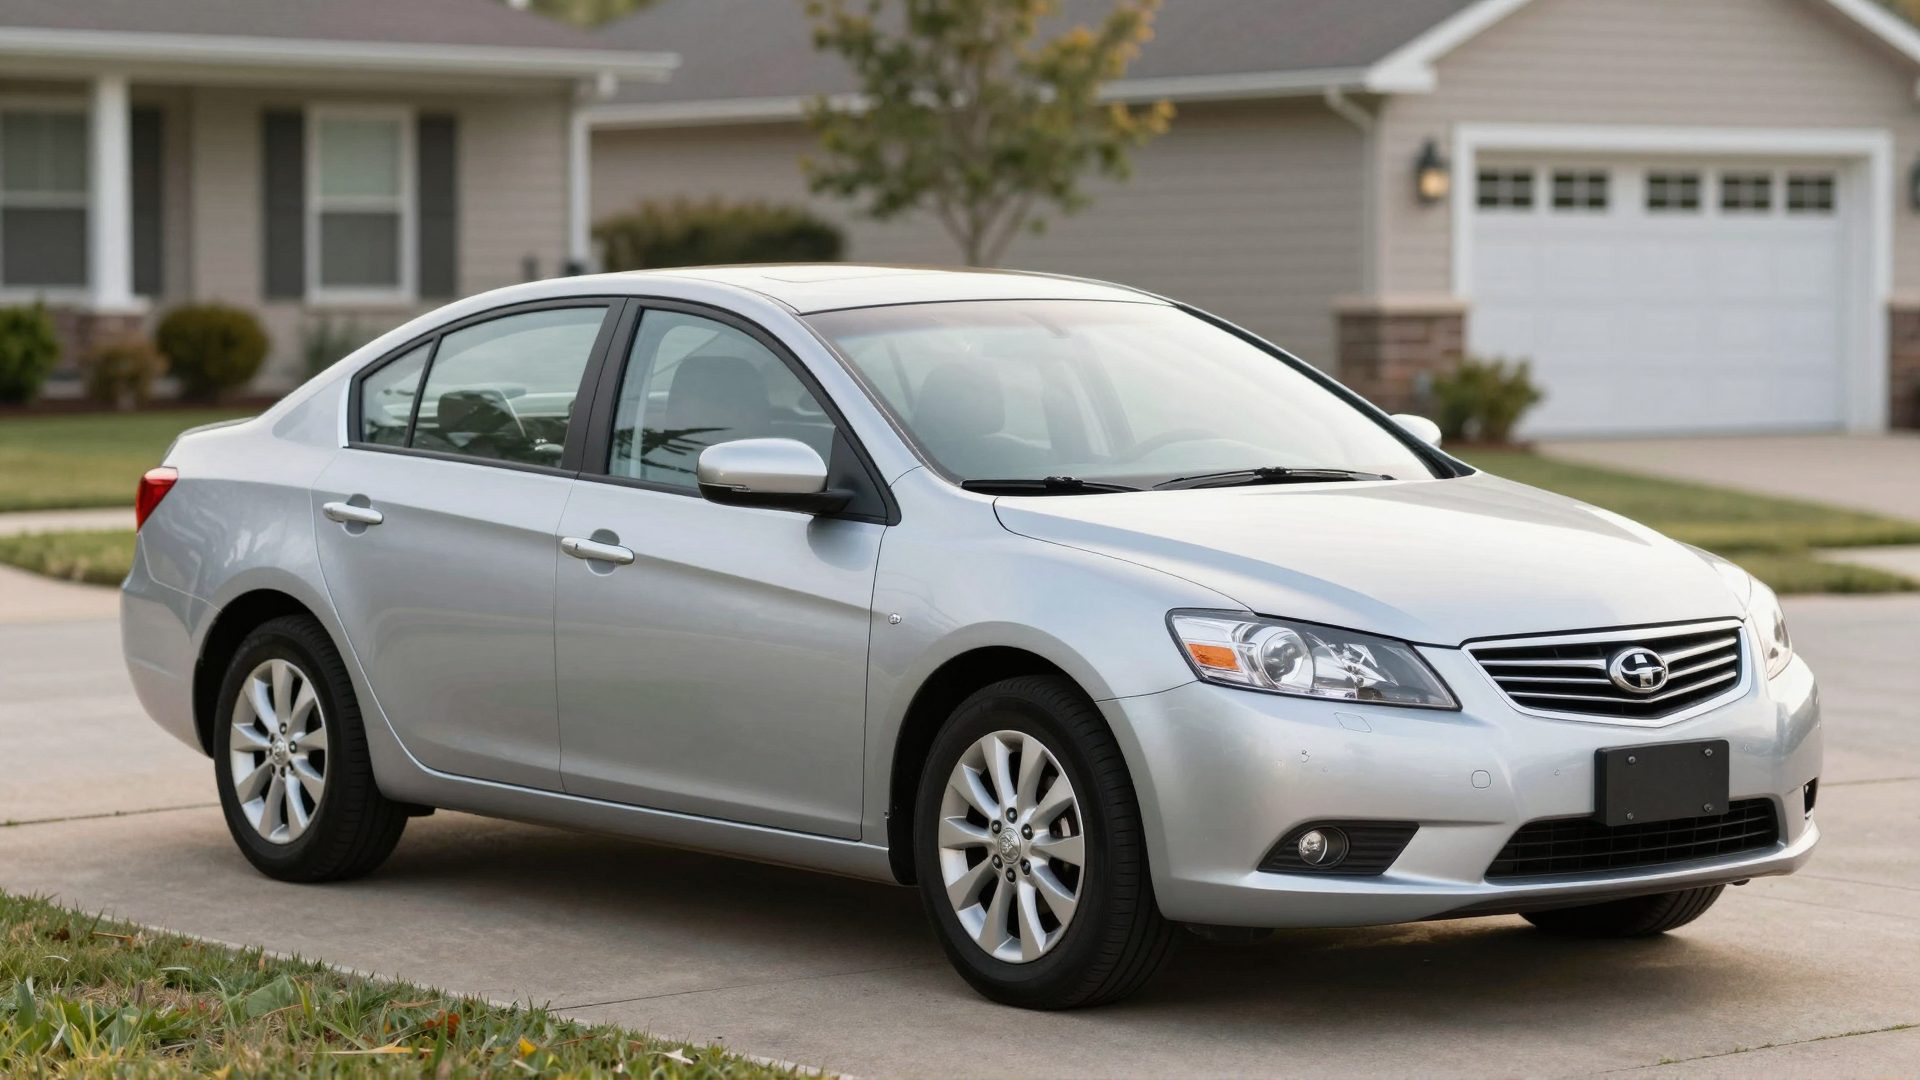
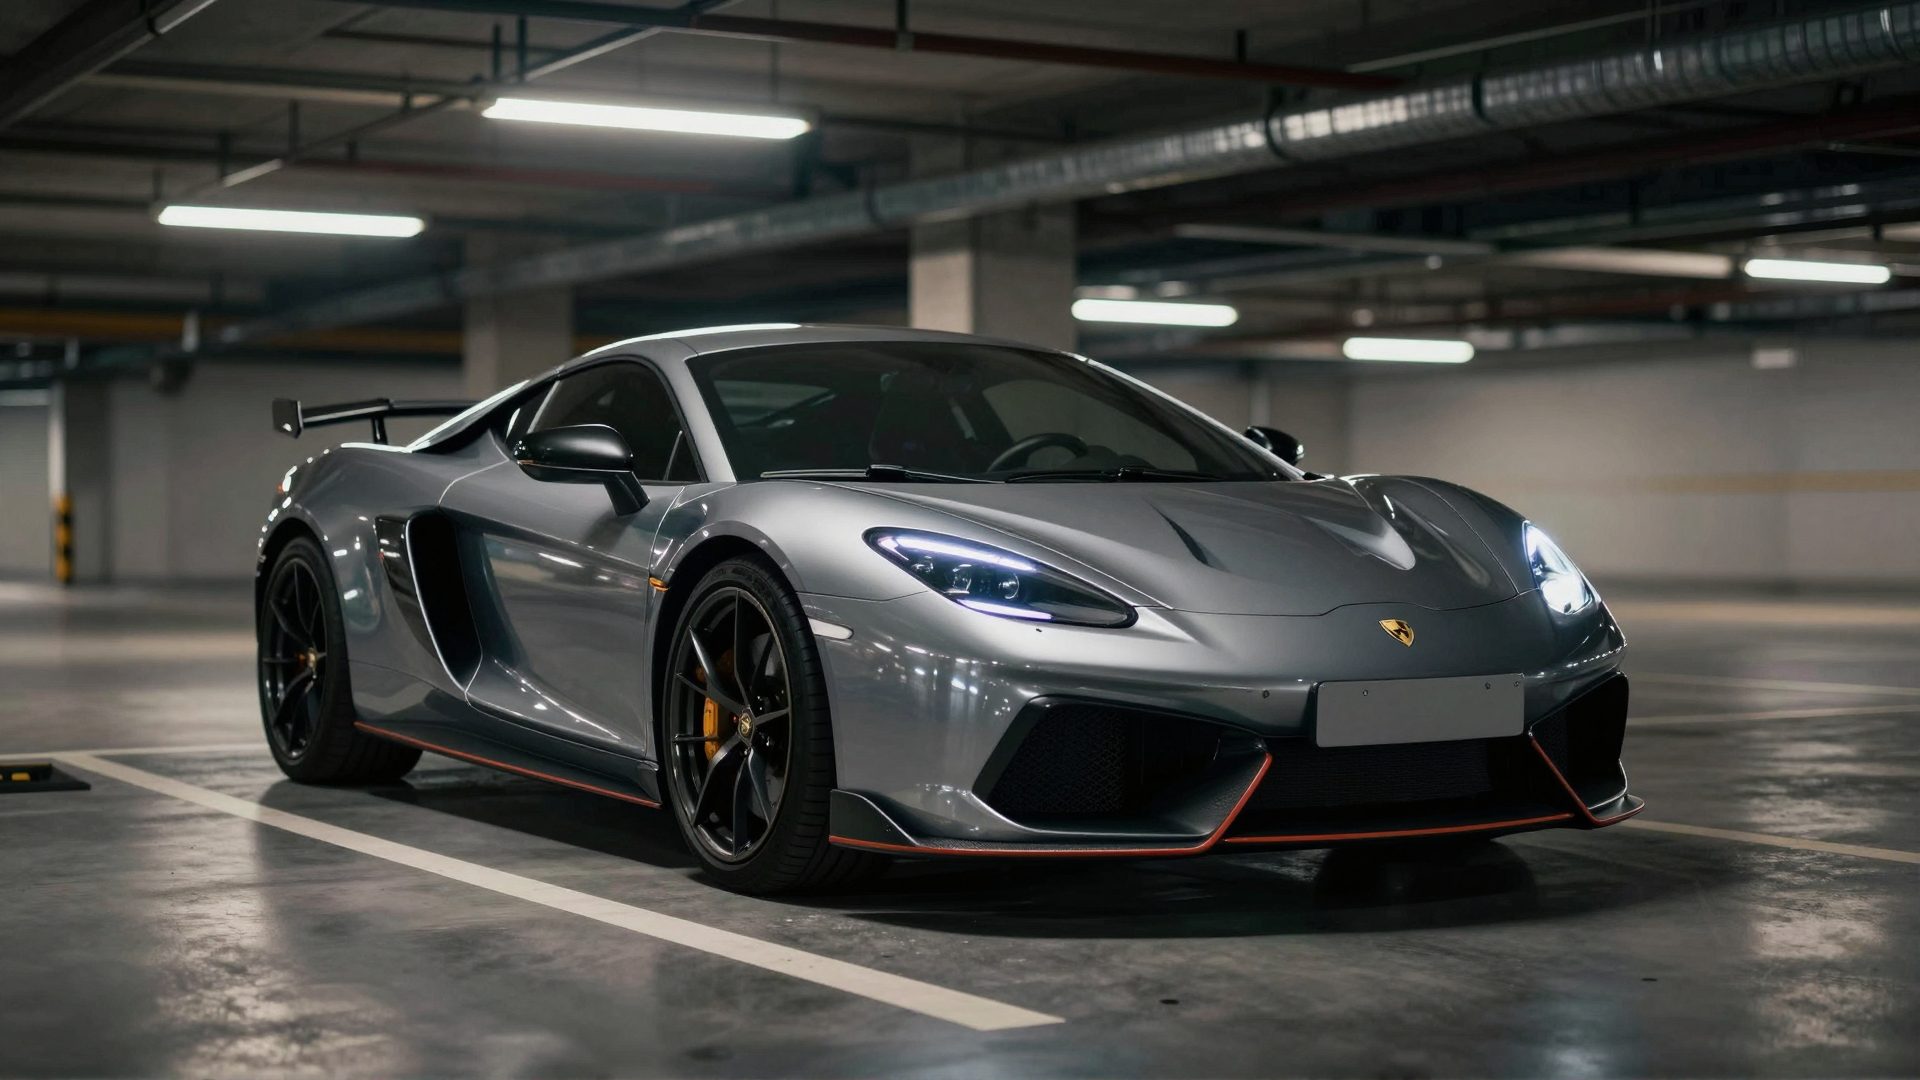
| 1 | Front 3/4 (from a low angle) | The hero shot — shows face, side, and stance at once |
| 2 | Rear 3/4 | Balances the front hero; shows the back design |
| 3 | Full side profile | Reveals the true silhouette and proportions |
| 4 | Straight-on front (grille/badge) | Brand recognition and condition |
| 5 | Straight-on rear | Bumper and exhaust condition |
| 6 | Wheels / tires close-up | Buyers judge care by tire and wheel condition |
| 7 | Interior — dash and gauges | Odometer, tech, and wear |
| 8 | Interior — front seats | Upholstery condition |
| 9 | Interior — rear seats / cargo | Space and family fit |
| 10 | Engine bay | Signals maintenance and honesty |
Ten shots, ten minutes. That is the baseline. Add detail shots below for a listing that stands out.
4.Creative car photography ideas that make a listing pop
Once you have the core set, these ideas separate a good listing from a scroll-past one:
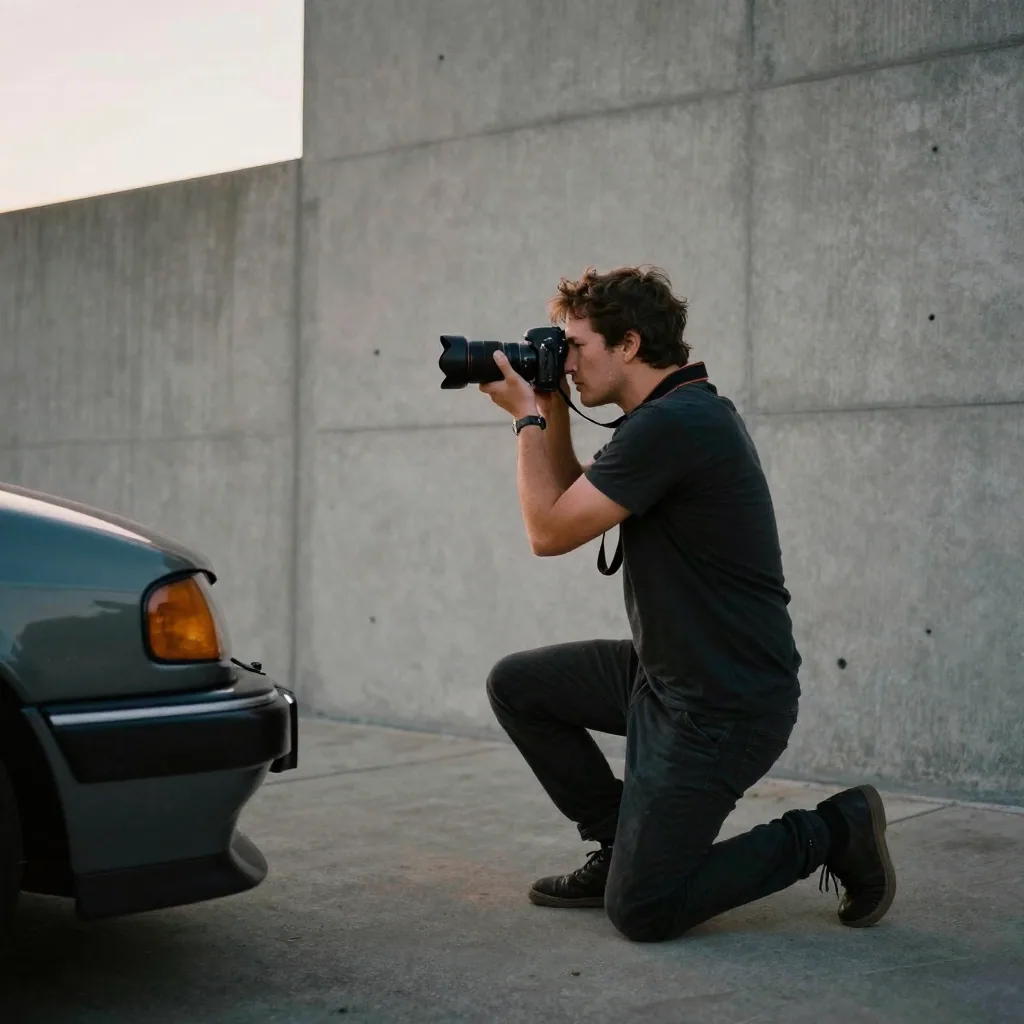
- Golden-hour front 3/4. The hour after sunrise or before sunset gives warm, directional light and no harsh reflections. Single biggest quality upgrade available for free.
- Get low, with the wheels turned out. Shoot from knee height or lower for the hero angle, and angle the front wheels slightly toward the camera to show the rim face. It makes the car look planted and aggressive instead of small — and that low, wheels-turned stance reads as motion once the reel adds a slow push-in.
- Reflection line on the hood. Position so a clean gradient (sky, tree line, building edge) reflects along the body panels — it reads as "well-detailed."
- Badge / emblem macro. A crisp close-up of the badge or a signature trim detail.
- Headlight / taillight detail. Especially for models with distinctive lighting.
- Stitching / trim macro. Interior craftsmanship sells higher-end cars.
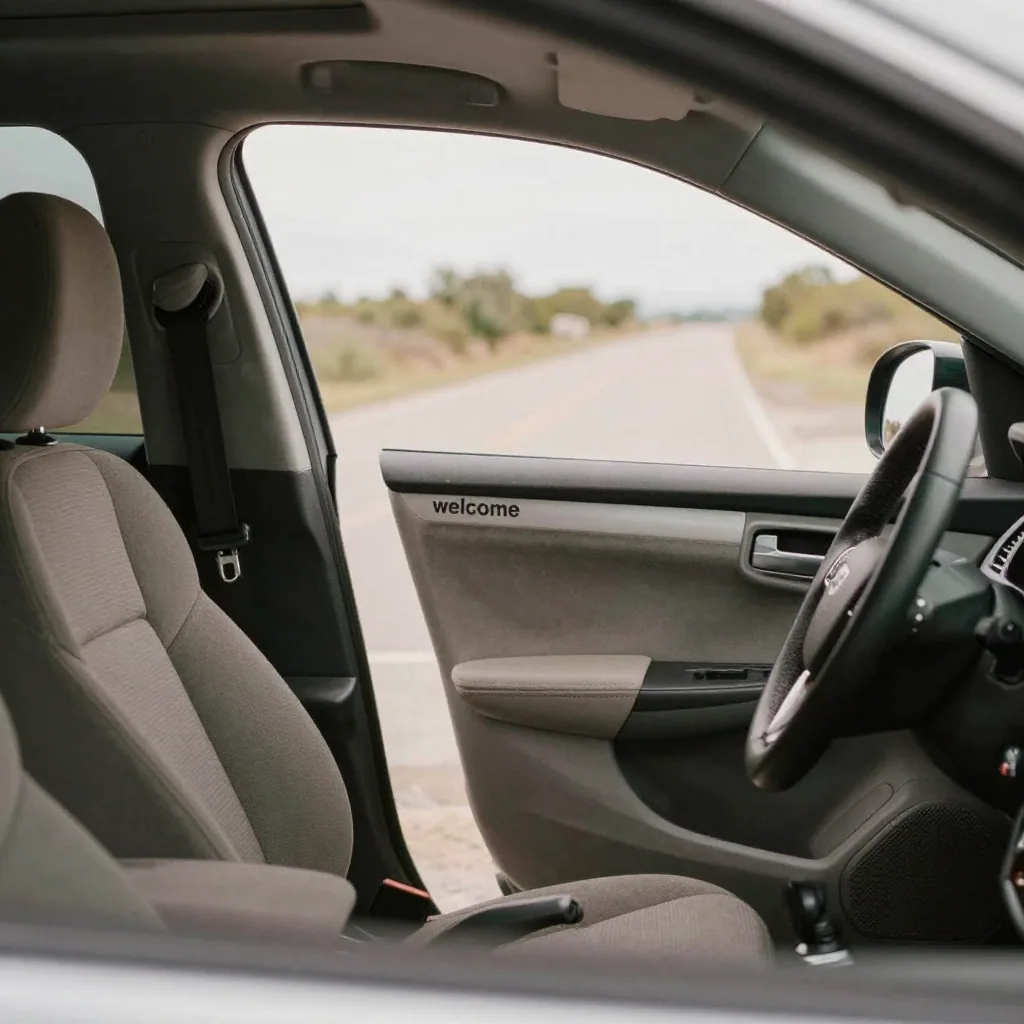
- Open door "welcome" shot. Driver's door open, seat visible — invites the buyer in.
- Odometer close-up. Low miles are a selling point; show them clearly.
- Clean, uncluttered background. An empty lot, a plain wall, or a scenic pull-off beats a cluttered driveway every time.
- Wet-ground shot after rain. Reflections on wet pavement add drama for enthusiast content.
- Detail-of-flaw shot (for honesty). One clear photo of any scratch or wear builds trust and cuts wasted inquiries.
4.1Quick location and light rules
- Shoot in open shade or golden hour; avoid harsh midday sun (hard reflections, blown highlights).
- Pick a clean, distraction-free background — the car should be the only subject.
- Fill the frame. Leave a little breathing room, but do not shoot the car tiny in a huge parking lot.
- Wipe the car down first. Dust and water spots show more in photos than in person.
5.Fixing photos before you build the reel
Marketplace and phone photos are often slightly soft, under-exposed, or shot at low resolution. Motion exaggerates those flaws — a soft photo looks softer once it pans. Before assembling a reel, sharpen and upscale any weak shots so they hold up. Our AI image upscaler adds resolution and detail to phone photos so they stay crisp when the reel maker applies motion.
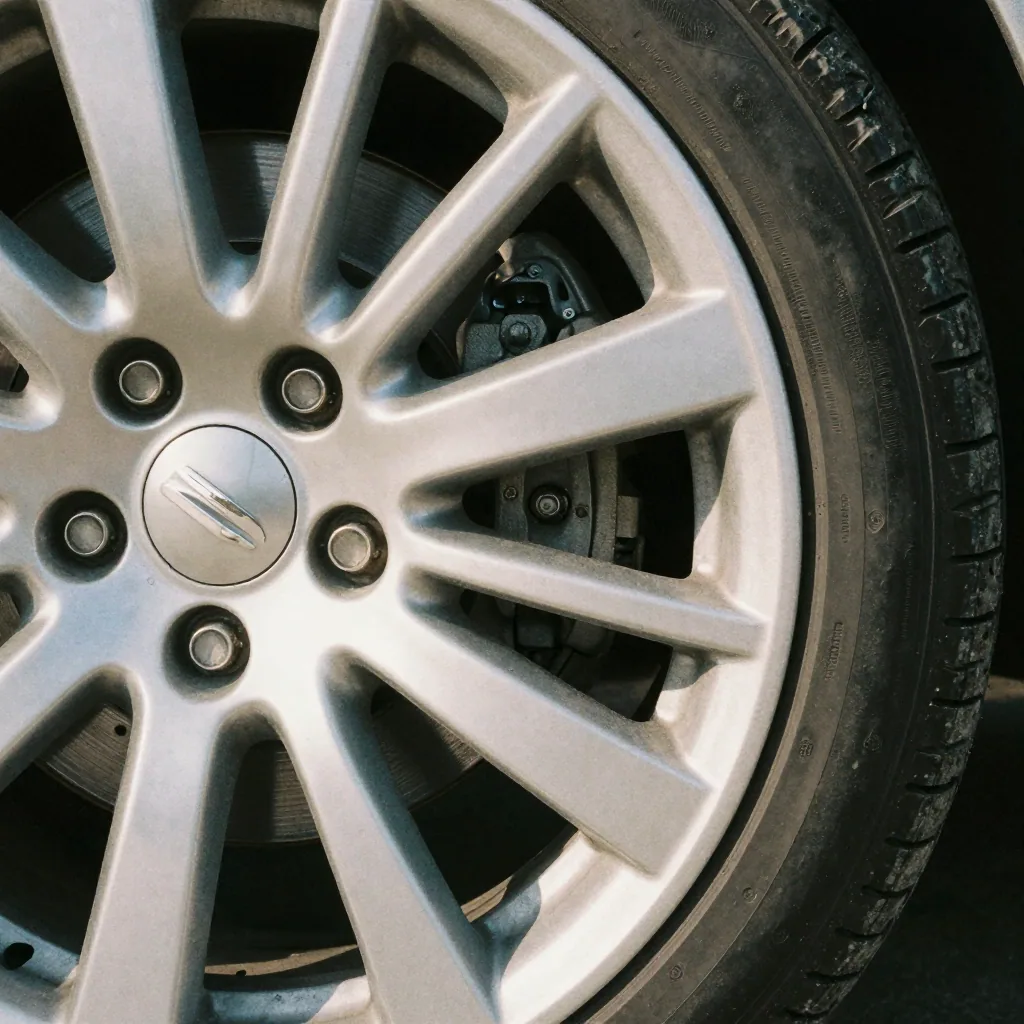
Get exposure and framing right in-camera where you can; use the upscaler to rescue the shots you can't reshoot.
6.Turning your car photos into a rolling-shot reel
Static listings underperform video on Facebook Marketplace, TikTok, Instagram Reels, and Autotrader-style feeds. The good news: the core angle set above is already a walkaround sequence. You do not need to film.
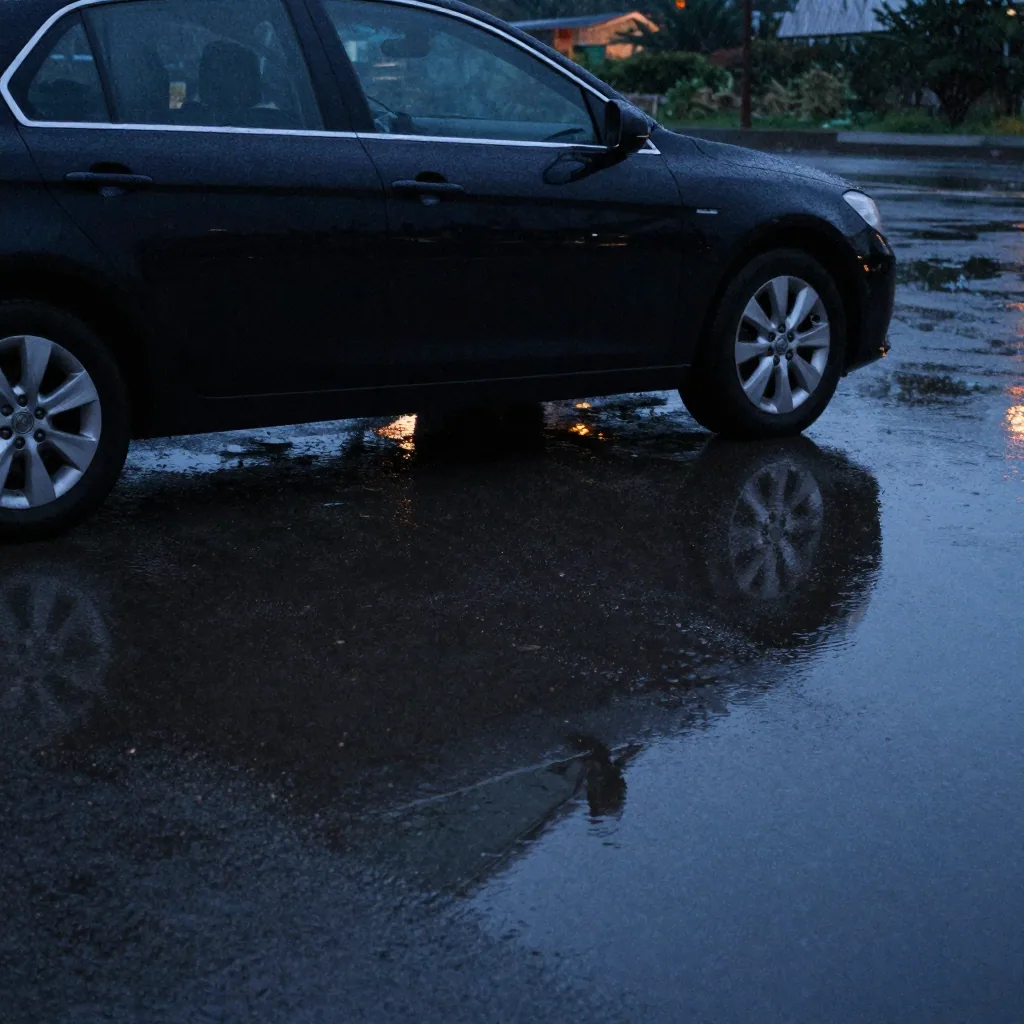
Open the Car Reel Maker, upload up to 9 photos in walkaround order, choose a track, and export a short 9:16 vertical reel. The tool applies motion (slow push-ins, pans across the profile), pacing, and cropping so parked photos read like a rolling shot. The output is a short clip — up to about 15 seconds.
6.1The order that reads like a walkaround
| Position | Shot | Feel |
|---|---|---|
| 1 | Front 3/4 (low, golden hour) | Hero opener — stop the scroll |
| 2 | Full profile | Establish the silhouette |
| 3 | Rear 3/4 | Complete the exterior loop |
| 4 | Grille + wheels detail | Close-up energy |
| 5–6 | Interior dash + seats | Move "inside" the car |
| 7 | Engine bay | Trust / condition |
| 8–9 | Odometer + standout detail | The clincher |
Add your price and contact details afterward in a separate editor (see the workflow below) — the reel maker doesn't burn text into the video.
6.2Shot list vs. reel: what each surface wants
The Car Reel Maker outputs a short clip — up to about 15 seconds — which is exactly the punchy hook Marketplace, TikTok, and Reels reward. If a surface wants a longer video, generate a few short clips and stitch them together in a separate editor.
| Surface | Best format | Reel maker output | Lead shot |
|---|---|---|---|
| Facebook Marketplace | 9:16 or 1:1 | Short clip (up to ~15 sec) | Front 3/4 hero |
| TikTok / Instagram Reels | 9:16 | Short clip (up to ~15 sec) | Golden-hour hero + motion |
| Dealer website / YouTube | 16:9 | Stitch a few clips for a longer walkaround | Full walkaround order |
| Marketplace photo gallery | Stills only | — | Core 10 angles |
7.A 15-minute dealer workflow
- Wipe the car down and move it to a clean background.
- Shoot the core 10 angles plus 2–3 detail shots at golden hour or in open shade.
- Upscale any soft or dark shots so they hold up in motion.
- Open the Car Reel Maker, upload up to 9 in walkaround order.
- Pick 9:16, add a per-photo tag and a short vibe prompt, then generate. The clip runs up to about 15 seconds.
- Optional: drop the exported clip into a free editor like CapCut or Canva to add year/make/model/price text — the reel maker doesn't burn in text itself.
- Post to Marketplace, Reels, and TikTok; keep the stills for the listing gallery.
Done twice, this is about 15 minutes per car — faster than a filmed walkaround and consistent across your whole inventory.
8.What phone camera settings should you use for car photos?
Shoot at your phone's highest resolution, lock exposure by tapping the brightest body panel so highlights don't blow out, and avoid the ultra-wide lens for the hero shot — it bends the car's lines. The main 1× lens or a 2× telephoto keeps proportions honest. Turn on gridlines to keep the horizon level, and shoot in HEIC or RAW if your phone offers it for more editing headroom.
A few settings quietly ruin more car photos than bad angles do:
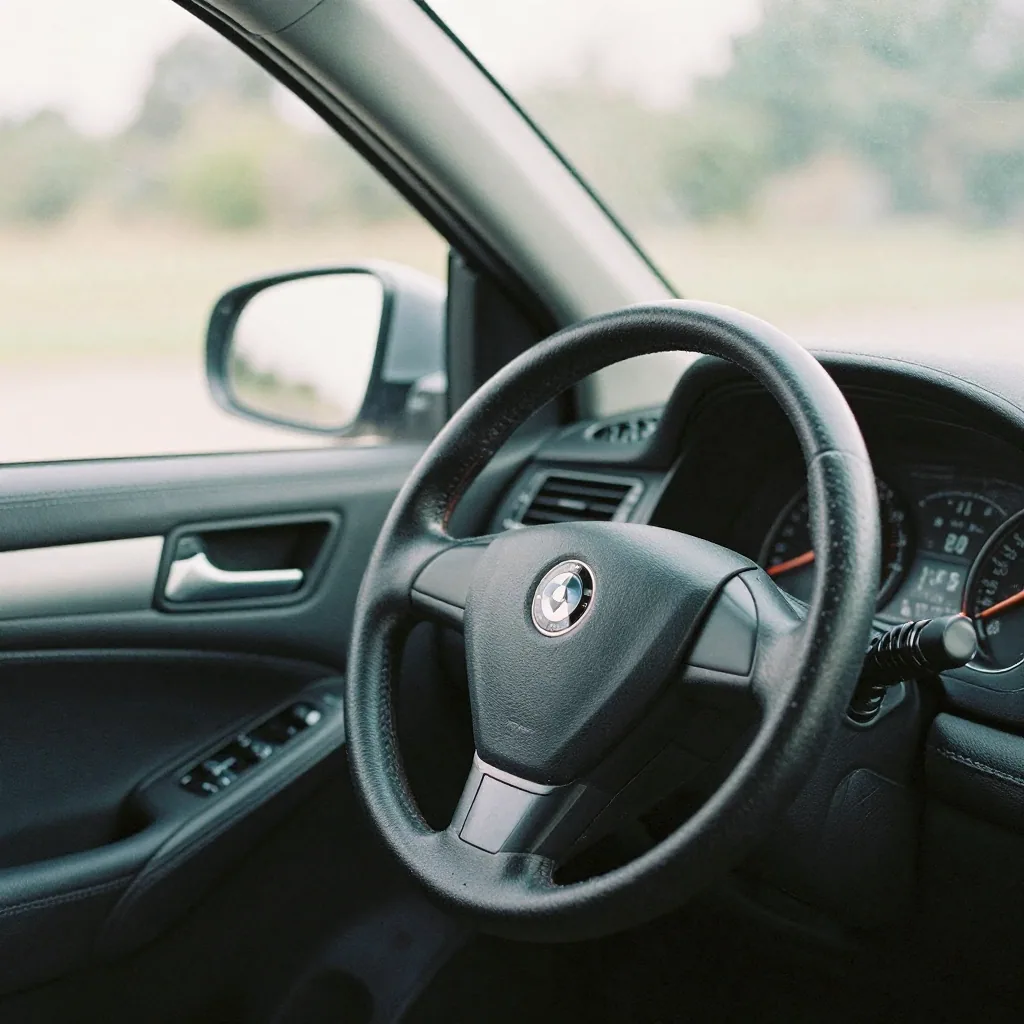
- Skip the wide-angle for beauty shots. Ultra-wide (0.5×) exaggerates the nearest fender and shrinks the rest — it makes the car look distorted. Use it only for tight interior shots where you need to fit the whole dash.
- Lock focus and exposure. Tap-and-hold on the body panel to lock AE/AF so the phone doesn't re-meter as you move. This keeps a sequence of shots consistent — which matters when they become a reel.
- Kill the flash. On-camera flash flattens the paint and throws a hot reflection. Golden hour or open shade always beats flash on a car.
- Wipe the lens. A smudged phone lens softens every shot. One wipe on your shirt before you start saves a whole set.
- Shoot a touch wider than you need. Leave crop room so the reel maker can apply motion (push-ins and pans) without clipping the car at the frame edge.
Get these right and even a two-year-old phone produces marketplace-quality photos that hold up when motion is added.
9.How many car photos do you need for a listing and a reel?
For the listing gallery, shoot the core 10 angles plus 2–3 detail shots — about 12–13 photos total. For the reel, pick your 9 strongest in walkaround order, because most AI reel makers cap at 9 photos per short clip. So the practical target is roughly a dozen good stills, from which you select the best 9 for video.
The two surfaces reward different counts, so plan the shoot to serve both at once:
| Surface | Photos to use | Selection rule |
|---|---|---|
| Marketplace / Autotrader gallery | 10–13 stills | Core 10 angles + 2–3 details; lead with the front 3/4 hero |
| Facebook Marketplace listing thumbnail | 1 | Golden-hour front 3/4, low angle |
| Reel (TikTok / Instagram / Marketplace) | Up to 9 | Best-lit, sharpest frames in walkaround order |
| Dealer website hero | 1–3 | Front 3/4 + full profile + one interior |
Because the reel draws from the same shoot as the gallery, you never make a separate trip. Shoot the full set once, publish all of them to the gallery, then hand the sharpest nine to the Car Reel Maker. If a few of your chosen nine are soft or dark, run them through the AI image upscaler first so they stay crisp once the reel applies motion.