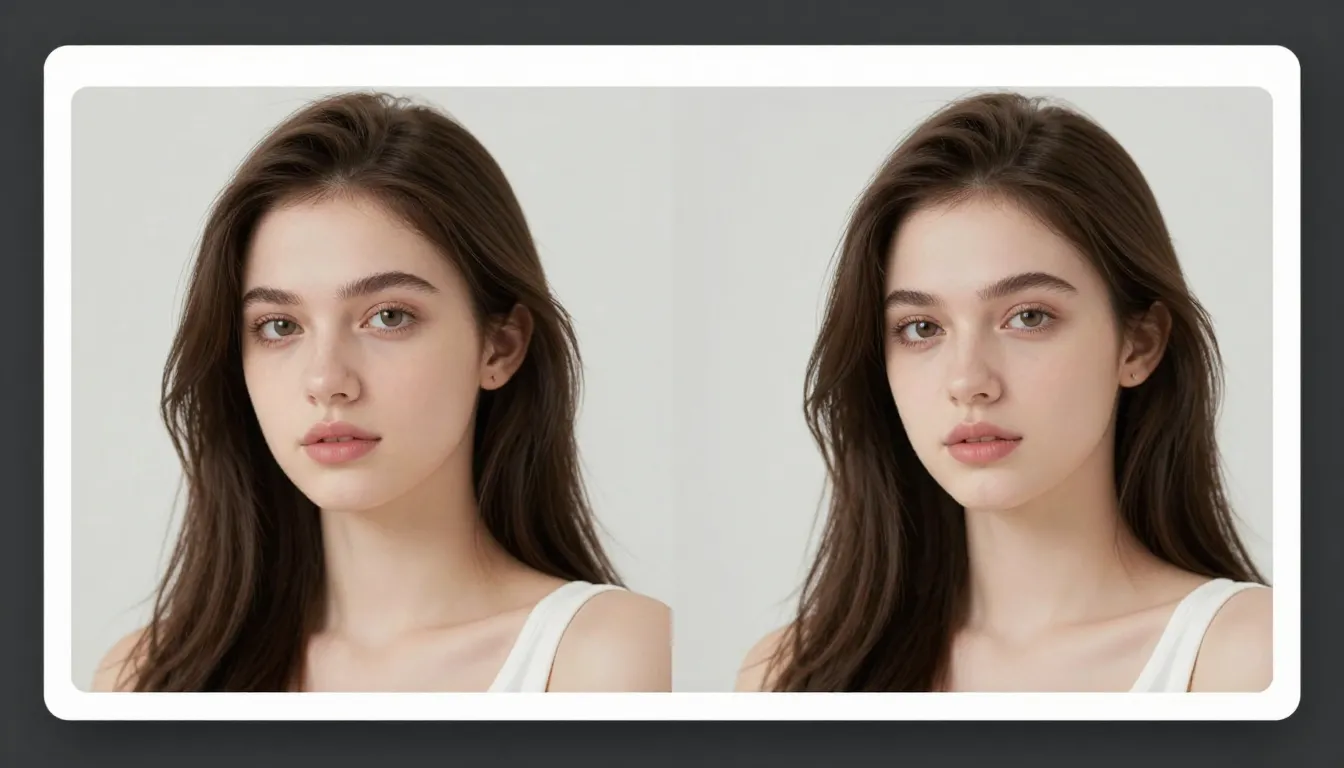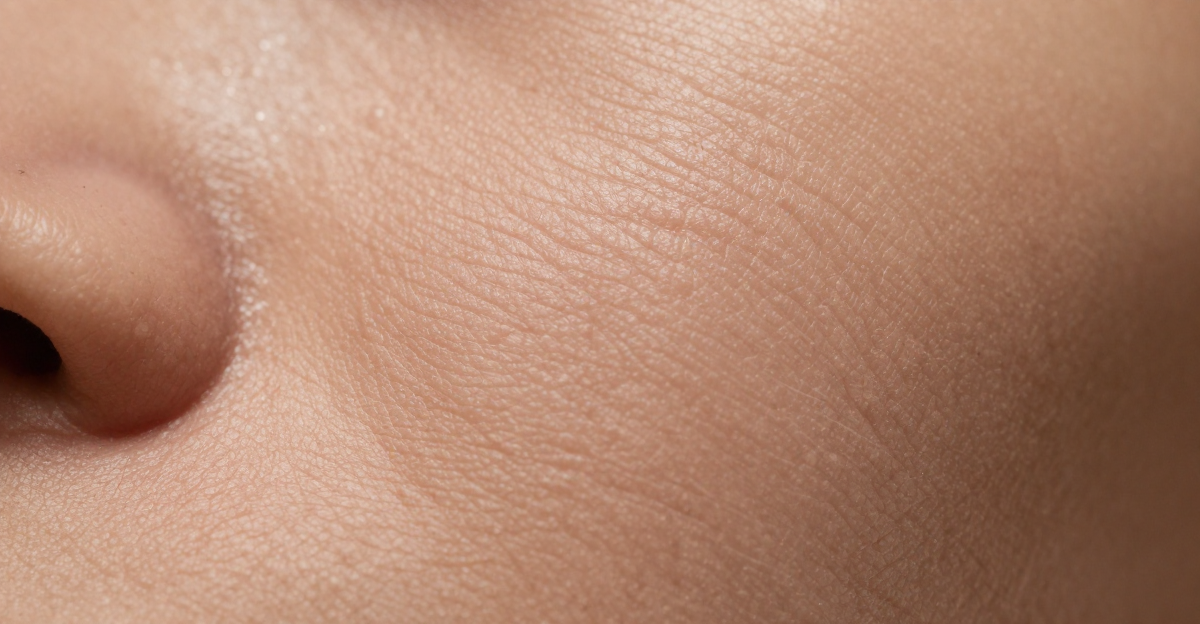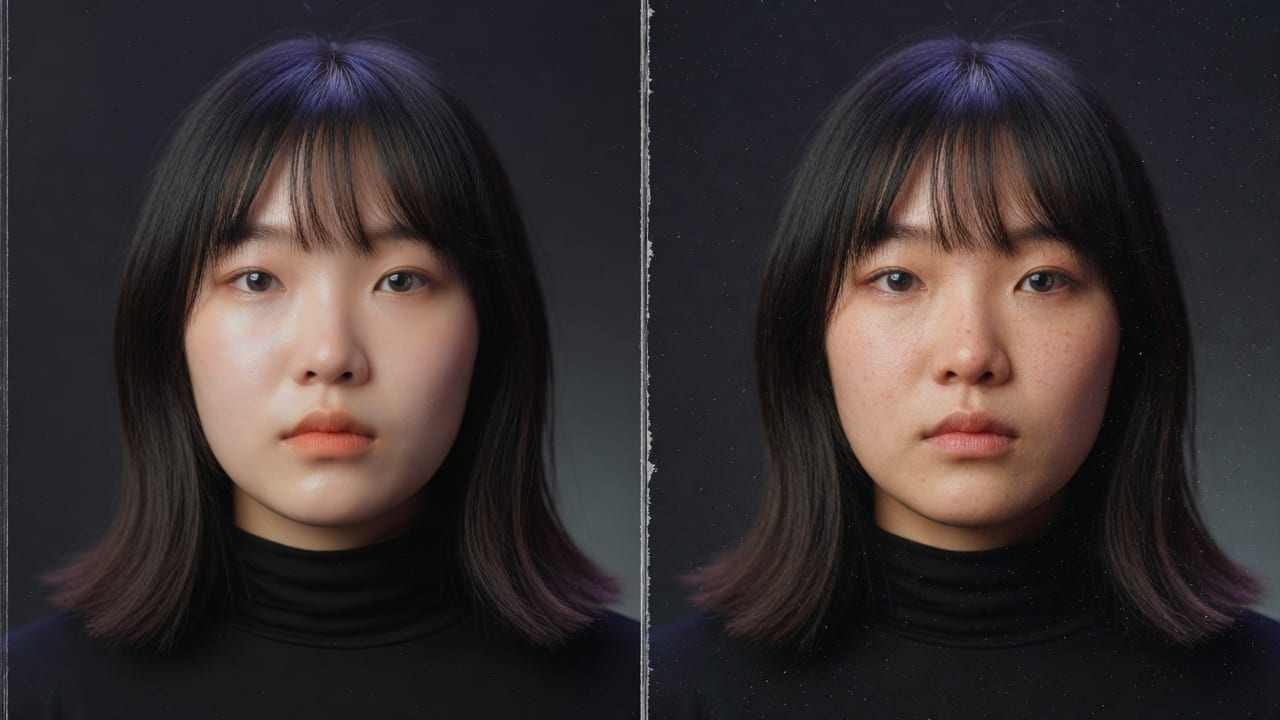
 To make AI images look real, stop chasing plastic perfection and add photographic structure — natural texture, grain, and camera character. Over-smoothed skin and perfect symmetry read as “AI” in feeds. A humanizer fixes that job without rewriting who is in the frame.
On Imagera, open AI Image Humanizer. Credits start at $19.99. Pay when you generate.
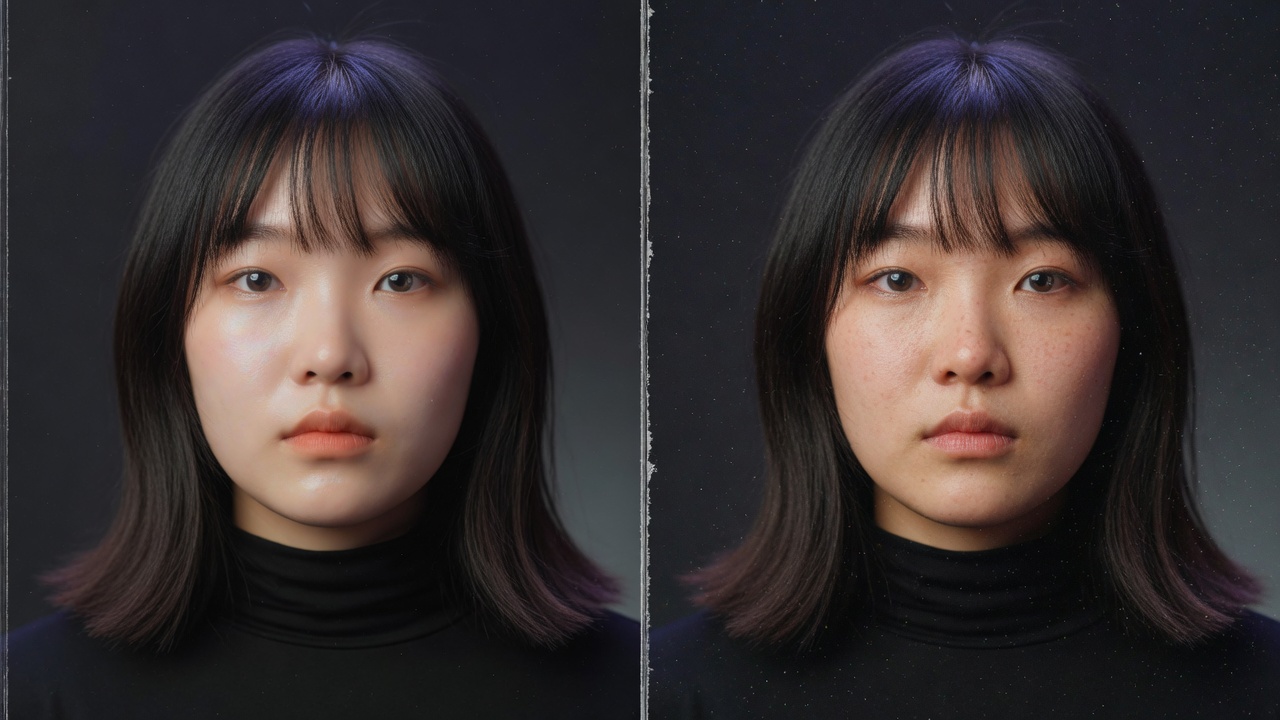
Quick answer: To make AI images look real in 2026, run them through Imagera's AI Image Humanizer, which adds camera-authentic grain, natural skin texture, and lens-accurate lighting so renders read as genuine photos instead of synthetic art.
How does an AI image humanizer make AI photos look real?
Use Imagera's photorealism workflow to request more natural skin texture, coherent lighting, and restrained grain. Start with one image, ask to preserve the subject and composition, and review the quoted cost before generating. Compare the result with the original at full size. Visual refinement does not guarantee authenticity or a particular AI-detector score.
Why do AI images look fake, and can editing fix it?
AI images look fake because diffusion models produce over-smooth skin, symmetric faces, and inconsistent shadows across a frame. Viewers tend to notice these artifacts most in eyes, hands, and texture, so Imagera targets exactly those zones. A 2-pass humanize plus 4K upscale smooths away the most common giveaways, typically in one run under 60 seconds.
Tools for the job
| Goal | Tool |
|---|---|
| Make AI photos look real | AI Image Humanizer |
| Stronger sensor character | Real Camera Noise |
| Recover fine detail | Extreme Detailer |
| Print-ready size | Image Upscaler |
| Pricing | Pricing |
Why AI stills look fake
Typical tells:
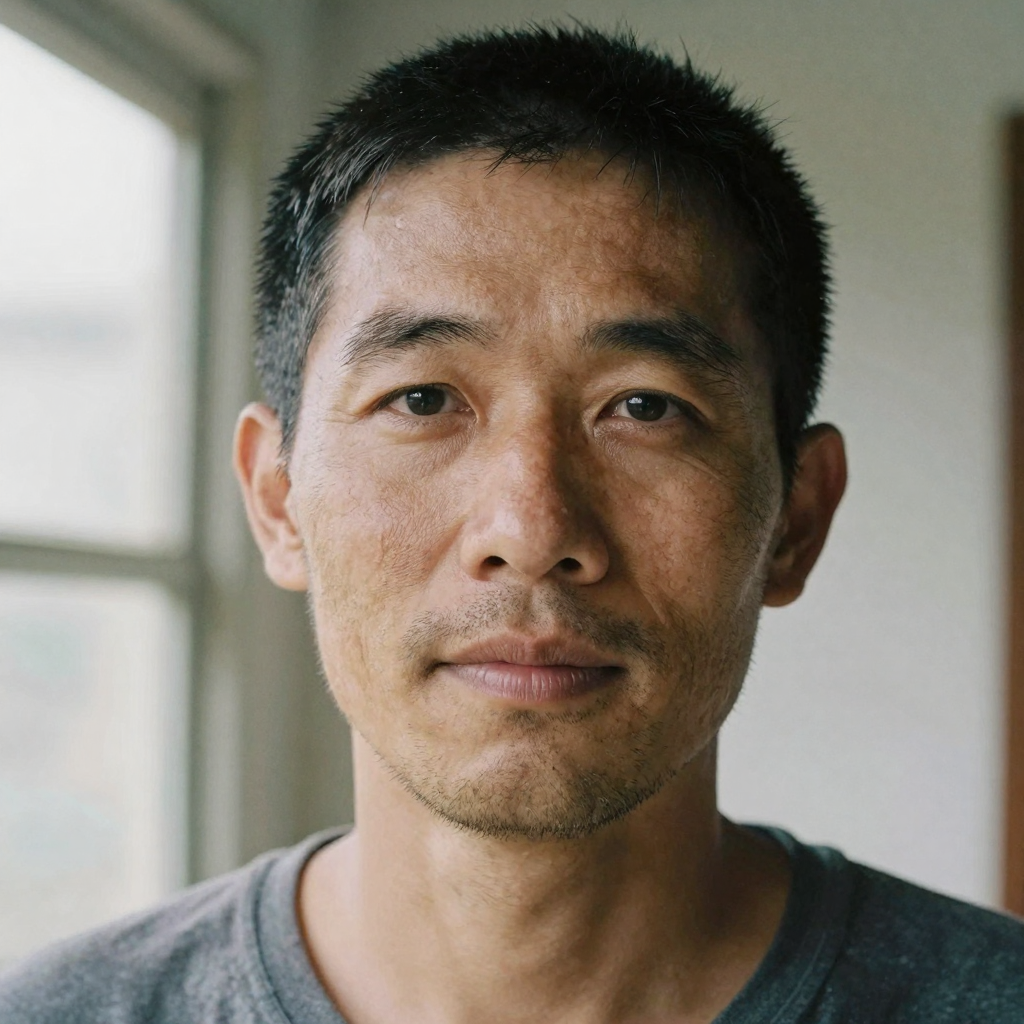
- Over-smoothed skin
- Too-perfect symmetry
- Missing sensor noise
- Plastic specular highlights
- Backgrounds that feel painted
A humanizer does not invent a new person. It pushes the file toward how real cameras behave.
How to humanize an AI image on Imagera
- Export or download your AI still at a usable resolution.
- Open AI Image Humanizer.
- Upload and generate (cost shown first).
- Compare at 100% zoom on face, fabric, and edges.
- Optional second pass only if it still looks plasticky.
- Optional Real Camera Noise for stronger sensor character.
- Upscale only after you approve the look.

When humanizer is the wrong first step
| Problem | Better first tool |
|---|---|
| Wrong pose on a real person photo | Identity Editor |
| Background clutter | Fast Edit |
| Image too small for delivery | Upscale after humanize, or enlarge a better master |

Quality control checklist
- Skin texture present without beauty-filter gloss
- Grain consistent across subject and background
- No new facial identity
- Specular highlights not chrome-plastic
- Result holds when viewed on a phone

Ethics and disclosure
Humanizing for brand quality and art direction is normal. Fraud, scams, and undisclosed impersonation are on you. Follow platform disclosure rules. Imagera provides tools; you own publish decisions.
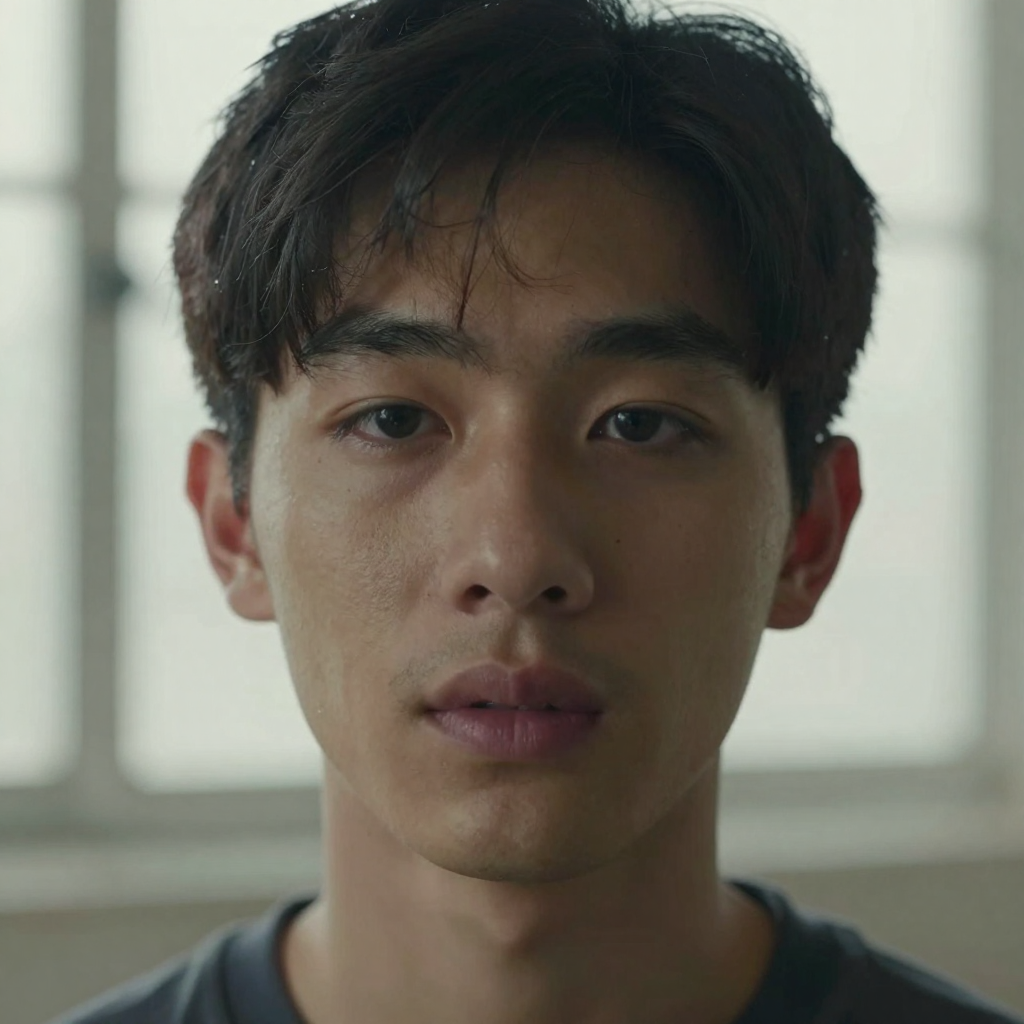
Detectors change over time. No honest tool can guarantee “undetectable forever.” Aim for audience trust and policy compliance, not detector theater.
Pricing
Pay-first credits from $19.99. Confirm in-studio cost. Commercial rights on paid plans. Pricing.
Evaluation protocol that avoids self-deception
Do not judge humanization only on a laptop thumbnail.
- View at 100% zoom on face and fabric
- View at phone width
- Ask a teammate “AI or photo?” without priming them
If they say AI instantly, iterate. If they hesitate, you are in the useful zone for social and ads.
Brand systems: when humanize is mandatory
- AI fashion lookbooks mixed into real photo feeds
- AI lifestyle ads next to real UGC
- Concept stills sold as “photo-like”
- Carousels that mix real and synthetic frames
Document which assets were humanized so marketing and legal stay aligned.
Pairing with detection tools
If policy requires detection checks, run them after humanizing and keep records. Detectors disagree with each other. Treat them as signals, not courts. Audience trust and platform rules matter more than a single score.
What “real” means in practice
“Real” is not forensic truth. It is photographic plausibility under normal viewing:
- Feed scroll on a phone
- Website hero at desktop width
- Ad placement with compression
A humanizer optimizes for that plausibility by restoring the imperfections real sensors capture: micro-variation in skin, grain, subtle noise in shadows, less plastic specular response.
Why generators produce plastic looks
Training and sampling dynamics often favor smooth, average, high-frequency-suppressed surfaces. That looks “clean” in demos and fake in feeds. Beauty-oriented edit tools can make it worse by further smoothing.
Humanizing is a deliberate reverse step: reintroduce camera-like structure after generation.
Full realism stack on Imagera
- Generate or source the still
- Fix composition issues (pose, background) on the right editor first
- AI Image Humanizer
- Optional Real Camera Noise
- Optional Extreme Detailer
- Upscaler only on approved stills
Order matters. Upscaling a plastic image makes larger plastic.
Industry use cases
Ecommerce lifestyle
AI lifestyle scenes next to real packshots. Humanize lifestyle so the carousel does not scream “two different realities.”
Real estate marketing
AI staging or enhancement that must survive skeptical buyers zooming on phones.
Personal brands
AI portraits used beside real photos on the same profile. Texture consistency reduces uncanny mixing.
Agencies
Client decks that include AI concepts. Humanize before presenting so stakeholders evaluate idea, not plastic sheen.
How to evaluate A/B pairs
Build a simple scorecard:
| Check | Pass/Fail |
|---|---|
| Skin texture at 100% | |
| Edge grain consistency | |
| Identity stability | |
| Specular realism | |
| Phone-size read | |
| Teammate blind test |
Require four passes before shipping.
Limits you should plan for
- Extreme stylization (illustration, anime) may not “photo-humanize” into realism
- Already-noisy photos can look messier if over-processed
- Heavy compression artifacts may need cleanup before humanize
- No tool guarantees detector scores forever
Related reading
Before-and-after review ritual
Save the original and humanized side by side. Zoom to 100% on:
- Forehead and cheek texture
- Hair edges
- Fabric weave
- Shadow grain
- Background corners
If only the face changed identity, reject. If texture improved without identity shift, pass.
Mixing real and AI assets on one page
Landing pages often mix:
- Real packshots
- AI lifestyle
- Real UGC
Humanize AI lifestyle so the page does not toggle between plastic and photographic every scroll. Consistency is a conversion issue, not only an aesthetic one.
When not to humanize
- Pure illustration or stylized art that should not look photographic
- Medical or forensic contexts requiring non-generative methods
- Images that are already real photographs with good texture
Humanizing real photos can add unnecessary noise. Know your source type.
Texture psychology for viewers
Viewers may not articulate “missing sensor noise,” but they feel plastic perfection as artificial. Natural micro-variation signals photography. That is why humanizing helps ads and profiles that sit next to real camera content.
Workflow for AI fashion and lookbooks
- Generate outfit variants
- Reject identity breaks early
- Humanize finals as a batch with consistent settings
- Upscale only selected campaign heroes
- Deliver a contact sheet with originals for comparison
Consistency across a lookbook matters more than any single hero.
Workflow for product + AI scene composites
- Real packshot (do not humanize unless needed)
- AI environment or lifestyle
- Humanize environment
- Composite carefully or re-generate scene with product reference in Smart Edit if multi-image control is required
- Final color pass for brand hex
Troubleshooting
| Symptom | Likely cause | Action |
|---|---|---|
| Still plastic | Under-processed | Second humanize or add camera noise |
| Too noisy | Over-processed | Use earlier version; reduce extra passes |
| Face changed | Wrong tool or extreme prompt earlier | Rebuild from clean master |
| Muddy colors | Compression chain | Re-export from master pipeline |
Deliverables checklist for freelancers
When delivering humanized work to clients:
- Original file
- Humanized final
- Optional noise variant
- Notes on settings and credits used
- Usage rights reminder
Professional packaging builds trust and repeat retainers.
Humanize as part of a brand system, not a one-off
Create a brand realism standard:
- Target look: photographic / documentary / soft commercial
- Allowed tools: Humanizer, Real Camera Noise, Detailer
- Forbidden: extreme beauty smoothers that reintroduce plastic
- Reviewers: who signs off
- Archive: originals + finals
Without a standard, freelancers deliver five different “realisms.”
Teaching clients what to expect
Clients often expect forensic recovery of truth. Set expectations:
- Humanizing improves photographic plausibility
- It does not recover lost legal evidence
- It can change micro-texture
- Identity should remain stable; if not, reject
Clear expectations prevent revision hell.
Pairing humanize with detection policies
Some brands ban synthetic media. Some require disclosure. Some only care about audience perception. Write the policy before production:
- Allowed generative uses
- Disclosure language
- Review steps
- Storage retention
Then choose tools that support the policy.
Extended troubleshooting stories
Case: lifestyle AI still looks perfect but fake next to real UGC.
Fix: humanize lifestyle; slightly reduce saturation if needed; keep packshots real.
Case: humanized face looks older or rougher than brand wants.
Fix: use milder pass; combine with careful lighting language upstream, not more plastic smoothing.
Case: product metal looks noisy.
Fix: mask workflow or re-generate product region separately; humanize environment only.
Practical recipes
Recipe 1 — AI portrait for LinkedIn-adjacent content
Generate or select portrait → Identity Editor only if pose is wrong → Humanizer → phone preview → optional light noise → export.
Recipe 2 — AI lifestyle for PDP
Real packshot untouched → AI lifestyle scene → Humanizer on lifestyle only → ensure color harmony with packshot → export both.
Recipe 3 — Campaign hero
Best AI still → Humanizer → Extreme Detailer if fabric/metal needs micro-detail → Upscale → final legal review.
Comparing “clean” vs “real”
Clean: smooth, commercial, sometimes plastic.
Real: textured, imperfect, photographic.
Your brand may want clean for luxury chrome and real for outdoor lifestyle. Decide per campaign. Humanizer is a dial toward real, not a religion.
Team training outline (30 minutes)
- Show plastic vs humanized pairs (5 min)
- Live run on one image (10 min)
- Review checklist practice (10 min)
- Policy and credits (5 min)
After training, require checklist screenshots in project folders for two weeks.
Which AI-photo tells does humanizing actually fix?
Humanizing fixes the structural tells: over-smoothed skin, missing sensor noise, plastic specular highlights, and painted-looking backgrounds. It restores the micro-variation a real camera captures. It does not fix compositional errors — wrong pose, extra fingers, or a warped background need the right editor first. Humanize last, after the geometry is already correct.
Sorting tells into “humanizer fixes this” versus “fix it upstream” saves wasted passes:
| AI tell | Humanizer fixes it? | If not, use |
|---|---|---|
| Over-smoothed, waxy skin | Yes | — |
| Missing grain / sensor noise | Yes | Add Real Camera Noise for more |
| Chrome-plastic highlights | Yes | — |
| Painted, flat background | Partly | Regenerate scene if severe |
| Wrong pose on a real person | No | Identity Editor first |
| Extra fingers / warped hands | No | Regenerate or Fast Edit |
| Cluttered / distracting background | No | Fast Edit |
The pattern: everything in the “No” rows is a composition or geometry problem, and running a humanizer over it just makes a textured version of the same mistake. Fix structure upstream, then humanize the corrected file so texture lands on a shot that’s already right.
How do you know when to stop humanizing?
Stop when texture reads photographic but hasn’t tipped into visible noise. The useful zone is a teammate hesitating on “AI or photo?” — not instantly saying either. If skin still looks waxy, you’re under-processed; if shadows show speckle or grain crawls on flat surfaces, you’ve gone too far and should step back to an earlier version. One or two passes is almost always enough.
Over-processing is the more common failure once people learn the tool, because “more texture” feels like “more real.” It isn’t. Real sensors add subtle, even micro-variation, not heavy speckle. Keep the earlier version of every pass so you can roll back — the file that hesitates a viewer beats the file that screams “gritty filter.” When in doubt, ship the milder pass and check it at phone width, where over-noise shows first.
Deeper guide (practical production)
Bottom line
Audiences reward life in the file. Stop over-smoothing. Humanize.
Next steps: AI Image Humanizer · Real Camera Noise · Extreme Detailer · Pricing