 If you work with AI image generators regularly, you've encountered the range of failure modes they produce. Some are obvious — an extra arm growing from a shoulder, a crowd of people where everyone has the wrong number of faces, text that's been rendered as a series of plausible-looking glyphs that don't form real words. Others are subtle — a background pattern that tiles strangely, an edge that blooms with color that doesn't belong, a texture on fabric that changes scale halfway through.
These are AI image artifacts: regions where the generation process produced output inconsistent with physical reality or visual coherence. This guide covers the main artifact types, what causes them, and a practical multi-pass strategy for repairing them without scrapping an otherwise good image.
Quick answer: AI image artifacts are the warped hands, garbled text, blurry edges, and color noise generators leave behind. In Imagera you fix most of them in one upscale-and-clean pass, often in under a minute, then re-render only the regions that still look wrong.
What are the most common AI image artifacts and how do you remove them?
The most common ones are extra fingers, melted text, waxy skin, halo edges, and blotchy color noise. In Imagera, run a single detail-restore pass to sharpen edges and clean noise, then upscale to 4K or 8K so the fix survives at full resolution. Most artifacts clear in that first pass; mask whatever remains and re-render just those areas.
Does upscaling an AI image to 4K or 8K make artifacts worse?
Not with region-aware processing. Naive enlargement magnifies every glitch, but Imagera's detail model repaints texture as it scales, so a small render can reach 8K with cleaner hands and skin than the original. Fixing artifacts before the final export is easier than retouching a stretched file afterward, so clean up the render first, then upscale to your target resolution.
A Taxonomy of AI Image Artifacts
Knowing what you're looking at helps you target the right repair approach.
Anatomy artifacts
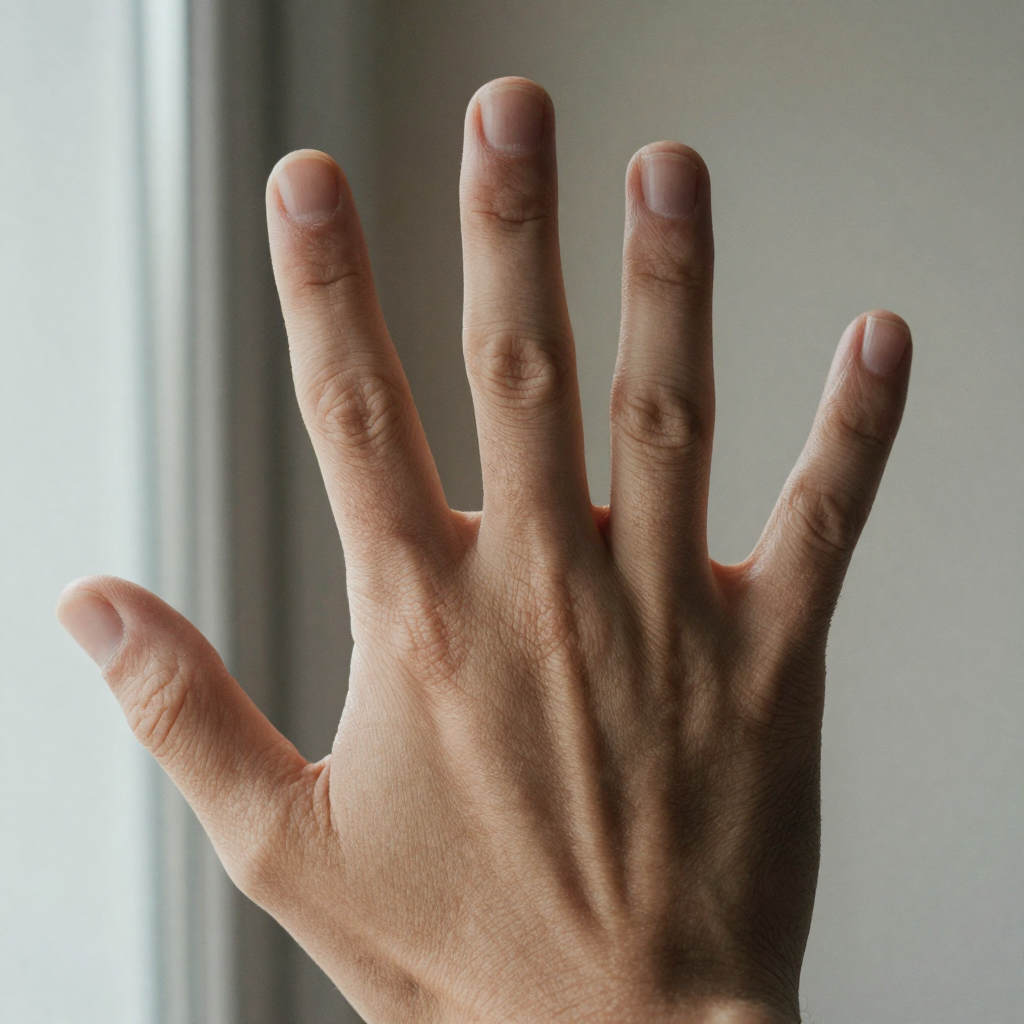
Extra limbs: An arm, hand, or finger that appears where it shouldn't — often where a clothing fold or background element was interpreted as a limb boundary. A character reaching for something may end up with three arms.
Fused anatomy: Two separate body parts merged — fingers that blend into a single mass, a torso that seems to continue into the background, a neck that dissolves into hair.
Impossible joint angles: An elbow facing the wrong direction, a wrist bent past its anatomical range, a shoulder rotated in a way that would require the arm to be behind the body.
These anatomy artifacts are the most discussed type because they're jarring — human visual systems are highly calibrated for body anatomy, so errors read as wrong immediately.
Text artifacts
Text rendering is a persistent weakness in diffusion models. The model learns that "text" looks like regular, repeated letter-shaped patterns, but it doesn't learn the semantic meaning of letters. The result:
- Gibberish text: Signs, books, labels, and any readable text in AI images typically contains characters that look like plausible letters but don't spell real words
- Mirrored or blended characters: Letters from two different words bleeding into each other
- Wrong font mixing: A sign that starts in one typeface and ends in another mid-word
- Missing words: A label that begins a word but doesn't complete it
Edge and boundary artifacts
Color bleeding: A color from one region that bleeds across an edge into an adjacent region — a red dress whose color appears in the skin immediately adjacent to it.
Tiling patterns: Backgrounds (especially textured ones like brick, wallpaper, or grass) that tile visibly — the pattern repeats at a fixed interval and you can see the seam.
Hard edge artifacts: An unnatural crisp edge where the model transitioned between two areas that should blend smoothly — most visible where an object meets background.
Halo effects: A soft ring of incorrect color or brightness around an object's edge, often where a subject was placed against a different background and the blending wasn't fully resolved.
Texture artifacts
Plastic skin: Over-smooth, pore-less skin that reads as artificial (covered in depth in the face distortion guide).
Fabric inconsistency: Clothing where the texture or weave pattern changes scale partway through, or a garment that appears to be two different fabrics blending into each other.
Inconsistent lighting texture: A shadow that appears on part of a surface and not on the adjacent area, when both surfaces should be in the same illumination.
Scene coherence artifacts
Perspective inconsistency: Objects in the background that are too large or too small relative to the foreground given the apparent camera position.
Lighting direction conflict: Multiple objects in the same scene that appear to be lit from different directions.
Floating elements: An object that appears to have no contact with the surface it's supposed to be on, or a shadow that doesn't correspond to the object casting it.
A Multi-Pass Repair Strategy
Attempting to fix all artifacts simultaneously in a single repair pass usually produces worse results than addressing them sequentially. The reason: each repair changes the local context that subsequent repairs need to work with.
Recommended order:
- Structural anatomy first (extra limbs, fused body parts) — these are the largest spatial regions and create the most context for other repairs
- Faces and hands second — these require anatomical precision; fixing them before smaller surrounding artifacts gives them the most context
- Text third — text repair is often a replacement operation; fixing it doesn't need to know about surrounding anatomy
- Edges and halos fourth — these are the smallest-scale fixes; address them after larger structural issues are resolved
- Texture consistency last — overall texture and lighting passes work best when anatomy and edges are already correct
Step 1: Identify and catalog all artifacts before starting
Before opening any repair tool, go through the image at 100% zoom and note every artifact. Create a mental or physical list:
- "Left shoulder: extra hand emerging from clothing fold"
- "Background sign: gibberish text"
- "Left edge: color halo from background"
This prevents the "whack-a-mole" problem where fixing one artifact reveals a previously-overlooked one nearby, causing you to repair the same region multiple times.
Step 2: Repair anatomy artifacts
Using Imagera's AI Image Repair:
For extra limbs:
- Mask the extra limb and a generous margin around it (including where it attaches to the body or background)
- Prompt: "no extra arm, natural shoulder and torso, cloth fold, background [describe what should be there]"
- The "no" guidance is important — explicitly naming the artifact you want removed helps the model avoid regenerating it
- Check that the attachment point (where the fix meets the unchanged body) blends naturally
For fused anatomy:
- Mask the fused region including a margin to both sides of the fusion
- Prompt: "clearly separated [item A] and [item B], natural space between them, correct anatomy"
Step 3: Fix faces and hands
See the dedicated guides for hands and faces for detailed procedures. The key principle: mask each face and each hand separately, not together.
Step 4: Replace gibberish text
Text repair is a replacement operation, not an anatomy fix. Options:
Option A — AI repair with text guidance: Mask the text region. Prompt: "sign that reads '[your desired text]'" or, if you don't want text at all: "blank sign surface, no text." Results vary — models are still imperfect at generating specific text strings. Works best for short labels (1–3 words).
Option B — Remove text entirely: If the text isn't critical to the image, prompt "smooth blank surface, no text, [background texture]." This is more reliable than trying to generate specific correct text.
Option C — Composite real text: For images where specific correct text is important (a product mock-up, a sign with a specific word), render the text separately in any design tool and composite it over the repaired blank area. This is the most reliable approach for text that must be correct.
Step 5: Fix edges and halos
Edge artifacts are often best repaired with a very small, tight mask — just the problematic edge strip. The repair prompt should describe what both adjacent regions should look like: "natural transition from blue sky to building edge, no halo, sharp building silhouette."
For color bleeding, mask just the bled-color region on the affected side: "correct skin tone, no red color bleed from clothing, natural shoulder edge."
Step 6: Address texture inconsistencies
Large-area texture repairs (an entire background that tiles, or a fabric that changes texture) require larger masks and are the most likely to create new artifacts by changing context. Try:
- Masking the most obviously wrong region first
- Using texture-specific language: "consistent brick texture, uniform scale, natural randomness, no tiling seam"
- Generating multiple variants and choosing the most consistent
When to Repair vs. Regenerate
Repair makes sense when:
- Most of the image is right, and the artifact is localized
- The composition, lighting, and main subject are exactly what you wanted
- You've invested time in getting the rest of the image correct (multiple generation passes, manual post-processing)
Regeneration makes sense when:
- Artifacts are in the center of the composition and structurally complex
- Multiple overlapping artifacts span the whole image
- The artifact is a symptom of a fundamental prompt/generation setting problem that will recur
A rough heuristic: if fixing the artifacts requires touching more than 30–40% of the image surface, regeneration with adjusted prompt or settings is often faster than repair.
Deeper guide (practical production)
Where to go next (product links)
| Need | Link |
|---|---|
| Pricing | Open |
Related tools on Imagera
How much of the image can you repair before regenerating is faster?
Use a 30–40% surface heuristic: if fixing the artifacts would require inpainting more than roughly a third of the image area, regenerating with an adjusted prompt or settings is usually faster and cleaner than repair. Below that threshold, targeted AI Image Repair preserves the composition, lighting, and subject you already got right — which is the whole point of repairing instead of rolling the dice again.
The judgment call also depends on where the artifacts sit and how they cluster. A single localized glitch near the edge is trivial to inpaint; multiple overlapping structural errors through the center of the subject fight each other, because each mask changes the context the next one needs. When artifacts overlap complex features — a distorted hand right beside a warped face — expect several passes for that region alone, and weigh that against one clean regeneration.
| Situation | Repair | Regenerate |
|---|---|---|
| Localized artifact, edge or background | ✅ Best choice | Overkill |
| One extra limb, rest of image correct | ✅ Mask and inpaint | Not needed |
| Gibberish text on a sign | ✅ Replace or blank it | Optional |
| Overlapping errors across the center | Slow, 3–6 passes | ✅ Faster |
| Artifact from a bad prompt/setting (recurs) | Band-aid only | ✅ Fix the setting |
| >30–40% of surface affected | Diminishing returns | ✅ Regenerate |
What mask margin prevents visible seams after a repair?
Mask 10–20% wider than the artifact itself and describe the transition zone in the prompt, not just the fix — a visible seam almost always means the mask was too tight or the guidance ignored how the repaired region should blend with its neighbors. For an edge halo, say "natural transition from sky to building edge, no halo, sharp silhouette" so the model rebuilds both sides of the boundary, not just the bad pixels.
Margin matters more on anatomy than on flat background. When you remove an extra limb, include the attachment point and a generous cushion of surrounding torso or clothing, so the model has real context to reconstruct the join. Too tight a mask forces the model to guess the boundary and produces the exact seam you were trying to avoid. If a seam still appears, widen the mask and regenerate that region rather than stacking a second tight patch on top.