TL;DR Train a custom LoRA on Imagera by uploading 100+ consistent headshots, setting a descriptive trigger word, and running the training job in the dedicated interface. The resulting model produces the same face across different prompts, poses, and lighting when you reference the trigger during generation.
What do you need to train a LoRA?
You need a set of source images, a trigger phrase, and enough credits to cover the training run. For face-only consistency the minimum viable set is 20–30 images, though results improve sharply once you reach 100 headshots. Minimum viable LoRA training uses 20–30 images, producing recognizable but weaker consistency; training time is 30–60 minutes for 20 images.
Those numbers are for image training. If you are training for video instead, the dataset rules change completely — clips rather than stills, a much smaller file count, and a strict frame-rate requirement that rejects otherwise-good footage. Our video LoRA training guide covers what actually fails a run.
Collect images that share the same person, similar resolution, and varied angles and expressions. Keep backgrounds simple or remove them so the model focuses on facial features. Aim for images between 512×512 and 1024×1024 pixels with consistent lighting direction where possible. Avoid heavy compression artifacts or watermarks that can introduce noise into the embedding. One additional table shows typical credit costs for different dataset sizes:
| Dataset size | Estimated credits | Typical runtime |
|---|---|---|
| 20–30 images | 180–250 | 30–60 min |
| 100 images | 450–600 | 2–4 hours |
| 150+ images | 700+ | 4–6 hours |
You will also want a clear naming convention for the finished LoRA so you can find it later in your model list. Folder names that include the subject, date, and image count (for example “alexr_headshots_2025-03-12_120”) make retrieval faster when you have dozens of models saved.
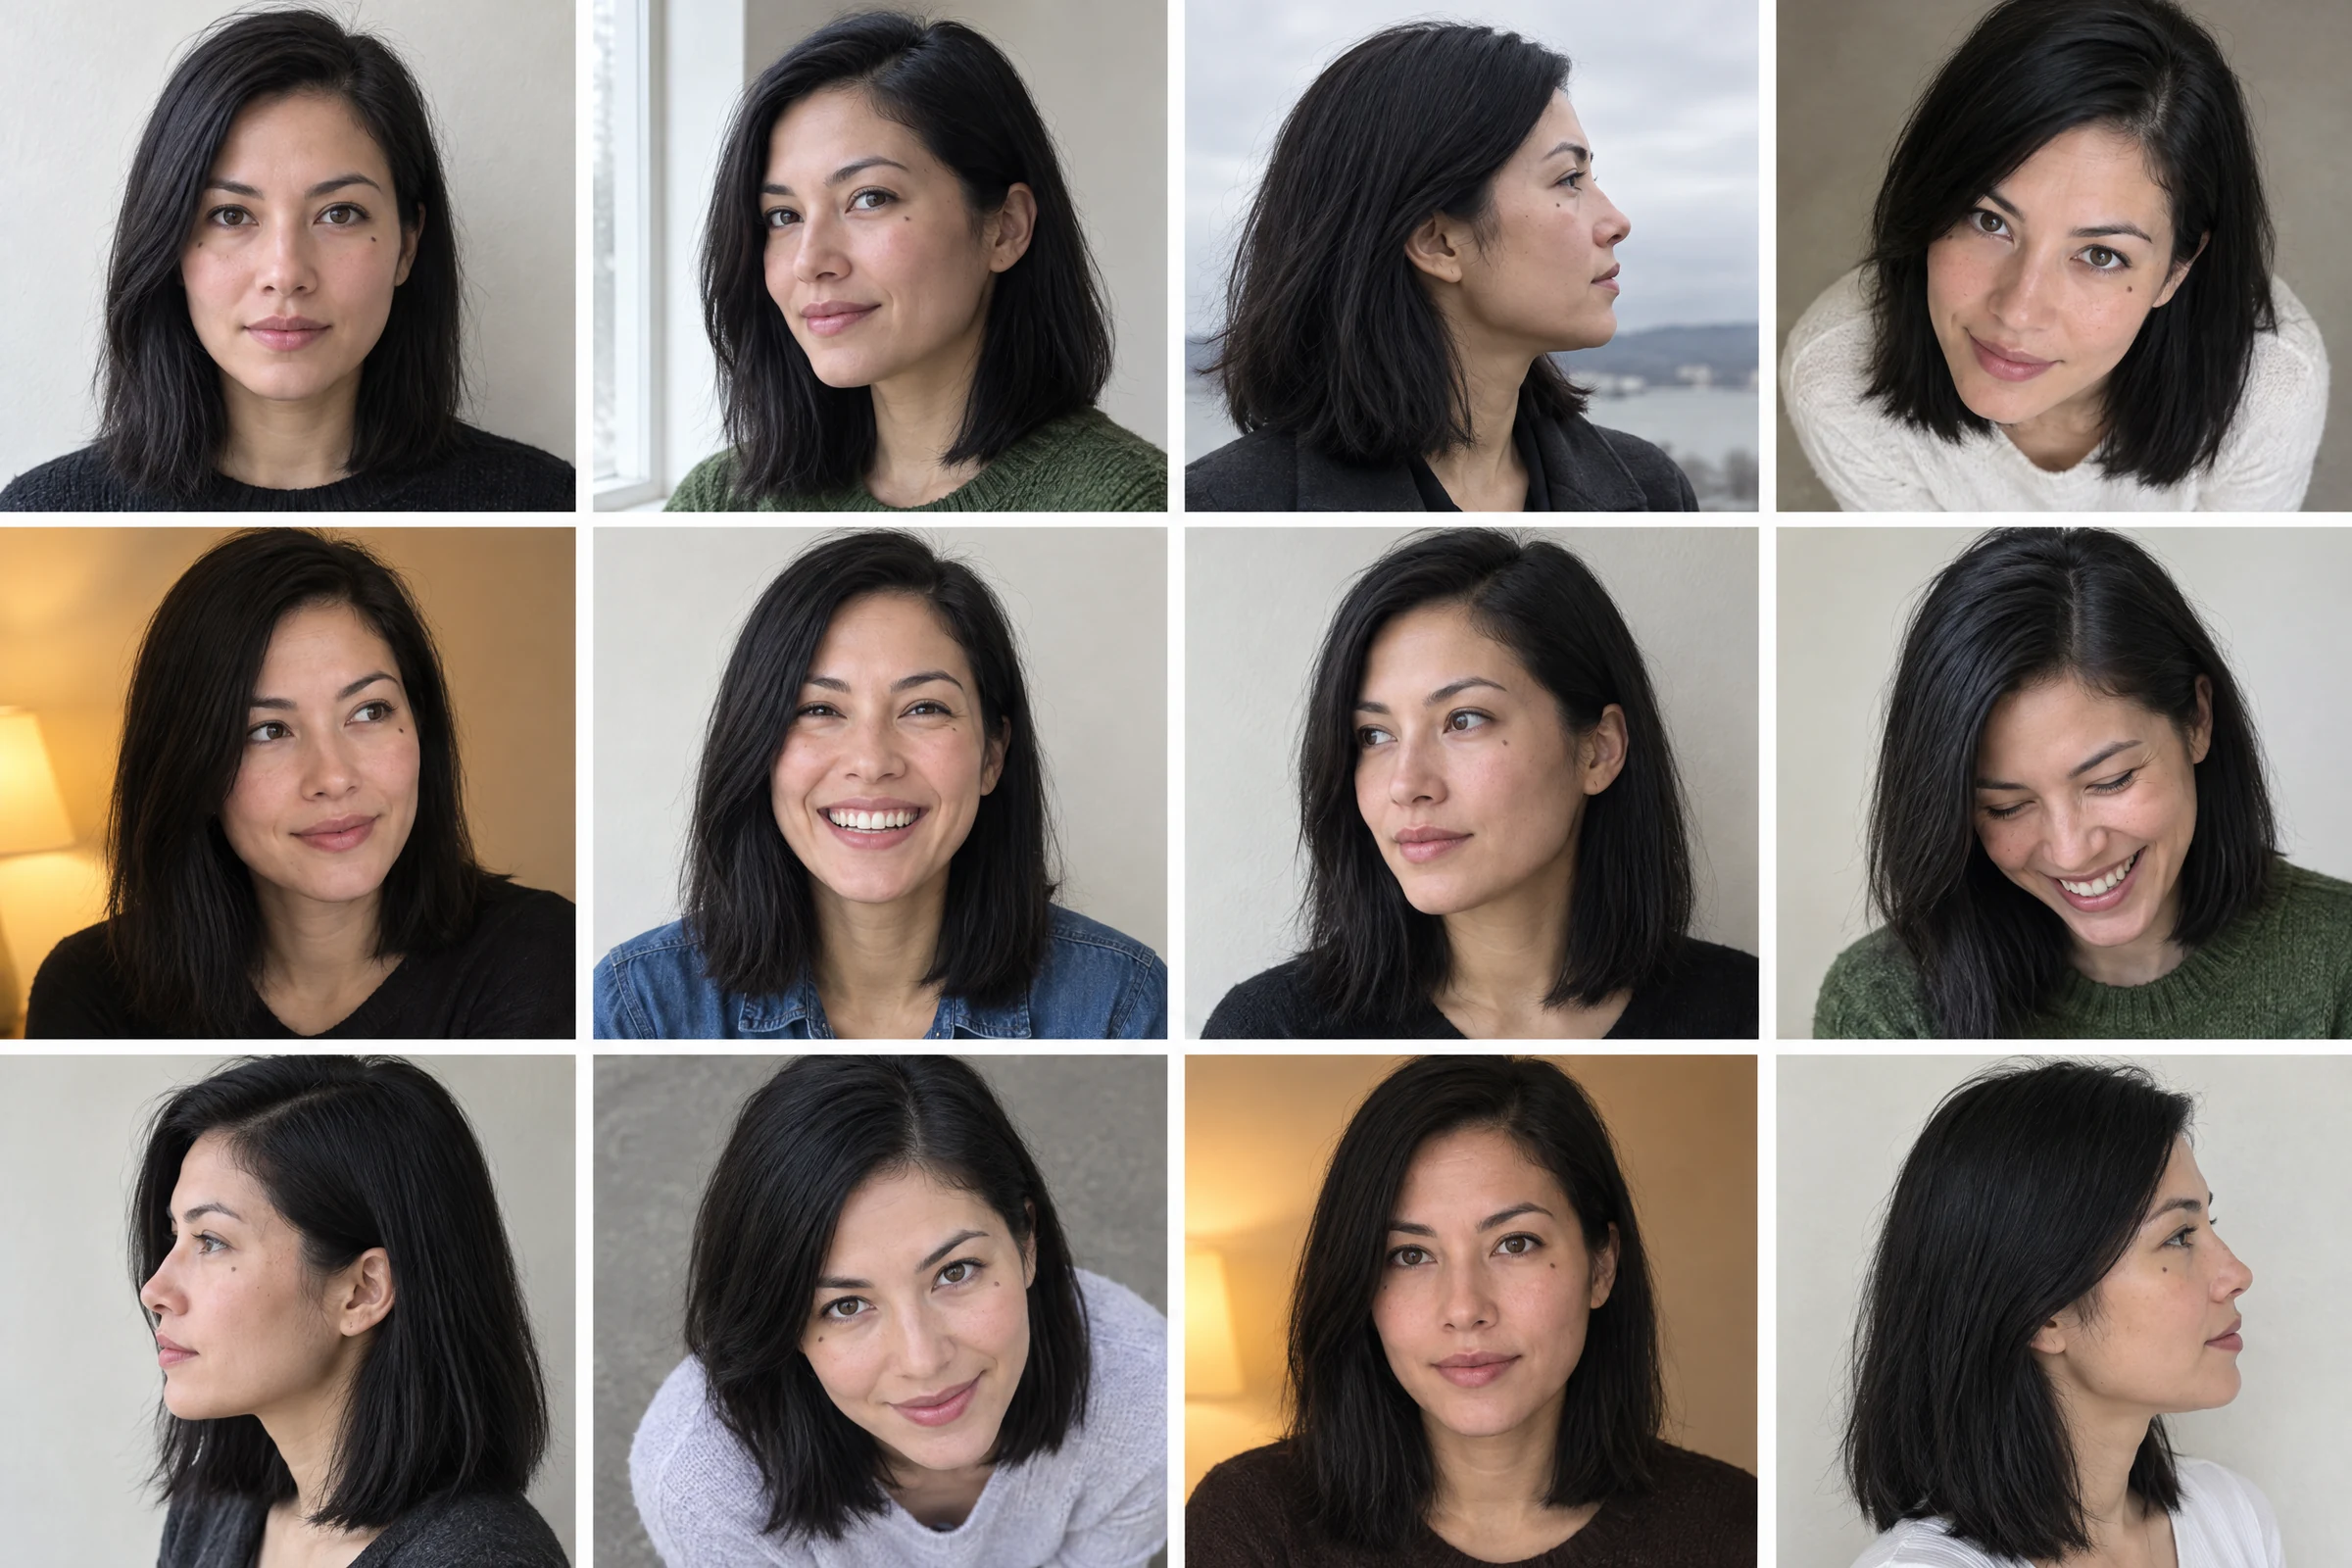
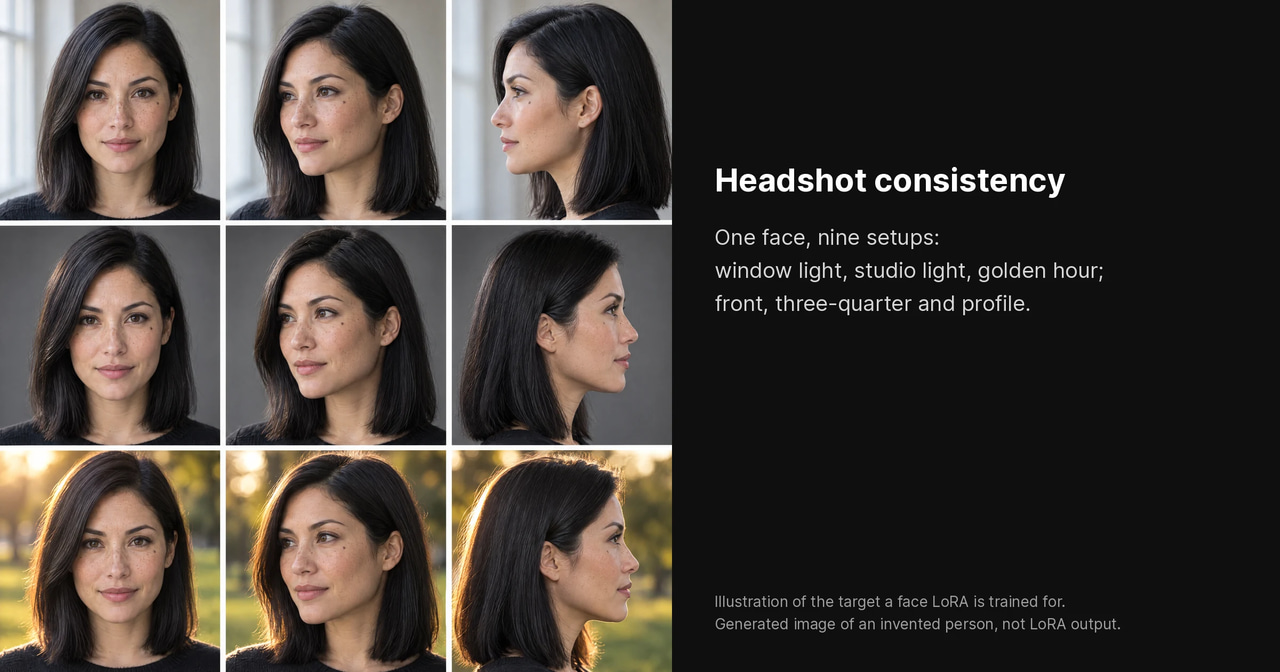
Illustration made with an image generator, not a real training set or LoRA output.
What do you need to train a LoRA?
Imagera stores your trained models in the same account you use for generation. Check your credit balance on the generate button before you start; training deducts credits once and the model stays available until you delete it. If you run out mid-project, top up on the pricing page rather than letting the job fail. You can also review your current storage usage and active model count on the same page, which helps when deciding whether to archive older LoRAs before starting a new run. Many users cross-check their remaining balance directly on the Imagera pricing page to avoid interruptions during longer jobs.
How does the Imagera training workflow work?
The actual process follows four clear stages inside the platform.
- Upload your prepared images to the LoRA training workspace.
- Enter a trigger word or short phrase (for example “headshot of alexr”) and choose training parameters such as learning rate.
- Launch the job and monitor progress in the dashboard.
- Download or activate the finished .safetensors file and test it in the generator.
For optimal LoRA training, use 100+ images split 50/50 (50 headshots, 50 body shots) for full-body character LoRAs; face-only LoRAs need 100+ headshots. For optimal LoRA training, use 100+ images split 50/50 (50 headshots, 50 body shots) for full-body character LoRAs; face-only LoRAs need 100+ headshots.
Training on RTX 3090 takes 2–4 hours for 100 images with learning rate 8e-5 for small datasets or 5e-5 for 100+ images. Training on RTX 3090 takes 2–4 hours for 100 images with learning rate 8e-5 for small datasets or 5e-5 for 100+ images.
After the first upload step you can follow the same pattern on Imagera yourself: upload your headshots, add a short instruction describing the subject, generate a test LoRA, then review sample outputs before committing more credits. Start a training run at LoRA Training. The browser LoRA training guide covers preparing your training images step by step, which is worth reading before you upload — it removes most of the causes of early training failures.
How do you test the finished model?
Load the new LoRA in the generator alongside your base model. Use the exact trigger phrase at the start of every prompt. Generate the same prompt three or four times with different seeds to check identity consistency. If the face drifts, increase the LoRA strength slider in small increments rather than jumping straight to 1.0. Test across at least three different prompt styles: close-up portrait, three-quarter view, and environmental lighting. This reveals whether the embedding holds under varied camera angles and light sources. After loading the model from your library, run a quick batch of eight generations at strength 0.7 to spot any drift before committing to larger creative projects.
Getting the best result (tips)
Keep the training set free of heavy makeup, hats, or extreme lighting unless those elements are part of the look you want every time. Crop tightly around the face for headshot LoRAs so the model does not waste capacity on clothing or background. Name the trigger phrase something unique that will not appear in ordinary prompts. Run a short 20-image test first on LoRA Training to verify your workflow before scaling to a full 100-image set.
Compare training settings in this quick reference:
| Setting | Small dataset (20–30) | Large dataset (100+) |
|---|---|---|
| Learning rate | 8e-5 | 5e-5 |
| Steps per image | 150 | 100 |
| Epochs | 10 | 8 |
Save the configuration you used so future runs stay repeatable. Many experienced users also keep a short text note with the exact trigger phrase and recommended strength range for each saved LoRA.
Common mistakes to avoid
One frequent error is using images that share the same pose and expression; the model then struggles when asked for new angles. Another is choosing a trigger phrase that contains common words already heavily represented in the base model, which dilutes the embedding. Users sometimes skip the small test run and commit large datasets only to discover lighting inconsistencies that require a full retrain. Finally, leaving the strength slider at 1.0 on the first generation often produces oversaturated skin tones or distorted features. Start at 0.65–0.75 and adjust after viewing several seeds.
Common issues and fixes
Most problems appear during the first test generation. The table below lists frequent symptoms and direct remedies.
| Symptom | Likely cause | Fix |
|---|---|---|
| Face changes between seeds | Trigger word too generic | Use a rarer phrase such as a made-up name |
| Over-saturated colors | Learning rate too high | Drop to 5e-5 and retrain |
| Model ignores clothing | Too few full-body shots | Add 30–40 body images and retrain |
| Slow generation after load | LoRA file not cached | Restart the worker or switch to a different GPU node |
| Credit balance unchanged | Job still queued | Refresh the job list after 10 minutes |
If results stay weak after two training passes, review your source images for duplicates or inconsistent lighting before spending more credits.
Example prompt patterns that work well with face LoRAs
Once the model finishes, prompt structure matters as much as the training data. Begin every prompt with the trigger phrase followed by a short scene description, camera direction, and lighting note. A reliable template is: “portraitoftomk, three-quarter view, soft window light from the left, shallow depth of field, 85 mm lens.”
Vary only one element at a time when testing. For example, keep the trigger and lens fixed while swapping lighting from “golden hour” to “overcast daylight” across four seeds. This isolates whether the embedding holds under changing conditions. When moving to full-body shots, append clothing and pose details after the trigger so the face remains anchored: “portraitoftomk, standing in a narrow bookstore aisle, wearing a navy wool coat, hands in pockets, medium shot.”
Users who generate storyboards often create a reusable negative prompt that excludes common artifacts such as “blurry face, extra fingers, text on clothing.” Save this negative prompt in your generator presets so every test run starts from the same baseline.