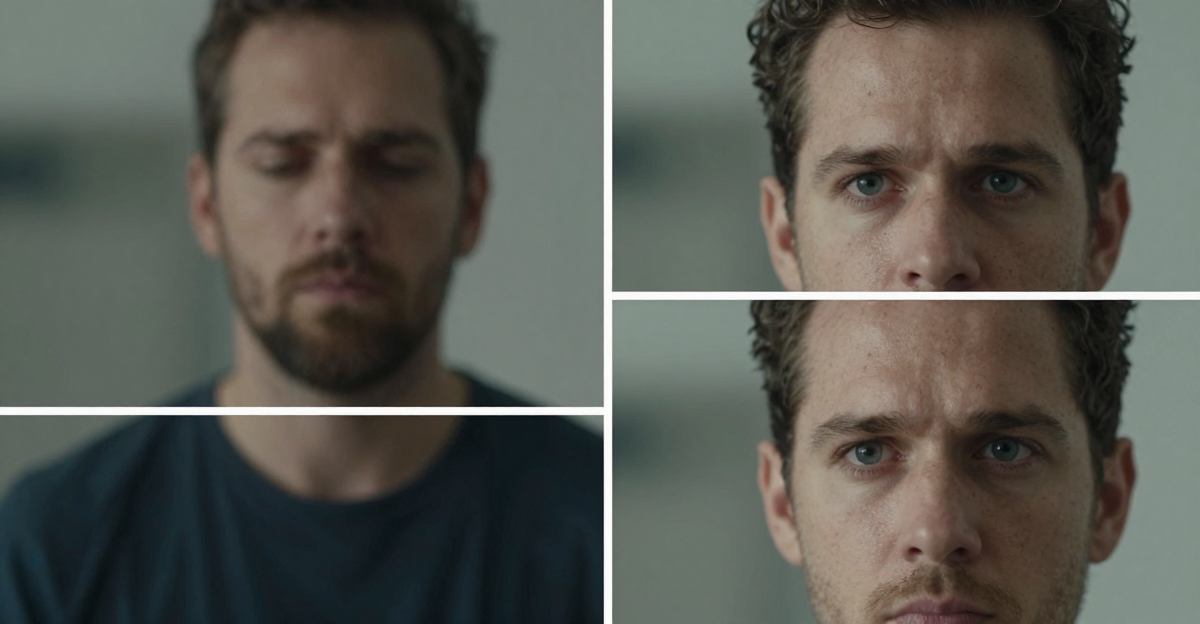
Every crime show has the scene. A detective squints at blurry security footage, says "enhance," and the image magically sharpens to reveal a license plate, a face, a critical detail that cracks the case. For decades, this was pure fiction — you can't create detail from pixels that don't exist.
In 2026, AI zoom and enhance is no longer a Hollywood trope. Generative AI models can now take a cropped, low-resolution region of a photo and reconstruct it at full resolution with plausible detail — skin pores on a distant face, thread patterns in fabric, text on a sign across the street, bark texture on a faraway tree.
This guide explains how AI zoom and enhance actually works, why it's different from traditional upscaling, and walks you through a step-by-step tutorial using Imagera's region selection tool and the Zoom Master LoRA to enhance any specific area of a photo.
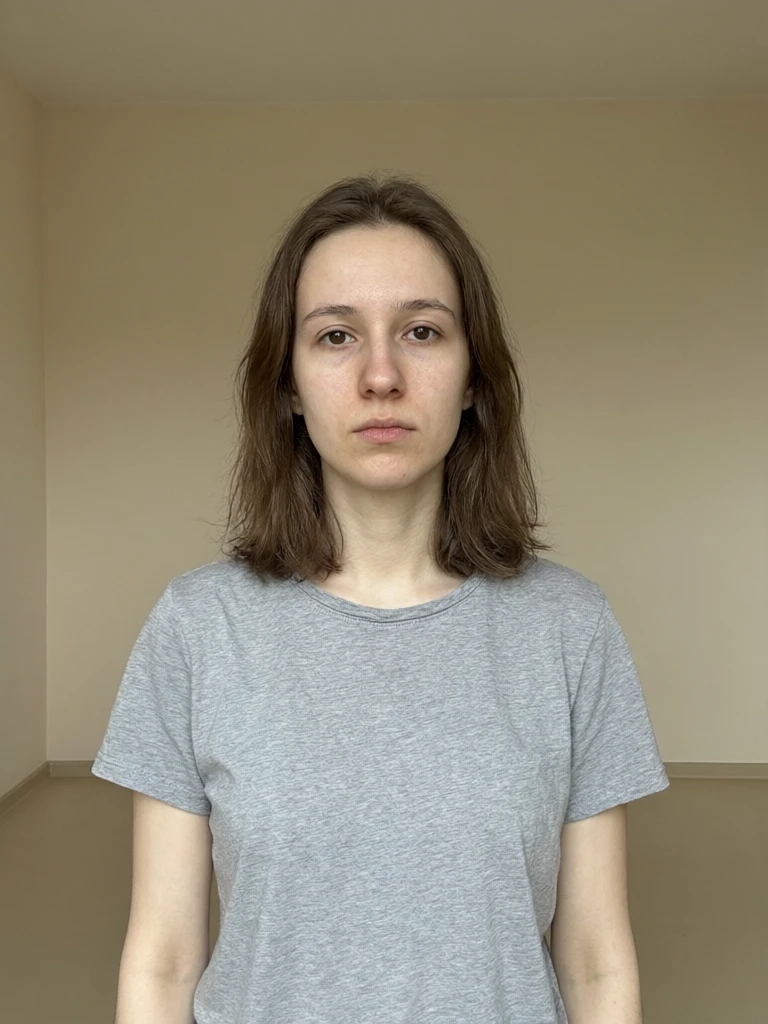
AI Zoom and Enhance Photo: How to Superzoom Into Any Image Without Losing Quality is a practical Imagera workflow: start from a real source file, describe what should change, generate with credits shown up front, and review before you publish. This guide covers the steps, quality checks, and when to use related tools.
Quick answer: AI superzoom lets you select one region of a photo and generate a full-resolution enhanced close-up, so you can zoom in on a detail without the blur that ruins ordinary digital zoom or cropping.
1.How do I zoom into a photo without losing quality?
In Imagera, paint over the target region with the mask editor, load the Zoom Master LoRA, and prompt "Zoom into the red highlighted area." The AI reconstructs that area at full resolution in under a minute, delivering 4K (and up to 8K, or even 16K) close-ups that preserve texture, lighting, and perspective across portraits, products, and architecture.
2.Can AI really enhance a cropped photo to full resolution?
Yes. Instead of upscaling the whole frame, Imagera rebuilds just the region you select, so a face in a crowd or a tiny product label becomes a sharp, full-resolution image. Because optical detail beyond a camera's sensor is genuinely lost, the AI infers plausible detail rather than recovering exact pixels — the results are convincing, but it is a reconstruction, not forensic proof of what was truly there. For best results, mask tightly and describe what the region contains.
3.Is "Zoom and Enhance" Actually Possible Now?
The short answer: yes, with important caveats about what "enhance" means.
Traditional digital zoom simply enlarges pixels. Crop a 4000×3000 photo down to a 400×300 area and scale it back up — you get a blurry 4000×3000 image. No amount of sharpening algorithms can recover detail that was never captured by the camera sensor. Interpolation-based upscalers (bicubic, Lanczos) smooth the blur but produce soft, lifeless results.
AI zoom and enhance works fundamentally differently. Instead of stretching existing pixels, it uses a generative model trained on millions of image pairs — wide shots and their corresponding close-ups — to reconstruct what the zoomed region should look like at higher resolution. The AI understands what skin looks like, what fabric looks like, what text looks like, and generates plausible high-frequency detail that wasn't in the original crop.
3.1What the AI Actually Does
When you select a region and run AI zoom enhancement, the model:
- Analyzes the low-resolution region to identify what's in it — faces, text, textures, surfaces, objects
- References its training data to understand what those things look like at higher resolution
- Generates new detail that's consistent with the original image's lighting, color palette, and perspective
- Outputs a full-resolution image showing only the zoomed region, as if you had taken a separate close-up
The generated detail is plausible, not forensically accurate. The AI doesn't recover the actual pixels that a higher-resolution camera would have captured — it generates detail that looks correct based on what it knows about similar subjects. For creative, commercial, and professional photography use cases, the results are indistinguishable from genuine close-ups.
3.2Why This Matters Beyond the Hollywood Trope
The practical applications go far beyond detective work:
- A wedding photographer gets individual headshots from group photos without asking guests to pose separately
- An e-commerce seller creates six detail shots (logo, stitching, label, texture, hardware, material) from a single wide product photo
- A real estate agent produces close-ups of countertop materials, cabinet hardware, and fixture details from a single room photo
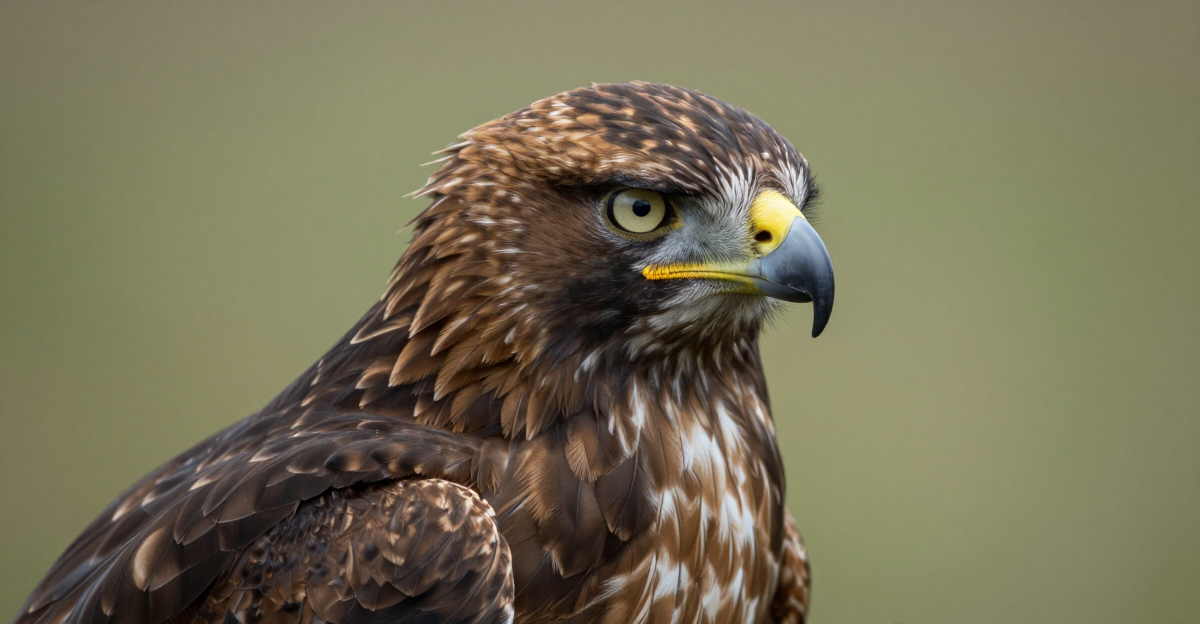
- A wildlife photographer extracts a usable portrait of a bird from a distant landscape shot
- A researcher enhances specific regions of microscopy or satellite imagery for analysis
The common thread: you have one photo, and you need close-up views of specific parts of it — without re-shooting.
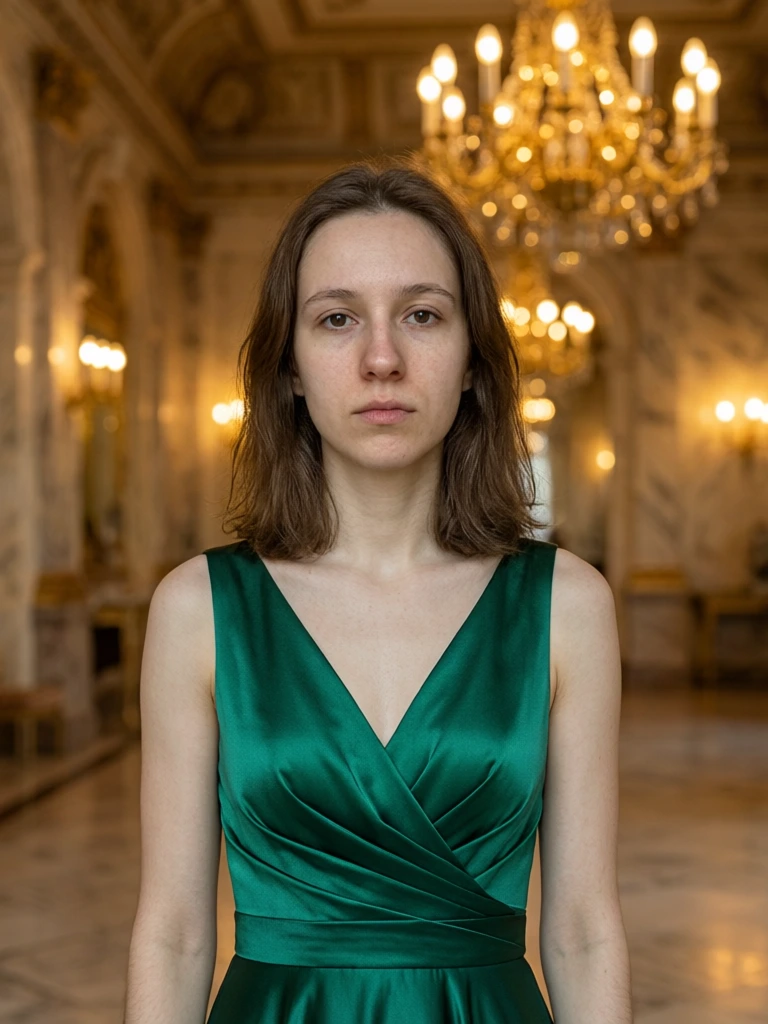
4.How AI Zoom Enhancement Differs from Traditional Upscaling
Understanding this distinction is critical, because most people confuse AI zoom enhancement with standard upscaling. They solve different problems.
4.1Standard AI Upscaling (Whole Image)
Tools like ESRGAN, Topaz Gigapixel, and Imagera's AI Image Upscaler increase the resolution of the entire image — every pixel gets processed. A 1024×1024 image becomes 2048×2048 or 4096×4096.
What it's good for: Increasing print resolution, preparing low-res images for large displays, general quality improvement across the full frame.
What it can't do: Selectively enhance one small region while ignoring the rest. If you upscale a 4000×3000 group photo to 8000×6000, each face gets marginally sharper — but you don't get a dedicated, high-detail close-up of any single face.
4.2AI Zoom Enhancement (Targeted Region)
AI zoom and enhance lets you select a specific area of the photo and generate a new, full-resolution image of just that region — with detail reconstructed specifically for that area. All of the AI's processing power focuses on one region instead of spreading across millions of pixels.
What it's good for: Extracting detail from one part of an image — a face, a product, a sign, a texture, an architectural element.
What it can't do: Improve the entire image at once (use standard upscaling for that).
4.3Side-by-Side Comparison
| Feature | Digital Crop + Resize | AI Upscaling (Whole Image) | AI Zoom Enhancement (Region) |
|---|---|---|---|
| Adds real detail? | No — stretches pixels | Partial — sharpens edges, some texture | Yes — generates new detail |
| Targets specific area? | Yes — manual crop | No — processes everything | Yes — you select the region |
| Output quality | Poor — blurry, pixelated | Good — sharper overall | High — reconstructed close-up |
| Processing focus | N/A | Spread across entire image | Concentrated on selected region |
| Best for | Quick previews | Print preparation, resolution increase | Detail extraction, close-ups |
| Detail fidelity | Whatever original pixels contain | Enhanced sharpness | Generated high-frequency detail |
The key insight: AI zoom enhancement is not a replacement for upscaling — it's a different tool for a different job. You can also combine them: zoom-enhance a region first, then upscale the result for maximum resolution.
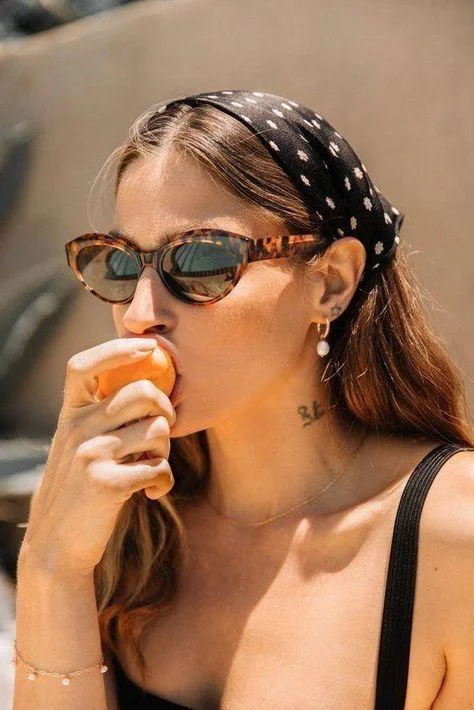
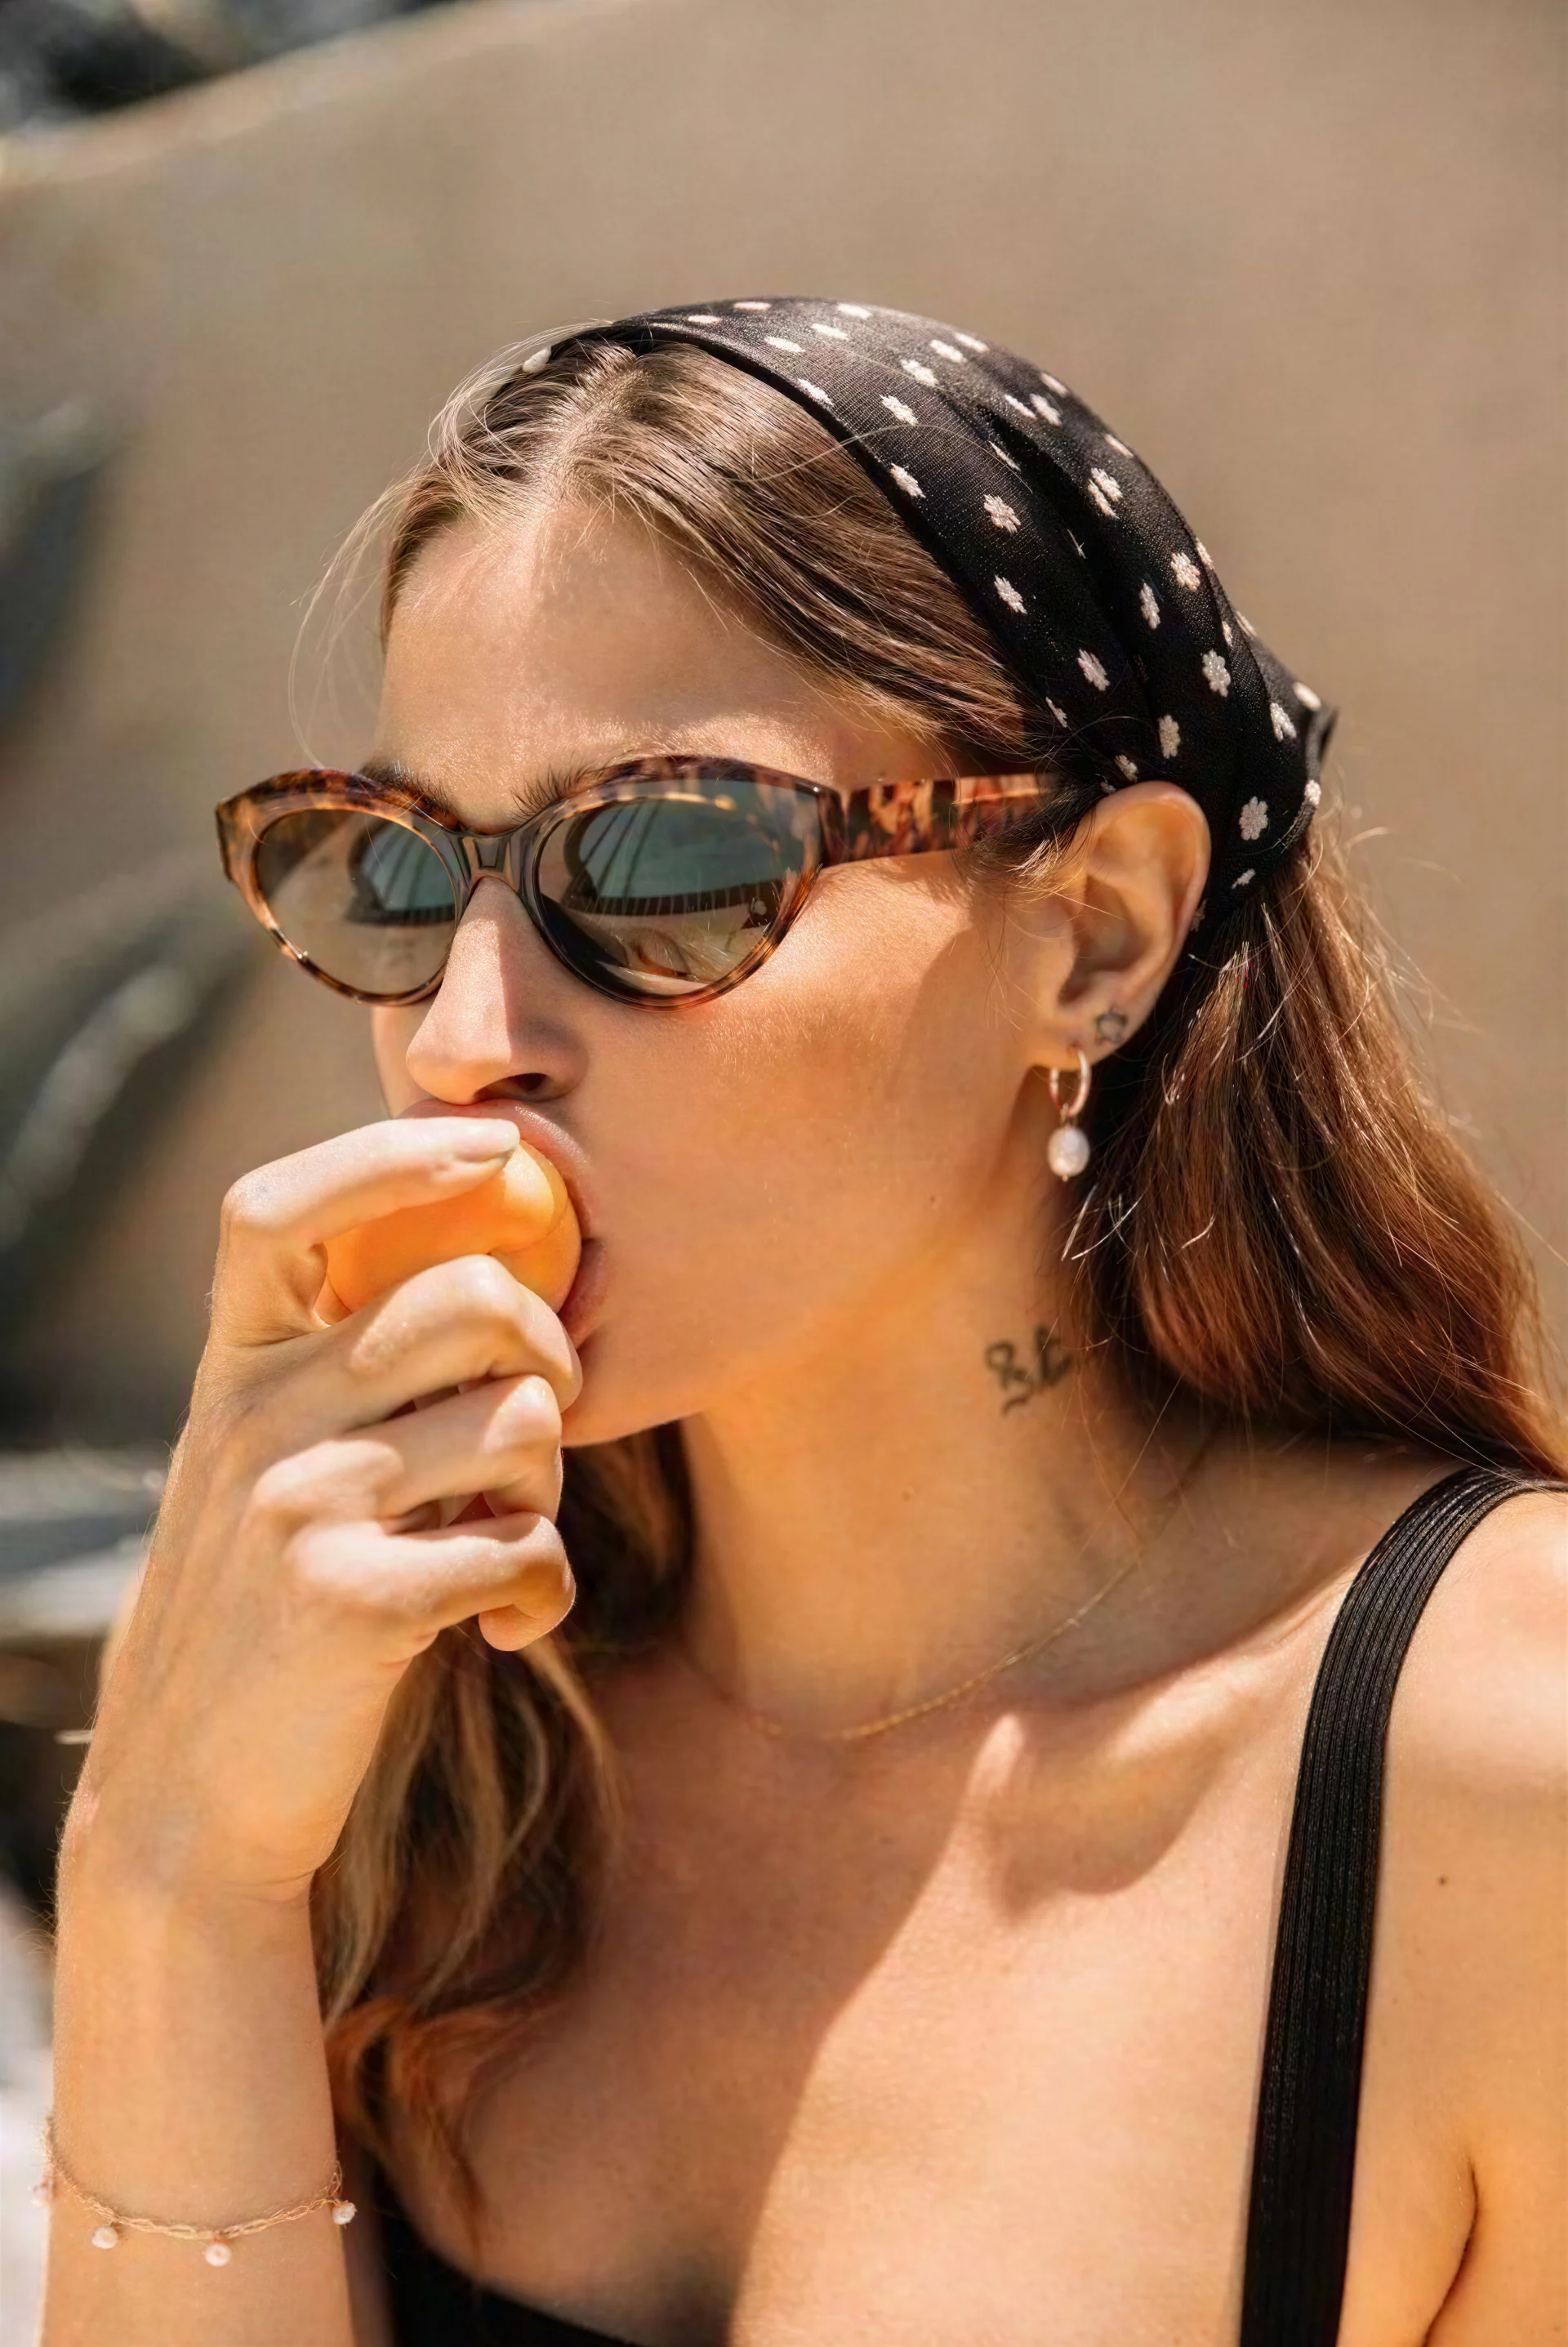
5.Enhancing Specific Areas: The Region Selection Advantage
Most AI image enhancement tools process the entire image uniformly. You upload a photo, the AI processes all of it, and you download the result. This works for general quality improvement, but it's wasteful when you only care about one small part of the image.
Imagera's approach is different: you select exactly which region to enhance.
5.1Why Region Selection Matters
Consider a 4000×3000 group photo with 20 people. You want a headshot of one person in the back row — their face occupies maybe 80×80 pixels in the original.
Without region selection: You upscale the entire 12-megapixel image to 48 megapixels. Every person gets slightly sharper, but that 80×80 face is now a 160×160 face — still small, still lacking detail. You wasted processing power on 11.99 million pixels you didn't care about.
With region selection: You paint over that one person's face, and the AI generates a full-resolution close-up of just that face — 1024×1024 or larger — with reconstructed skin texture, eye detail, and hair definition. All processing power goes toward the area that matters.
This is the difference between a magnifying glass and a telescope. Standard upscaling is a magnifying glass — everything gets bigger. Region-based zoom enhancement is a telescope — you point it at exactly what you want to see.
5.2How Imagera's Mask Editor Works
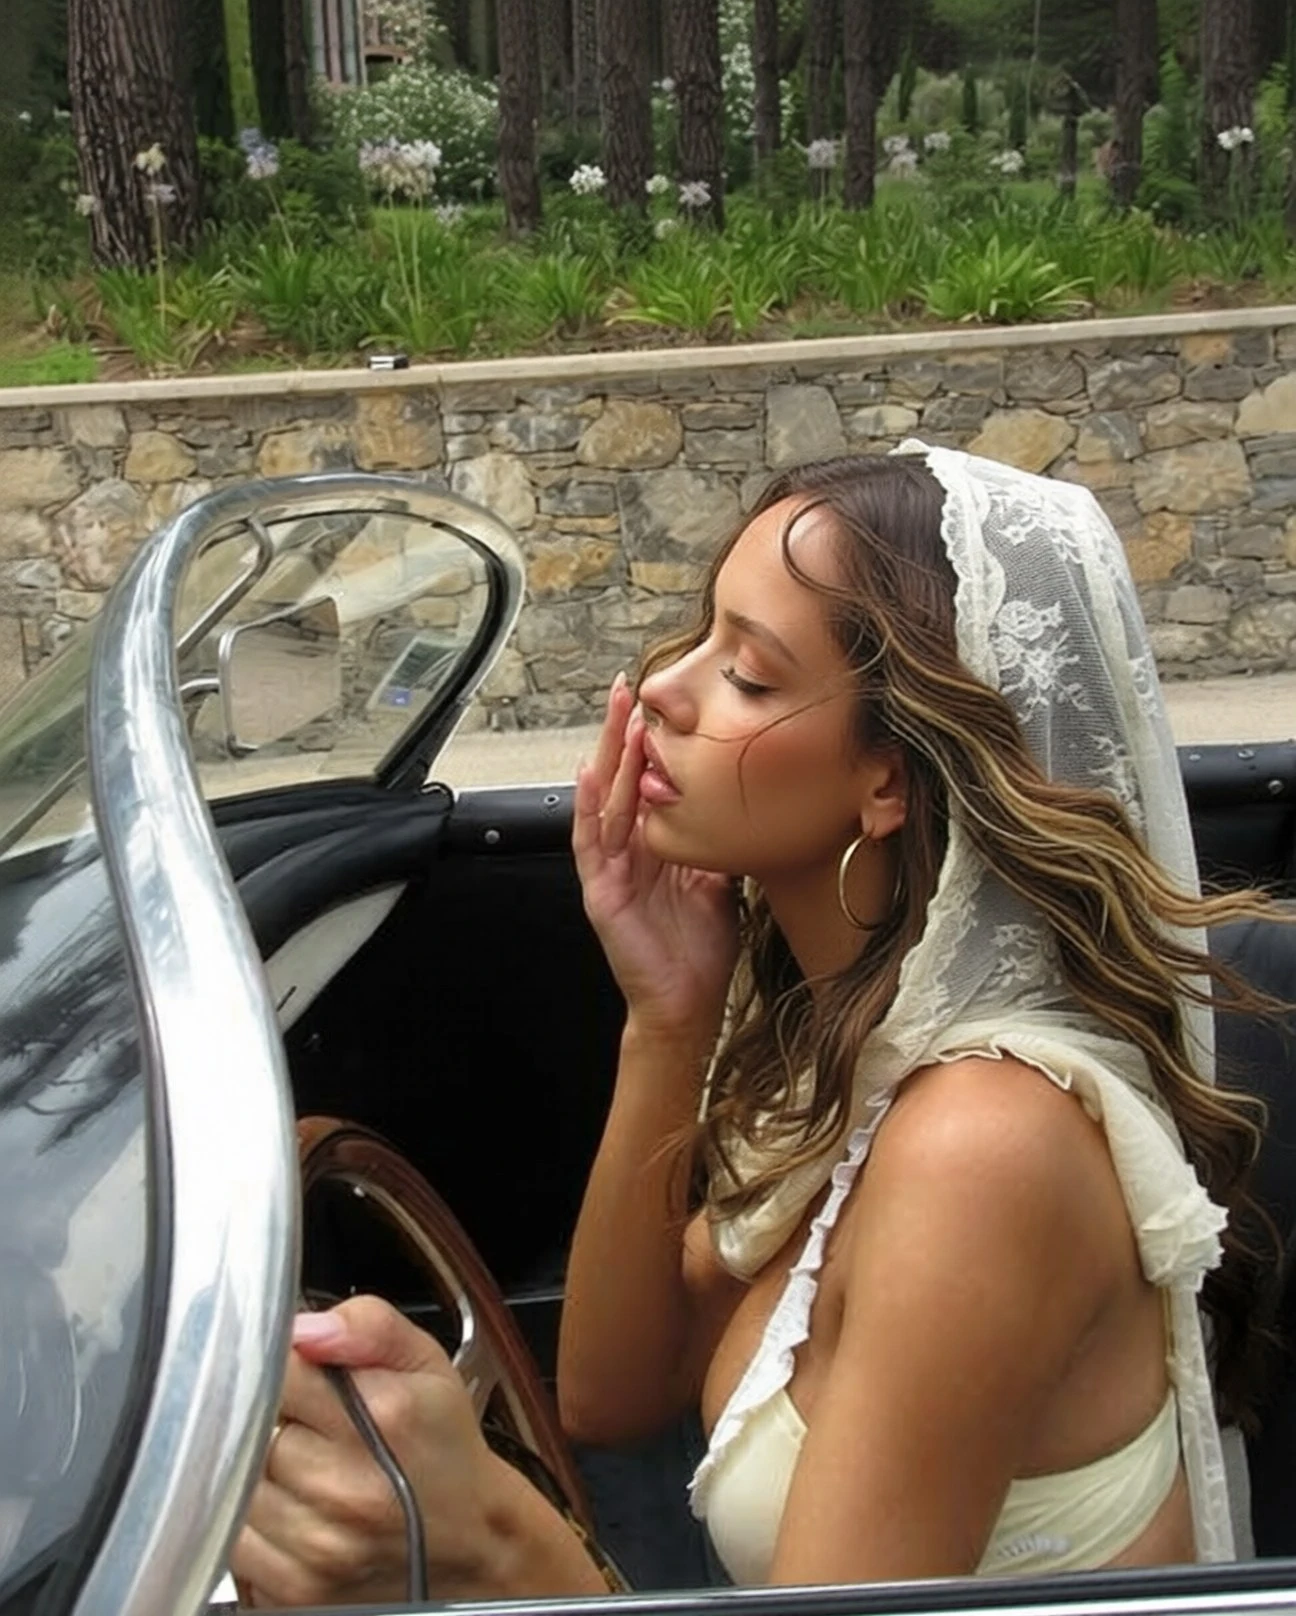
Imagera uses a freehand mask painting tool for region selection. Instead of drawing a bounding box (which forces a rigid rectangle), you paint directly over the area you want to zoom into — following the shape of a face, tracing around a product, highlighting an irregular architectural detail.
The mask editor provides:
- Adjustable brush sizes — large brushes for broad areas (building facades, landscape sections), small brushes for precise targets (jewelry, text, individual features)
- Undo and redo — fix overshoot without starting over
- Visual overlay — clearly see what you've selected before generating
- Freehand control — select irregular shapes, not just rectangles
This freehand approach means you can select a person's face without including the person next to them, highlight just one window on a building, or trace around an irregularly shaped product — precision that rectangle-based selection tools can't match.
6.How LoRA Models Transform Image Enhancement
Standard AI image editing uses a base model — a general-purpose neural network trained on broad image data. It handles many tasks adequately but isn't specialized for any specific operation.
LoRA (Low-Rank Adaptation) models are lightweight fine-tuning layers that teach a base model to excel at a specific task. For zoom enhancement, the Zoom Master LoRA was trained specifically on paired examples of wide shots and zoomed close-ups, learning the exact relationship between a highlighted region and its enhanced close-up.
6.1Why LoRA Matters for Zoom Enhancement
Without a zoom-specific LoRA, you're asking a general image editor to "zoom in" — it may crop, it may upscale, it may hallucinate irrelevant detail. It wasn't specifically trained for this operation.
With the Zoom Master LoRA loaded, the model has seen thousands of examples of:
- "Here's a photo with a highlighted region" → "Here's the zoomed close-up of that region"
- Wide shots of faces → corresponding portrait close-ups
- Product overviews → corresponding detail shots
- Architectural exteriors → corresponding element close-ups
This specialized training produces dramatically better results than asking a generic model to "zoom in." The LoRA teaches the model exactly what "zoom into the highlighted area" means and how to execute it.
6.2What the Zoom Master LoRA Preserves
The Zoom Master LoRA was designed to maintain fidelity to the original image while adding detail:
- Color palette and white balance — the close-up matches the original photo's colors exactly
- Lighting direction and shadow angles — no unnatural lighting shifts
- Surface textures — skin pores, fabric weave, wood grain, stone patterns rendered consistently
- Perspective geometry — no warping, distortion, or unnatural angles
- Atmospheric quality — depth of field, haze, and atmospheric perspective preserved
This preservation is what separates quality zoom enhancement from generic "AI hallucination" — the output looks like a real close-up from the same camera in the same conditions, not a computer-generated interpretation.
7.Step-by-Step Tutorial: AI Zoom and Enhance in Imagera
Here's the complete workflow for zooming into any photo region and generating an enhanced close-up.
7.1Step 1: Open the Image Editor and Upload Your Photo
Navigate to Imagera's Image Editor and upload the photo you want to zoom into. Any format works — JPG, PNG, or WebP. For best results, use the highest-resolution version of your source image.
The editor loads your image on an interactive canvas with painting tools, LoRA controls, and prompt input.
Tip: The more detail in the source region, the better the output. An 80×80 pixel face will produce good results. A 20×20 pixel face gives the AI very little to work with — the output will be more "generated" and less "enhanced."

7.2Step 2: Select the Zoom Region with the Mask Editor
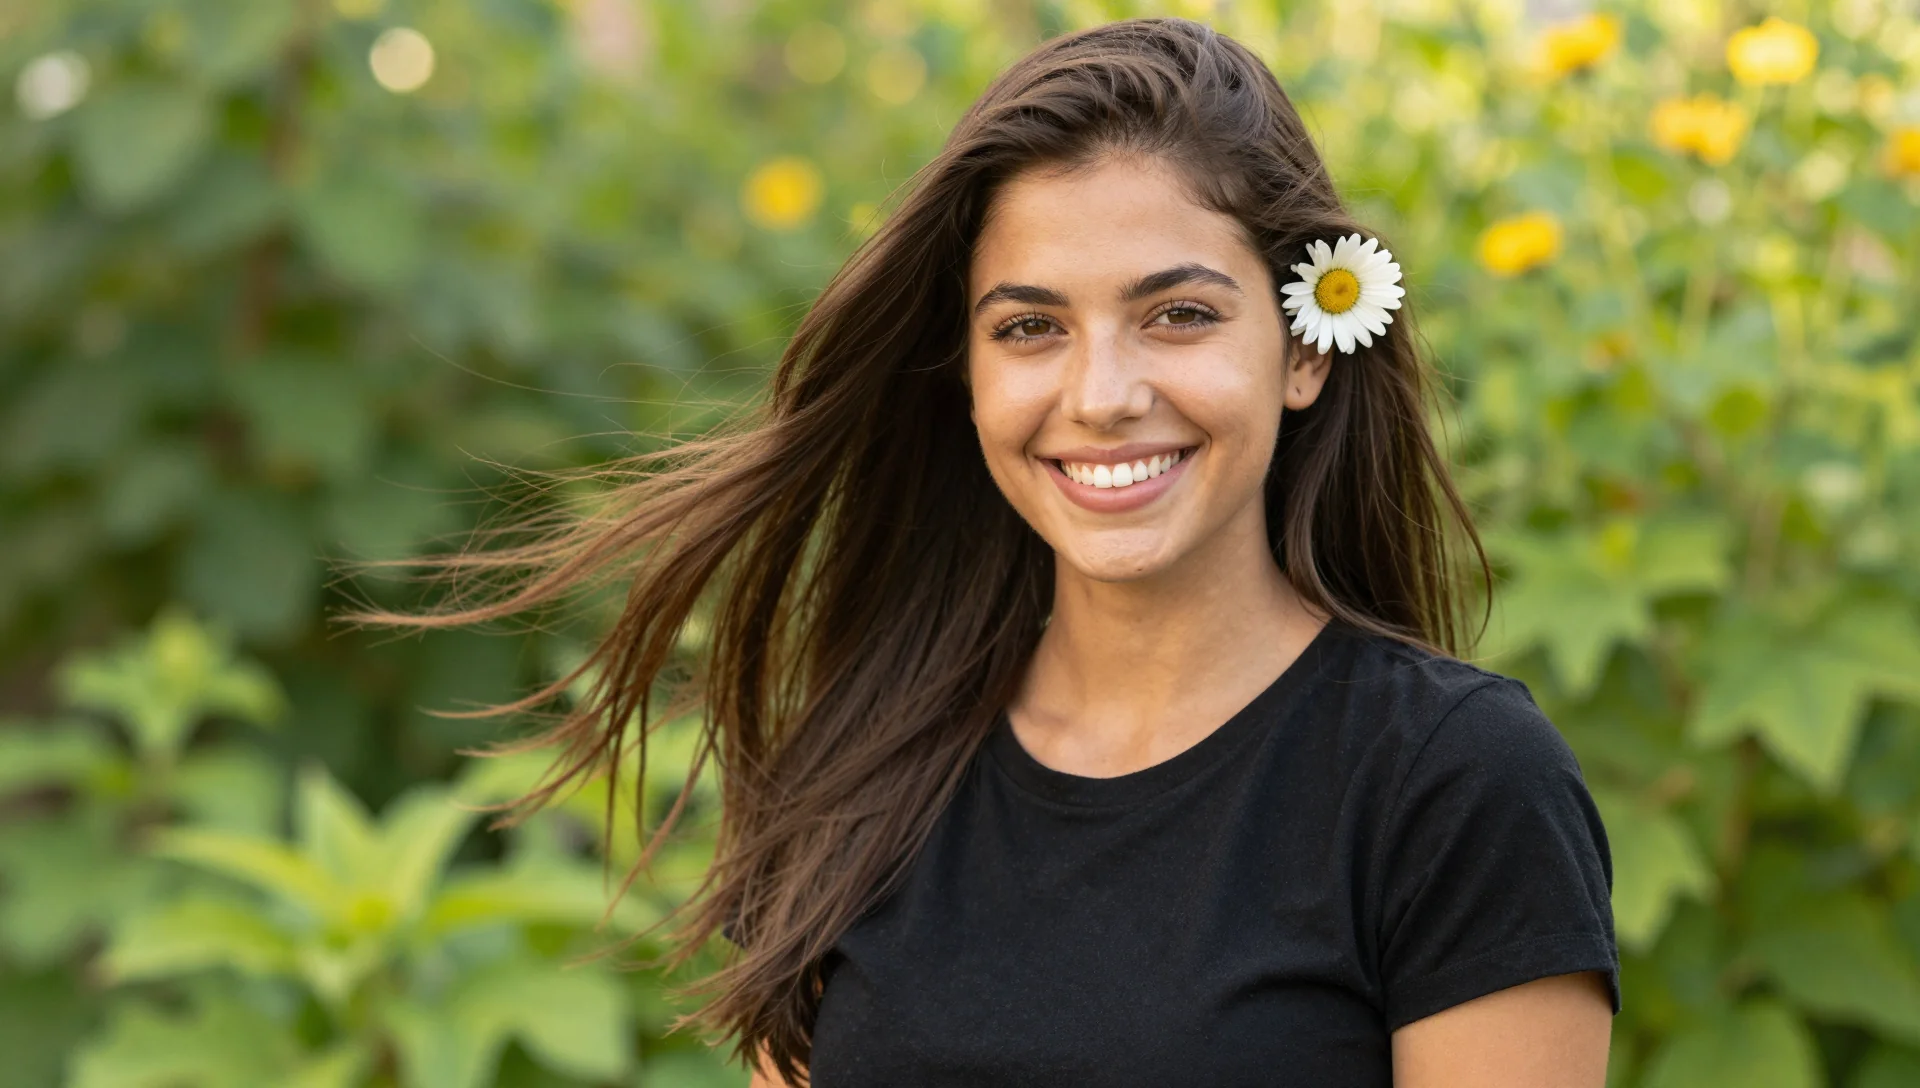
Click the Mask Editor tool to activate the painting overlay. Use your cursor to paint directly over the area you want to zoom into.
Painting technique matters. Here's how to get the best results:
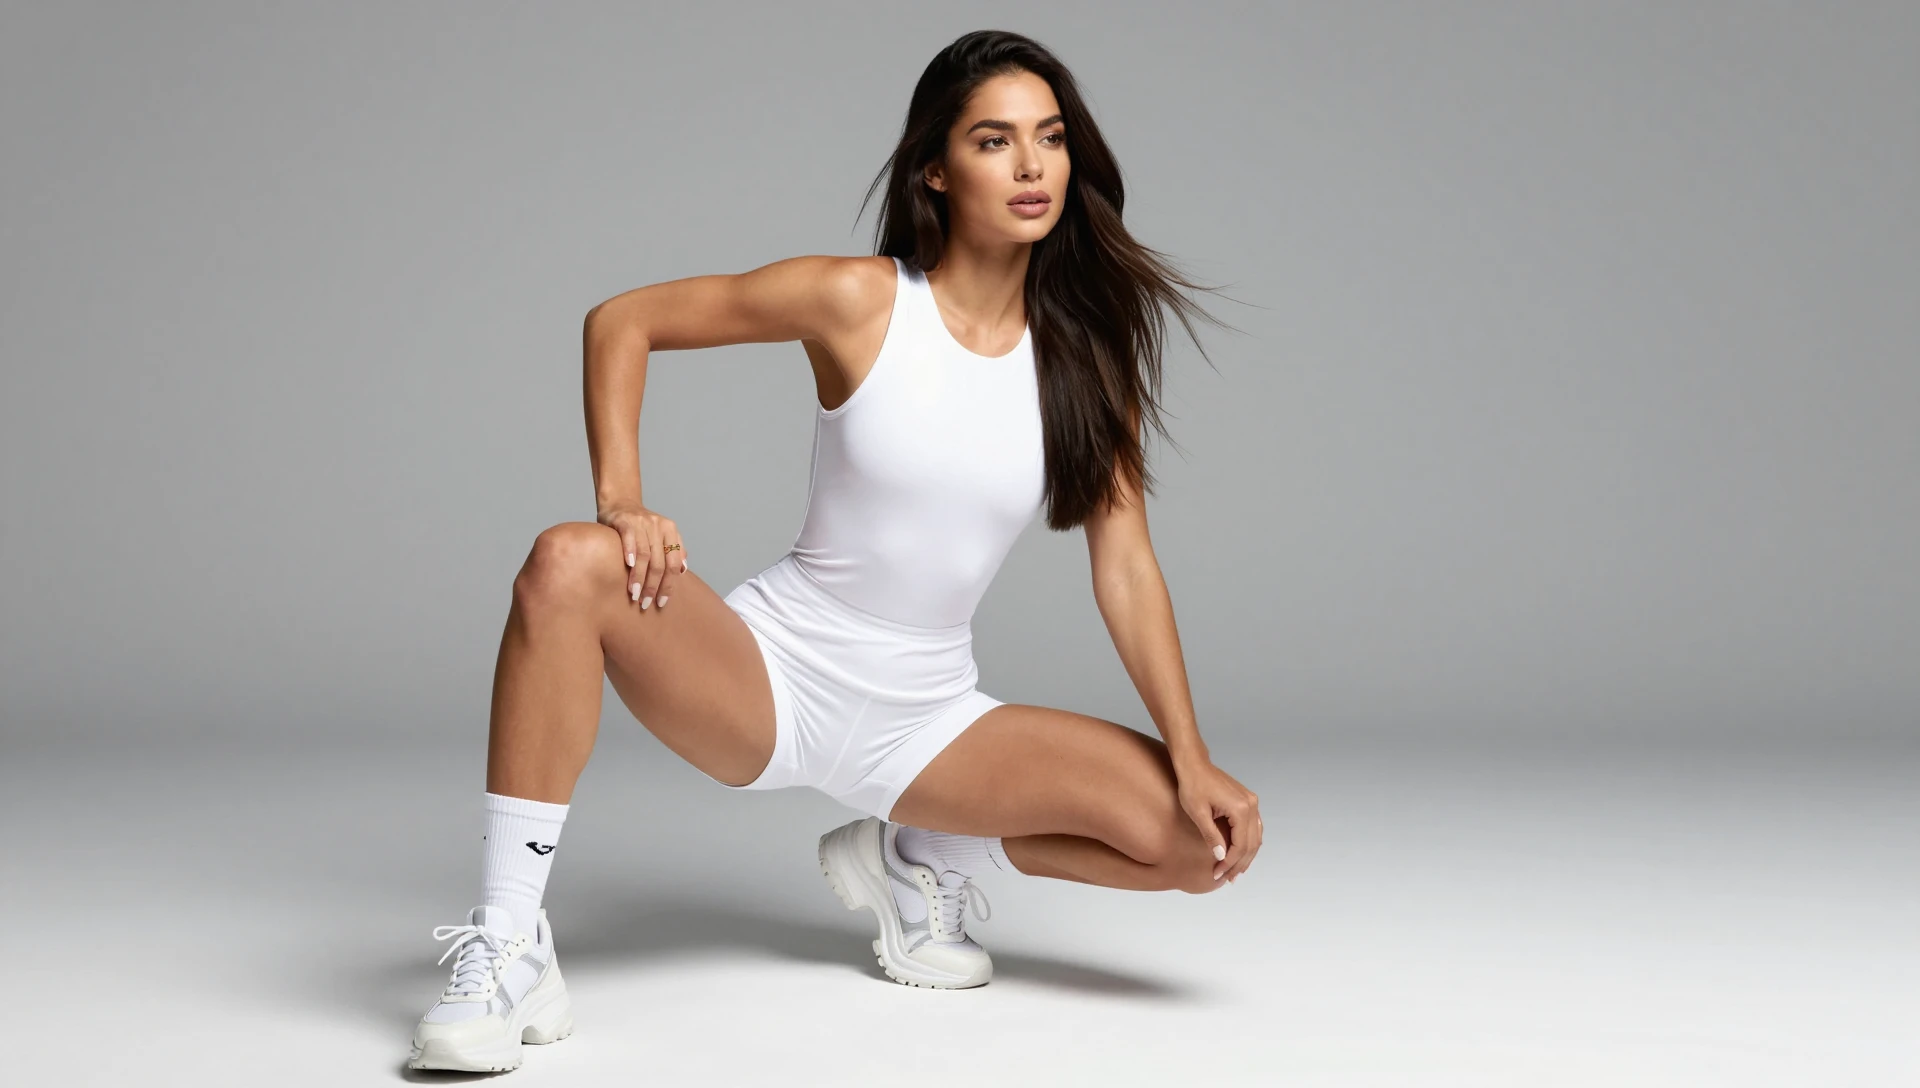
For faces and portraits: Paint over the entire face, extending slightly beyond the hairline and below the chin. Include the neck and upper shoulders if you want a head-and-shoulders close-up rather than a tight face crop. The slight overflow gives the AI context for natural edge rendering.
For products and objects: Trace the outline of the product with a medium brush, then fill in the interior. Include a small margin of background around the product — this helps the AI understand the object's edges and the lighting environment.
For architectural details: Use a large brush to cover the target area (window, doorway, facade section). Include enough surrounding context (adjacent walls, nearby elements) so the AI understands the architectural style and can render the zoomed detail consistently.
For text and signage: Paint over the entire sign or text area with a generous margin. Text reconstruction benefits from extra context — the AI needs to understand the sign's material, color, and typography style.
Common mistakes to avoid:
- Too small a selection: Painting over a 20×20 pixel area gives insufficient context. Aim for at least 100×100 pixels of source content.
- Cutting off edges: If you want a full face close-up, don't stop the highlight at the jawline — include the full head shape.
- Selecting featureless areas: Solid-color walls, clear skies, or uniform surfaces don't benefit much from zoom enhancement — there's no meaningful detail to reconstruct.
7.3Step 3: Add the Zoom Master LoRA via Direct URL
Click the Add LoRA button in the editor sidebar. Select Direct URL as the source type, and paste the Zoom Master LoRA file URL:
https://huggingface.co/prithivMLmods/QIE-2511-Zoom-Master/resolve/main/Qwen-Image-Edit-2511-Zoom-Master-8800.safetensors
This URL points directly to the .safetensors model file on HuggingFace. Imagera's Direct URL input accepts any publicly accessible LoRA file link — HuggingFace, Google Drive, or any direct download URL.
Important: The URL must point to the actual model file (ending in .safetensors), not a webpage about the model. Imagera automatically handles the download when you generate.
7.4Step 4: Set the LoRA Strength
Set the LoRA strength slider. This controls how strongly the zoom-enhancement behavior influences the output.
| Strength | Effect | Best For |
|---|---|---|
| 0.50–0.60 | Subtle enhancement, minimal detail addition | Already-decent crops where you want slight sharpening without heavy reconstruction |
| 0.65–0.75 | Moderate enhancement, balanced detail and accuracy | Medium-distance subjects, product details, architectural elements |
| 0.80 (recommended) | Standard zoom enhancement — clear detail improvement | Most use cases — faces, textures, objects at moderate distance |
| 0.85–0.95 | Aggressive detail reconstruction | Distant subjects, very small source regions, maximum detail extraction |
| 1.00 | Maximum LoRA influence | Experimental — may introduce minor artifacts on edges |
Start at 0.80. Generate, review the result, and adjust up or down based on whether you want more detail (increase) or less AI interpretation (decrease).
7.5Step 5: Write the Zoom Prompt
In the text prompt field, enter the specific prompt the Zoom Master LoRA is trained to respond to:
Zoom into the red highlighted area
This prompt tells the model to interpret the painted mask as a zoom target and generate a close-up of that specific region.
Prompt variations for different results:
| Prompt | Effect |
|---|---|
Zoom into the red highlighted area | Standard zoom — balanced output |
Zoom into the highlighted area, enhance fine details | Slightly more emphasis on texture and sharpness |
Zoom into the red highlighted area, preserve original lighting and colors | Prioritizes color accuracy over detail maximization |
Zoom into the highlighted region, maximum detail | Pushes the model toward more aggressive detail reconstruction |
For most use cases, the standard prompt works well. The variations are useful when you have specific quality priorities.
7.6Step 6: Generate and Review
Click Generate. The AI processes your image with the painted highlight and produces a new full-resolution image showing a zoomed-in view of the highlighted area.
What to check in the output:
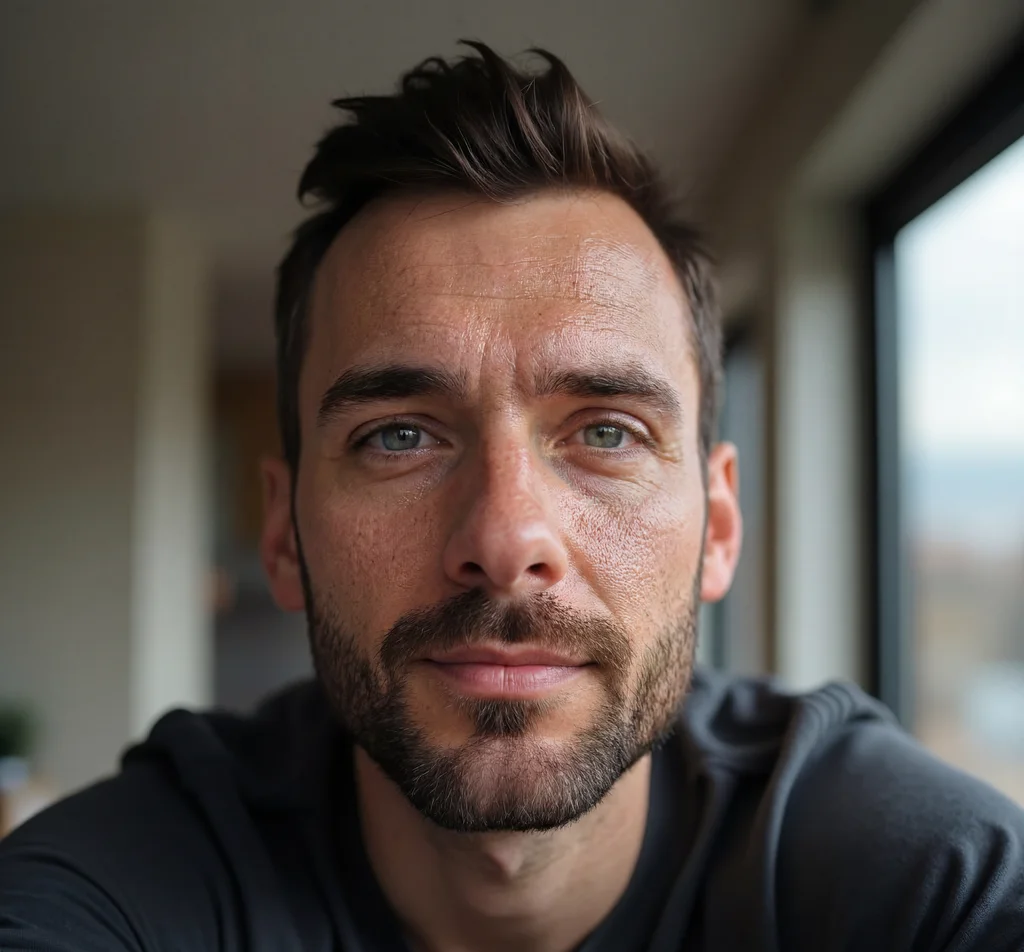
- Detail quality: Does the zoomed area show realistic texture and fine detail? Skin should have natural pore patterns, fabric should show weave, text should be sharper.
- Color consistency: The output should match the original photo's color temperature and palette exactly — no color shifts or saturation changes.
- Edge quality: Edges should be clean and natural. Watch for halos (bright outlines around edges) or artifacts (random noise or patterns).
- Perspective accuracy: Straight lines should remain straight. No warping, barrel distortion, or unnatural curvature.
- Lighting direction: Shadows should fall the same direction as in the original image. No inconsistent lighting.
If the result isn't right:
- Too little detail? Increase LoRA strength by 0.05–0.10 and regenerate
- Artifacts or over-processing? Decrease LoRA strength by 0.05–0.10
- Wrong area enhanced? Refine your mask painting — make sure the highlight covers exactly what you want
- Colors shifted? Add "preserve original lighting and colors" to your prompt
- Too tight/too wide? Adjust how much area you paint — a larger highlight gives a wider zoom, a smaller highlight gives a tighter crop
Each generation takes only a few seconds, so iteration is fast.
8.Best Practices for High-Quality Zoom Enhancement
8.1Source Image Quality Matters
The AI can reconstruct detail, but it works better when it has more information to start with:
- Resolution: Use the highest-resolution version of your source image. A 4000×3000 original gives the AI much more context than a 1200×900 version of the same photo.
- Compression: Avoid heavily JPEG-compressed sources. Compression artifacts (blocky patterns, color banding) get amplified during zoom enhancement.
- Focus: The target area should be reasonably in-focus. The AI handles slight softness well, but severely motion-blurred or out-of-focus regions produce less convincing results.
- Lighting: Well-lit subjects with even lighting produce better zoom results than dark, noisy areas where the camera sensor struggled.
8.2Optimal Highlight Size
The relationship between highlight size and output quality follows a curve:
- Too small (under 50×50 pixels): Insufficient context — the AI must invent most of the detail. Results are more "generated" than "enhanced."
- Sweet spot (100×400 pixels): Enough source detail for faithful reconstruction with meaningful enhancement. Best quality-to-zoom ratio.
- Large (400+ pixels): Plenty of context, but the "zoom" effect is less dramatic since the source already had decent resolution.
For maximum impact, target areas where the subject is recognizable but lacking fine detail — you can tell it's a face, but you can't see pores; you can tell it's text, but you can't read it; you can tell it's fabric, but you can't see the weave.
8.3Combining Zoom Enhancement with Other Imagera Features
Chain multiple AI operations for maximum quality:
Zoom Enhancement → AI Upscaling: Generate the zoomed close-up first, then run it through Imagera's AI Image Upscaler at 2× or 4× for even higher resolution. The zoom step reconstructs detail; the upscale step increases pixel count.
Background Removal → Zoom Enhancement: If the subject's background is distracting or you want the subject isolated, remove the background first, then zoom into the clean subject for a detail shot.
Zoom Enhancement → Text-Prompt Editing: Zoom into a product, then use text-prompt editing to modify the close-up — "change the label color to red," "remove the scratch on the surface," "add studio lighting."
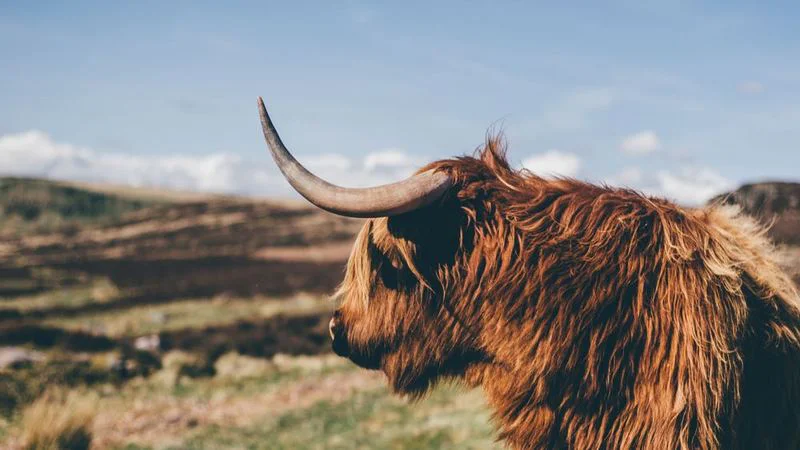
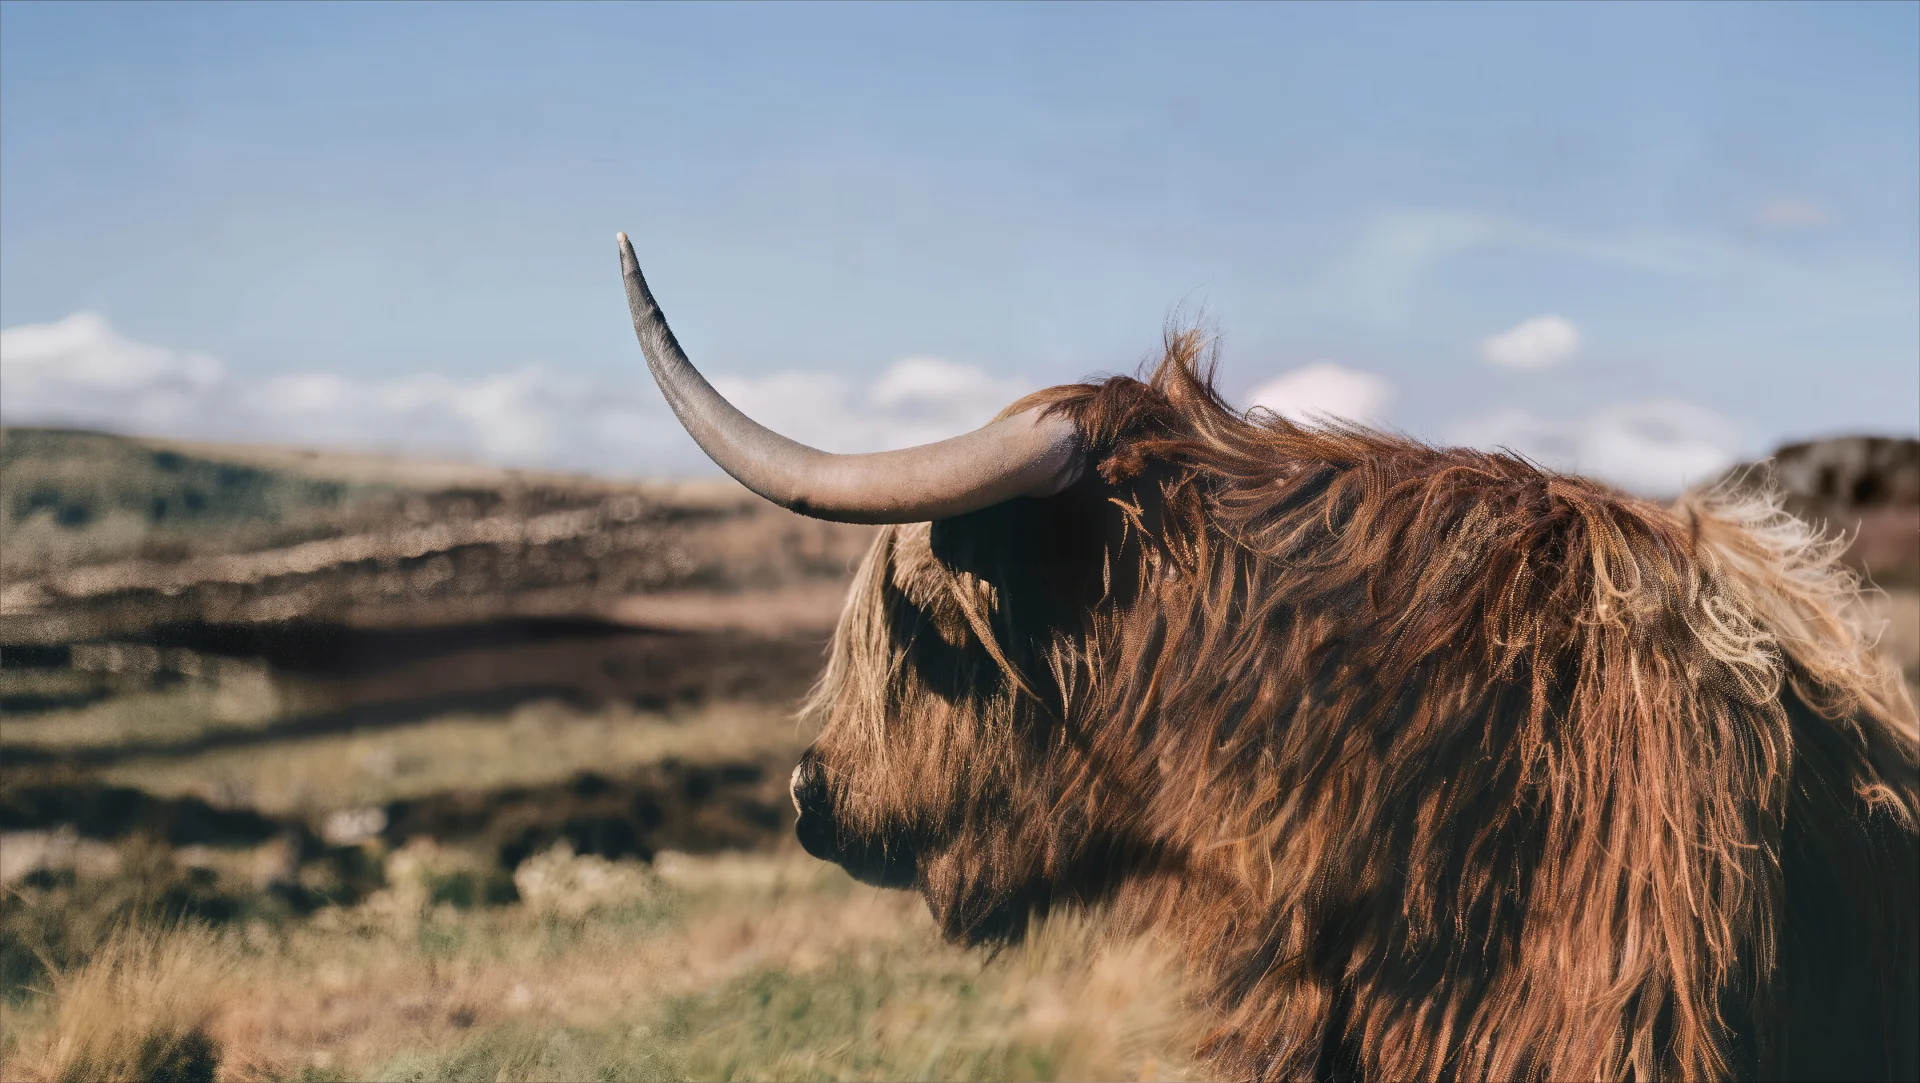
Multiple Zooms from One Photo: Process the same source image multiple times with different highlight regions. A single group photo can produce individual headshots. A single product shot can produce separate close-ups of the label, texture, hardware, and packaging.
9.Real-World Use Cases for AI Zoom Enhancement
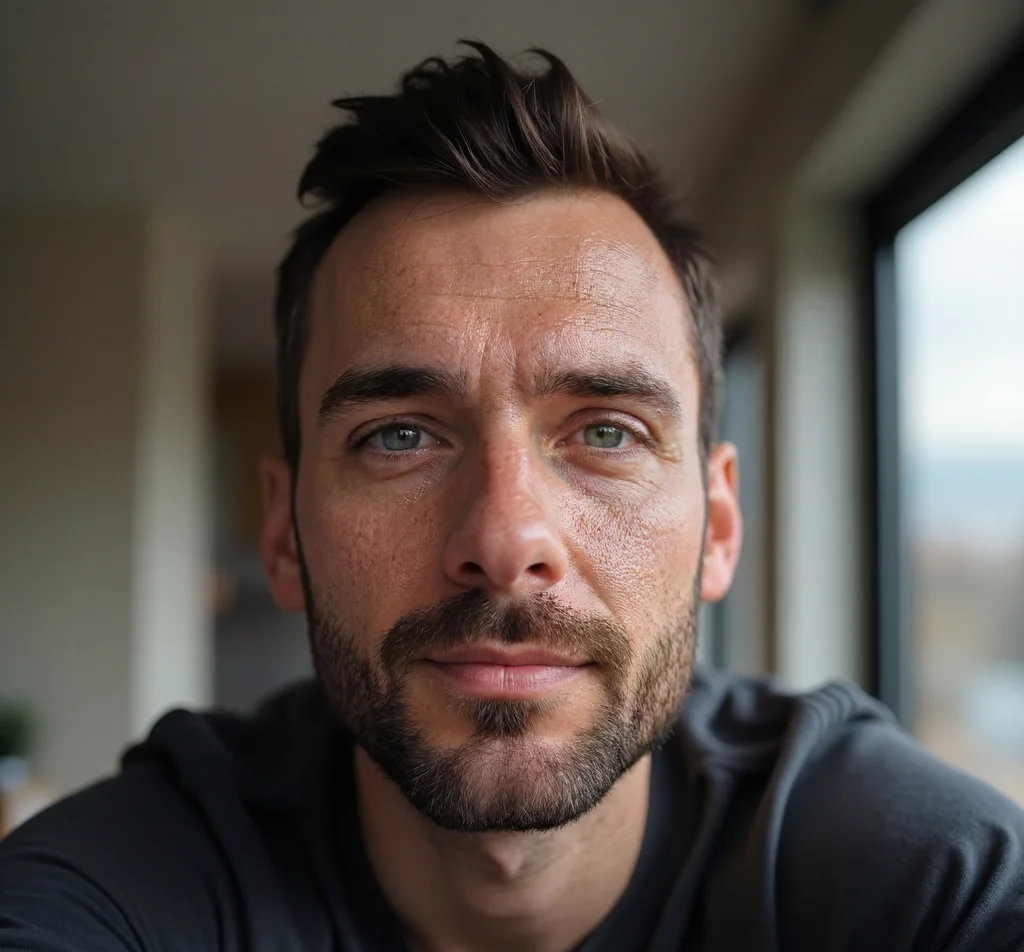
9.1Portrait and Headshot Extraction
Scenario: You have a group photo from a company event with 15 people. HR needs individual headshots for the company directory.
Traditional approach: Ask everyone to schedule individual portrait sessions. Cost: photographer time for 15 separate shoots, or 30+ minutes of Photoshop work per person cropping and enhancing.
AI zoom approach: Open the group photo in Imagera. For each person: paint over their face and upper body → apply Zoom Master LoRA → generate close-up. Fifteen headshots from one photo in under 10 minutes.
Quality expectations: Faces that occupied 100+ pixels in the original produce headshots comparable to dedicated portrait photography. Smaller faces (50-80 pixels) produce good social media profile images. Very small faces (under 30 pixels) produce stylized results that work for avatars but not professional headshots.
9.2E-Commerce Product Detail Shots
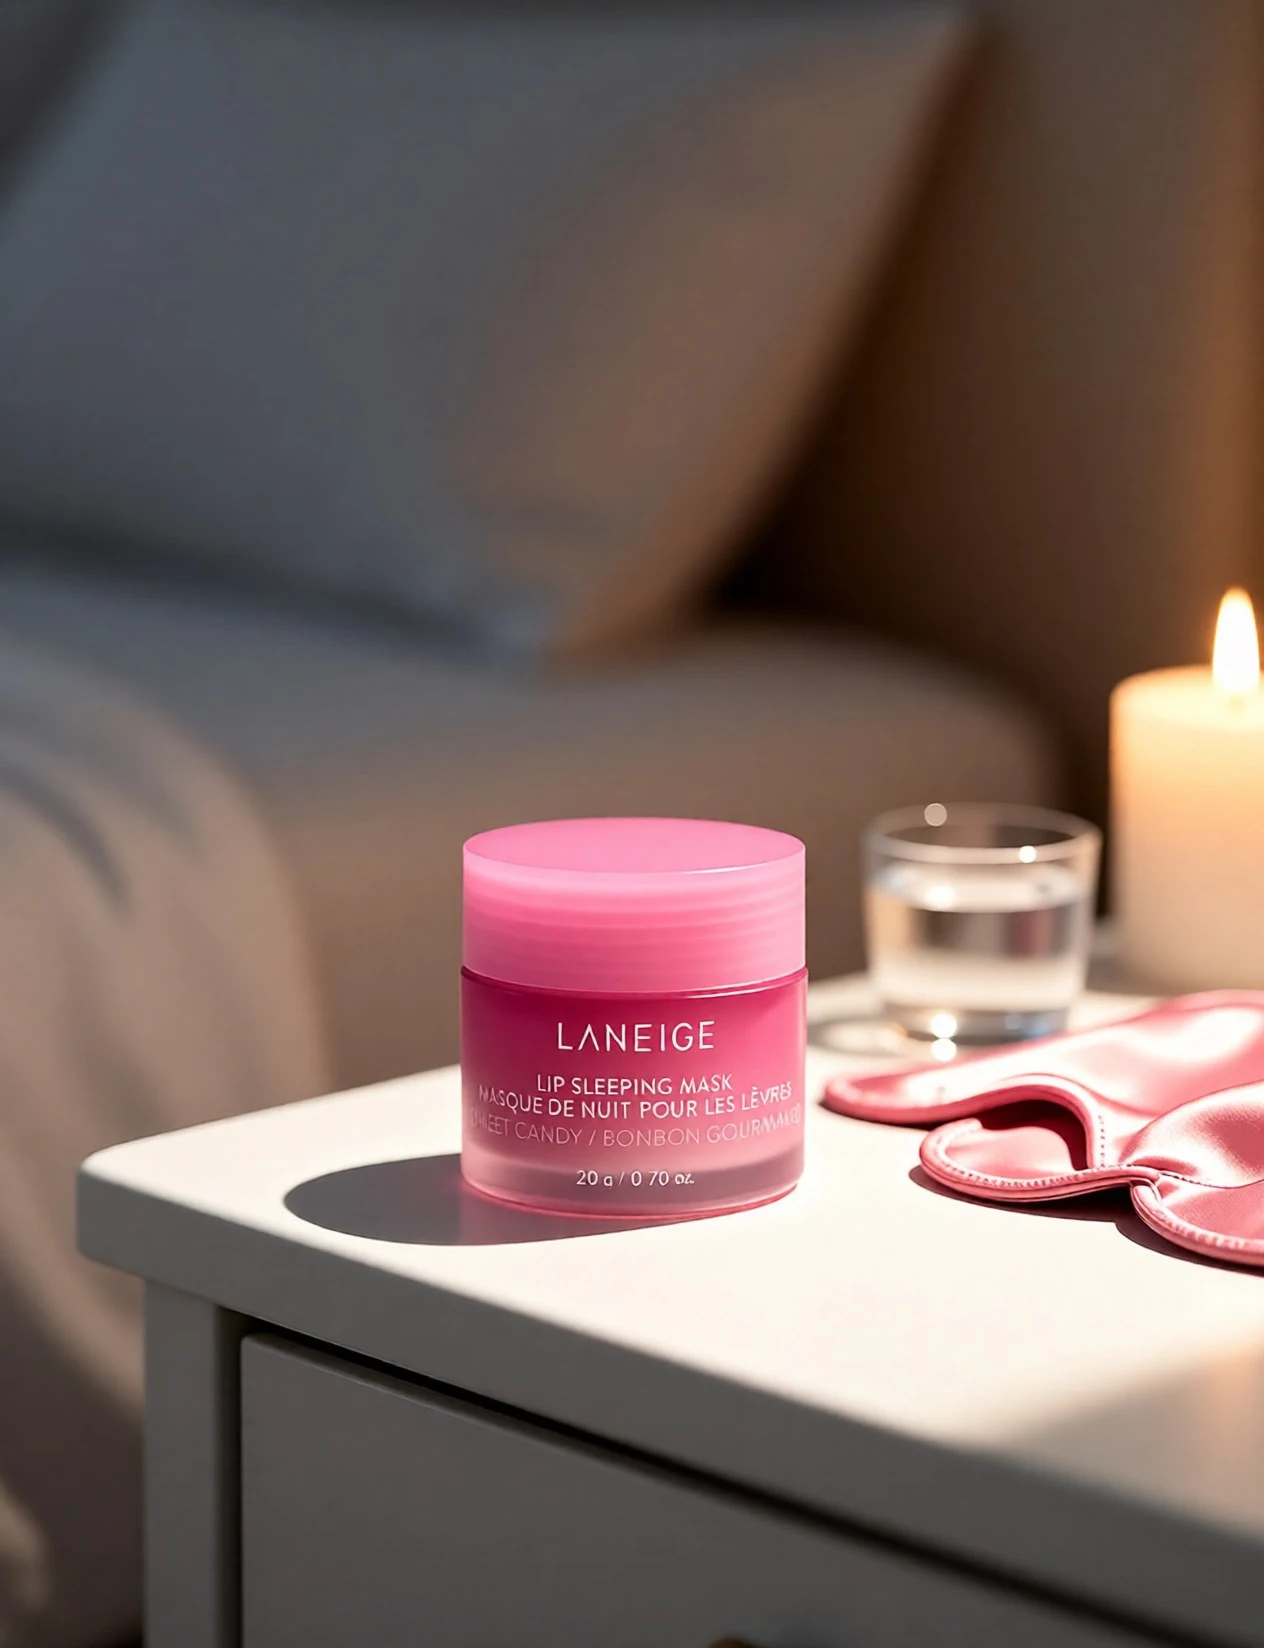
Scenario: You sell handmade leather bags. Each product page needs 6-8 images showing the full bag, stitching detail, hardware close-up, interior, label, and leather texture. Shooting all those angles for 200 products takes weeks.
AI zoom approach: Shoot one or two wide angles per product. Use zoom enhancement to extract detail views:
- Highlight the stitching → generate stitching close-up
- Highlight the clasp → generate hardware detail
- Highlight the leather surface → generate texture close-up
- Highlight the interior label → generate label shot
Output: Each 15-minute product shoot produces a complete gallery. Customers see the detail they need to make purchase decisions without you spending hours on per-product photography.

9.3Real Estate and Architecture Photography
Scenario: A real estate listing needs both room overviews and detail shots — countertop materials, cabinet hardware, fixture styles, flooring patterns. Shooting dedicated close-ups of every detail in a 12-room property takes hours.
AI zoom approach: Shoot one wide shot per room covering the key details. Zoom-enhance individual elements:
- Kitchen overview → close-up of granite countertop texture
- Bathroom overview → close-up of faucet and hardware style
- Living room overview → close-up of hardwood floor grain
- Exterior overview → close-up of front door hardware
Impact: Property listings with 20+ images sell faster than those with 5-8 images. Zoom enhancement lets agents create comprehensive galleries without extended photo shoots.
9.4Wildlife and Nature Photography
Scenario: You photographed a heron at the edge of a lake with a 200mm lens. The bird is identifiable but small in the frame — maybe 150 pixels tall. You want a close-up that shows feather detail and the eye.
AI zoom approach: Paint over the bird in the mask editor, set LoRA strength to 0.85 (slightly aggressive for distant subjects), and generate. The AI reconstructs feather patterns, beak texture, and eye detail based on its understanding of heron anatomy from training data.
Expectations: The result won't match a dedicated 600mm telephoto shot for scientific documentation — the generated feather patterns are plausible but not forensically accurate. For bird identification guides, nature blogs, social media, and wildlife portfolios, the quality is excellent.
9.5Old Photo Enhancement
Scenario: You have a scanned family photo from the 1980s. Grandma's face is small in the group shot and the scan is grainy. You want a clear close-up for a memorial display.
AI zoom approach: Upload the scanned photo. Paint over grandma's face with generous margins (include shoulders and hair). Set LoRA strength to 0.75 (moderate — old photos need gentler processing to avoid introducing modern-looking detail into a vintage image).
Considerations: The AI will reconstruct facial detail, but it's generating plausible detail for someone of that age and appearance — not recovering actual lost information from the 1980s photo. For memorial and family purposes, the emotional fidelity matters more than forensic accuracy, and zoom enhancement delivers that well.
10.AI Zoom Enhancement vs. Competing Approaches
Different tools handle the "zoom and enhance" problem differently. Here's how the main approaches compare:
10.1Traditional AI Upscalers (Topaz Gigapixel, ESRGAN)
Approach: Process the entire image at 2×-6× resolution. Every pixel gets enhanced.
Strengths: Proven technology, batch processing, good for print preparation.
Limitations: Can't focus processing on one region. If you upscale a group photo 4×, each face gets marginally sharper — but no face gets the deep detail reconstruction that dedicated zoom enhancement provides.
Best for: When you need the entire image at higher resolution, not just one area.
10.2Generative Fill / Inpainting (Photoshop, DALL-E)
Approach: Select a region and regenerate its content based on a text description.
Strengths: Creative flexibility — you can change what's in the region, not just enhance it.
Limitations: Designed for replacing content, not enhancing existing content. If you select a face and run generative fill, you get a different face — not a higher-detail version of the same face.
Best for: When you want to change what's in a region, not zoom into what's already there.
10.3LoRA-Guided Zoom Enhancement (Imagera + Zoom Master)
Approach: Select a region with the mask editor, apply a zoom-specific LoRA, and generate a close-up that preserves the original content at higher detail.
Strengths: Targeted enhancement of specific areas. Preserves original subject identity, lighting, and style. Specialized training for the zoom task specifically.
Limitations: Requires LoRA setup (one-time URL paste). Generated detail is plausible but not forensically recovered. Works best with source regions above 50×50 pixels.
Best for: When you need a high-detail close-up of one specific part of a photo without changing its content.
10.4Quick Comparison Table
| Approach | Targets Specific Region? | Preserves Original Content? | Adds New Detail? | Setup Complexity |
|---|---|---|---|---|
| Crop + resize | Yes | Yes | No — pixels stretch | None |
| AI upscaling | No — whole image | Yes | Partial — sharpening | Low |
| Generative fill | Yes | No — replaces content | Yes — new content | Low |
| LoRA zoom enhance | Yes | Yes | Yes — reconstructed detail | Medium (one-time LoRA setup) |
11.Advanced Tips for Power Users
11.1Stacking Multiple Zoom Passes
For extremely small or distant subjects, run two zoom passes:
- First pass: Highlight a broad area around the target. Generate at LoRA strength 0.75. This produces a medium zoom with good context preservation.
- Second pass: Open the first result. Highlight just the target area (now larger and more detailed). Generate at LoRA strength 0.80. This produces the final tight close-up.
Two moderate zoom passes often produce better results than one aggressive pass, because each step has more source detail to work with.
11.2Adjusting for Different Subject Types
Different subjects benefit from different LoRA strength ranges:
| Subject Type | Recommended Strength | Reasoning |
|---|---|---|
| Human faces | 0.75–0.85 | Faces are sensitive — too high and skin looks over-processed |
| Text and signage | 0.85–0.95 | Text benefits from aggressive reconstruction |
| Fabric and textiles | 0.80–0.90 | Weave patterns need moderate-to-strong detail generation |
| Architecture | 0.75–0.85 | Geometric accuracy matters — keep it moderate |
| Nature (plants, animals) | 0.80–0.90 | Organic textures tolerate higher LoRA influence |
| Metal and machinery | 0.85–0.95 | Hard surfaces with clear edges benefit from strong detail |
11.3Using Alternative LoRAs
The Direct URL input accepts any compatible .safetensors LoRA file. While the Zoom Master is specifically trained for zoom operations, you can experiment with other LoRAs for specialized enhancement effects:
- Detail enhancement LoRAs can add texture to flat-looking regions
- Sharpening LoRAs can improve edge definition
- Style-specific LoRAs can enhance photos while adding artistic character
Browse available LoRA models on HuggingFace or CivitAI, and load them using the same Direct URL workflow. For more on finding and using LoRA models, see our guide to the best LoRA models for realistic AI images.
12.Get Started with AI Zoom and Enhance
AI zoom and enhance turns any photo into a source of detailed close-ups. Instead of re-shooting with a longer lens, booking additional photo sessions, or accepting blurry crops — select the area that matters, load the Zoom Master LoRA, and generate.
The workflow takes under two minutes per image: upload → paint region → paste LoRA URL → write prompt → generate.
Try AI Zoom Enhancement in Imagera's Image Editor →
For more on LoRA models and how they enhance AI image generation, see our complete guide to LoRA fine-tuning and our curated list of the best LoRA models for realistic AI images.