 AI Travel Photo Generator: Create Location Photos is a practical Imagera workflow: start from a real source file, describe what should change, generate with credits shown up front, and review before you publish. This guide covers the steps, quality checks, and when to use related tools.
Travel photography has two problems that rarely get talked about honestly. The first: the iconic spots — the Eiffel Tower viewpoint, the Santorini steps, the Bali rice terraces — are impossibly crowded, and getting a clean, composed shot there requires either extreme patience or waking up at 4am. The second: the photos you plan for months and take only once often don't match the conditions (weather, light, crowd) you imagined.
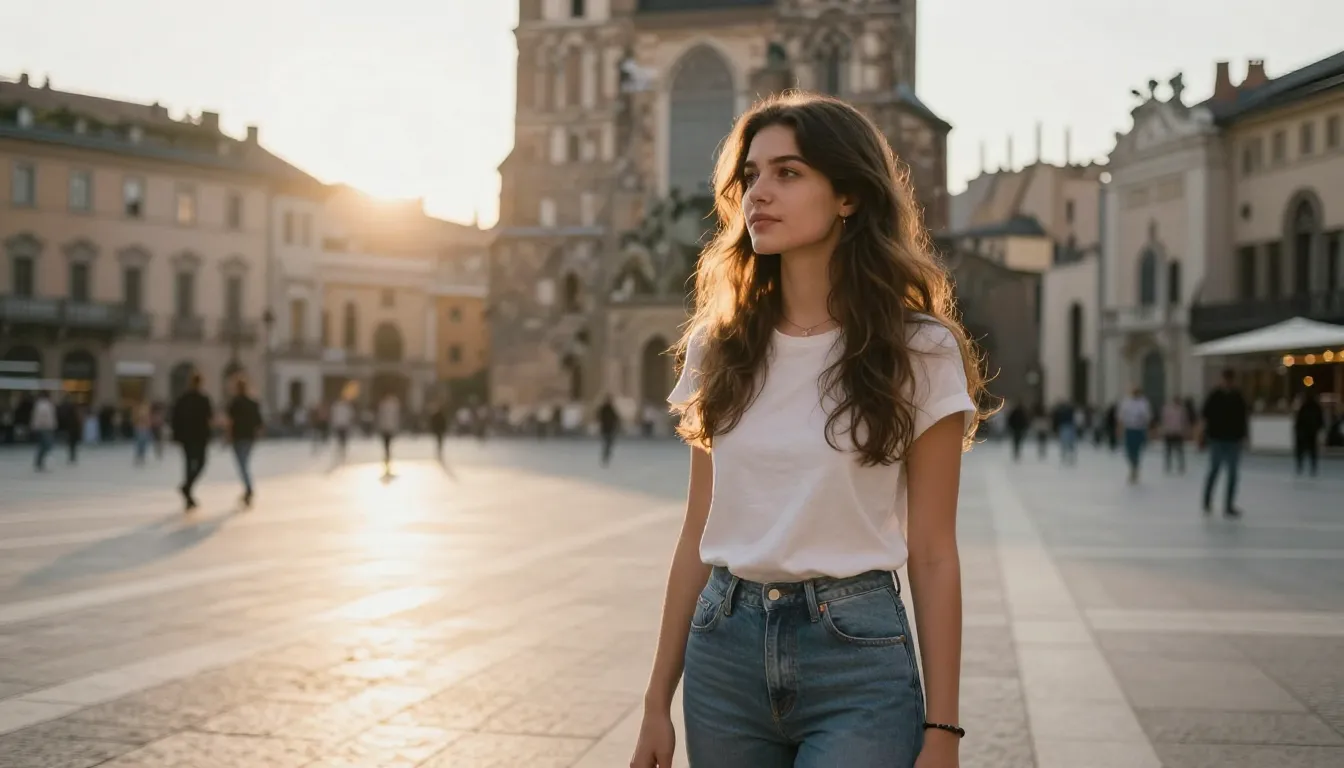
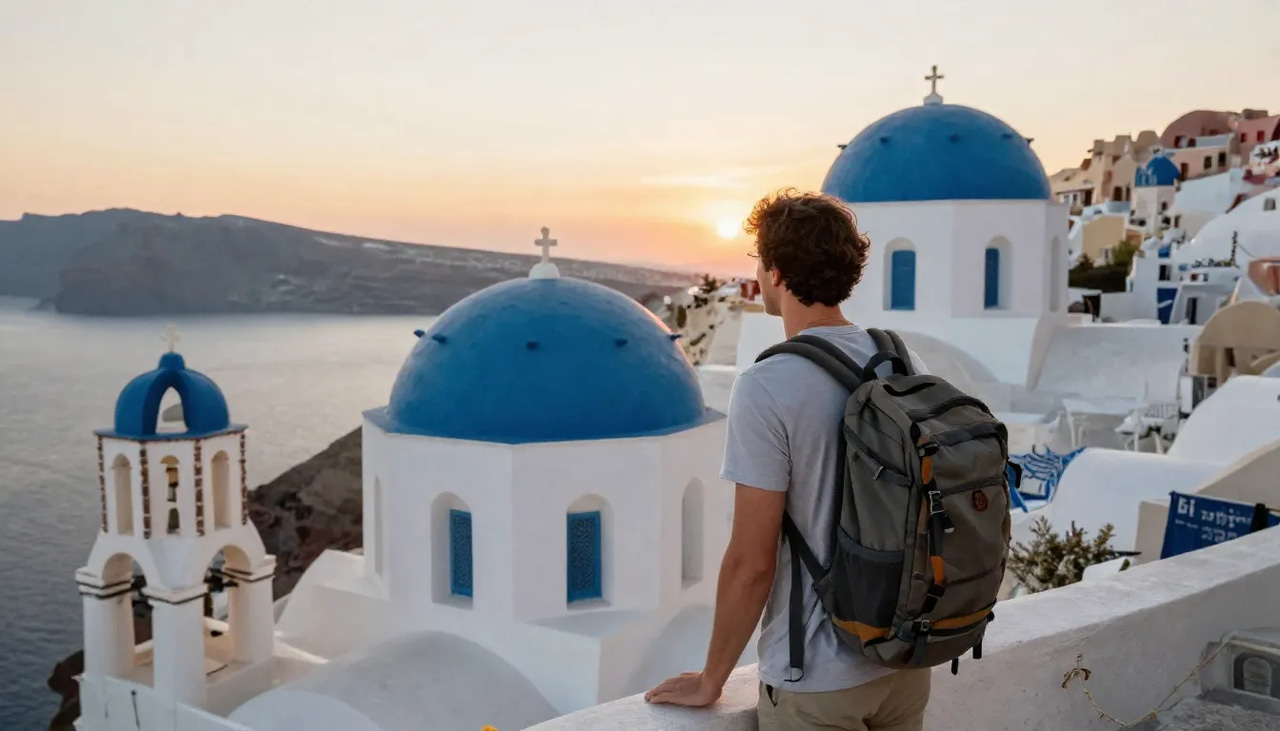
AI travel photo generators address a different problem entirely: they let you create a portrait in a location you haven't visited, or create a polished version of content from a trip you did take. Imagera's Real Life Photo AI renders a composite in about a minute, starting from a selfie and a one-tap candid mode plus optional scene descriptions in plain English. This guide explains how these tools work, what they're genuinely useful for, and how to get results that actually look like travel photography rather than obvious AI composites.
Quick answer: An AI travel photo generator uses your reference selfie to synthesize a location portrait at landmarks like Paris or Santorini without traveling, rendering a realistic composite in Imagera in about 60 seconds.
How do AI travel photo generators create realistic location photos?
Imagera's Real Life Photo AI extracts your likeness from a single clear selfie, then synthesizes it into a scene with matched lighting, cast shadows, and blended hair edges. A single composite renders in under 60 seconds at up to 4K, and adding a few varied reference angles instead of one flat headshot gives the model more to work with, so results look more natural. From there you can generate 100+ location variations.
Are AI travel photos accurate enough to look real?
Yes, when built from high-quality references shot in natural light, Imagera composites read as travel photography rather than obvious cutouts across a wide range of landmark styles. The details that sell realism are consistent lighting and correct shadow direction, which is exactly what a lighting-aware synthesis step targets. Labeling your images as AI-generated remains the right practice.
What an AI Travel Photo Generator Actually Does
An AI travel photo generator isn't a map-based camera — it's an image synthesis system that does two things:
- Extracts your likeness from a reference selfie or portrait photo
- Synthesizes you into a scene — either a real location photo you provide, or an AI-generated background based on a text description
The synthesis step is where modern systems differ from old-school cutout-and-paste: the AI generates the composite with consistent lighting, casts a shadow based on the light source in the scene, and blends edge detail (especially hair) so the result looks placed rather than pasted.
The output is a photo that looks like it was taken at that location, not like a layer mask on a background.
When AI Travel Photos Are Useful
Creating social content from a trip you took but couldn't get the shot
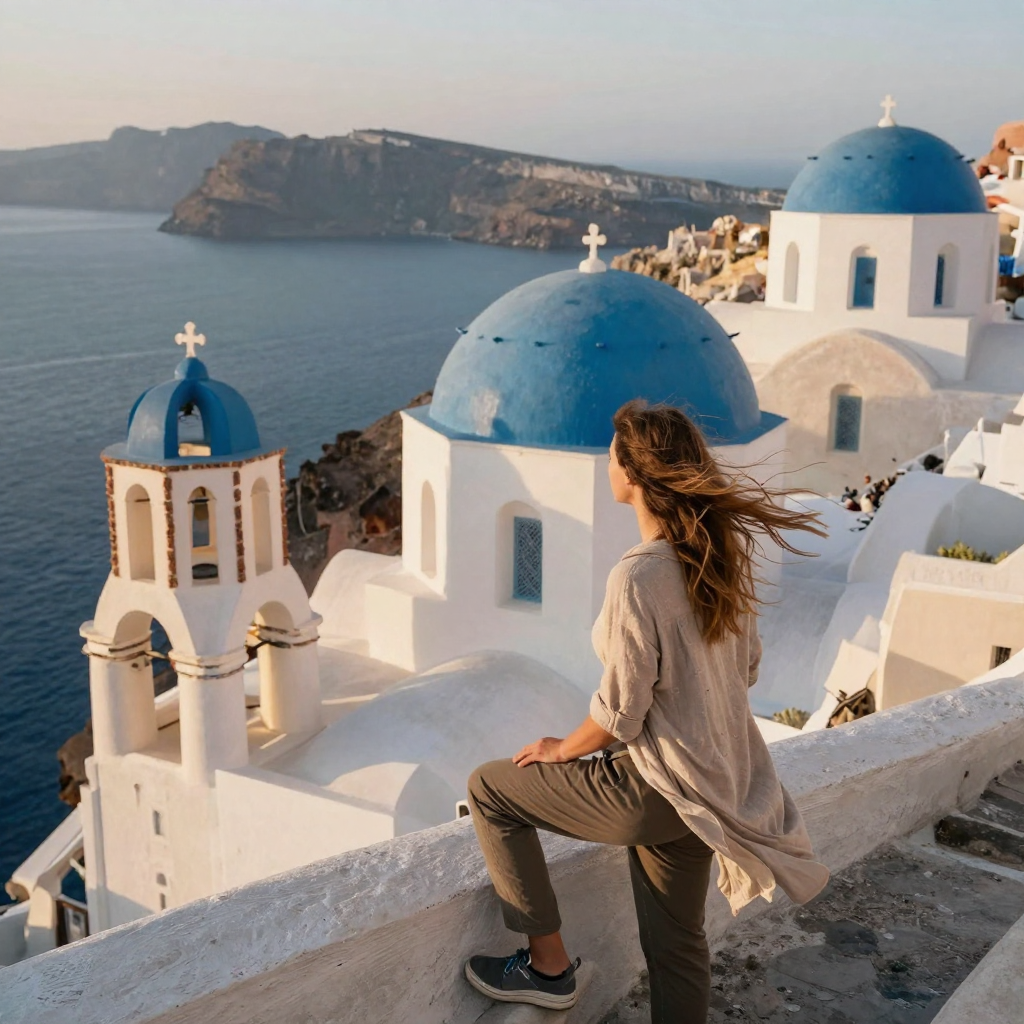
You visited Paris, the Louvre was packed, and every photo from the pyramid courtyard has strangers in it. Using your own reference selfie from the trip to generate a cleaner version of a photo you intended to take is practical creative editing — similar to removing passersby in Photoshop.
Testing a destination before a planned shoot
Photographers scouting locations can use AI travel photo generation to preview how a subject would look at a specific landmark at different times of day — useful for planning lighting, wardrobe, and composition before the actual trip.
Virtual travel content
For social media creators, travel content generated with AI disclosure is now a recognized format. "AI travel" is an emerging content category where creators generate themselves in global destinations and label the content as AI-generated. Audiences are generally receptive when the content is clearly creative rather than deceptive.
Portrait backgrounds for headshots
A professional headshot doesn't need a blank studio wall. Placing someone against a European streetscape or a coastal cliffside background can work for creative profiles, speaker pages, or social bios — as long as the context is understood.
Creating AI Travel Photos: Step-by-Step
Using Imagera's Real Life Photo AI:
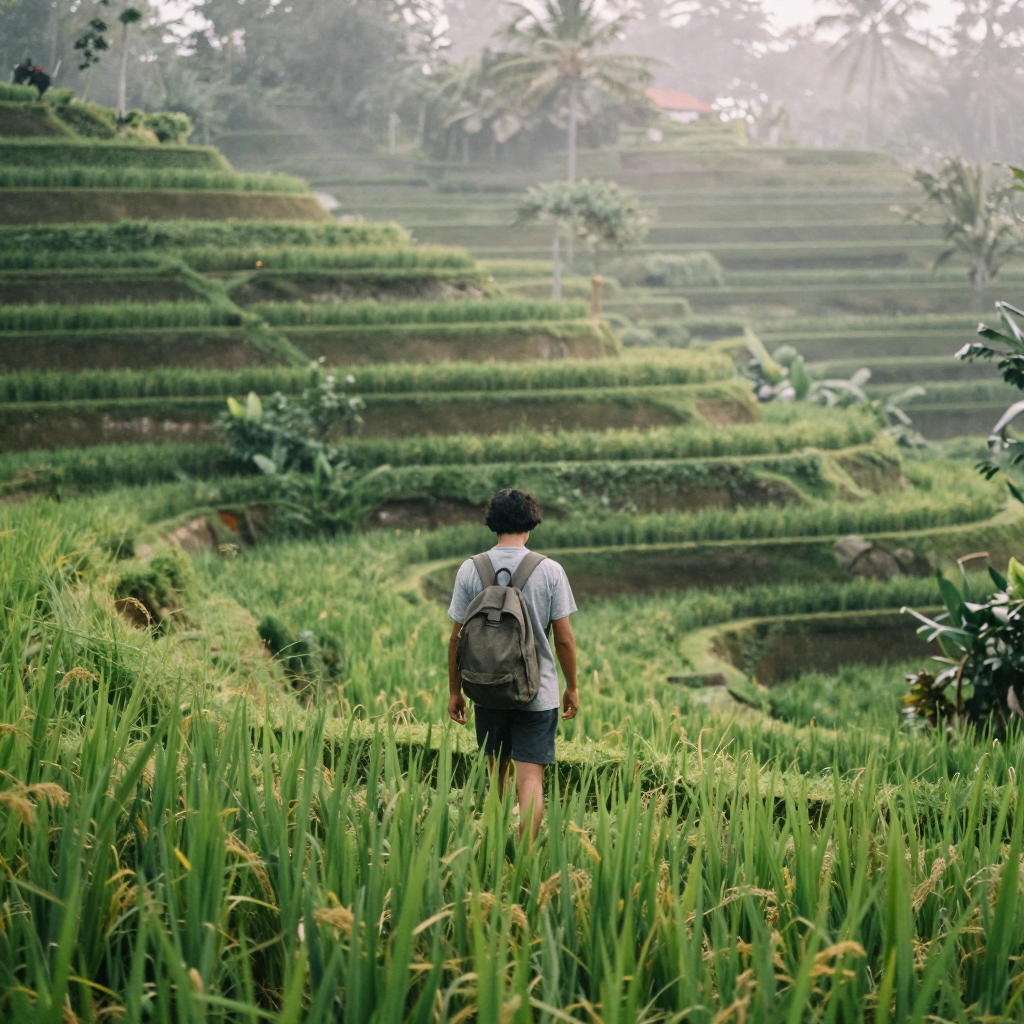
Choosing your reference photo
The quality of your reference photo directly determines the quality of the output. Use:
- A portrait where you're facing or near-facing the camera
- Natural light — ideally overcast daylight or soft golden-hour sun
- Reasonably high resolution (12MP+ modern smartphone is fine)
- A clean background in the reference photo so the AI isn't reading extra elements into your appearance
Avoid: heavy shadows across your face, very busy backgrounds that confuse the extraction, extreme expressions or poses that won't transfer naturally to a standing scene.
Describing or uploading your scene
You have two options:
Text prompt: Describe the scene in detail — "Golden hour at the Eiffel Tower, warm sunset light, cobblestone street in foreground." More specific descriptions give more consistent results. Include time of day (this sets the light temperature), weather (overcast gives flat even light, midday sun gives harsh shadows), and any specific foreground elements.
Upload a background: If you have a specific location photo, upload it as the background. This gives the AI precise lighting and perspective data to work with, which typically produces a more accurate composite than pure text generation.
Controlling placement and scale
The most common mistake in AI travel composites is scale — the person appears too large or too small relative to landmarks in the scene. Always reference nearby objects: a person should be shorter than a doorway, smaller than a car, and their scale relative to distant landmarks should match normal photography perspective.
Most tools let you specify where in the scene you appear (foreground, mid-ground). Foreground placement at the same depth as nearby objects tends to look the most natural.
Reviewing lighting consistency
Before finalizing, check:
- Shadow direction — does your shadow fall in the direction the light source in the scene implies?
- Color temperature match — are you lit with warm light if it's a golden-hour scene?
- Ambient fill — in an overcast scene, shadows should be soft and diffuse; in direct sunlight, shadows should be hard-edged
If the lighting is inconsistent, regenerate with a more specific scene description or use a different reference photo (one taken in closer lighting conditions to the target scene).
Scene-by-Scene: Popular Travel Locations
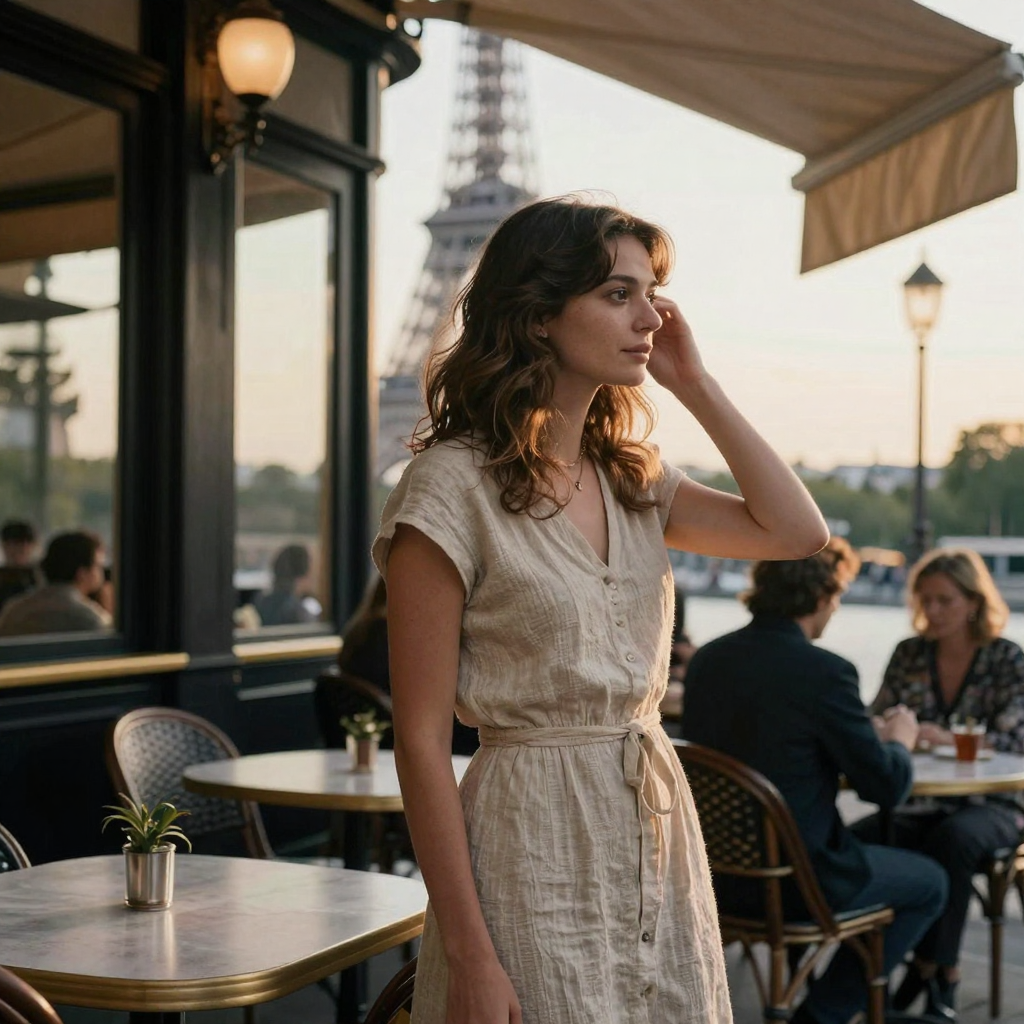
Paris (Eiffel Tower, Café de Flore)
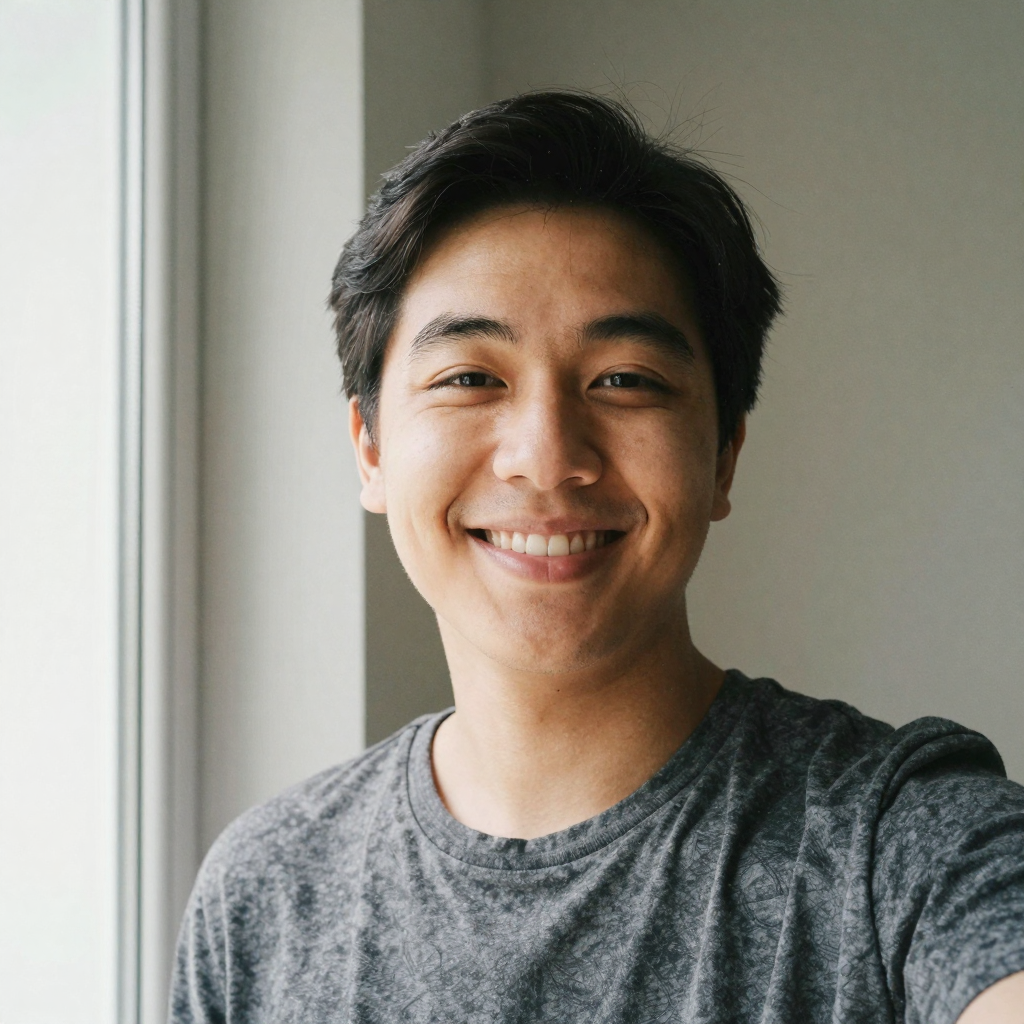
Light: Parisian light tends toward soft-warm in the city — ideal reference photos are those taken outdoors in gentle sun, not harsh midday. Overcast days produce the most versatile composites.
Prompt tips: "Standing in front of Eiffel Tower at dusk, soft warm city lights beginning to glow, cobblestone in foreground" — include the cobblestone for realistic scale context.
Beach and coastal scenes
Light: Beach scenes vary enormously — golden-hour beaches have deeply warm, low-angle light; midday beaches are harsh and contrasty. Specify clearly.
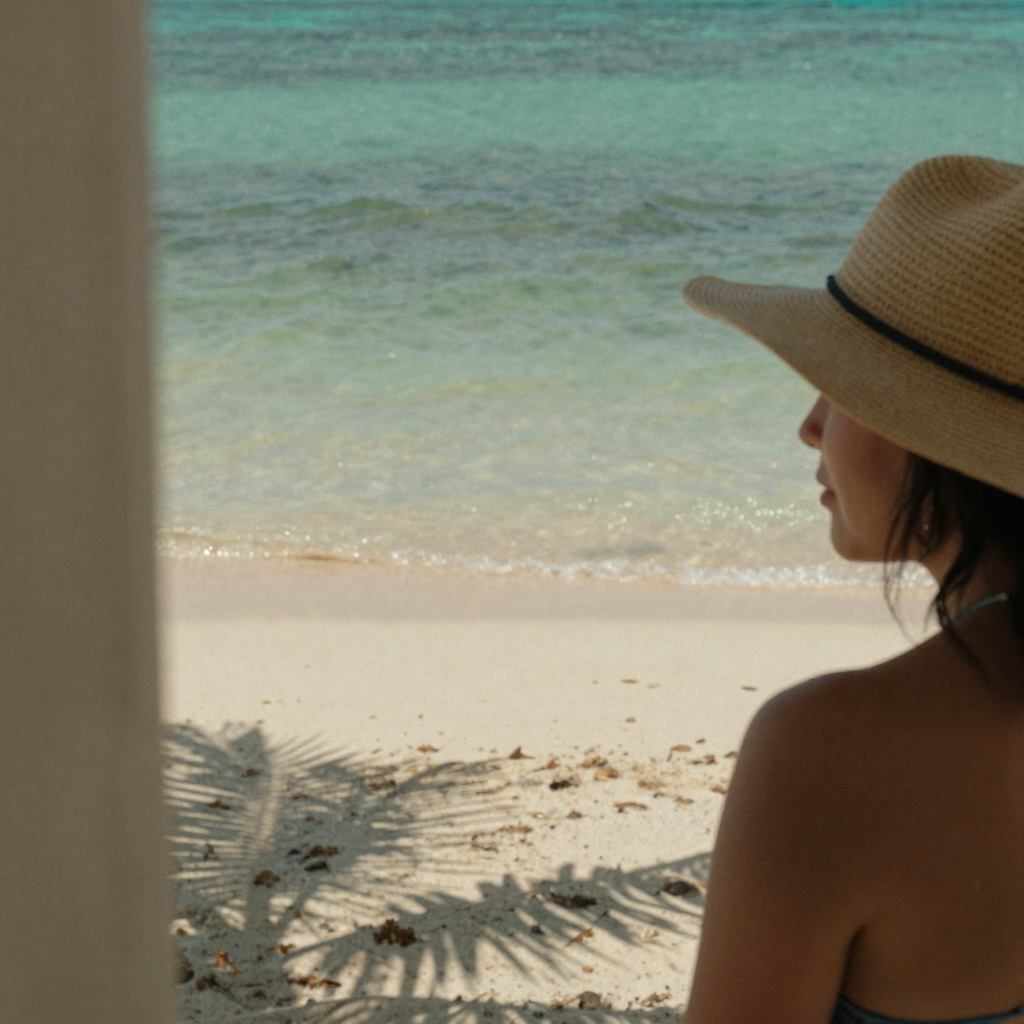
Prompt tips: "Standing on a white sand beach at golden hour, palm trees in background, soft ocean light" — the palm trees give scale and depth context.
Mountain summits and hiking trails
Light: High-altitude light is clear and slightly blue-cool. Reference photos taken outdoors in strong sunlight transfer well here.
Prompt tips: "At a mountain summit overlooking a valley, clear blue sky, strong directional sunlight from the left" — "from the left" controls shadow direction.
Japanese temples and cherry blossoms
Prompt tips: "Walking through a Japanese stone torii path in late afternoon, dappled tree light" — dappled light is forgiving of minor color-temperature inconsistencies.
Honest Use of AI Travel Photos
This is worth being direct about: AI travel photos are creative composites. They don't document where you were.
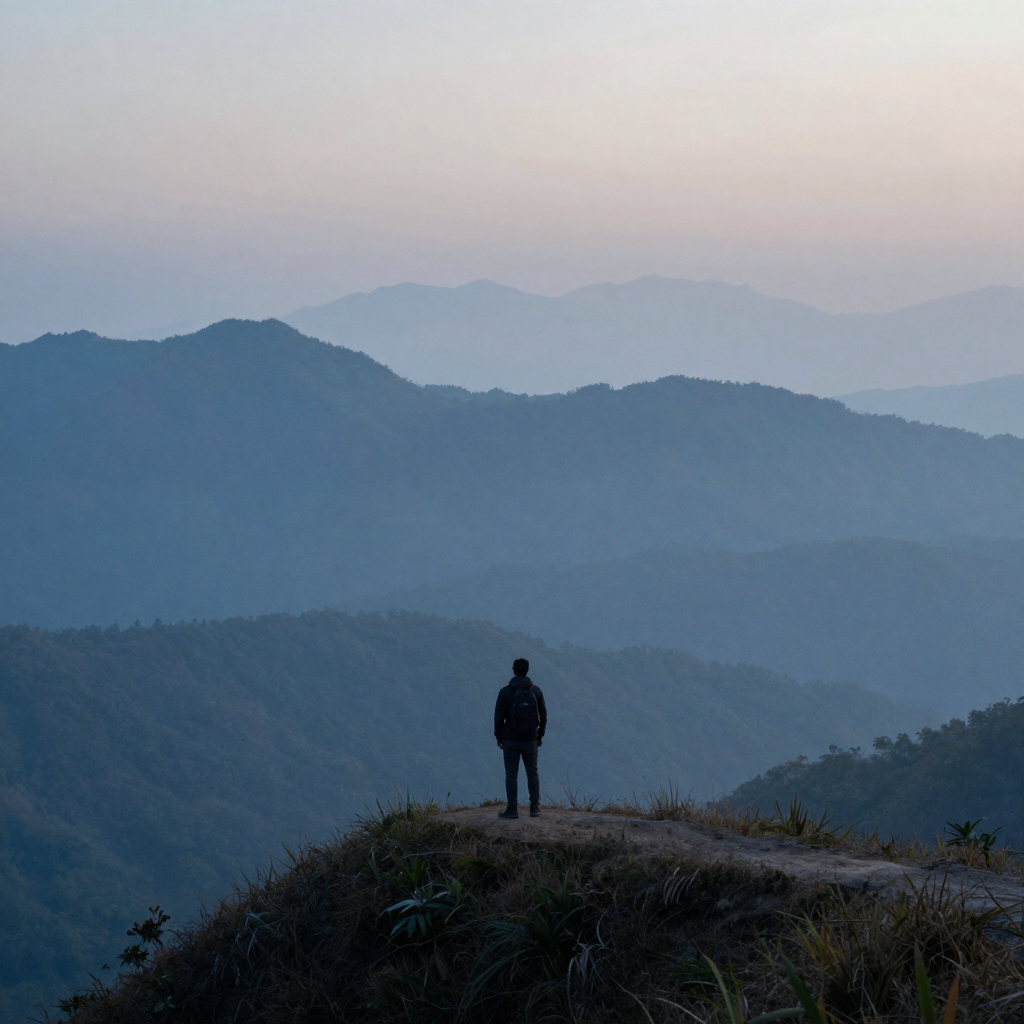
Good practice:
- Label AI-generated travel content as such when posting ("AI-generated," "virtual travel," or similar)
- Use them for fun, creative, and clearly imaginative content rather than implying you were present at specific events
- Don't use them to imply presence at places relevant to claims you're making professionally or in a resumé context
Most social audiences find virtual travel content entertaining and clearly distinct from actual travel photography — the aesthetic of AI images is recognizable, and most people aren't confused. The disclosure is still the right practice.
Tips for Getting the Most Realistic Results
Match lighting between reference and scene. This is the highest-leverage improvement you can make. A reference photo taken outdoors in natural light transfers into outdoor scenes far more convincingly than one taken under flat indoor lighting.
Use a recent, high-resolution selfie. The AI can only synthesize what it can read. A crisp, well-lit reference selfie in good light gives it significantly more to work with than a compressed screenshot or blurry candid.
Be specific in your prompts. "Paris" is vague. "Standing on Pont des Arts bridge, overcast Paris afternoon, limestone buildings in background, Seine river visible below" gives the model much more useful information.
Regenerate until the lighting works. Most AI tools let you generate multiple variants. If the first result has inconsistent lighting or the wrong scale, regenerate — small changes in the prompt wording can produce meaningfully different lighting outputs.
What are the biggest tells that a travel photo was AI-generated?
The most common giveaways are lighting mismatch, wrong scale against landmarks, and edge artifacts around hair. A subject lit by cool indoor light dropped into a warm golden-hour beach reads as pasted. Scale errors — a person as tall as a doorway or dwarfing a distant tower — break the perspective instantly. Careful reference selection and honest scale checks fix most of them before you export.
Beyond those three, watch for a handful of subtler tells that scrutiny tends to surface:
- Reflections and water: If you generate yourself near a canal, a wet street, or a shop window, the AI often forgets to add your reflection — or adds one that does not match your pose.
- Ground contact and shadow anchor: Feet that hover, or a shadow that starts in the wrong place, signal compositing. A grounded, correctly-angled shadow sells the shot.
- Repeating background elements: Generated crowds, cobblestones, or foliage sometimes tile or duplicate. Crop tighter or regenerate the background region.
- Text on signage: AI-rendered street signs and café menus frequently produce garbled lettering. Frame to keep readable text out of shot, or choose a scene without it.
| Location scene | Best reference light | Prompt anchor for scale | Common failure to check |
|---|---|---|---|
| Paris café / Eiffel Tower | Soft-warm outdoor, overcast | Cobblestones, café chairs in foreground | Tower scale too large behind subject |
| Beach / coastal | Golden hour, low-angle warm | Palm trees or a beach chair for depth | Harsh midday shadows that don't match soft reference |
| Mountain summit | Clear, slightly cool sunlight | Valley or ridge line behind for distance | Cool background vs. warm-lit subject |
| Japanese temple path | Dappled late-afternoon | Torii gate or stone lantern for height | Garbled text on any visible signage |
| European city street | Overcast, flat even light | Doorway, parked car, or lamppost | Missing reflection in shop windows |
Run the scene through your reference-light column first, then your scale anchor, then the failure check. Three passes catch the overwhelming majority of composites that would otherwise read as obviously synthetic in a feed.
How many reference photos do you actually need for a travel composite?
One sharp, well-lit portrait is enough for a single composite; two or three at different angles help when you want variety across a set. The AI reads likeness from the reference, so quality beats quantity — a single crisp golden-hour selfie outperforms five blurry indoor snaps. Match the reference light to your target scene and you cut regeneration cycles sharply.
If you plan a whole set — say, a "trip" carousel across several cities — capture your references in similar outdoor light on the same day so your skin tone and appearance stay consistent frame to frame. A carousel where you look warm and sunlit in one shot and flat and indoor-lit in the next breaks the illusion faster than any single background error. Consistency across the set is the real production challenge, not any one image.
Where to go next (product links)
| Need | Link |
|---|---|
| Pricing | Open |