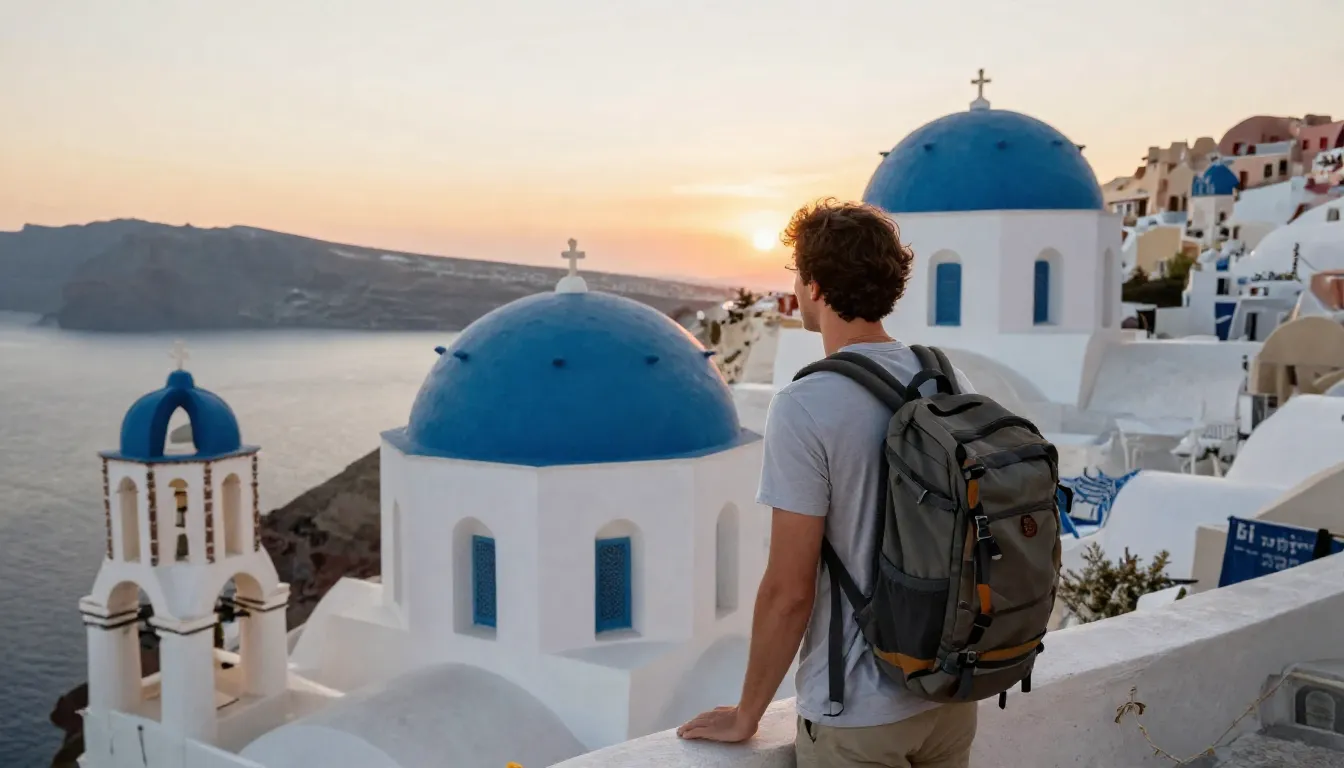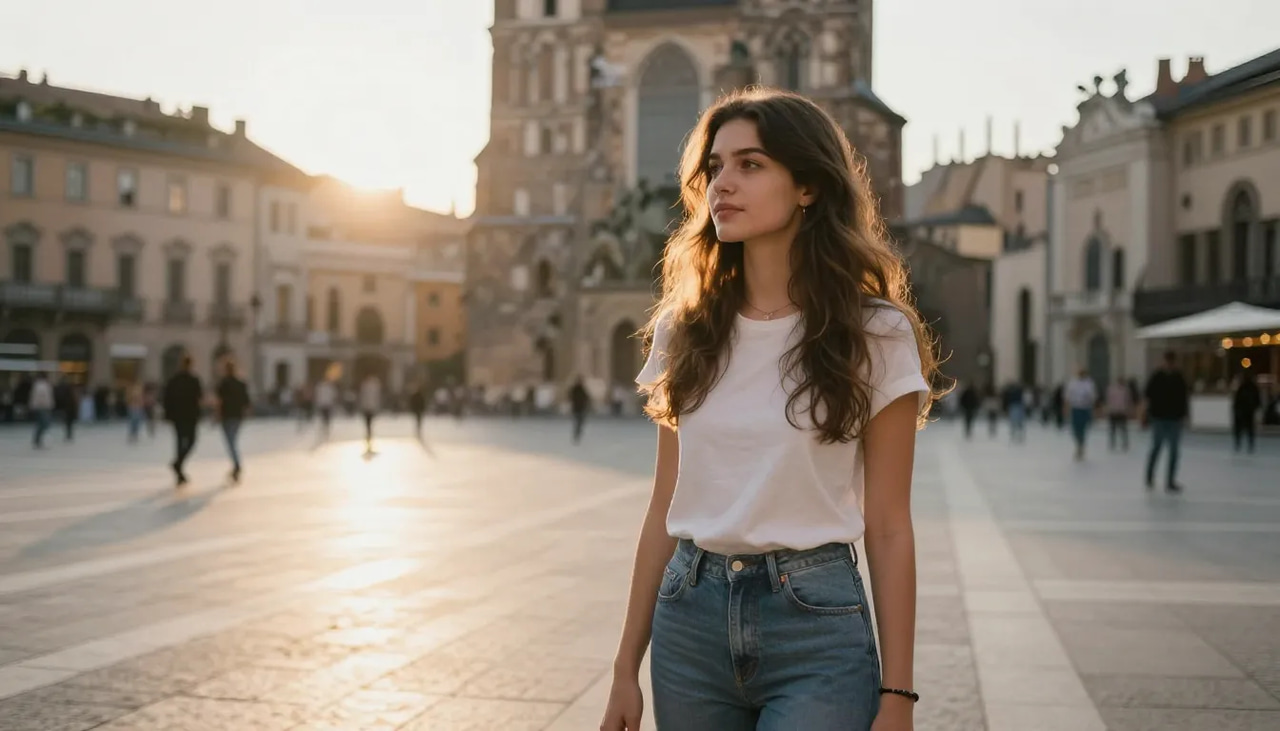
 The classic request — "can you add me to a photo in Paris?" — used to mean a rough green-screen cutout, a mismatched lighting patch, and the obvious seam where a person was pasted over a background. The results looked exactly like what they were: cut-and-paste.
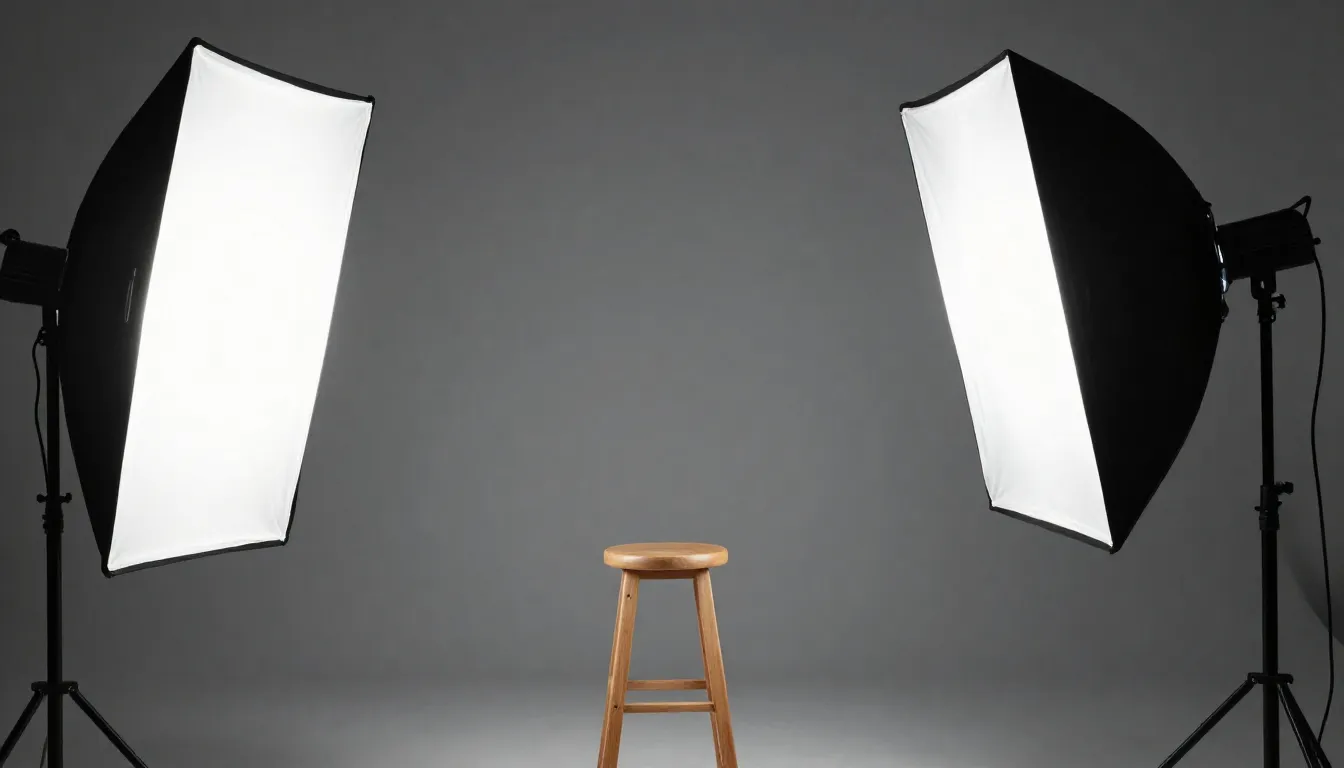
AI scene placement lets you add a person to a photo in any scene — whether that's a landmark, a beach, a studio backdrop, or an uploaded location — in a fundamentally different way. Instead of a hard cutout, the system understands the person's shape, the background's depth and lighting, and synthesizes a composite where shadows, ambient color, and edge detail are consistent across both elements. The person looks like they were actually standing there. A scene composite renders in about a minute, and Imagera's Real Life Photo AI gives you a one-tap candid mode plus optional scene descriptions in plain English — describe any background you want, or let it pick a natural everyday moment for you.
This guide covers how AI person-to-photo placement works, how to get the best results, and what it's useful for practically.
Quick answer: Yes. With Imagera you upload 1 clear photo of yourself, describe or pick a target scene, and the AI composites you into it with matched lighting, perspective, and shadows in under a minute.
How many photos do you need to put yourself in any scene with Imagera?
You only need 1 sharp, well-lit photo of your face to start, though uploading a few different angles helps the AI lock in your likeness more reliably. Imagera outputs a 4K-ready composite in under a minute and covers 100+ scene styles, from beach sunsets to studio backdrops. Each generation costs a set number of credits, and you can re-roll variations until one result matches your vision.
Does AI scene placement keep my face looking like me?
Yes, Imagera locks onto your facial geometry so your likeness stays consistent across 100+ scenes, and you can regenerate up to 8K (and even 16K) detail if a first pass drifts. Results are most convincing when your source photo is front-facing and evenly lit, so one clean upload beats several blurry ones for reliable, believable placement.
How AI Photo Scene Placement Actually Works
A traditional background-removal tool does one thing: separate the subject from the background along an edge. What you get is a clean cutout of a person, and then you manually drag that cutout onto a new background.
The problems with this approach:
- Lighting direction mismatch — if the original photo was taken with light from the left, but the new background has natural light from the right, the composite looks wrong immediately.
- Color temperature difference — warm indoor lighting vs. cool outdoor light.
- Shadow missing — the person casts no shadow in the new scene, which is a subconscious but strong visual cue that something is wrong.
- Edge fringing — the cutout has remnants of the original background color at the edge, especially visible in hair.
AI scene placement addresses all of these by treating the task as an image synthesis problem rather than a cutout-and-paste operation. The model:
- Extracts the person's identity and pose from the reference photo
- Analyzes the target scene for lighting angle, color temperature, and depth
- Synthesizes the person into the scene with consistent illumination
- Generates a realistic ground shadow or surface reflection based on where the person is standing
- Blends edge detail — especially hair — at the pixel level
The result is a composite where the seams have been eliminated rather than just hidden.
Step-by-Step: Adding a Person to a Photo Scene with AI
Using Imagera's Real Life Photo AI:
Step 1: Choose your reference photo
This is the photo the AI uses to capture your appearance. For the best result:
- Use a photo where you're facing the camera or at a slight angle — full profile is harder for the model to work with
- Good lighting in the reference photo helps; flat, even light is most versatile
- The photo should show you at roughly waist-up or full body, depending on how much of you you want in the scene
- Higher resolution gives the model more to work with — don't use a heavily compressed or small thumbnail
Step 2: Choose or upload your target scene
This is where you want to appear. You can:
- Upload a specific location photo you want to appear in
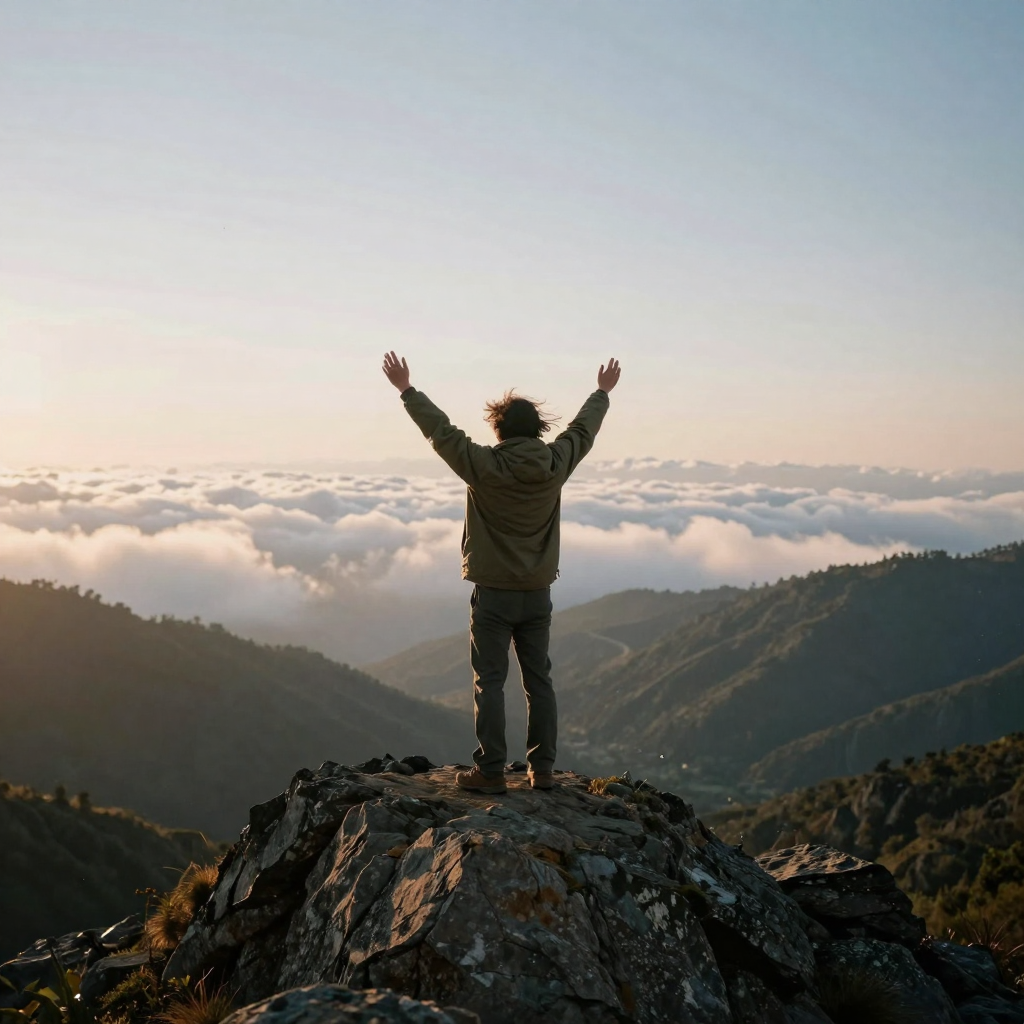
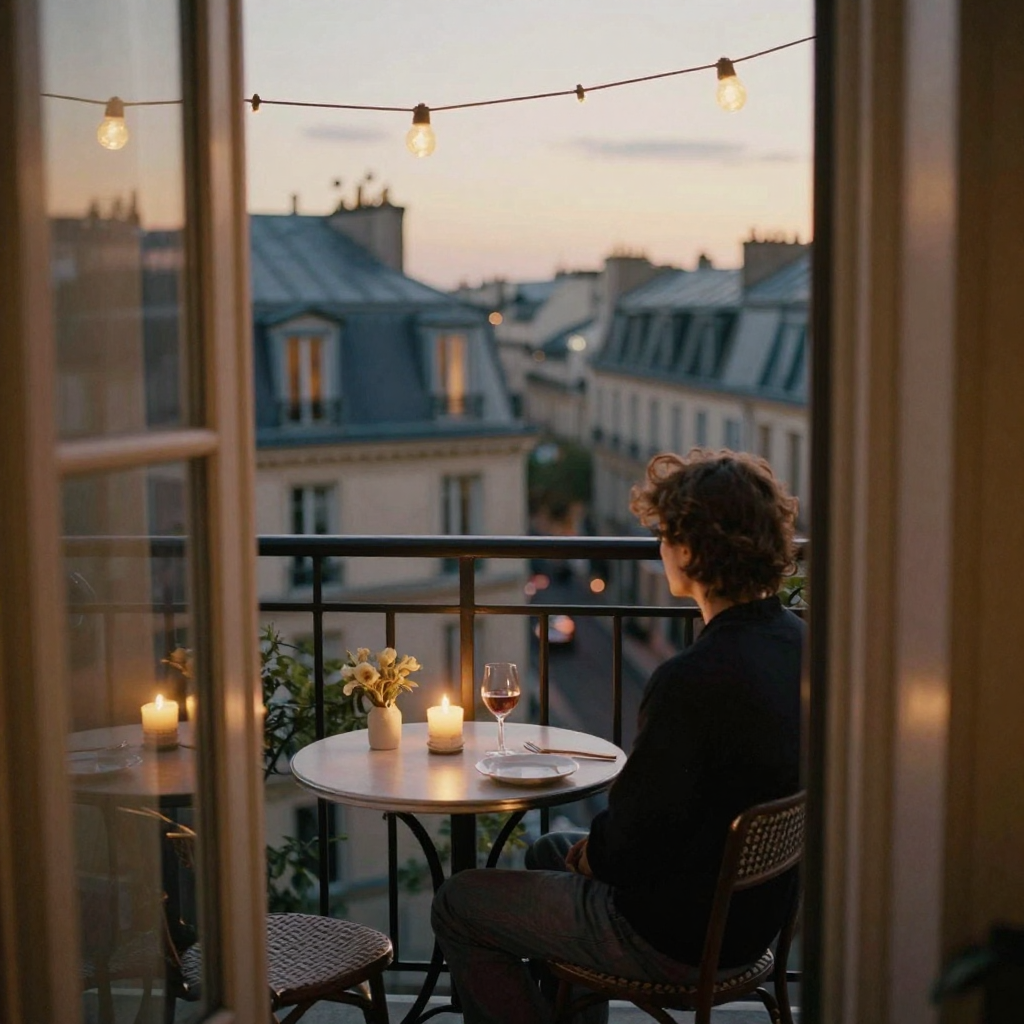
- Describe a scene in text (e.g., "sunlit Parisian café terrace" or "mountain summit at golden hour")
- Leave the description empty and use the one-tap candid mode — the AI places you in a natural, casual phone-style moment without needing your own background photo
If you're uploading a location photo, scenes with clear depth and obvious light direction work best — the AI needs context cues to place you realistically.
Step 3: Set your position and scale
Decide where in the scene you should appear. A person standing in the foreground of a wide landscape will look much larger than one positioned toward the vanishing point. Get the scale right relative to objects in the scene (doors, cars, trees) — a person taller than a door is an instant tell.
Step 4: Generate and review
The AI generates the composite. Review for:
- Shadow consistency — does your shadow fall in the right direction based on the light source?
- Edge quality at hair — this is where cutouts fail most visibly
- Color matching — does your skin tone match the scene's ambient color (warm sunset vs. cool overcast)
- Scale relative to surroundings — does your size make sense in the scene?
If any of these are off, adjust the scene or position parameters and regenerate.
What Makes a Convincing AI Photo Scene
The lighting rule
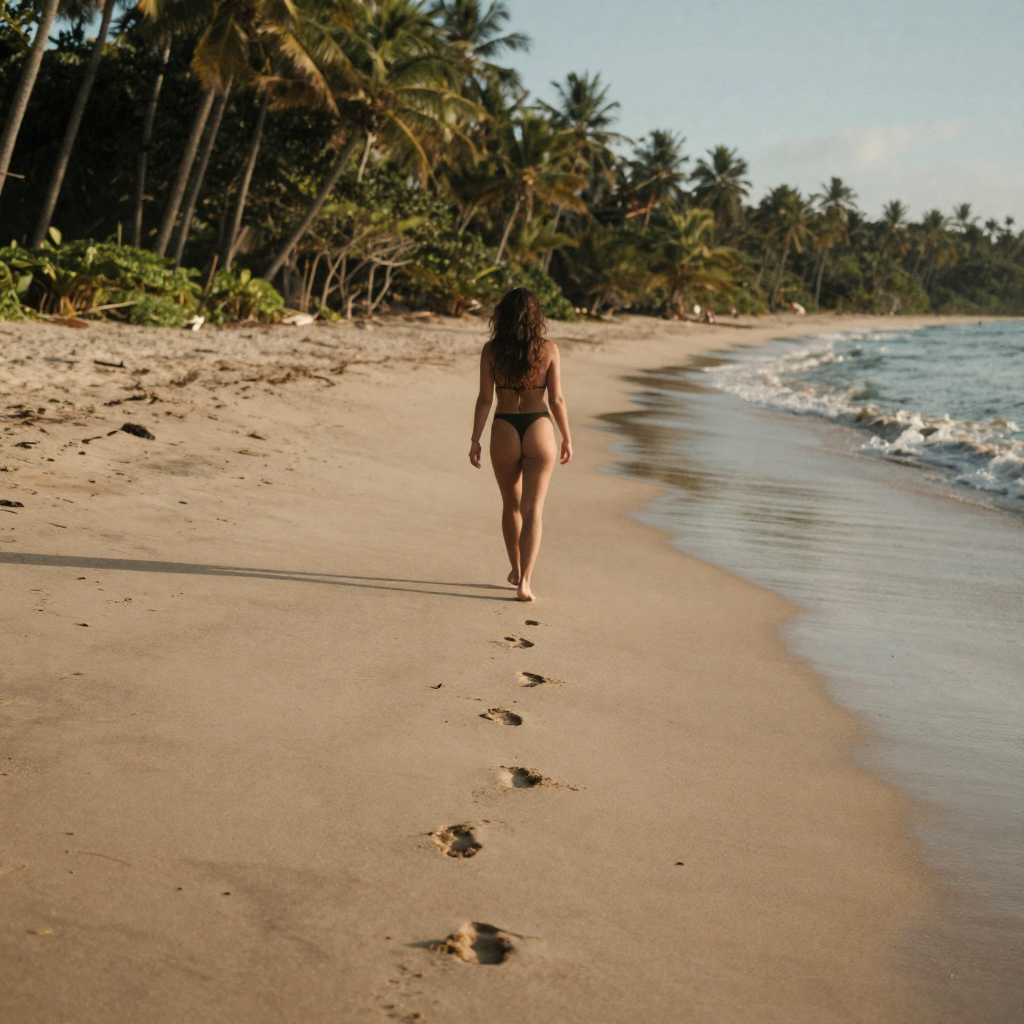
The single biggest factor in whether a composite looks real is whether the light hitting the person matches the light in the scene. A photo of you taken in warm afternoon sun placed into a blue-sky beach scene at noon will have obvious lighting inconsistency.
For the most convincing results: use a reference photo taken in similar lighting conditions to your target scene. A photo taken outdoors in natural light is more versatile than one taken under indoor tungsten or strong flash.
Scale and perspective
Objects get smaller with distance in photos. If you're placed in the background of a scene, you should appear smaller than foreground objects. AI tools handle this automatically when you specify your position in the scene, but if the scale looks wrong, move your position closer or further in the scene parameters.
The horizon line
Your eye level should roughly align with the scene's horizon line if you're standing on level ground. Placing someone above the horizon when they're standing creates the "floating" effect that looks wrong.
Practical Use Cases
Travel content creation
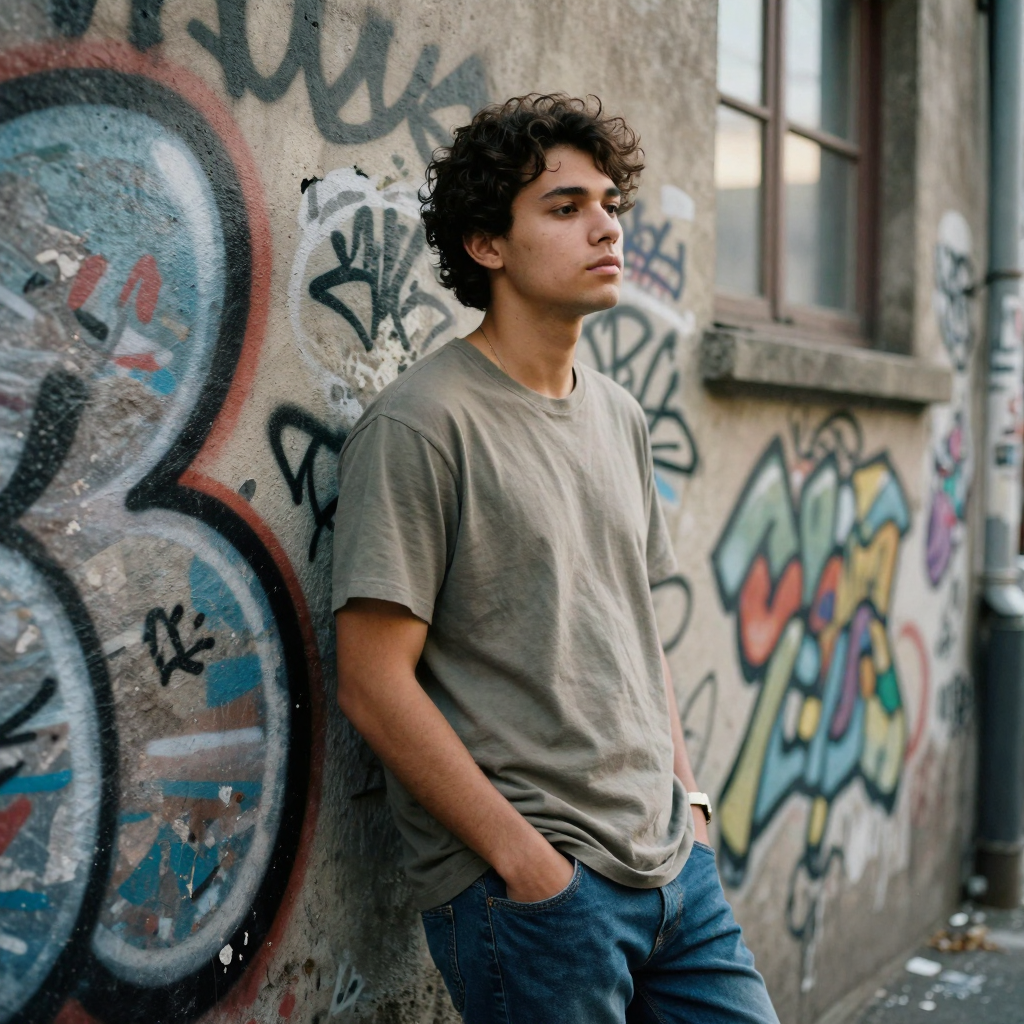
You want content from a destination you haven't visited, or you want a more polished version of a selfie you actually took there. AI scene placement is used extensively for social content — the key is to label it as AI-generated when posting to platforms that require disclosure.
Testing locations for shoots
Photographers planning a portrait session can use AI placement to see how a subject would look in a specific location before the actual shoot — useful for coordinating styling choices.
Virtual photoshoots
For individuals who want professional-quality location portraits without the cost of a travel shoot, AI scene placement provides a practical alternative.
Reviving an imperfect shot
You took a great photo of yourself in a candid moment but the background is a parking lot. AI can replace the background with a more appropriate scene while keeping you from the original photo.
Limitations and Realistic Expectations
AI scene placement is significantly better than manual cutout-and-paste, but it has limits:
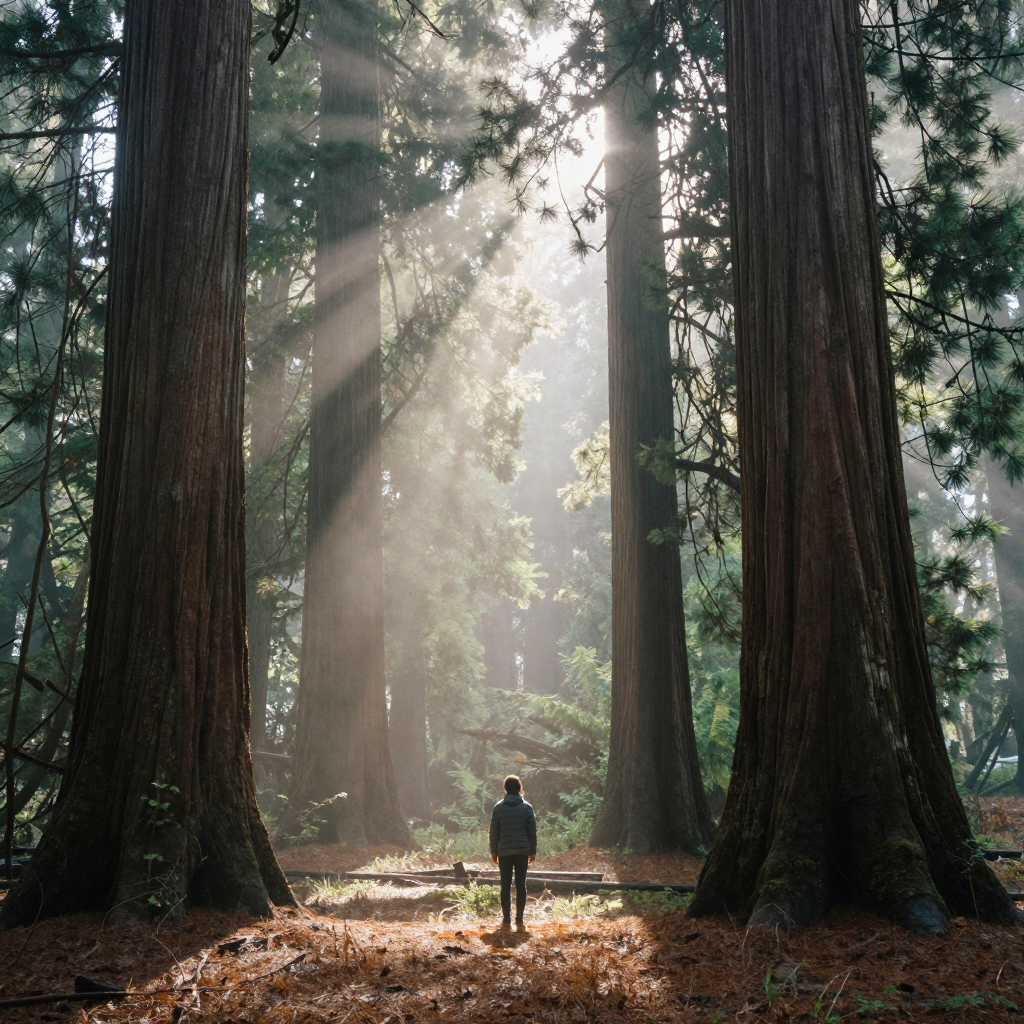
- Complex poses — an extreme side profile or a pose where the subject is partially behind an object is harder for the model to handle
- Very fine-detail edges — loose, curly hair or flyaways at the edge are harder to preserve than close-cropped or smooth hair
- Scene physics — if you're supposed to be in water, reflections and wet clothing aren't synthesized automatically
- People who know you — for your own social content, the results often look natural; for contexts where people know the subject well, subtle inconsistencies in how the person's face renders may be noticeable
Use the result as a creative and practical tool, not as a document of where you were or what happened.
How is AI scene placement different from Photoshop compositing?
AI scene placement synthesizes the composite in a single generation step, matching lighting, shadow, and edge detail automatically, while Photoshop compositing requires you to cut out the subject and manually rebuild those cues by hand. The AI route delivers a believable result in about a minute; a convincing manual composite can take an experienced retoucher a half-hour or more per image.
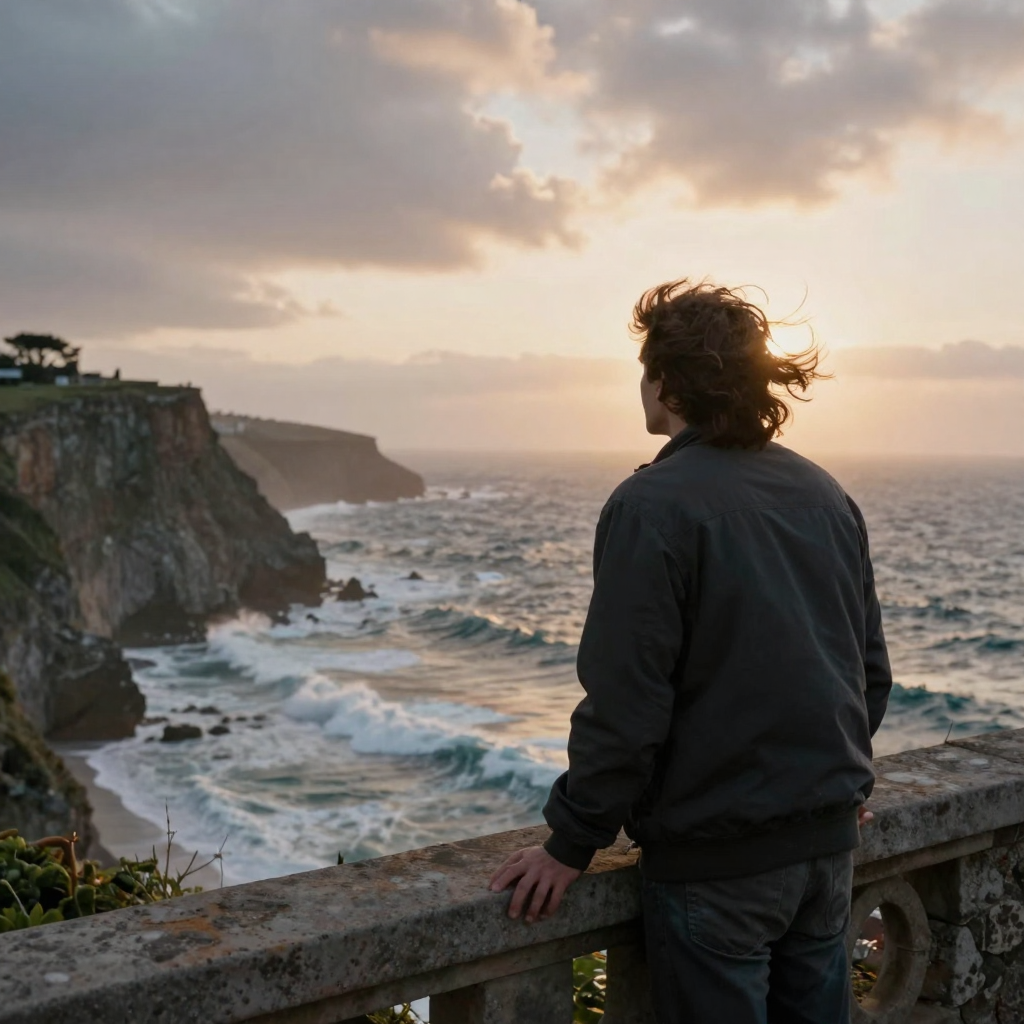
The difference is where the work happens. In Photoshop, you select the subject, refine the edge mask around the hair, paint in a ground shadow, colour-grade the layer to match the scene's temperature, and add ambient light spill — every one of those steps is a manual judgement call, and a mistake in any of them betrays the composite. AI scene placement folds all of them into the model's synthesis: it reads the scene's light angle and colour, renders a matching shadow, and blends the hair edge at the pixel level, so there is no seam to hide. The table below sets the two approaches side by side so you can pick the right tool for the job — manual editing still wins when you need pixel-exact control for a high-stakes commercial print, but AI wins on speed, consistency, and the shadow-and-lighting realism that manual cutouts most often get wrong.
| Factor | Manual (Photoshop cutout) | AI scene placement |
|---|---|---|
| Time per image | 20–40+ minutes | About a minute |
| Lighting match | Hand-graded, error-prone | Synthesized to match the scene |
| Ground shadow | Painted manually | Generated automatically |
| Hair edges | Manual masking, often fringed | Blended at pixel level |
| Skill needed | Experienced retoucher | Anyone, plain-English prompt |
| Best for | Pixel-exact commercial control | Fast, believable social and lifestyle scenes |
For most travel content, lifestyle posts, and virtual portraits, the AI approach reaches a convincing result faster and more reliably than a hand composite. Reserve manual editing for the rare frame that needs absolute control over every pixel.
How do you match your reference photo to the target scene?
Pick a reference photo whose light direction and colour temperature already resemble the target scene — outdoor daylight for an outdoor scene, warm light for a sunset, cool light for an overcast setting. The closer the two light sources match at the start, the less the model has to reconcile, and the more natural the final composite reads.
Lighting mismatch is the single most common reason a composite looks off, so choose the input deliberately. If you plan to place yourself on a sunlit beach, a reference selfie shot outdoors in soft daylight will blend far better than one taken under indoor tungsten or a hard camera flash, because the direction and warmth of the light are already close. Beyond light, mind the angle: a front-facing or slightly turned reference gives the model more identity information than a full profile, and a waist-up or full-body frame lets you control how much of yourself appears in the scene. Resolution matters too — a crisp 12-megapixel phone photo gives the model clean detail to work with, whereas a small, heavily compressed thumbnail forces it to guess at edges and skin texture. When in doubt, shoot a fresh reference in light that resembles your target scene rather than forcing an old indoor photo into an outdoor composite.
Where to go next (product links)
| Need | Link |
|---|---|
| Pricing | Open |