 If you've looked into AI headshot or AI photoshoot generators before, you've run into the standard workflow: upload 20–50 selfies from different angles, wait 30–60 minutes while the system trains a custom LoRA model on your face, then receive a batch of results. That process works, and it produces highly consistent output because the model has been trained specifically on you.
But the barrier — 20+ photos, a long wait, and the need to carefully curate a training dataset — stops a lot of people. One-photo AI photoshoot generators take a different approach: zero-shot identity transfer, where the system synthesizes location and style variations from a single reference photo without any training step.
This guide explains the difference between the two approaches, when the one-photo method is the right choice, and how to get the best results from a single-image input. The short answer: for most LinkedIn headshots and location portraits, a one-photo approach delivers usable results in minutes rather than hours, without training.
Quick answer: Yes — with Imagera you can create a full AI photoshoot from just 1 reference photo, with no 20-selfie training step, and get usable variations in minutes instead of hours.
How does an AI photoshoot from one photo work without training?
Imagera uses zero-shot identity synthesis: instead of fine-tuning a custom model on 20–50 selfies over 30–90 minutes, it extracts your face features from a single photo at inference time. This cuts setup from hours to under a few minutes, produces several location and style variations per run, and reaches 4K-ready output — far quicker than dataset-based training.
Is a one-photo AI photoshoot as accurate as a 20-photo trained model?
For portrait-distance shots — LinkedIn headshots and location portraits — a single photo covers most real needs at a fraction of the cost. Identity consistency can be slightly lower across a large 50+ image batch than with a fully trained model. Training-based generation stays the better pick mainly for very large batches or unusual styles like anime or oil painting.
Two Approaches to AI Photoshoots
Training-based (20–50 photo upload)
How it works: You upload a dataset of photos showing your face at multiple angles, expressions, and lighting conditions. The system fine-tunes a generative model specifically on your appearance — essentially teaching it what you look like. After training, the custom model can generate you in a wide variety of settings with high identity consistency.
Advantages: High identity fidelity (the output very consistently looks like you), works in abstract styles (oil painting, watercolor, fantasy), and handles extreme pose and lighting changes well.
Disadvantages: Requires 20–50 careful photo curation, 30–90 minute wait, higher cost per generation, results often require post-processing to look natural rather than artificially smooth.
One-photo approach (zero-shot)
How it works: A single reference photo — usually a clear portrait — is used directly at inference time. The generative model extracts your facial identity features and conditions the scene generation on those features without a separate training step.
Advantages: Immediate results (minutes, not hours), no dataset curation needed, lower cost, good enough for headshots, social content, and location portraits.
Disadvantages: Identity consistency is slightly lower than a fully fine-tuned model — across a large batch of outputs, there may be minor variations in how your face renders. Best for portrait-distance shots; extreme angles or unusual styles work less consistently.
Which should you use?
| Need | Training-based | One-photo |
|---|---|---|
| Professional headshots (1–3 looks) | Either works | Yes, simpler |
| Large batch (50+ images) | Recommended | Less consistent at scale |
| Unusual styles (anime, painting) | Better | Limited |
| Location portraits | Either works | Yes |
| Quick social content | Unnecessary overhead | Yes |
| Budget-conscious | More expensive | More affordable |
For most personal use — headshots for LinkedIn, location portraits, social content — the one-photo approach is the practical choice.
How One-Photo AI Photoshoots Work in Practice
Using Imagera's Real Life Photo AI:
Choosing your reference photo
The reference photo determines everything downstream. Invest a few minutes choosing the best one you have:
What the AI reads from your reference:
- Facial geometry: bone structure, proportions, the specific shape of your eyes, nose, and jaw
- Skin tone and texture
- Approximate age range
- Hair style, color, and length
What makes a good reference photo:
- Face clearly visible and reasonably large in frame (at least 400px face width is ideal)
- Looking roughly at the camera — a slight angle is fine, but full profile makes identity extraction harder
- Natural or outdoor light preferred over harsh flash
- Neutral to slight expression — a wide smile distorts facial geometry slightly, which can affect some synthesis
- No heavy sunglasses, hat brim over the eyes, or heavy shadows across the face
A recent, clear selfie taken outdoors in daylight is usually the best starting point. A well-lit portrait from a professional photographer is even better.
Specifying your output
With a one-photo system, you specify the output via text description or template:
Location and background:
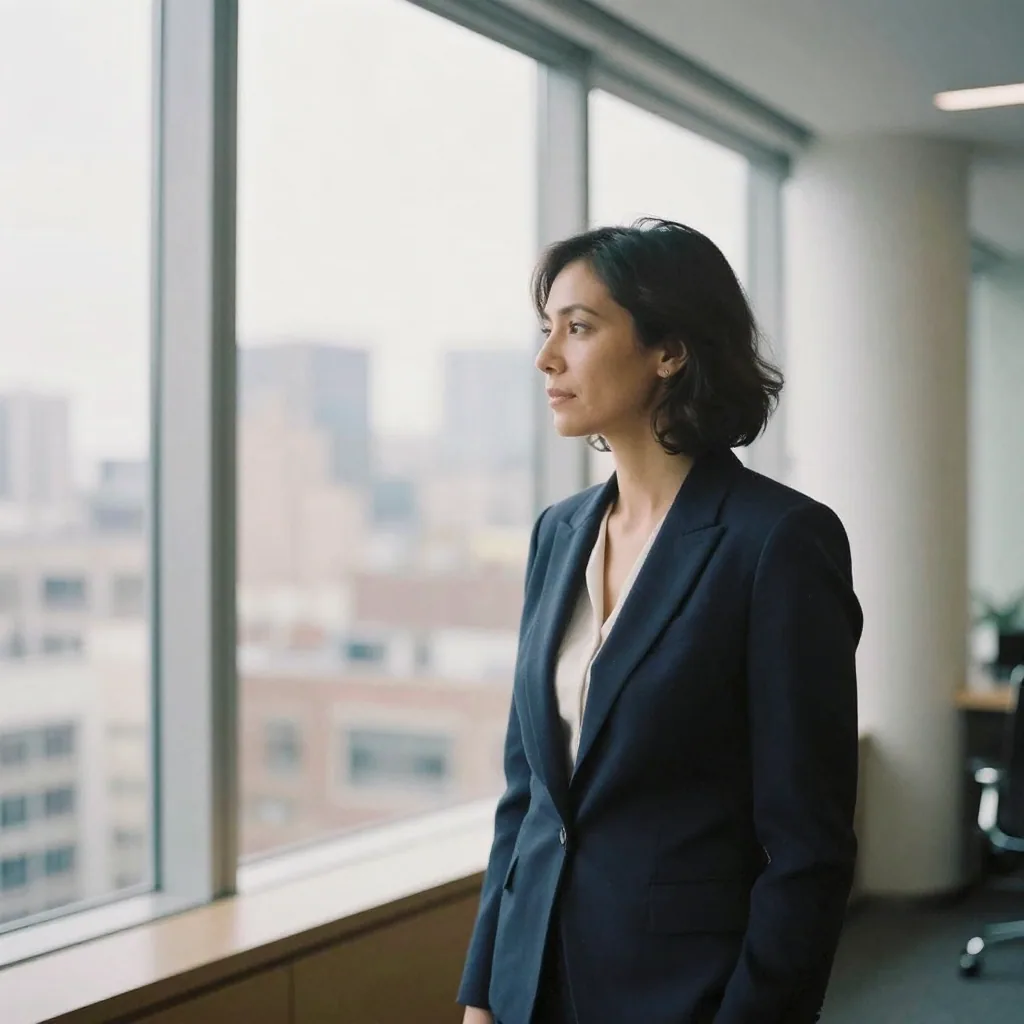
- "Standing in a modern office lobby, floor-to-ceiling windows, city skyline behind"
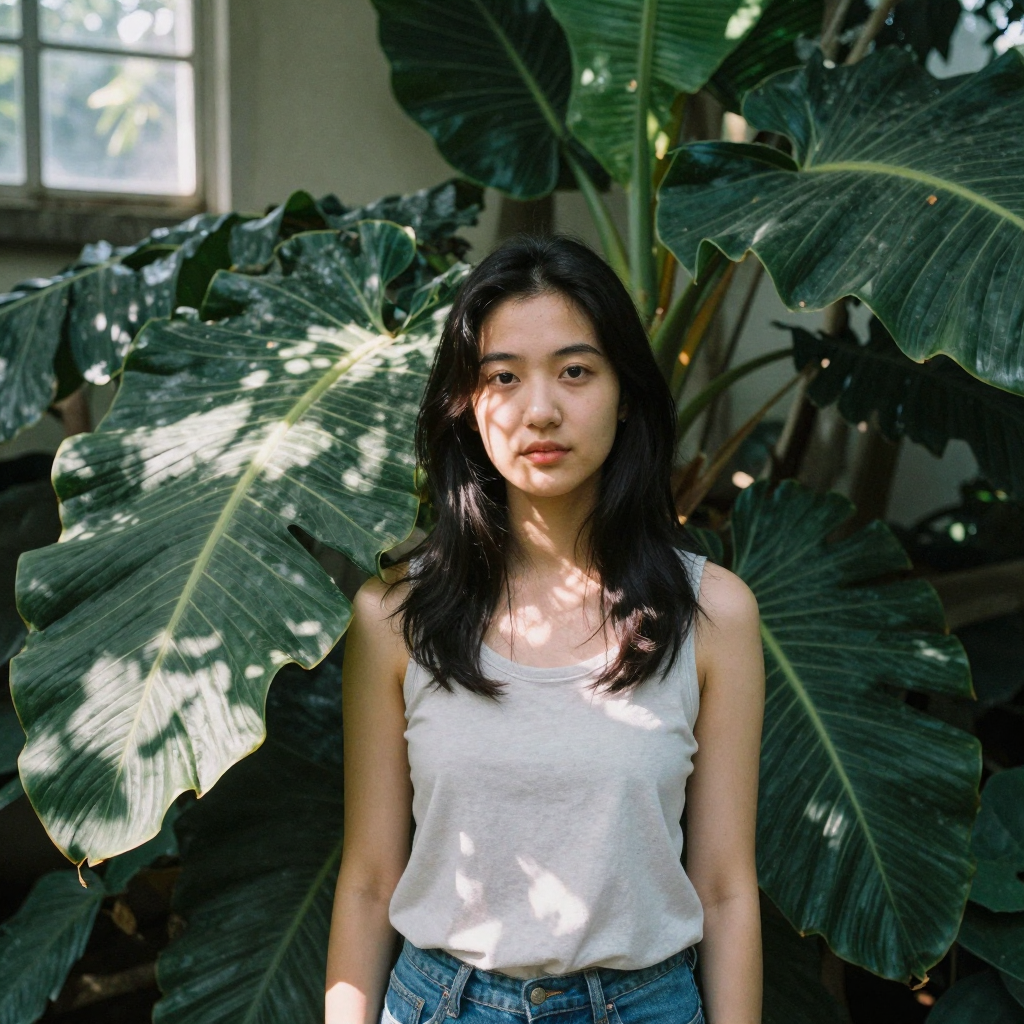
- "Outdoor portrait at a botanical garden, dappled tree light"
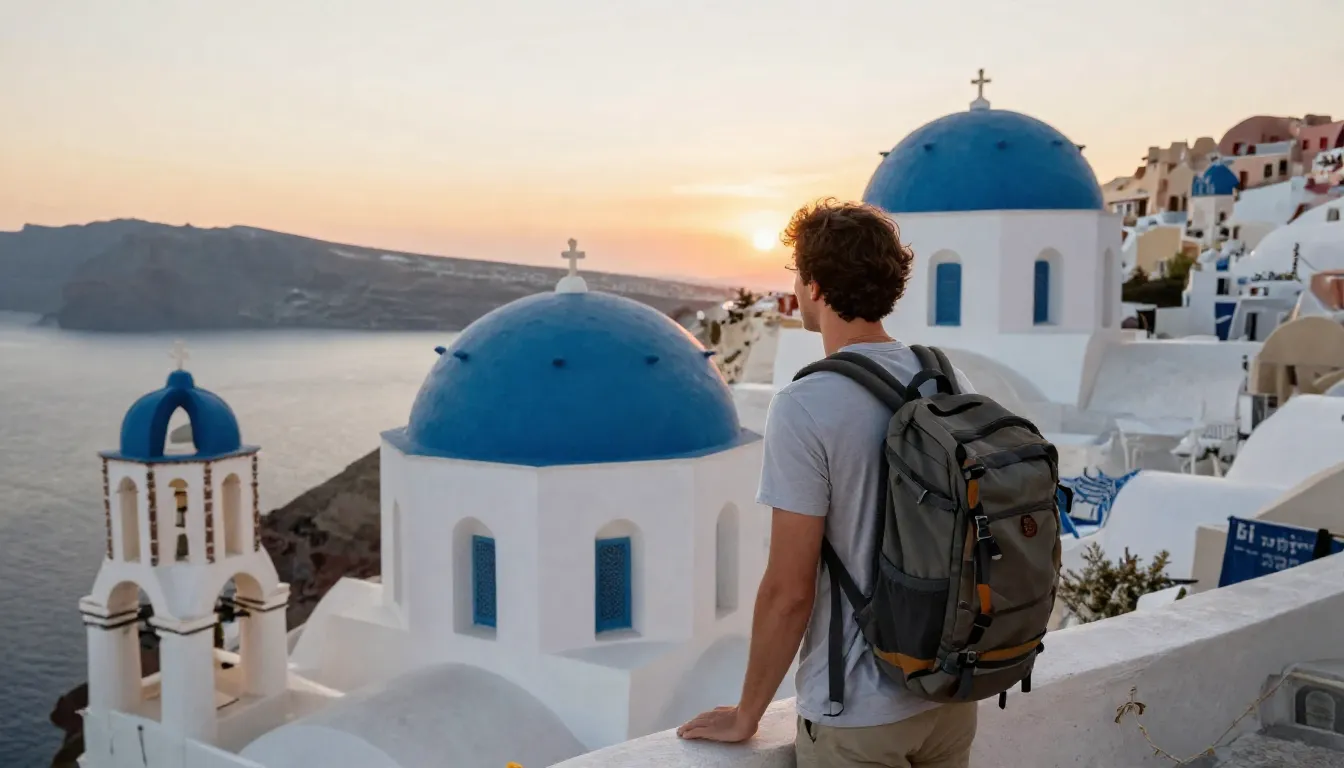
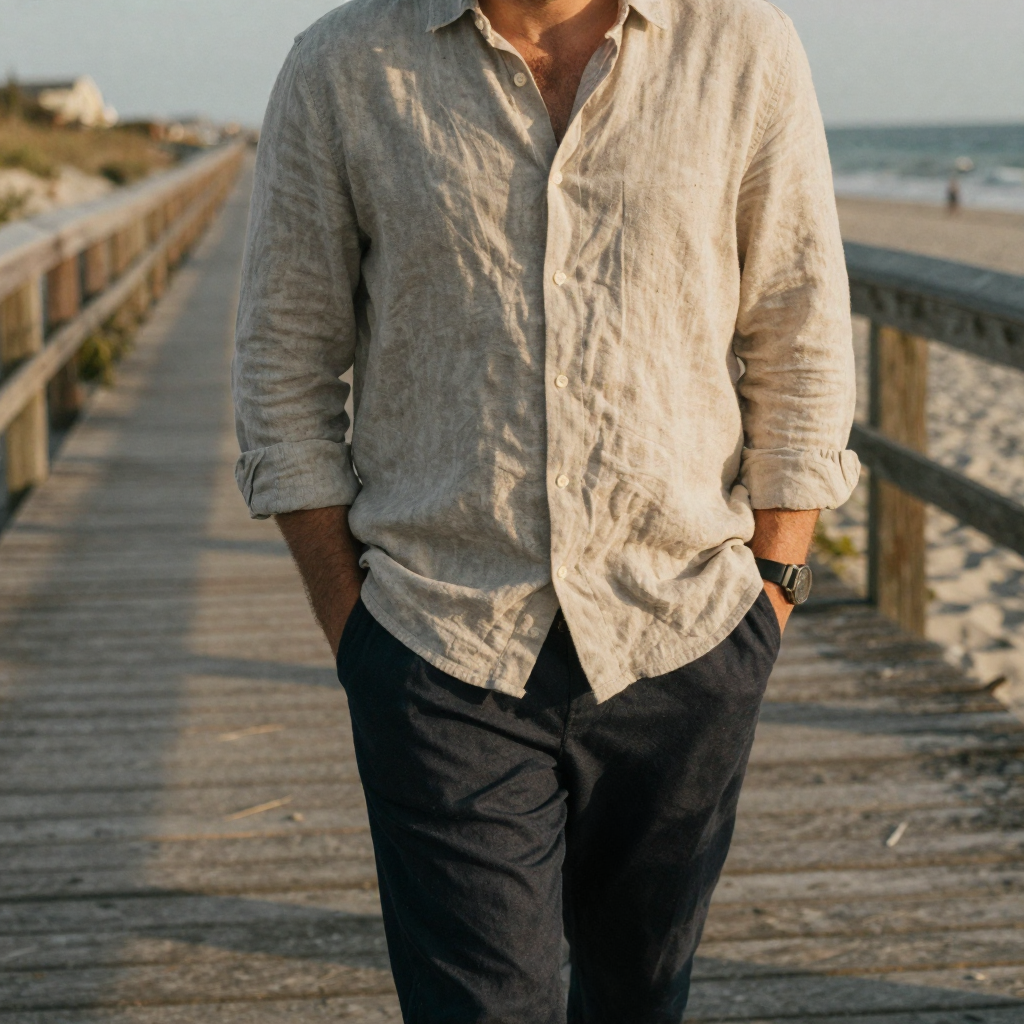
- "Beach boardwalk, late afternoon sun, casual pose"
Lighting style:
- "Soft natural light, slightly overcast" — forgiving, professional
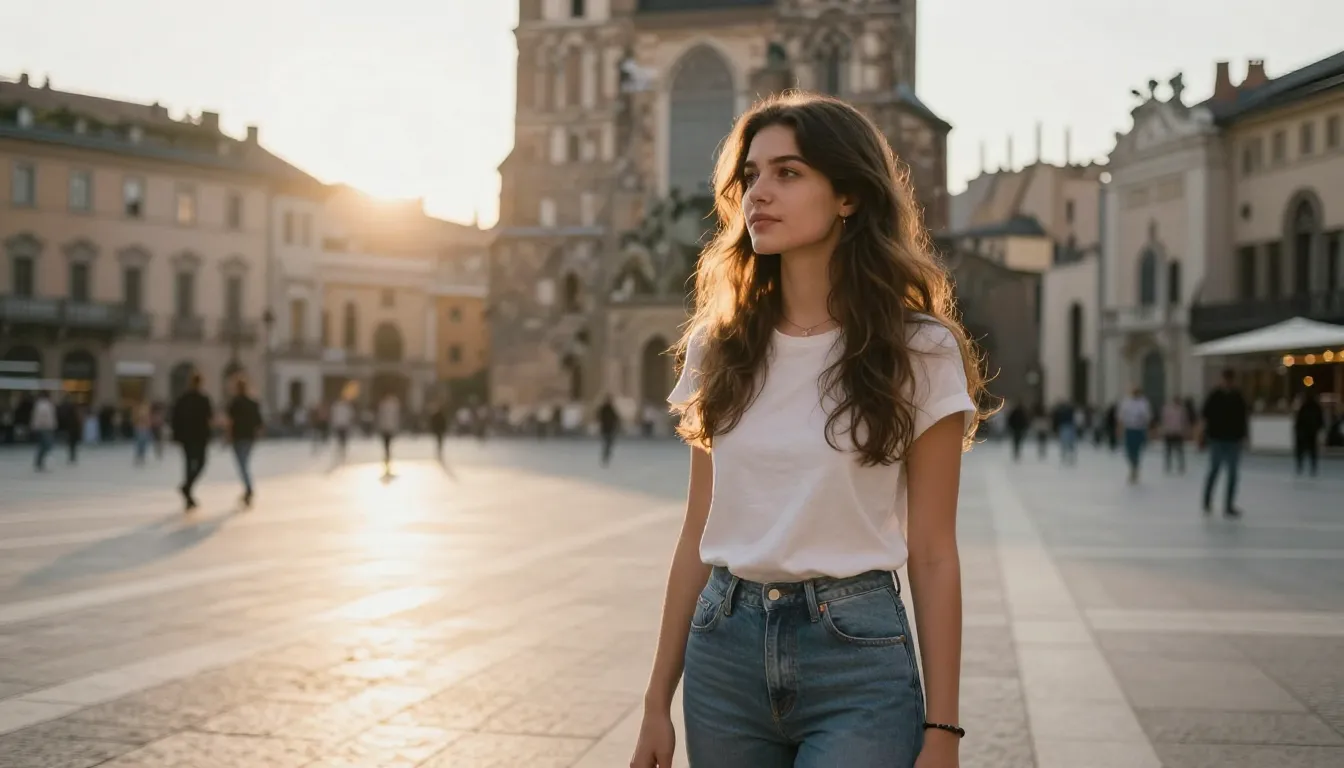
- "Golden hour, warm directional light from the right" — cinematic
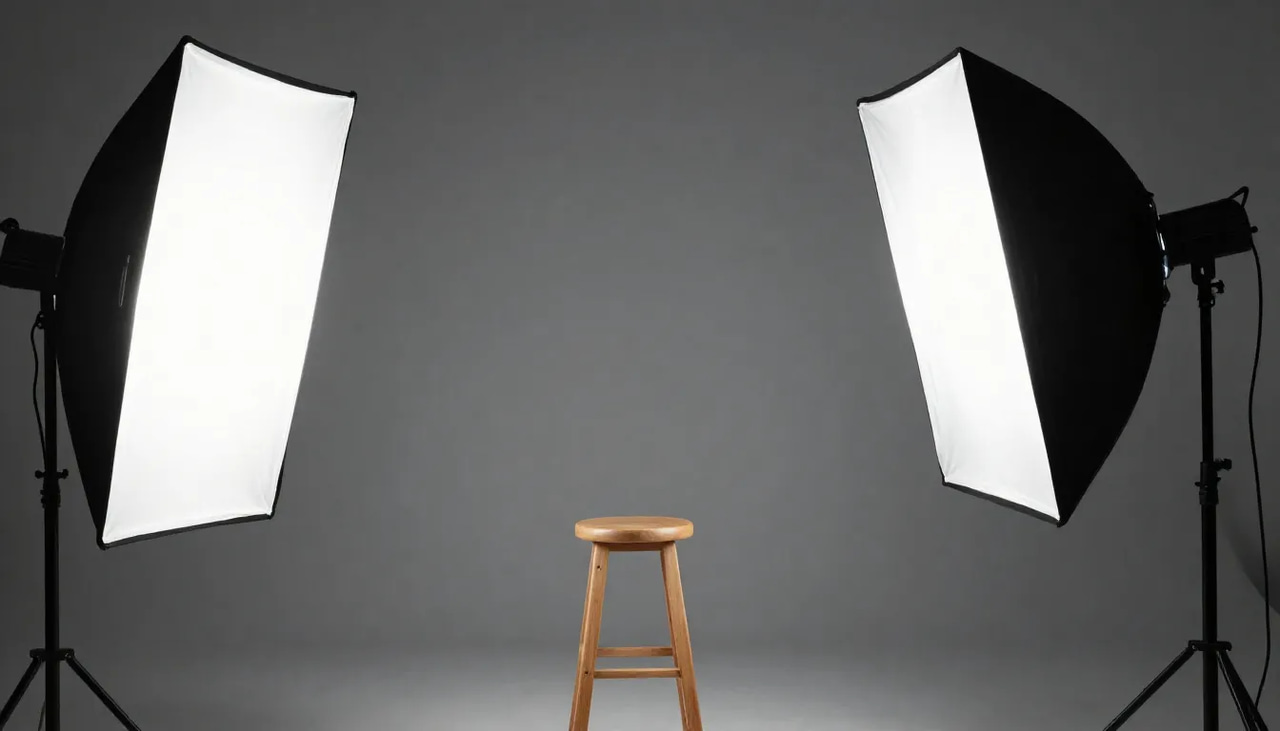
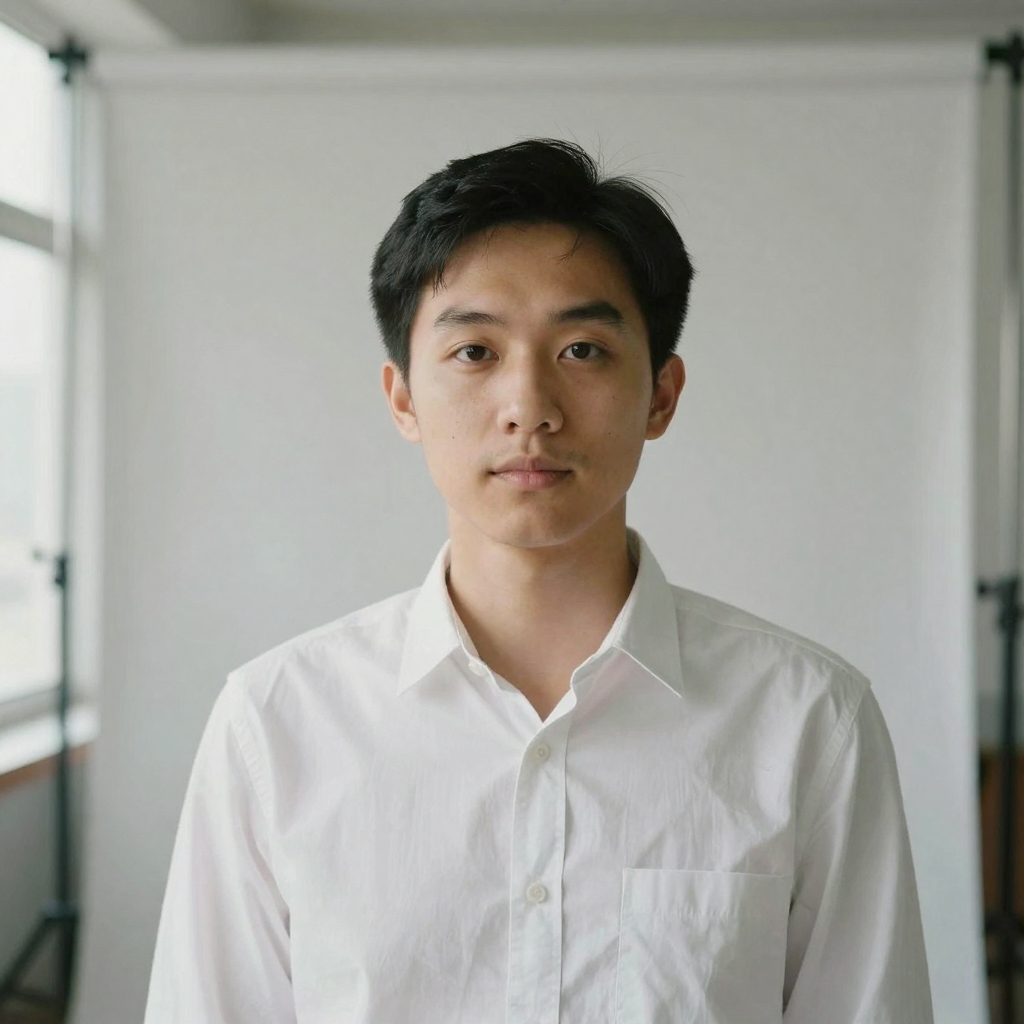
- "Studio lighting, clean white background" — corporate headshot
Wardrobe (if relevant):
- Some tools synthesize clothing from the reference photo; others let you specify ("professional blazer, dark blue")
- Wardrobe specified in text often renders as the dominant clothing in the output
Style:
- "Photorealistic portrait photography" — natural look
- "Editorial photography style" — more stylized, fashion-magazine feel
- Avoid over-specifying stylistic modifiers that conflict (don't ask for "photorealistic" and "cinematic AI art" simultaneously)
Generating multiple variations
Most one-photo tools let you generate several variants per session. Generate at least 3–5 per scene description — identity synthesis has some natural variance, and you'll want to pick the one where facial recognition feels most accurate to you. The face that "looks most like you" is subjective; getting several options lets you choose the one that reads right.
Post-processing for professional use
For headshots going on a professional profile or website:
- Check eye sharpness at full resolution — this is where AI synthesis occasionally produces slight softness
- Check hair detail, particularly at the edges against the background
- If skin texture looks plastic or over-smooth, a slight texture pass in any editing app (Lightroom's grain slider, for instance) adds naturalness
- The AI Image Repair tool can clean up any artifacts in the final output before you use it professionally
Getting Specific Looks
LinkedIn and professional headshots
Scene: "Clean professional headshot, neutral or light gray background, even soft studio lighting, business-appropriate" — or specify a specific background like "modern glass-and-steel office in soft focus."
Tip: Generate variations with and without the jacket/blazer specified. The version that works best depends on how the wardrobe element renders. Use the AI Photo Fixer for any minor corrections to expression or eye contact.
Creative and editorial looks
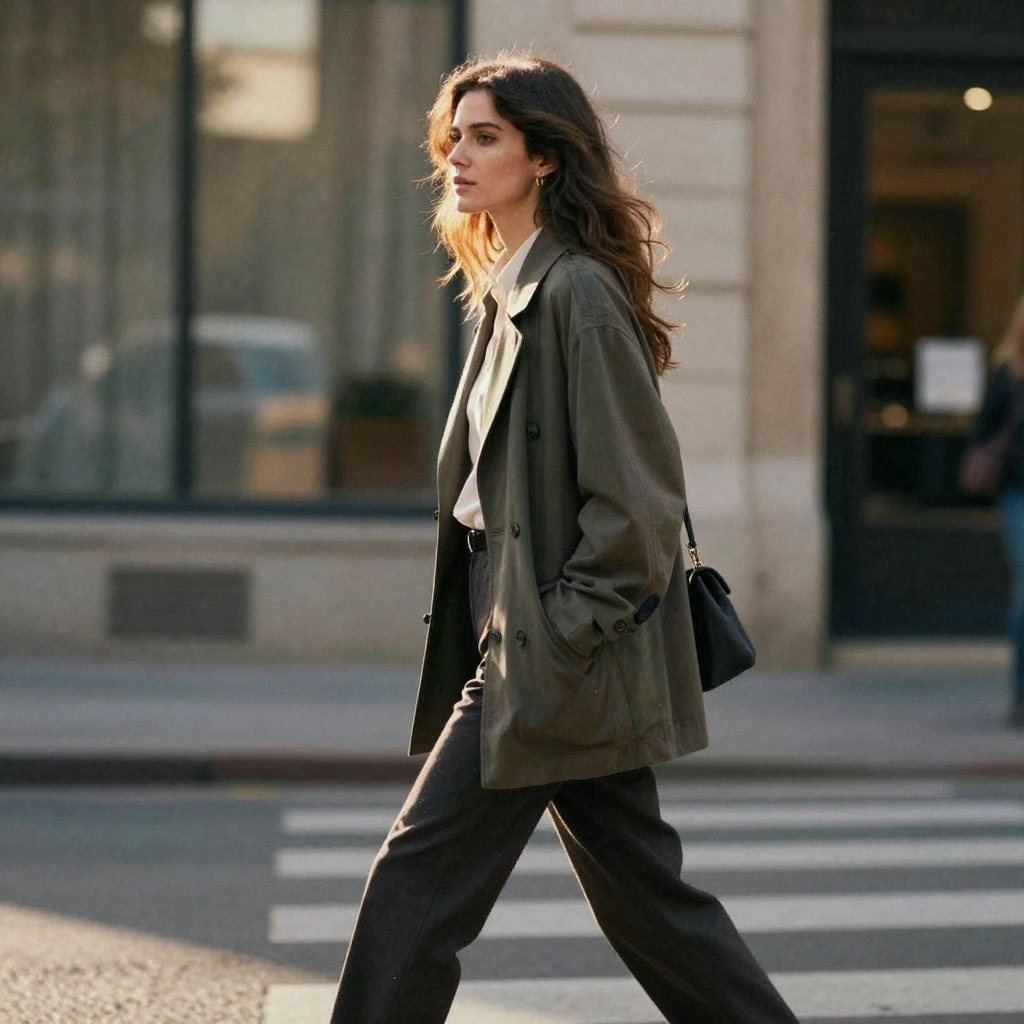
Scene: Be specific about the editorial feel. "Outdoor fashion portrait, natural late-afternoon light, candid-feeling pose, urban background in soft focus." Overly generic descriptions produce generic results.
Tip: If the first output looks like a headshot rather than an editorial, add lighting and composition specifics to the prompt: "slight fill light from below, slight grain, real photography feel."
Social content and lifestyle
Scene: Match the aesthetic of your existing content — if your Instagram is warm and golden-toned, specify "warm golden-hour outdoor portrait, tropical location, natural style."
Tip: One-photo AI photoshoots can generate multiple "locations" quickly, which is useful for varied content calendars without needing to actually travel or hire photographers repeatedly.
Realistic Expectations
What one-photo AI photoshoots do well:
- Forward-facing and near-forward portraits where facial identity is clearly readable
- Natural lighting scenes where lighting synthesis is believable
- Standard professional and lifestyle contexts
Where they have limitations:
- Full-profile or sharply angled poses where less of the face is visible — the model has less to work with for identity
- Very close-up macro-style shots where skin texture artifacts are more visible
- Unusual artistic styles (the training-based approach with fine-tuning handles those better)
- People who look very similar to common face archetypes in training data — the model may inadvertently average toward a more generic version of you
For a LinkedIn headshot or a location portrait that's going on your personal website, the one-photo approach is consistently good enough. For high-profile commercial use where photorealistic accuracy matters at fine detail, professional photography or a training-based AI workflow is still preferable.
How much does a one-photo AI photoshoot cost versus a studio session?
A one-photo AI photoshoot runs on prepaid credits and produces dozens of usable variations for a fraction of a booked studio session. A local professional headshot sitting typically costs well into the hundreds and delivers a handful of retouched frames, while a credit-based generator lets you produce multiple looks and locations from a single reference image without booking, travel, or a reshoot fee.
The gap widens once you need variety. A photographer charges per look, per outfit change, and per location, so a "professional headshot plus three lifestyle scenes" quickly becomes several separate sessions. A one-photo generator produces all of those from the same reference image in one sitting, and re-generating a scene costs only the credits for that batch rather than a new booking. The table below frames the trade-off honestly — a studio session still wins on fine-detail fidelity and on genuinely bespoke direction, but the AI route wins decisively on speed, cost per look, and the ability to iterate.
| Factor | Studio photoshoot | One-photo AI photoshoot |
|---|---|---|
| Turnaround | Days to schedule, then editing | Minutes per batch |
| Cost model | Per session + per look fees | Prepaid credits, from a 350-credit pack |
| Number of looks | Limited by session time | Many locations/styles per sitting |
| Reshoots | New booking required | Re-generate for a few credits |
| Input needed | Physical presence, travel | One clear reference photo |
| Best for | Highest-stakes, fine-detail commercial work | Headshots, lifestyle, social variety |
Credits never expire between sessions, so you can generate a professional headshot today and a lifestyle batch next week from the same reference without re-booking anything. For most LinkedIn and social use, the AI route covers the need; save the studio for the rare shot where macro-level detail is non-negotiable.
What are the best prompts for a one-photo AI photoshoot?
The strongest prompts name one location, one light direction, and one wardrobe detail — nothing more. Concrete, single-scene descriptions ("modern office lobby, soft window light from the left, navy blazer") outperform stacked stylistic modifiers, which conflict and produce a muddy, generic result. Describe a scene a photographer could actually shoot.
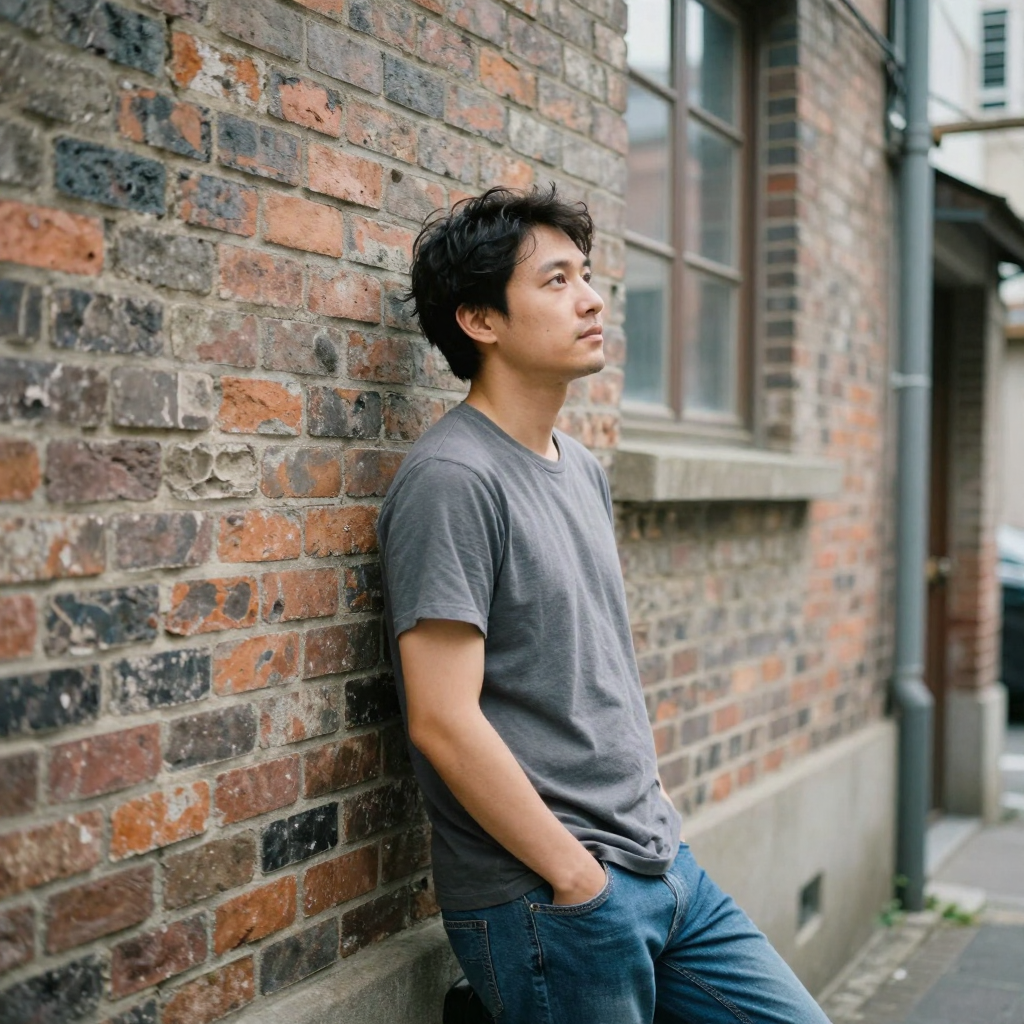
Think of the prompt as a shot brief rather than a mood board. State the setting plainly, then anchor the light with a direction and quality — "golden-hour light from the right," "even soft studio light," "overcast daylight." Add at most one wardrobe cue, because clothing described in text tends to dominate the output and over-specifying it fights the reference photo. Avoid piling on abstract art terms; asking for "photorealistic" and "cinematic AI art" in the same prompt pulls the model in two directions and softens identity. If a first result reads too flat, add a single concrete detail — "slight film grain," "shallow depth of field," "candid mid-stride pose" — rather than a second style keyword. Generate three to five variants per prompt and keep the frame where your eyes and jawline read most accurately; that curation step matters more than any single magic phrase, because zero-shot identity synthesis carries natural variance from one render to the next.