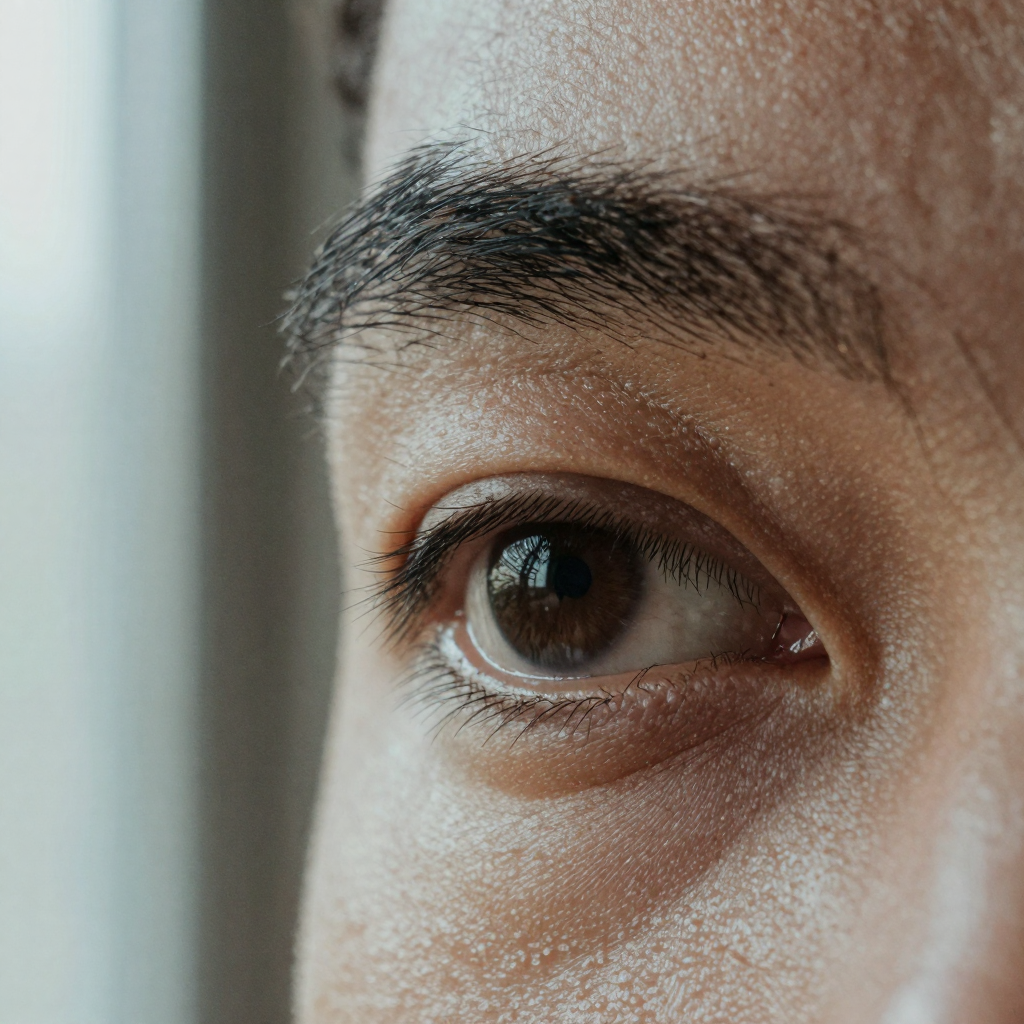
 How to Fix Distorted Faces in AI Images is a practical Imagera workflow: start from a real source file, describe what should change, generate with credits shown up front, and review before you publish. This guide covers the steps, quality checks, and when to use related tools.
You've generated an AI portrait that's almost exactly what you wanted. The lighting is right, the clothing and background are perfect — but the face has something wrong with it. An eye that's too low, a mouth that bleeds slightly into the cheek, a chin that's vaguely undefined. Or more dramatically: a nose that's migrated toward the ear, or a melted quality to the entire face that reads as uncanny valley even though you can't pin down exactly what's wrong.
This guide covers the main types of AI face distortion, what causes them, how to fix the issues you already have, and how to prevent them in future generations.
Quick answer: Fix distorted AI faces by regenerating with a face-focused prompt, then running the result through Imagera's face restoration and upscaler to rebuild eyes, teeth, and skin detail at up to 8K in under 60 seconds.
Why do AI image generators distort faces so often?
AI models predict pixels statistically, and faces pack a lot of fine detail (eyes, lips, teeth) into a small area, so they tend to break down most when the face is rendered small. Faces that occupy only a tiny portion of the frame are the most likely to distort. Imagera's restoration pass rebuilds those facial features and upscales the image, cutting visible artifacts.
How can I fix distorted faces without regenerating the whole image?
Try a targeted face edit before regenerating the entire image. Specify the defect, such as uneven eyes or distorted teeth, and ask to preserve the person's identity, expression, and surrounding scene. Check the quoted cost before generating, then compare the edit with the source. Use a separate upscale only after the face looks right.
Types of AI Face Distortion
Understanding which type of distortion you're dealing with helps you target the repair correctly.
Melted or undefined features
Features that lack sharp edge definition — nose bridge that blends into the cheek, undefined lips that fade into the surrounding skin, ears that merge with hair. This typically happens when the model was generating at a resolution or detail level too low for the face size in frame, or when guidance settings were too low.
Geometric asymmetry
One eye noticeably higher than the other, a jaw that's significantly different on each side, a nostril misalignment. Minor facial asymmetry is normal — extreme asymmetry is a generation artifact. This often appears when the generation seed produced a confident but anatomically incorrect facial landmark placement.
Extra or duplicated features
Two sets of eyes (one slightly transparent overlaid on another), a second row of teeth, a nose that appears partially twice. This is a strong generation artifact caused by conflicting guidance signals or feature map blending errors in the diffusion process.
Uncanny skin texture
Skin that looks plastic, overly smooth, or pore-less when zoomed in. This can also look overly textured and artificial — large regular patterns on the skin that don't match how real skin looks. This is a common failure mode in AI portraits generally, and is why "AI portrait" has become a recognizable aesthetic.
Eye and pupil errors
Pupils different sizes, irises that extend past the white of the eye, catchlights missing or in anatomically wrong positions, eyes that don't quite point in the same direction (strabismus-like artifact). The eye region is particularly sensitive to these errors because humans are highly attuned to correct eye geometry.
Teeth and mouth errors
More teeth than biologically normal, a smile that shows upper and lower teeth in incorrect proportions, lips with incorrect edge definition, or teeth that are semi-transparent.
Why Face Distortion Happens
Diffusion models generate images by progressively denoising a random field into a coherent image. During this process:
- Attention maps determine what the model "attends to" at each location in the image
- Facial landmarks (eye position, nose tip, mouth corners) are not explicitly structured in most models — they emerge from learned pattern statistics
- Local coherence can break down when the attention field doesn't maintain consistent facial geometry across the full generation
The result is that even when the overall composition looks right, local features can violate anatomical constraints that the model doesn't explicitly enforce.
Higher guidance scale settings make the model more confident but also more prone to over-committing to incorrect geometric choices. Lower guidance can produce vague or melted features. Getting the balance right is part of the generation craft — and when you don't, repair is the practical path.
How to Fix Distorted AI Faces
Using Imagera's AI Image Repair:
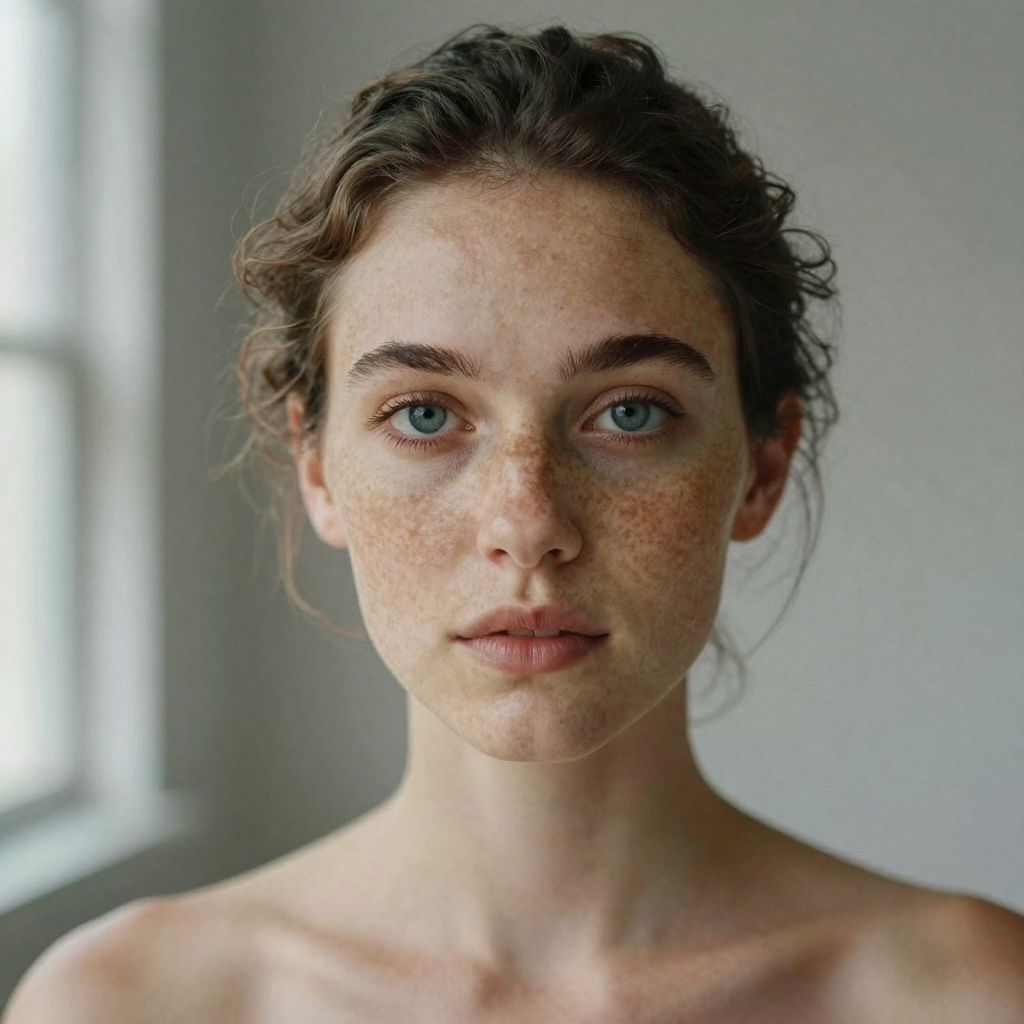
General repair approach
- Upload the image with the distorted face.
- Identify the specific region that needs repair. Don't mask the entire face if only one area is wrong — a tight mask gives the repair model cleaner context.
- Describe the correction clearly. The description tells the repair model what correct anatomy looks like in this region.
- Generate and compare. Zoom to 100% to evaluate whether the repaired region has the correct anatomy and blends naturally with the surrounding unchanged area.
- Iterate as needed. Complex distortions often need two or three passes.
Repairing specific distortion types
Melted/undefined features
Mask the specific undefined area — nose + surrounding cheek, or lip boundary only. Prompt: "sharp natural nose bridge, realistic skin texture, defined nose tip" or "clearly defined lips with natural edge, realistic lip texture." The key is specifying "defined" and "realistic texture" — this guides away from the smooth plasticity that usually causes melting.
Asymmetric eyes
Mask both eyes together including the brow area (roughly the upper face from hairline to nose). Prompt: "symmetrically placed eyes, both at the same height, natural iris color, matching pupils, realistic eyelids." Including both eyes in one mask lets the repair model set them relative to each other rather than setting each in isolation, which risks different heights.
Extra/duplicated features
Mask generously around the entire duplicated area. Prompt: "single nose centered on face, correct anatomy, no duplication" or "one pair of eyes, correctly placed, no additional eyes." Specify "single" and "no additional" explicitly — this negative guidance helps the model avoid regenerating the duplication.
Uncanny plastic skin
This is trickier because it often affects the entire face. Options:
- Mask the whole face and prompt "realistic skin texture with natural pores, subtle variation, non-plastic, photographic skin" — risk: this changes more of the face than targeted repairs
- Post-process instead: adding a subtle noise overlay in Lightroom or a frequency separation texture pass in Photoshop can break the plastic look without touching geometry
- For minor cases, a slight grain addition in any editing app is often enough
Eye and pupil errors
Mask each eye individually (include some eyelid and a small surrounding margin). Prompt: "single centered pupil, equal iris size, natural catchlight, correct white sclera, realistic eyelid crease." If one eye is clearly more wrong than the other, repair the worse one first; the correct eye gives the model reference.
Teeth/mouth errors
Mask the mouth including lips. Prompt: "natural smile showing upper teeth, normal tooth count, realistic tooth size, defined lip edges, no lower teeth visible" — or specify the exact expression. Teeth are particularly hard to correct perfectly because the model needs consistent lighting across all teeth, which is geometrically complex.
The Plastic Skin Trap
One warning worth stating explicitly: when fixing distorted AI faces, the most common over-correction is toward smoother, more artificial skin. This happens because the repair model's training data contains a lot of heavily retouched portrait photography, and "clean" to the model often means "smooth."
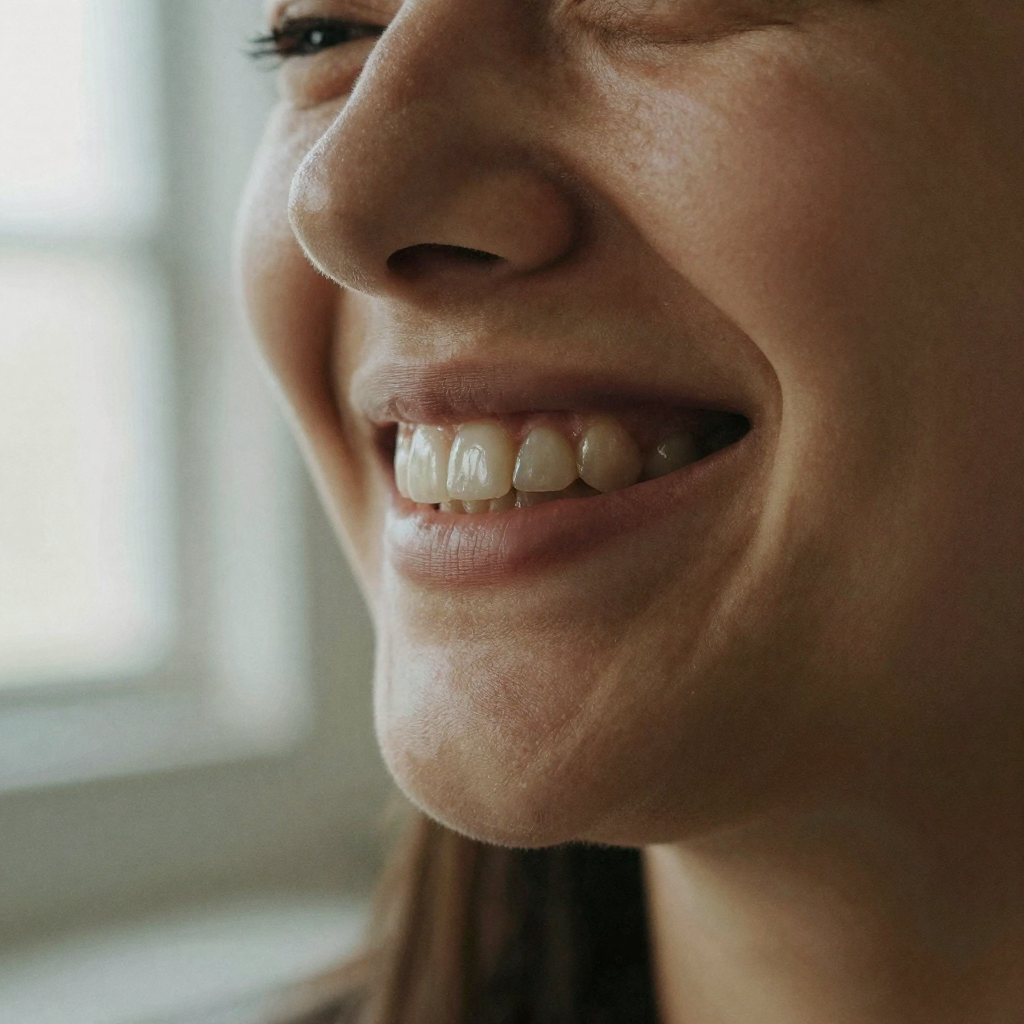
If your repair looks correct anatomically but the skin has become more plastic and AI-looking than before, try:
- Reducing the repair intensity if the tool has a slider
- Adding a very light grain texture in post (Lightroom: Detail → Grain, Amount 8–12)
- Using a frequency separation layer in Photoshop to add texture from a nearby skin area onto the repaired region
Good repair should look like a person's real skin — with subtle variation, pores, and slight imperfection — not like a product render.
Prevention Strategies
Use a higher face-focused resolution. For portrait-focused images, generate at the tool's highest resolution setting. Many face distortions appear because the model had too few pixels to correctly render facial geometry.
Avoid conflicting prompt elements. If you're asking for extreme lighting (deep shadow covering half the face) and also expect precise facial symmetry, these conflict. Strong asymmetric lighting makes facial asymmetry harder to detect and correct during generation.
Generate multiple seeds. The random seed is the biggest factor in whether a given generation has face problems. Generating 4–8 variants and choosing the cleanest face is often faster than trying to fix a bad one, when you're working in a tool that allows multiple generations.
Use a face-restoration step. Some generation workflows (particularly Stable Diffusion pipelines) include a GFPGAN or CodeFormer face restoration pass as a post-processing step. These are designed specifically for face correction and can dramatically improve output quality before you even get to manual repair.
Which distortion needs which mask and prompt?
The fastest repairs match the mask size and prompt wording to the exact defect. Masking too much re-renders parts of the face that were already correct; masking too little leaves a visible seam. Use this reference to pick the right approach before you spend a pass:
| Distortion type | Mask scope | Prompt emphasis |
|---|---|---|
| Melted / undefined features | Tight — the soft area plus a small margin | "defined," "realistic skin texture" |
| Asymmetric eyes | Both eyes + brow together | "same height," "matching pupils" |
| Extra / duplicated features | Generous around the whole duplication | "single," "no additional" |
| Uncanny plastic skin | Whole face (or post-process grain) | "natural pores," "non-plastic" |
| Eye / pupil errors | Each eye individually + eyelid margin | "single centered pupil," "equal iris size" |
| Teeth / mouth errors | Mouth including lips | "normal tooth count," "defined lip edges" |
When two eyes or two hands-worth of geometry interact, mask them together so the model sets them relative to each other. For isolated single-feature errors, keep the mask tight so the surrounding correct anatomy anchors the repair.
Is it faster to repair a distorted face or regenerate the image?
It depends on how much of the image you want to keep. If the composition, lighting, clothing, and background are already right and only the face is wrong, targeted repair wins — you fix one region in one to three passes and keep everything else untouched. If the whole generation feels off, or the face distortion is severe (migrated nose, doubled eyes), regenerating a few fresh seeds and picking the cleanest face is often faster than fighting a bad one, because the random seed is the single biggest factor in whether a face renders correctly. A practical rule: keep and repair when you'd be sad to lose the rest of the image; regenerate when only the face was any good. Either way, avoid the plastic-skin over-correction — a repaired face should still show pores and subtle variation, not a product-render smoothness.
Deeper guide (practical production)
Where to go next (product links)
| Need | Link |
|---|---|
| Pricing | Open |