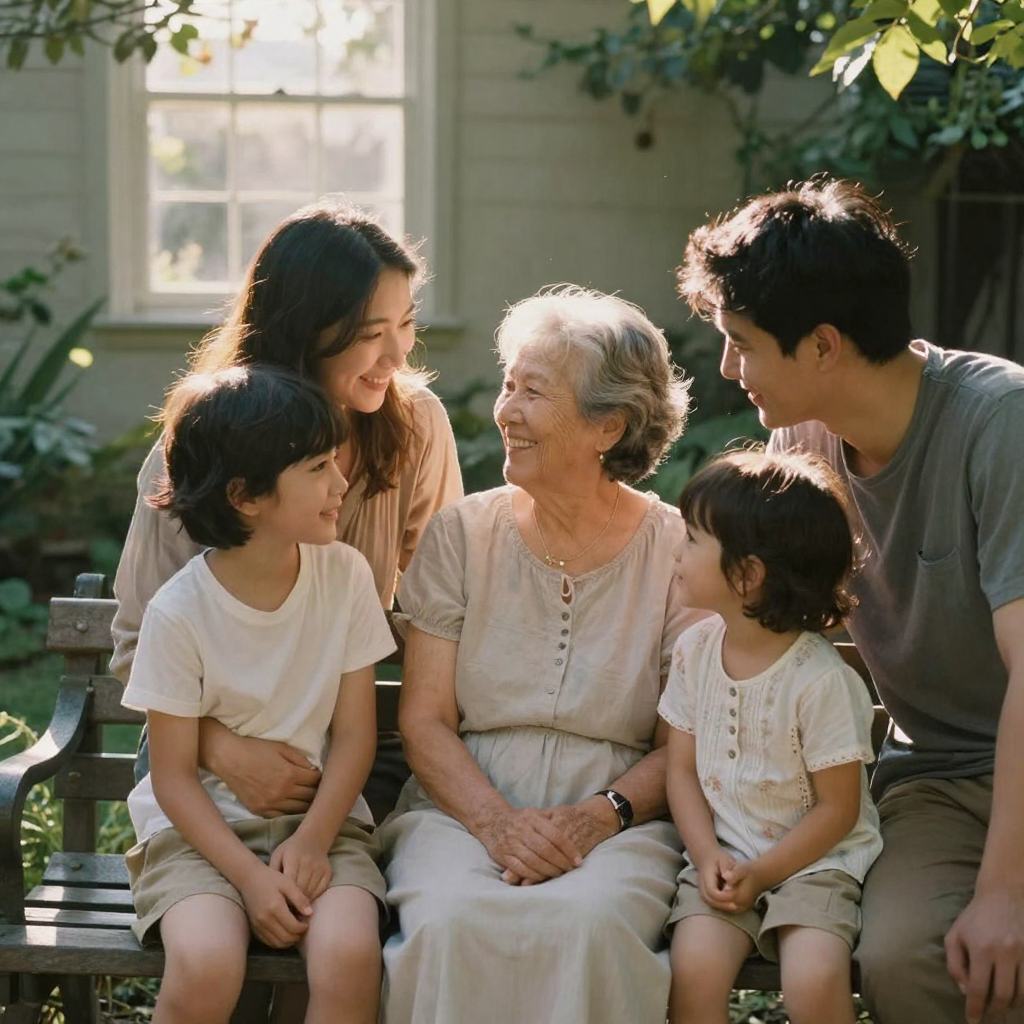
 Make Someone Smile in a Photo with AI (No Photoshop) is a practical Imagera workflow: start from a real source file, describe what should change, generate with credits shown up front, and review before you publish. This guide covers the steps, quality checks, and when to use related tools.
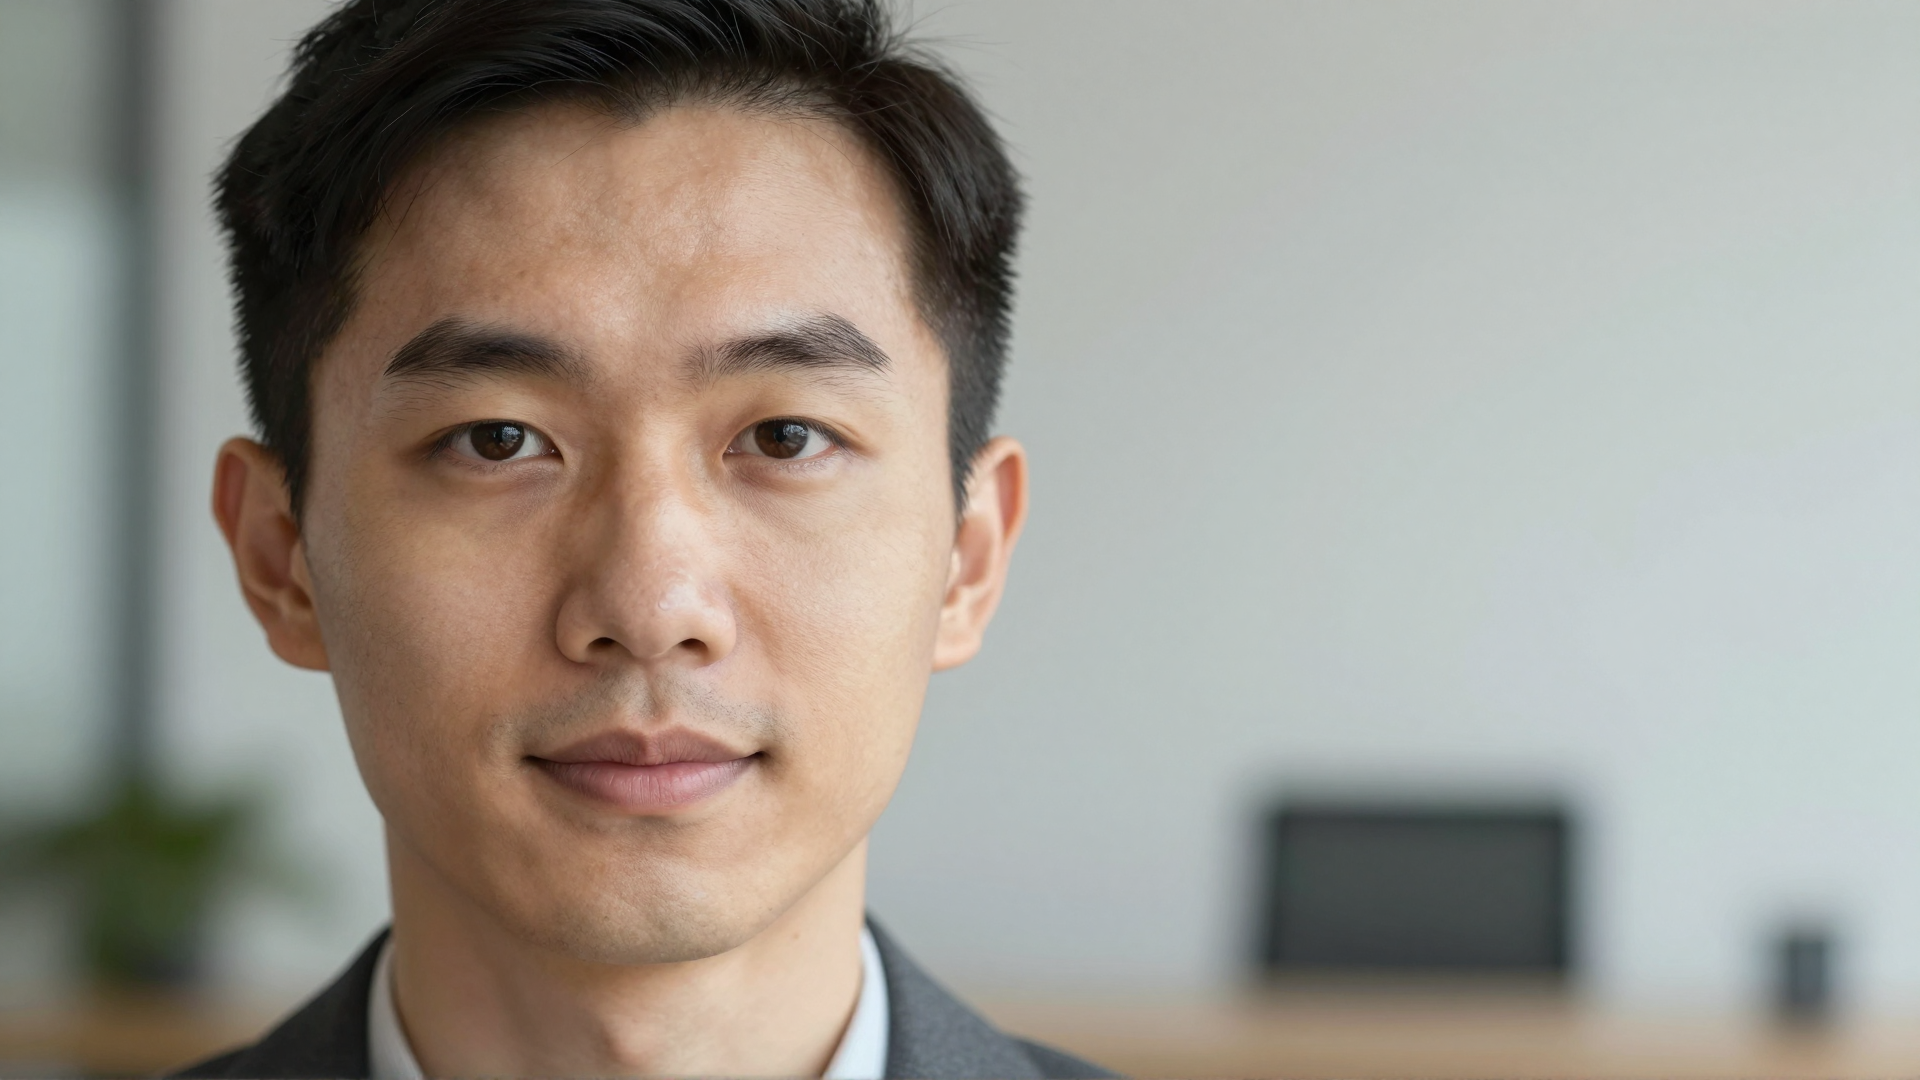
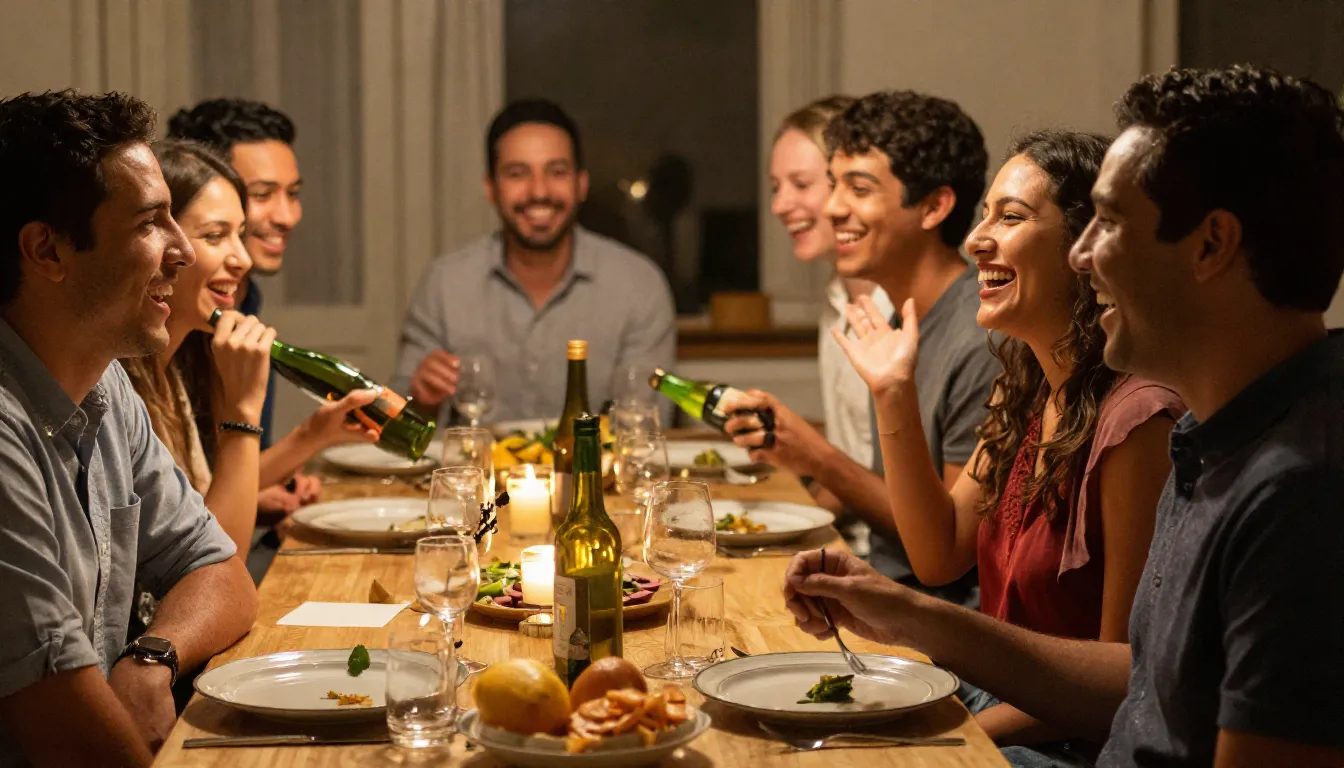
There's always that one family photo — great composition, everyone looking at the camera, perfect light — except one person has a flat expression or caught themselves mid-reaction. For professional headshots, the stakes are higher: a neutral face reads as cold, and reshoots aren't always practical.
AI tools let you make someone smile in a photo without Photoshop in a few minutes. Making someone smile used to require a skilled retoucher spending several hours of careful work. This guide covers when expression editing makes sense, how the AI approach actually works, and what to watch out for to keep results looking realistic.
Quick answer: Yes, you can add a natural-looking smile to any photo in seconds with Imagera's AI editing, no Photoshop skills, downloads, or manual retouching required.
How does an AI turn a neutral face into a smile without looking fake?
Imagera's face-editing model reshapes the mouth, cheeks, and eyes in one pass, adjusting 20+ facial points so the smile matches natural muscle movement. It runs in under a minute, preserves your original 4K, 8K, or 16K resolution, and lets you dial the smile from a subtle grin to a full expression across unlimited retries.
Why do smiling photos matter for profiles and headshots in 2026?
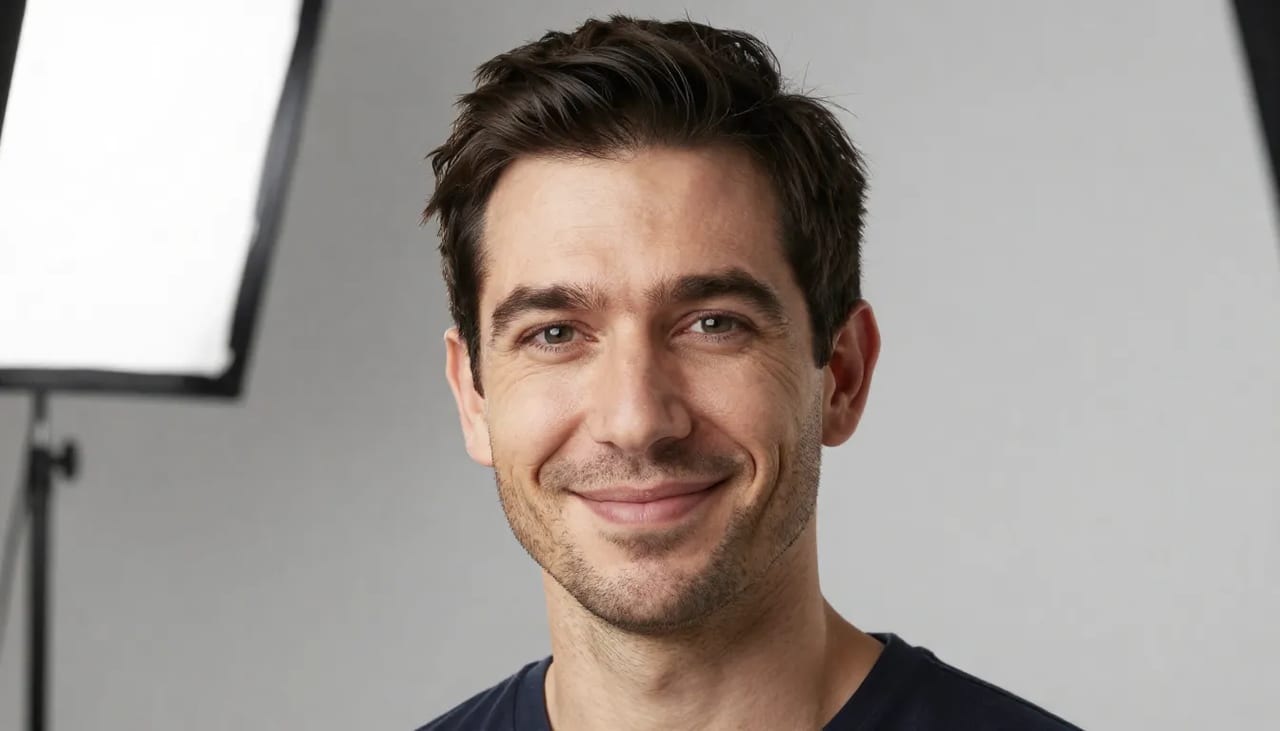
A genuine smile makes a face look more approachable, and your profile picture is often the first thing viewers notice on a page. Smiling faces tend to read as warmer and more inviting than neutral ones, which is why 2026 headshot and dating-profile guides recommend a warm, authentic smile as one of the highest-impact edits you can make.
When Expression Editing Makes Sense
Before jumping into technique, it's worth being clear about use cases:
Appropriate uses:
- Personal keepsakes and family albums where the goal is a memorable photo
- Professional headshots where the subject approves the edit
- Old or historical photos of family members where a neutral expression was common photographic convention (subjects often didn't smile in formal 19th-20th century portraits)
- Social media personal photos where the subject wants to look their best
Cases that warrant caution:
- Editorial or documentary photography — any retouching should be disclosed
- Corporate or public-figure imagery where authenticity is a contractual or ethical requirement
- Any context where the altered expression might be misleading about the person's state of mind at the time
For personal portrait editing and headshot work with the subject's knowledge, smile enhancement is a standard retouching request, no different from removing a blemish or adjusting skin tone.
Why AI Works Better Than Manual Editing for Smiles
A genuine smile isn't just the mouth moving. The Duchenne smile — the expression neuroscientists identify as real — involves:
- The zygomatic major muscle pulling the lip corners upward and back
- The orbicularis oculi muscle raising the cheeks and creating crow's foot creases
- Slight narrowing of the eyes
- Mild dimpling at the cheek if the person has dimples naturally
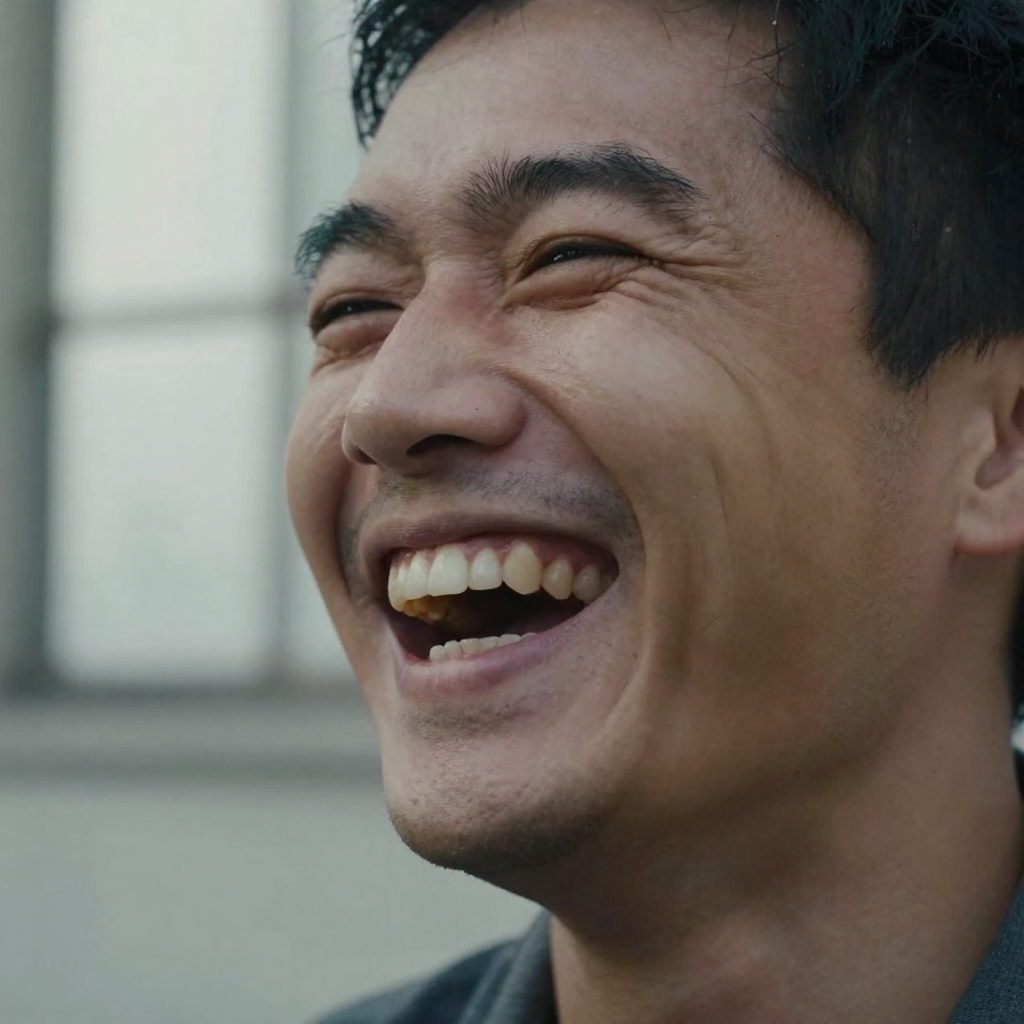
Getting all of this right manually means warping dozens of facial landmarks while keeping skin texture consistent and avoiding the "plastic surgery" look — a common failure mode when only the mouth is moved.
AI models trained on large facial datasets understand the co-variation of these muscle groups. When you apply an expression change, a well-trained model moves the whole expression — not just the lip corners.
How to Make Someone Smile in a Photo with AI
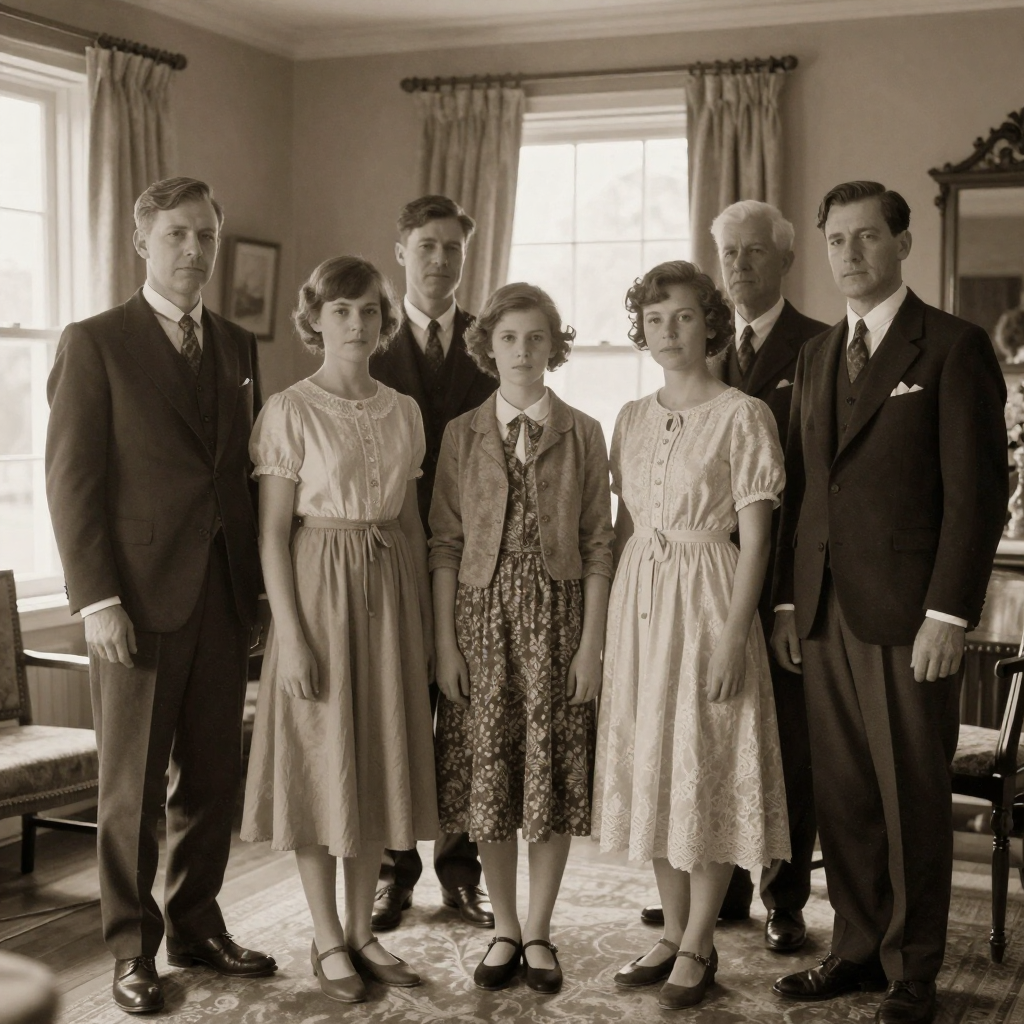
Using Imagera's AI Photo Fixer:
-
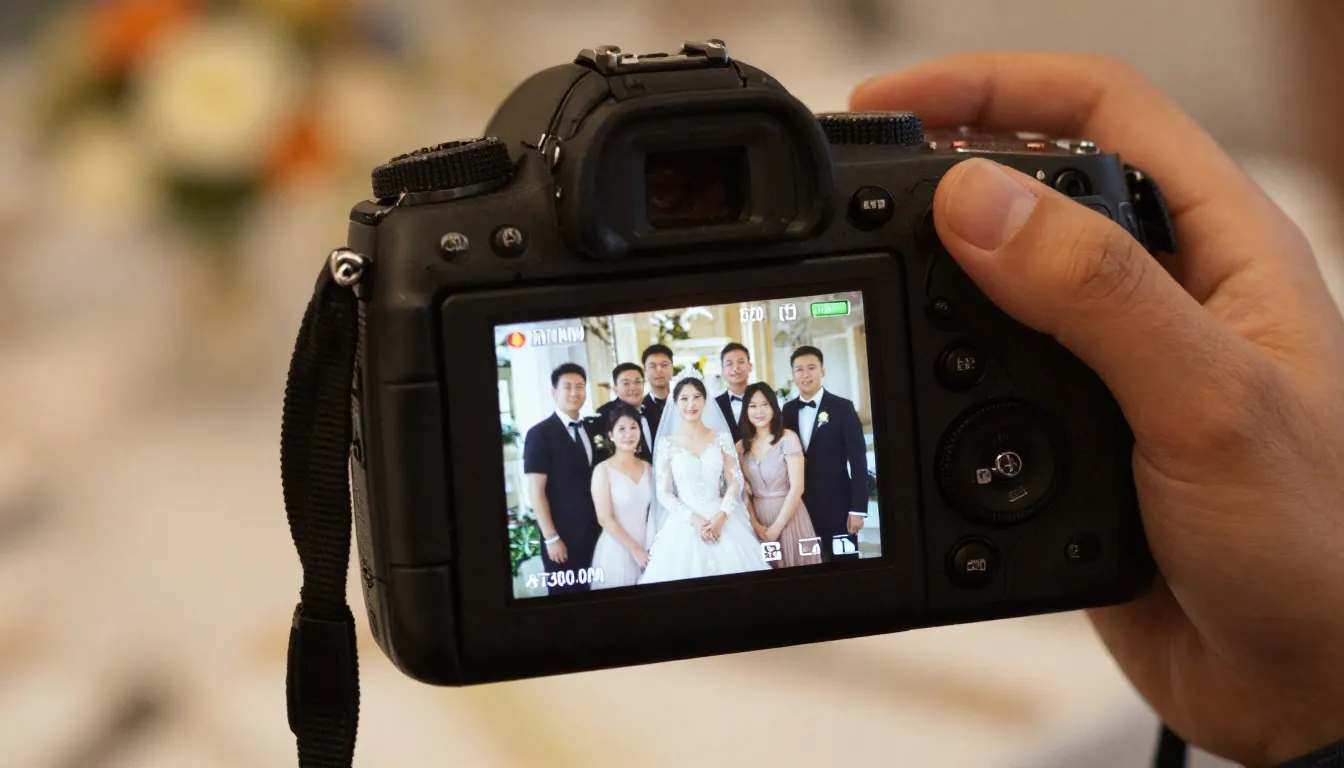
Upload your photo. Works best with portraits where the face is clearly visible and at least 300px wide in the image. Group shots work if individual faces are large enough for the model to read.
-
Select the face to edit. In a group shot, you can target a specific person.
-
Choose "Expression" or "Smile" correction. The AI generates a smile that's proportionate to the face — a subtle, natural-looking expression rather than a toothy exaggerated grin unless you want that.
-
Adjust intensity if available. Some implementations offer a slider from "slight upturn" to "full smile." Start at the lower end and increase — overshooting the intensity is the most common way to get a result that looks artificial.
-
Review and download. Zoom in to check cheek, eye, and skin texture consistency before finalizing.
Photo prep matters more than most people realize:
- A larger face in frame gives the model more pixel detail to work with — crop tight before uploading if the face is small in the original
- Good lighting helps; flat, diffuse light is more forgiving than harsh directional light where shadows move obviously with expression changes
- Slight compression artifacts in the source file become visible after editing — work from the highest-quality version of the image you have
Common Pitfalls and How to Avoid Them
The "too toothy" problem
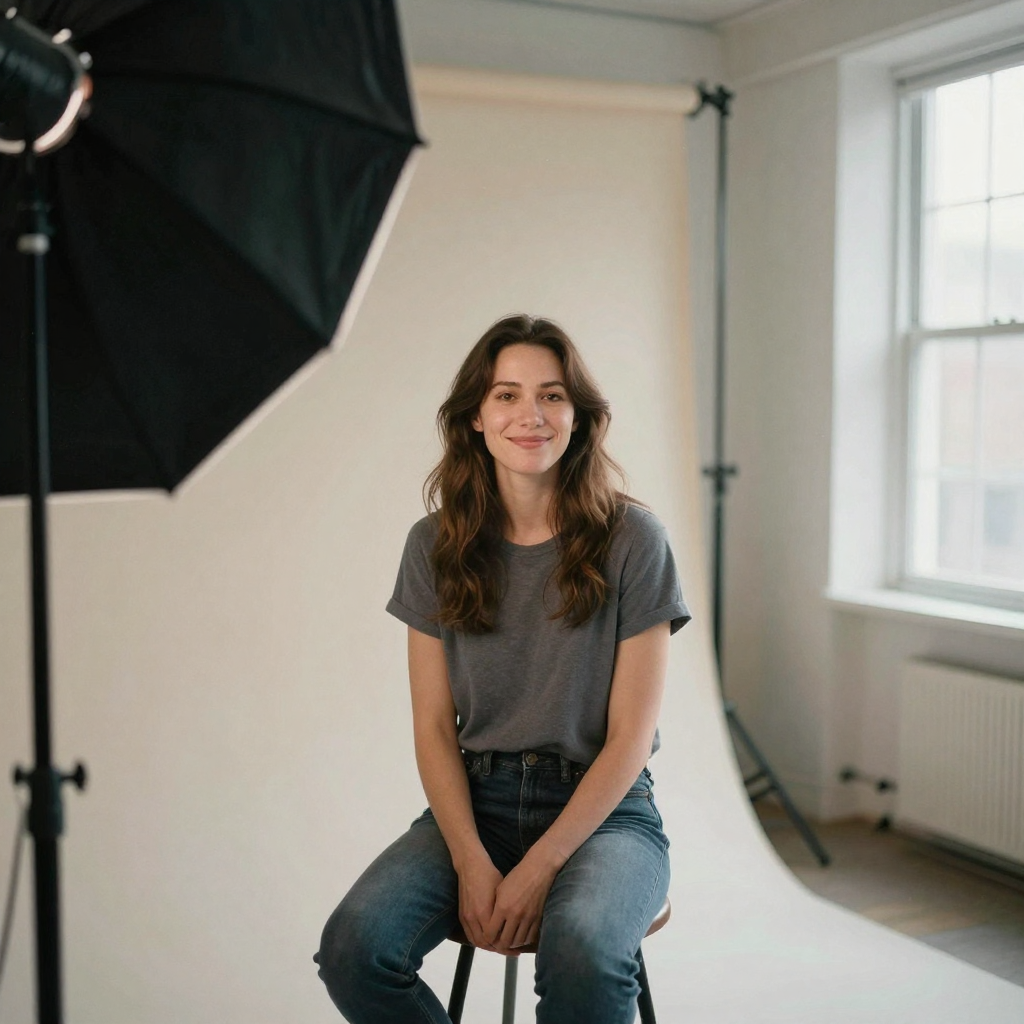
Expression AI models sometimes default to wide, very visible-teeth smiles because that's what positive-sentiment training data tends to contain. If the result looks more like a grimace than a smile, look for an intensity control or specify "closed mouth smile" or "subtle smile" in the prompt if the tool accepts text guidance.
Asymmetry that looks wrong
Real smiles are often slightly asymmetric. If the AI produces a perfectly symmetric smile on a face that naturally leans asymmetric, it reads as artificial. Check the subject's other photos — do they naturally smile more on one side? If the tool overcorrects to symmetry, the result will look edited.
Eye-cheek mismatch
If the tool only modifies the mouth region, the eyes won't narrow and the cheeks won't lift — which is the giveaway that a smile was added rather than captured. Always check that the cheeks and lower eyelid area have the appropriate upward movement. If they haven't moved, the result looks like a smile mask placed on a neutral face.
Skin texture inconsistency at the boundaries
Check around the mouth corners and chin where the expression edit blends back into unchanged skin. A good AI will maintain consistent skin texture and pore pattern. A rough implementation leaves smooth, overly-softened skin around the mouth that contrasts with realistic skin elsewhere.
Comparing Methods
| Method | Realism | Effort | Cost |
|---|---|---|---|
| AI photo fixer | High (full-face expression) | Minimal | Low |
| Manual Photoshop warp | Medium-high (depends on skill) | 30–90 min | Adobe sub required |
| Liquify tool only | Low-medium (mouth only) | 15–30 min | Requires Photoshop |
| Expression-swap apps | Variable | Low | Often free |
| Retouching service | Very high | Days turnaround | High |
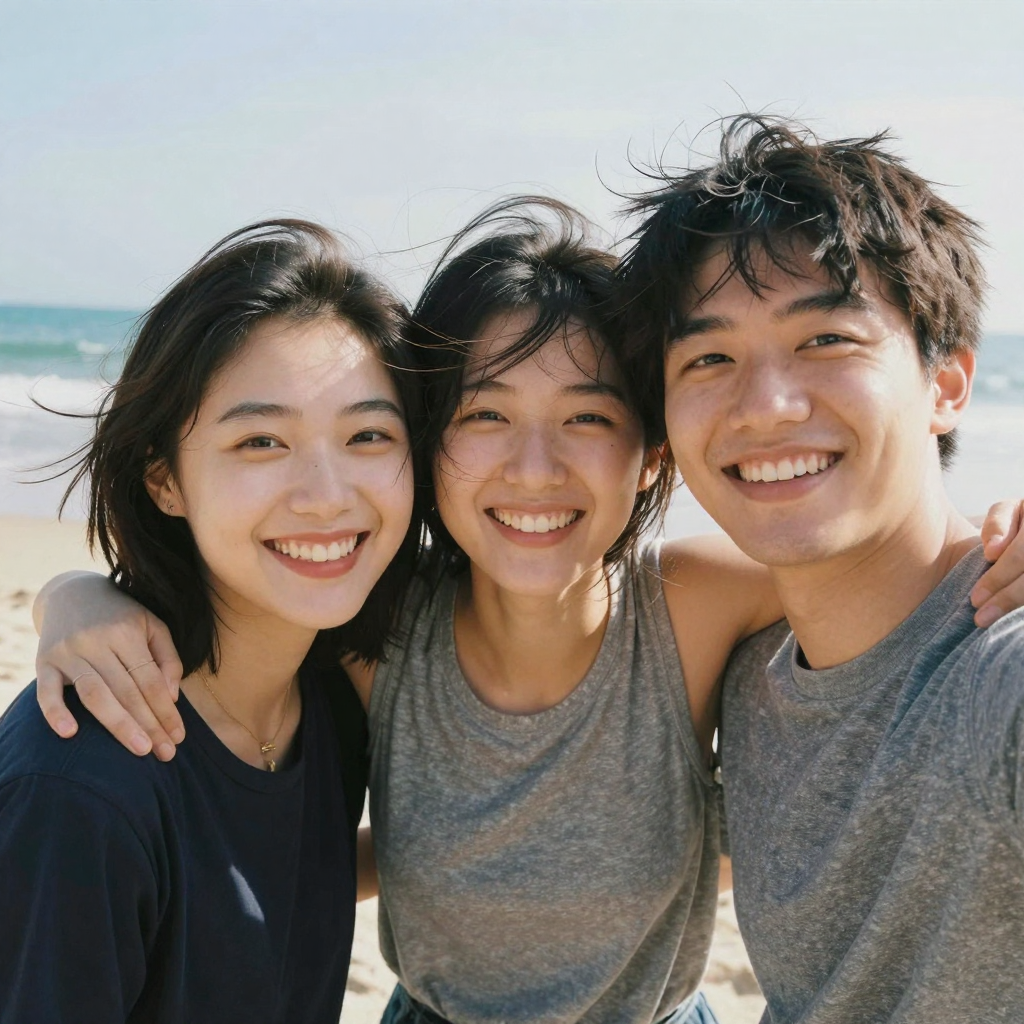
For most personal and professional portrait use, AI is the practical balance of quality, time, and cost.
Getting the Best Results: Specific Scenarios
Professional headshots
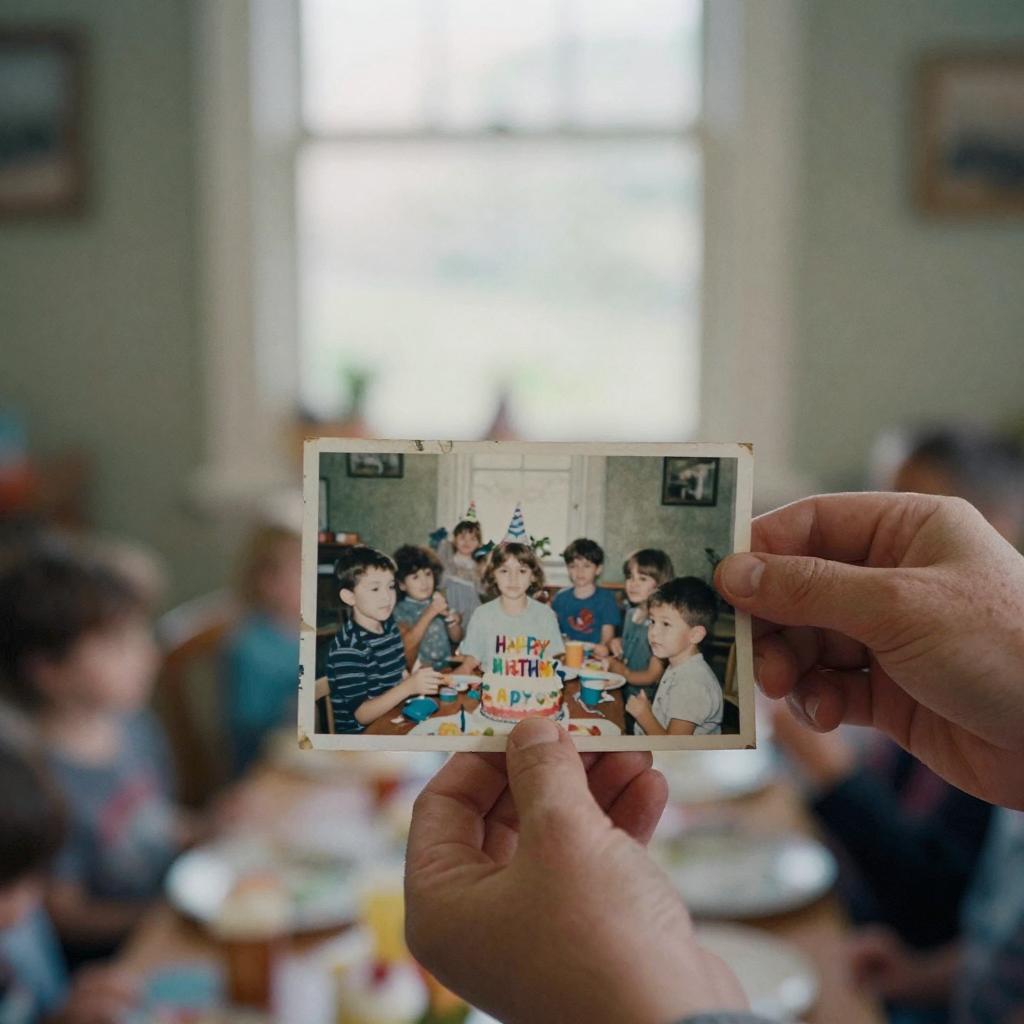
For a headshot where you need a specific, natural-looking professional smile: upload the highest-resolution version, use low-to-medium intensity, and check that the result still looks like the person. A common goal is "approachable but not exuberant" — the neutral-to-slight-smile range. If the subject will use it professionally, always get their approval before finalizing.
Old family photos
Pre-1960s formal portraits often show neutral expressions that were photographic convention, not the subject's actual demeanor. A light AI smile on a grandparent's formal portrait can make the image feel warmer without looking anachronistic. Use low intensity — the goal is a softening of the expression rather than a modern-style toothy grin.
Child photos
Children often have mid-expression frames — looking down, transitional face. AI expression editing works well here but requires that the child's face occupies enough of the frame for the model to work accurately. Candid shots where the child is looking away from camera are harder to fix than forward-facing frames.
What kind of smile should you ask for?
For most personal and professional photos, a closed-mouth or slight-teeth smile at low-to-medium intensity reads as the most natural. Full toothy grins are the hardest expression to synthesize convincingly, because they involve teeth geometry, lip stretch, and cheek volume all at once. Start subtle — you can always regenerate at higher intensity, but you can't un-see an over-cranked grin.
The right smile depends on where the photo will live. A LinkedIn headshot wants "approachable and calm"; a family holiday card can carry a warmer, wider smile. Here's how the common contexts map to intensity and mouth style:
| Photo context | Suggested intensity | Mouth style | Watch for |
|---|---|---|---|
| LinkedIn / professional headshot | Low | Closed or slight teeth | Over-symmetry; keep it calm |
| Family album / holiday card | Medium–high | Slight to full teeth | Toothy overshoot; check eye crinkle |
| Dating / social profile | Medium | Slight teeth | Fake symmetry; a natural lean reads as real |
| Restored vintage portrait | Very low | Closed / soft upturn | Anachronistic modern grin |
| Child candid | Low–medium | Natural, slight | Needs a large, forward-facing face |
Match the smile to the room the photo will be seen in — a photo that fits its context looks edited far less often than one that's technically flawless but tonally wrong.
How do you keep the edited smile consistent with the person's real face?
The strongest tell of a natural edit is that the smile matches how the person actually smiles in their other photos. Before finalizing, pull up one or two reference shots where they're genuinely smiling and check three things: which side leans higher, how much teeth they show, and whether their eyes narrow. Then dial the AI result toward that pattern rather than toward a generic ideal.
Consistency also means matching the photo's own physics. If the light comes from the left, the new cheek lift should cast its shadow the same way; if the original has visible skin texture and pores, the edited region should keep them rather than smoothing to plastic. When the tool accepts text guidance, phrases like "subtle asymmetric smile, natural skin texture, closed mouth" steer it toward that person's real look instead of a stock expression. For a set of photos — a family album or a batch of team portraits — keep the same intensity and mouth style across all of them so the group reads as one coherent set rather than a mix of edited moods.