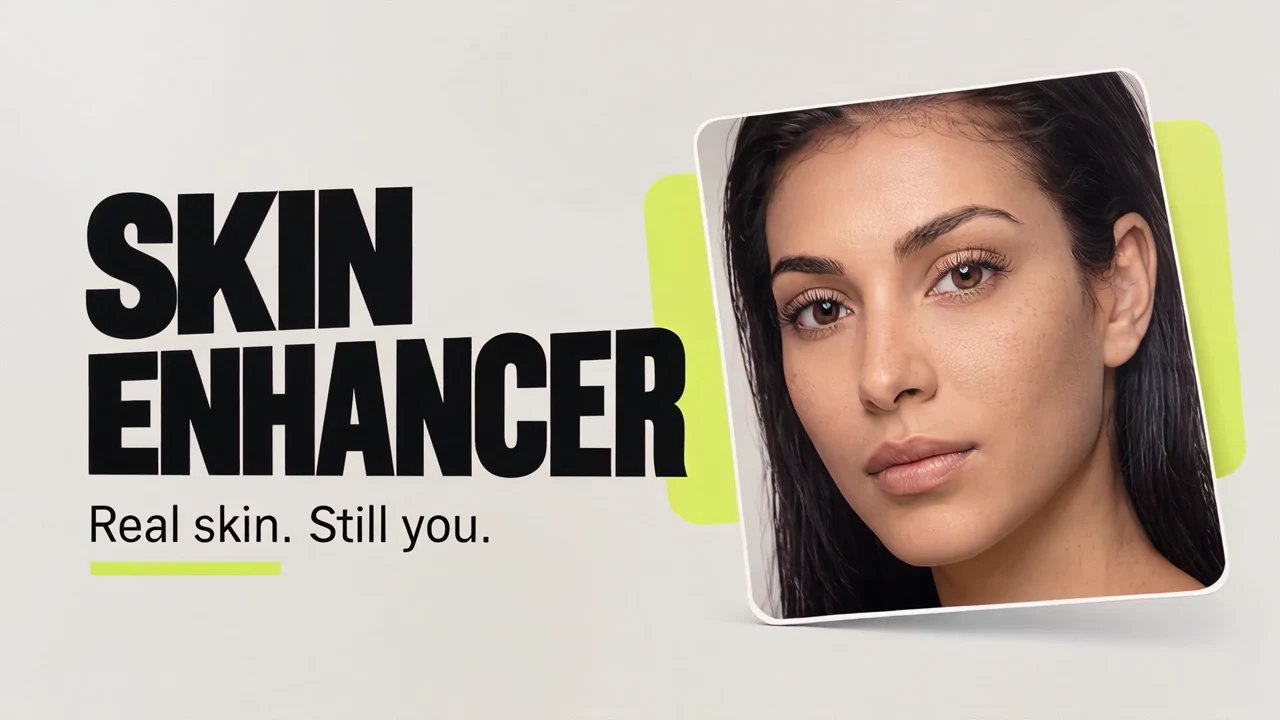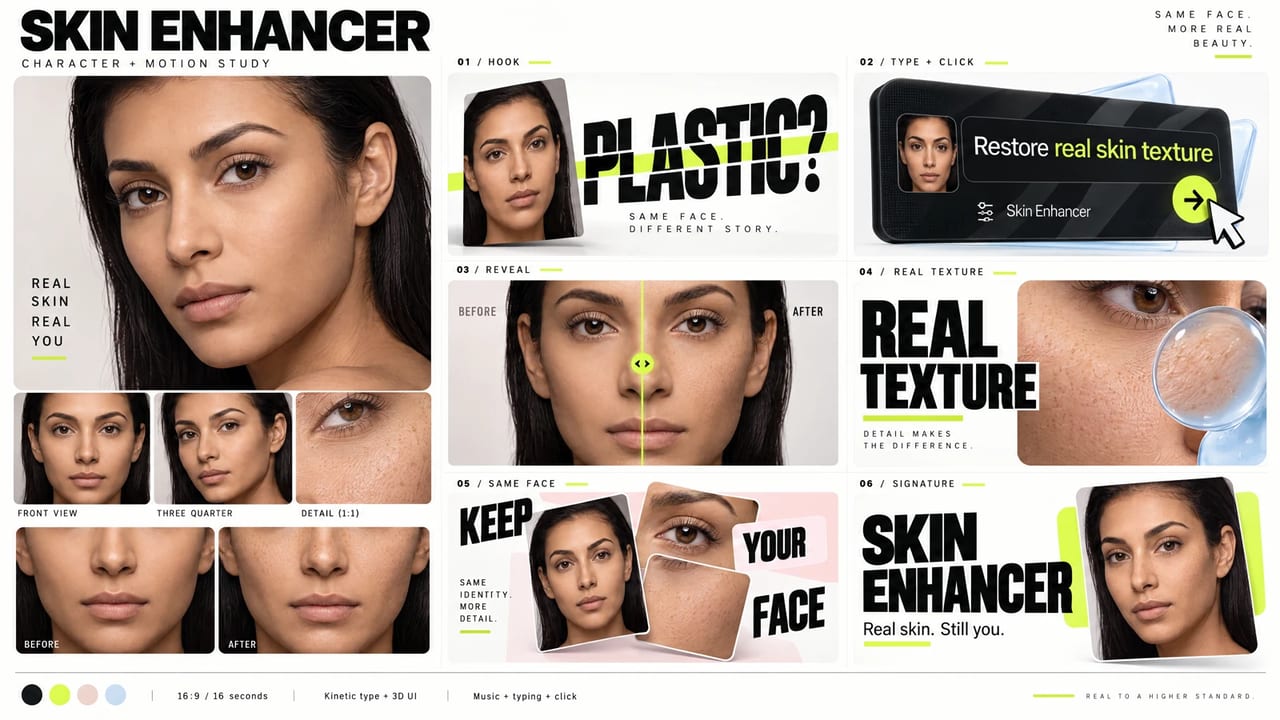
To make a before-and-after video ad, start with two images that clearly show the same subject before and after one change. Explain the change in your brief, make the reveal the central shot, and keep surrounding text short. Feature Showcase Ad can turn the brief and references into a character and motion sheet, a multi-shot video and an advisory review.
This approach is useful for image-editing features, restoration tools, background changes and other visible transformations. The ad should make the real difference easier to see. A dramatic transition cannot compensate for an unclear or misleading comparison.
Start with a matched image pair
Keep the subject, framing, scale and lighting as similar as possible. If the “after” image has a different pose, lens, exposure and background, a viewer cannot tell which improvement came from the feature.
For a skin-texture demonstration, for example, inspect the same part of the face at the same scale. The outcome may be more visible texture while preserving identity. Do not silently combine that with a changed face shape or a different lighting setup and call all of it the feature’s result.
For a background-removal feature, use the same foreground object in both images. For restoration, preserve the original composition. For a software comparison, make sure both screenshots show the same underlying task or data.
| Keep consistent | Explain explicitly |
|---|---|
| Subject and identity | The one feature being demonstrated |
| Crop and magnification | What should change between the images |
| Lighting and exposure | What must remain unchanged |
| Product markings and geometry | Any real limitations a viewer needs to know |
| Underlying screenshot data | Whether a scene is a concept or a recorded result |
Write the change in plain language
An effective brief gives the director a precise transformation to stage. Describe your product feature without inventing performance claims.
Use the first image as the original and the second as the intended result. Show the same subject and crop throughout the comparison. Build a short landscape ad around the change in surface detail. Use a readable reveal, a close detail shot and a clear final feature title. Keep the typography concise and use upbeat instrumental music. Do not add numerical claims or testimonials.
Then add your own colors, background preference and motion style. The workflow’s LLM writes the production prompts dynamically. It does not require every ad to use the same person, palette or final line.
If exact copy matters, put it in the brief and keep it short. Several paragraphs of generated text inside a moving frame are difficult to inspect and difficult for the viewer to read.
Choose a reveal that helps people compare
Different changes call for different visual treatments. A wipe can make a surface treatment immediately visible. Side-by-side framing can work when viewers need time to compare details. A detail crop is useful when the difference disappears at the size of a website tile.
Avoid revealing the result before viewers understand the starting point. Also avoid spending most of a short ad on decorative motion and showing the transformation for only a fraction of a second. Ask for a readable hold before and after the reveal.
Use the surrounding shots to answer simple questions: What is the problem? What changed? Why does the result matter? A dimensional title, a typing interaction or moving image cards can add energy, but the reveal should remain the clearest part of the story.
Generate the sheet before the film
Open Sandbox → Use cases → Feature Showcase Ad. Add the matched images in order and identify that order in your brief. Add a short style video if you want to guide pacing and transitions.
The workflow first develops the creative direction and image prompt. Its sheet establishes identity or product anchors, keyframes, backgrounds and typography. The video step then receives the generated sheet together with the reference media.
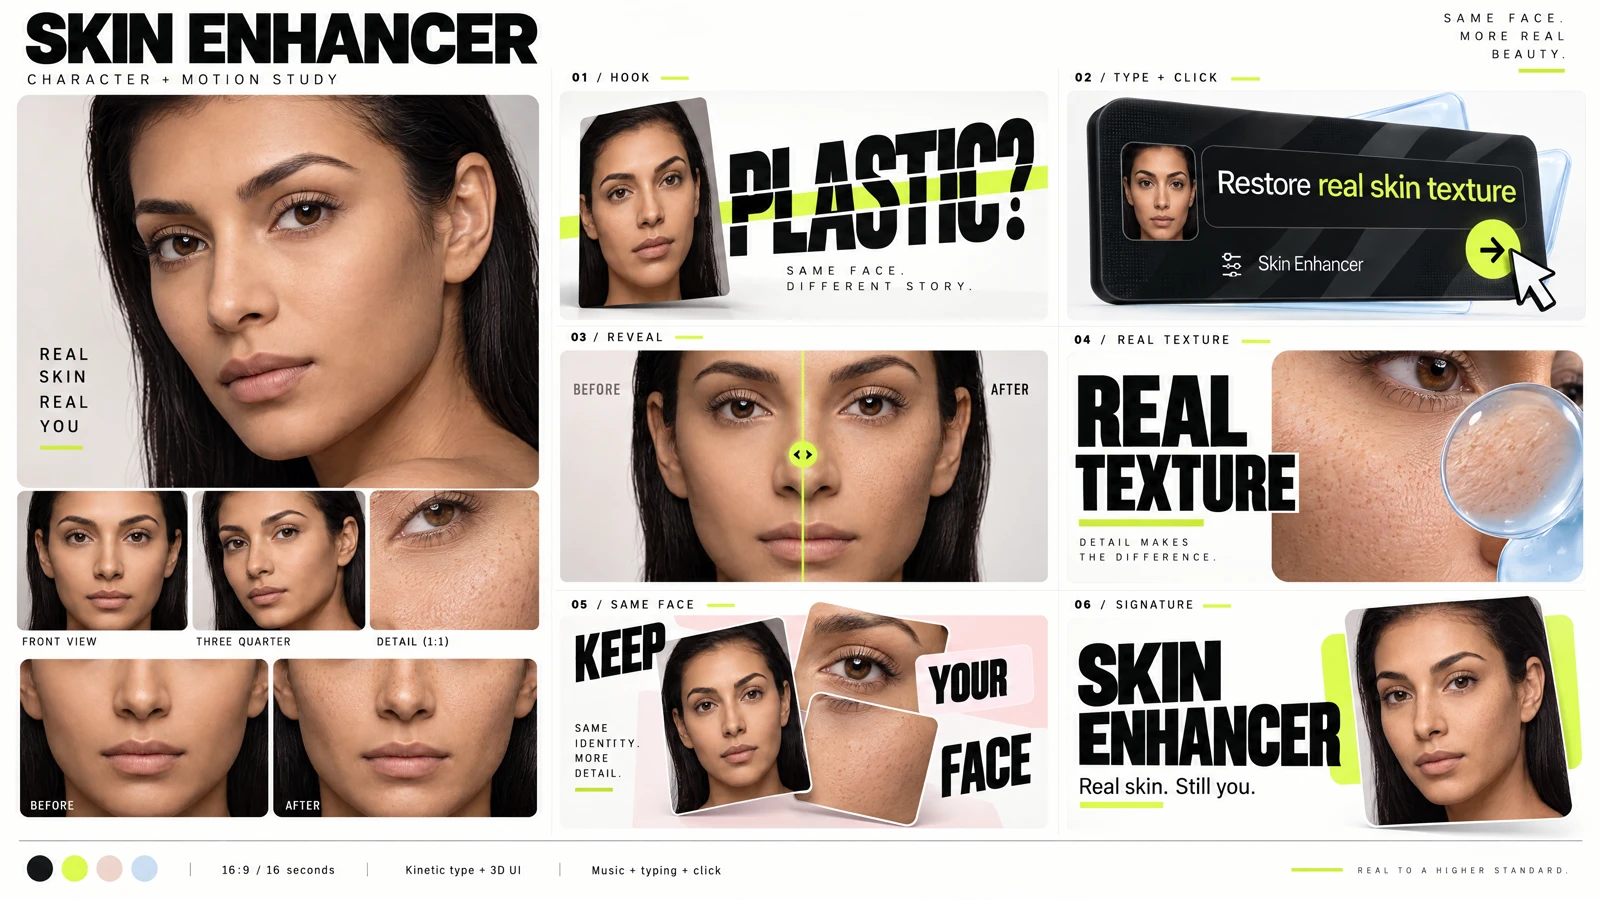
A generated Skin Enhancer planning sheet. The finished concept is available on the Feature Showcase Ad page.
Review the estimated price before running. Media steps use credits and writing steps use the message allowance; current settings determine the quote. See pricing for plans and credit packs.
Review the transformation, not just the polish
Watch the finished film at normal speed, then pause around the reveal. Ask whether the same subject appears on both sides and whether the visible change matches your actual feature. Small identity shifts, altered product markings or rewritten interface labels can make an attractive ad inaccurate.
Check the generated wording separately. A title can look convincing while containing a malformed letter. Read each frame that carries important copy and confirm that it stays visible long enough.
Listen for abrupt sound changes and check that music does not obscure requested speech. If a talking character appears, inspect pronunciation and lip synchronization. Also watch the ad muted: a website visitor may never turn the sound on.
The workflow’s review notes can help locate possible issues, but the review is advisory. Inspect the video yourself before publishing. The showcase example includes finishing edits; generated concepts should not be presented as unedited proof of a product outcome.
Reuse what worked
A successful comparison has a clear subject, a visible change and a readable explanation. Keep that discipline for the next feature while changing the brief and media. You can open the saved workflow in Canvas to adjust individual stages.
For a broader launch announcement, follow the feature showcase video guide. To create your own transformation story, open the workflow in Sandbox.