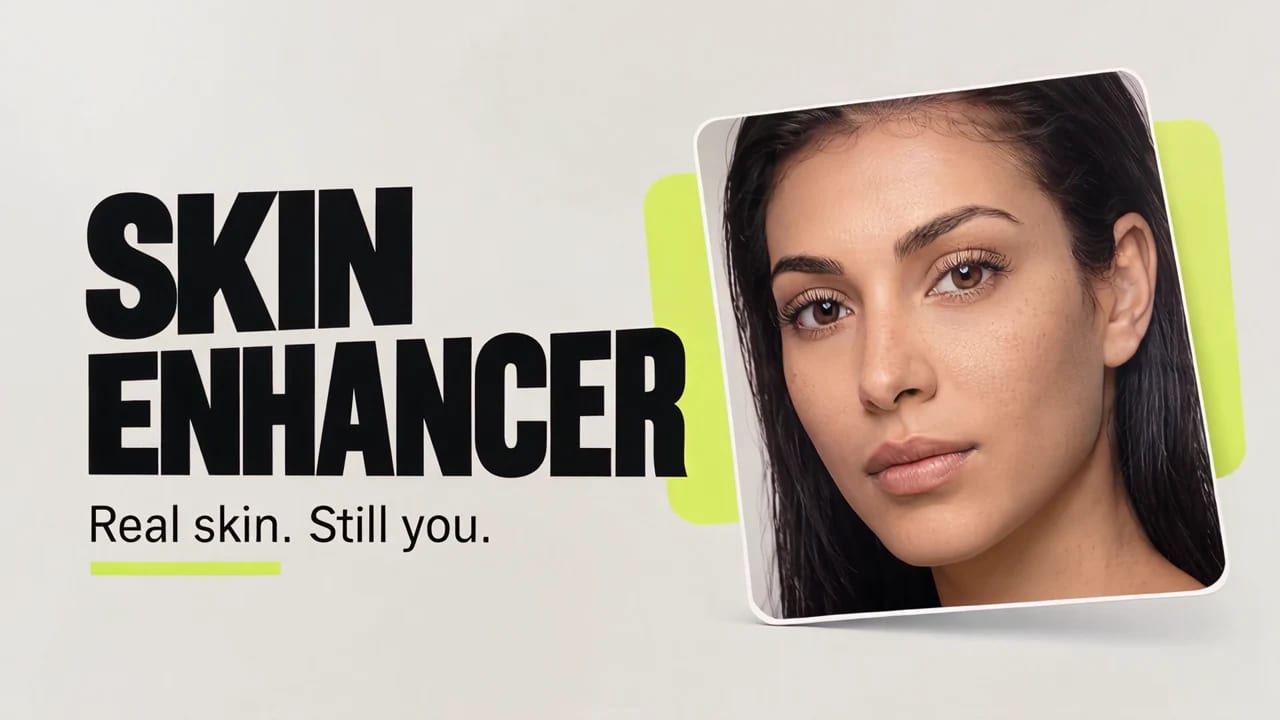
A feature showcase video should make one capability easy to understand. Start with the problem a viewer recognizes, show the feature doing something useful, and finish with a clear result. In Feature Showcase Ad, you supply the brief and optional references; the workflow writes the creative direction and generation prompts, creates a character or product sheet, then generates the video.
This guide covers short landscape ads, website feature tiles and launch announcements. When you need a precise step-by-step software tutorial, use real screen recordings for the interface. Generated motion is useful for a promotional story, but it can change small labels and controls.
1. Pick one feature and one outcome
“Make an ad for our app” leaves too many decisions open. A useful brief names the capability, audience and visible change. For example:
Show a scheduling tool turning scattered appointments into a clear weekly view. The audience is independent consultants. Use a calm paper-and-glass visual style, short readable titles and light rhythmic music. The message is “See your week clearly.” Do not invent time-saving numbers or customer quotes.
The brief gives the director something specific to stage. It also defines what the finished video must get right. You can ask for animated typing, floating interface panels, a product turntable or a dramatic before-and-after reveal, but each effect should help explain the feature.
Avoid packing several unrelated benefits into one short clip. If your product has scheduling, billing and reporting, give each feature its own showcase. You can reuse the workflow while changing the brief and references.
2. Choose references that remove uncertainty
Upload media through the shared picker in Sandbox. You can select existing media as well as new files.
| Reference | What it helps establish | What to check first |
|---|---|---|
| Product image | Shape, materials, colors and markings | The important details are sharp and visible |
| Real screenshot | Interface layout and feature context | Private information is removed and labels are legible |
| Before-and-after pair | The transformation to demonstrate | The subject, crop and lighting match |
| Short style video | Pacing, transitions and type movement | Its motion is relevant to the intended ad |
| Audio reference | Rhythm, mood or sound direction | The clip is short and appropriate for the brief |
A reference video is a style guide, not a request to reproduce someone else’s product or branding. Describe which properties matter: quick type reveals, dimensional panels, smooth camera motion or restrained cuts. If you have a particular palette, say so; the workflow does not force the example’s colors on every project.
Reference video duration and output length share a limit. The workflow checks their combination before generation. Shorten the reference when you need a longer finished ad.
3. Establish a character and motion sheet
The sheet stage gives the film a consistent visual starting point. A person-led ad needs identity anchors; a product-led ad needs product views, detail references or interface compositions. The same sheet also defines the intended keyframes, typography, backgrounds and lighting.
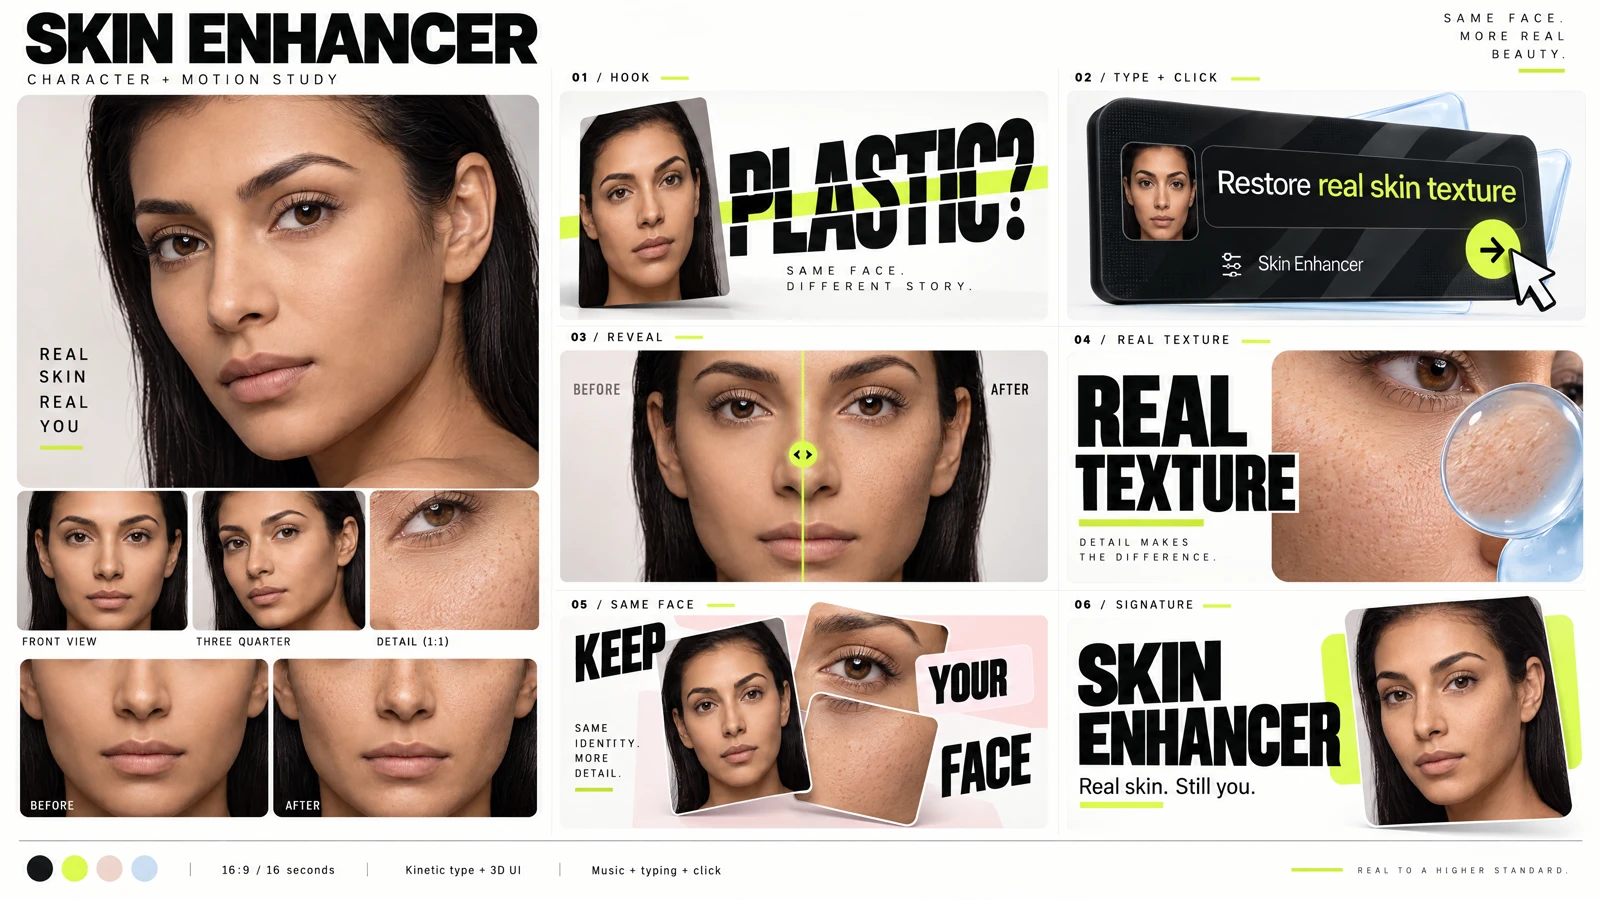
Generated direction sheet from the Skin Enhancer concept. A new run creates a sheet from its own brief.
This is why the workflow generates a sheet before the video instead of asking a video model to invent everything independently. The director can describe a coherent sequence, and the video receives the sheet as a reference. The sheet is also a separate deliverable you can download and reuse.
The workflow requests a 4K sheet and a 1080p landscape film. Those are different deliverables: a high-resolution planning image does not make the video 4K.
4. Review the plan and estimated cost
Open Sandbox → Use cases → Feature Showcase Ad. Enter your brief, optional style direction, references and video length. Music and sound effects are enabled by default; switch them off for a silent version.
Choose Review workflow & price before starting. Media generation uses credits and writing steps use the message allowance. The estimate comes from current model settings. Because the LLM writes the eventual prompts during the run, treat the number as an estimate rather than a promise of identical cost for every brief. See plans and credit packs for account options.
Once the run starts, keep its existing run record. If your connection drops, recover that run instead of immediately creating another. Completed assets remain useful even if a later review step needs attention.
5. Watch the entire video before publishing
The final creative review is a second opinion. Inspect the actual video, including its opening frame, transitions and final title. Check:
- The feature is understandable without reading a long paragraph.
- The character, product or interface remains consistent across shots.
- Every visible word is spelled correctly and held long enough to read.
- No sheet labels, borders or planning notes appear in the film.
- Music and sound effects are appropriate and comfortably balanced.
- Any speech is pronounced correctly and matches the visible performance.
For a website tile, watch once with sound and once muted. The feature should remain understandable when the viewer does not enable audio. Leave an informative poster frame so the tile also works before playback begins.
If a generated label or interface detail is wrong, fix it before publishing. The example on the product page includes finishing edits; it is a demonstration of the creative direction, not a guarantee that every first take needs no corrections.
Reuse the process for your next launch
Change the brief and references to create another showcase. The LLM develops new copy, scenes, backgrounds and sound direction for that feature. You can also open the saved workflow in Canvas to inspect and adjust individual stages.
For transformation-led features, read how to make before-and-after video ads from images. To begin a new project, open Feature Showcase Ad.