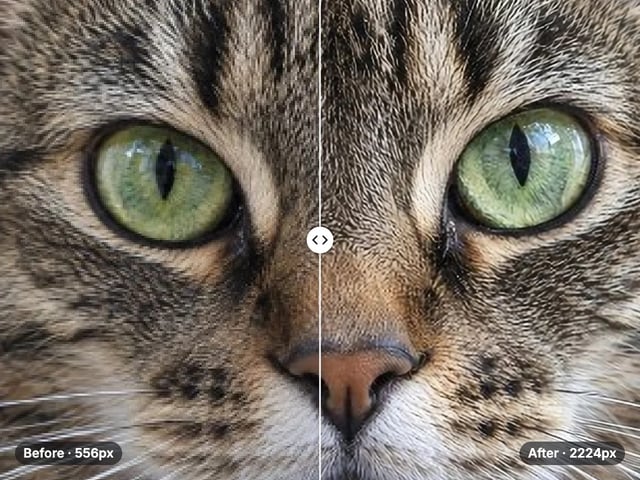
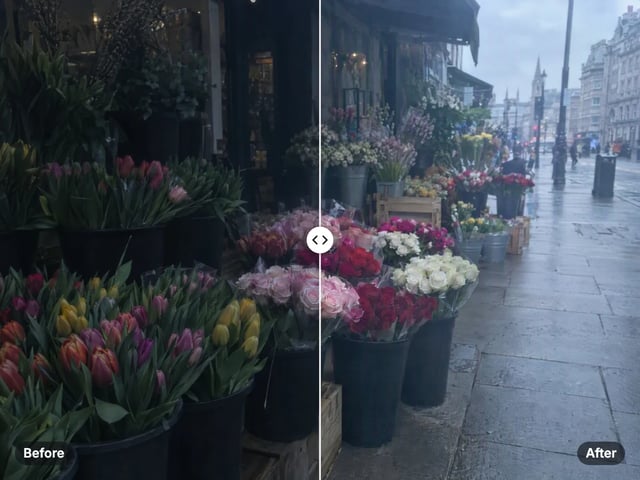
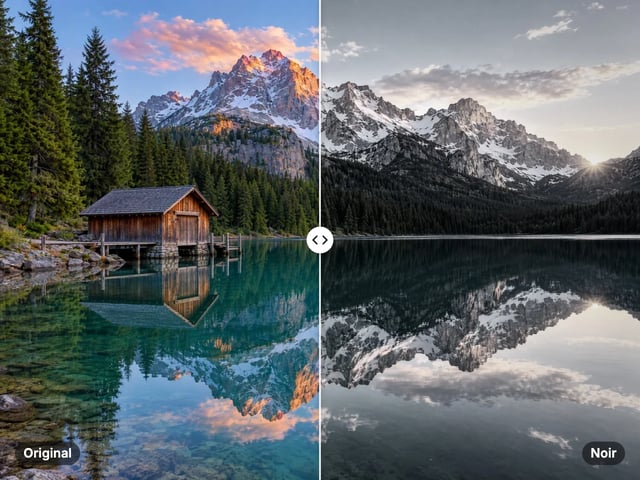
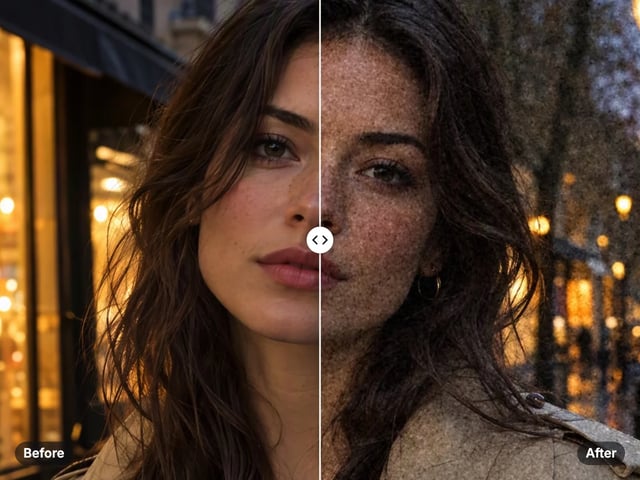
Classic unsharp mask
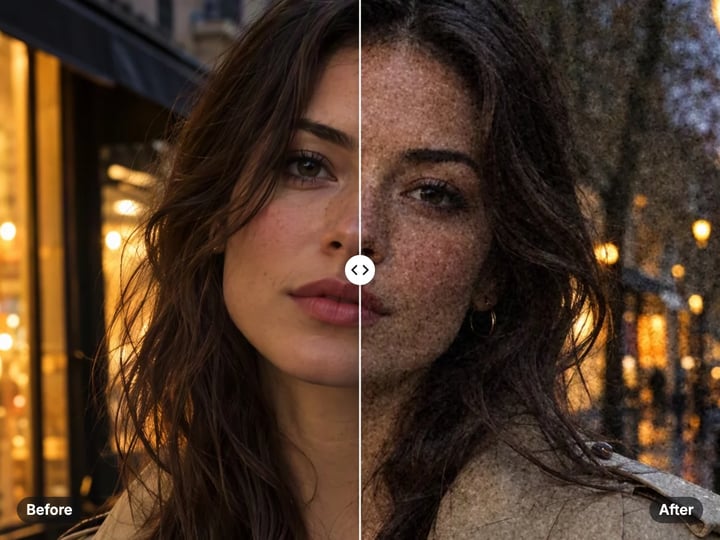
The same edge-sharpening method photo editors have used for decades: it increases contrast along edges so they read as crisper.
Imagera AI - AI content creation platform for generating images, cloning voices, creating avatars, and enhancing videos. Privacy Policy | Terms
Enhance · free · private
Make slightly soft photos look crisp, with control over how much, how wide and where the sharpening goes. It runs in your browser, and your image is never uploaded.
Sharpening runs in your browser on your own device. Your image is never uploaded or saved on our servers.
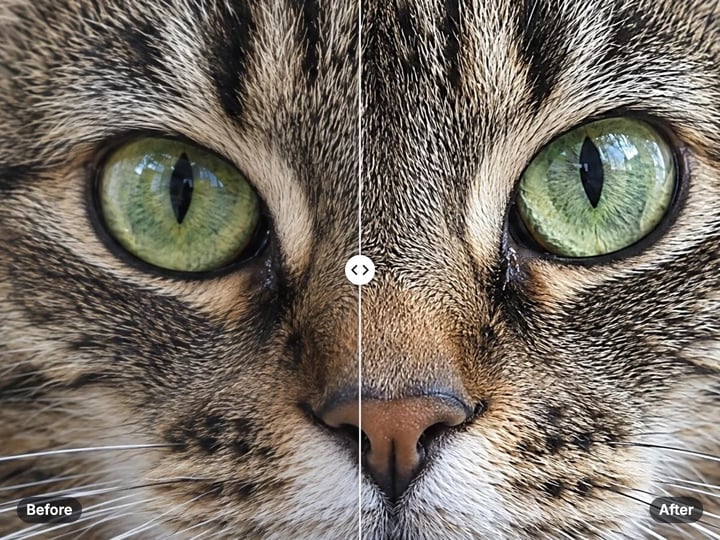 Real result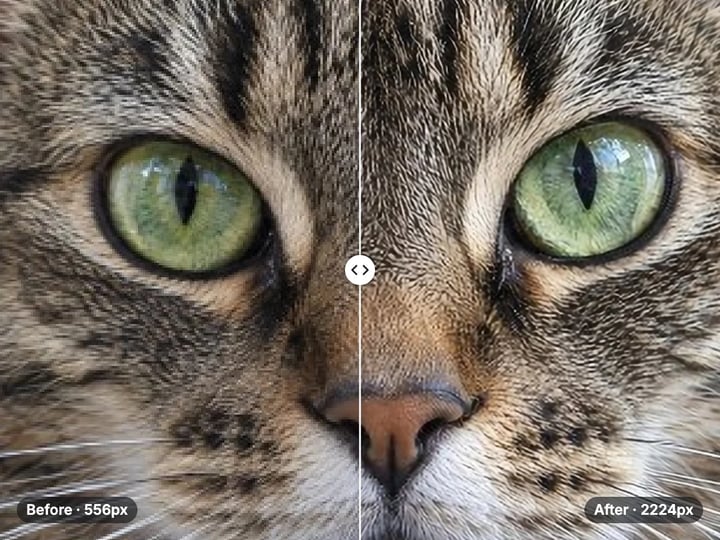
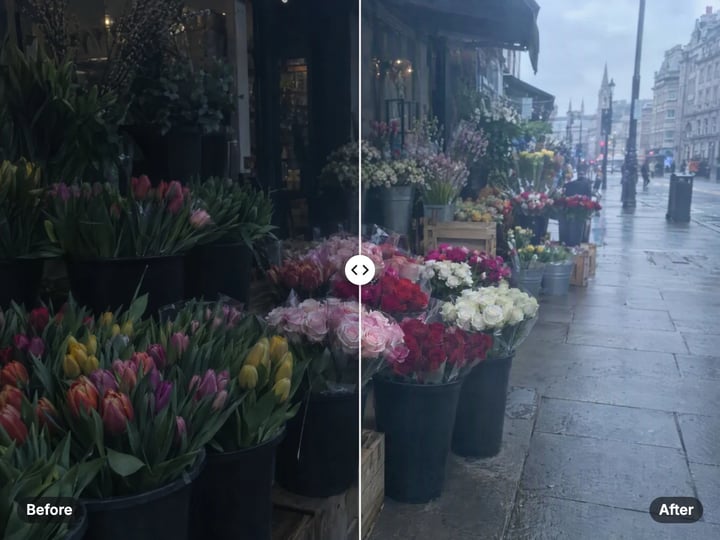
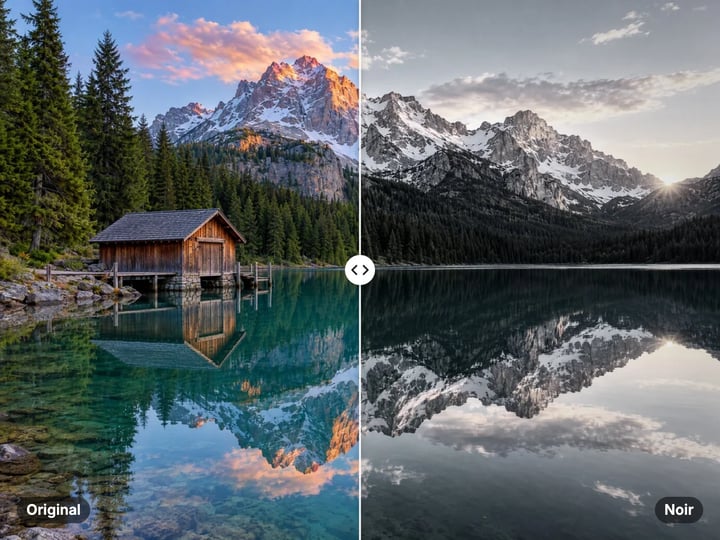
Quick answer
To sharpen an image for free, open Imagera’s Image Sharpener, add your photo and press Sharpen. The tool applies an unsharp mask, which raises contrast along edges so they look crisper. You control the amount, the edge radius and a threshold that protects smooth areas from grain. It runs in your browser, so your image is never uploaded or saved on our servers.
Your image never leaves your device — nothing is uploaded or saved on our servers.
How it works
Drop in a JPG, PNG, WebP or HEIC image. It stays on your device.
Start with the defaults: 80% amount and a 2 px radius.
Press Sharpen, then zoom in and drag the divider to check the edges.
Save the sharpened image straight to your device.
Why this one
The same edge-sharpening method photo editors have used for decades: it increases contrast along edges so they read as crisper.
A threshold skips tiny differences, so smooth areas such as skin and sky are left alone while real edges get sharper.
Amount sets the strength, radius sets the edge width, and threshold protects smooth areas. Sensible defaults work for most photos.
Drag the divider across the result to check edges up close before you download.
Continue in Imagera
Image Sharpener edits the pixels you have. These studios use AI to create what is not in the picture yet — they run on credits.
 Next step
Too small to print? Enlarge a photo to 4K, 8K or 16K (15,360 px on the long edge).
Open studio Imagera
Edit images with Imagera Edit. Inpaint, modify, and transform any part of your image.
Open studio Imagera
Replace any photo background with AI-generated luxury scenes.
Open studioWho it is for
Crisp up product edges and labels so listings look clear at zoom.
Counter the slight softness of a photo before it goes on paper or a big screen.
Make text and line art in scans look cleaner, privately, on your own device.
Guide
Sharpening does not add detail. It makes the detail you already have easier to see.
This tool uses an unsharp mask, a method photo editors have relied on for decades. It makes a slightly blurred copy of your image, compares it with the original and finds the edges, the places where brightness changes quickly. It then increases the contrast along those edges: the light side gets a little lighter and the dark side a little darker. Your eye reads that extra contrast as sharpness.
Because it works on edges, sharpening is most visible on hair, eyelashes, fabric, text, foliage and the outlines of objects. Flat areas like a clear sky barely change, especially with the threshold set above zero.
The result keeps the same size as your original. Nothing is invented; the tool only emphasizes what is already there.
Amount is the strength. It sets how much extra contrast goes onto each edge. The default is 80%. Go up to 120–150% for soft product photos or scans, and down to 40–60% for portraits.
Radius is how wide the effect reaches around each edge, in pixels. A radius of 1–2 px sharpens fine texture like hair and fabric. A radius of 3–6 px affects broader edges and is useful on large, slightly out-of-focus photos. Too large a radius creates visible light and dark outlines, called halos.
Threshold tells the tool to ignore small differences. At 0 everything is sharpened, including noise and skin texture. At the default of 4, faint noise is skipped. Raise it toward 10–15 on portraits so skin stays smooth while eyes and hair sharpen.
Change one control at a time and compare with the before/after divider.
It helps when a photo is slightly soft. Common causes are a phone camera’s gentle processing, a photo that was resized smaller, a scan of a print, or focus that landed a little off the subject.
It helps a lot with text, logos, screenshots and product labels, where crisp edges make the difference between readable and blurry.
It cannot fix strong motion blur, a subject that is clearly out of focus, or a tiny image that has been enlarged many times. In those photos the edge information is gone. Sharpening them mostly increases noise and creates halos.
It is also not an upscaler. The output is the same size as the input. If you need a bigger image with more detail, you need a tool that adds detail, such as an AI upscaler.
A good test: if the photo looks acceptable at small size but soft when you zoom in, sharpening will likely help.
Online sharpeners commonly upload your image, process it on a server and send it back. Imagera’s Image Sharpener runs in your browser instead.
When you add an image, it is read and processed on your own phone or computer. It is never uploaded and nothing is saved on our servers. That matters for scans of documents, unpublished product shots and personal photos.
On a phone, very large images may be scaled down to fit your browser’s memory before they are processed. On desktop, most photos keep their full size.
Processing is unlimited, so you can try as many settings as you like. Your first few downloads need no account; after that, a free sign-in keeps them going. There is no watermark on the result.
Sharpen last. Do color and light fixes, cropping and resizing first. Sharpening is the final step before you save or share.
Sharpen for the final size. If you will shrink a photo for the web, resize it first and then sharpen, because resizing softens edges again.
Check at 100% zoom. Halos and grain are easy to miss on a small preview. Zoom into eyes, hair or text on the result.
Protect skin. For portraits, use a lower amount and a threshold around 10. Eyes and hair still sharpen, but skin does not turn rough.
Do not sharpen twice. Running the tool on an already sharpened image doubles the halos. Start again from the original with a higher amount instead.
Match the subject. Landscapes and products can take more sharpening than faces. Adjust per photo rather than reusing one setting for everything.
The free sharpener and Imagera’s paid AI Image Upscaler do different jobs.
The free tool emphasizes edges that already exist. It is quick, private and runs on your device. It is the right choice for a slightly soft photo that is already the size you need.
The paid AI Image Upscaler uses AI to add real new detail as it enlarges your image, up to 16K. It suits small or low-quality images that need to be both bigger and more detailed, such as print orders and large banners. It runs in the cloud and is paid with credits.
If you have a small or badly blurred image, try the sharpener first. If no setting looks right, the image needs new detail, which is what the AI upscaler adds.
Free vs studio
Questions people ask
Open the Image Sharpener, add your picture and press Sharpen. Start with the default settings, then raise the amount if it still looks soft. It works best on slightly soft photos rather than heavy blur.
It is a classic sharpening method. It compares your image with a blurred copy to find edges, then boosts contrast along those edges so they look crisper.
Use 1–2 px for fine detail such as hair and fabric, and 3–6 px for broader edges on large photos. If you see bright outlines around edges, lower the radius.
Raise the threshold in the advanced settings. It tells the tool to skip small differences, so noise and smooth areas are left alone while edges still sharpen.
Yes. Use a small radius of 1–2 px and a higher amount, around 120–150%. Text edges become crisper, and the scan never leaves your device.
No. The sharpened image has the same size as your original. To make an image bigger and add detail, use the AI Image Upscaler.
Those are halos, caused by too much amount or too large a radius. Lower either one and sharpen again from your original image.
After. Resizing softens edges, so sharpen as the last step once the image is at its final size.
More free tools
Complete your workflow
These pair with Print-Ready 16K Upscaler. Every tile says what the tool actually does — without leaving this page.
Repair scratches, tears and fading, then upscale for printing
Browser-based AI upscaling for 2K, 4K & 8K without a desktop license
Upscale videos to 4K with the same AI enhancement technology
Make AI images look like real camera photos before upscaling
Generate talking videos from your upscaled portraits
Add freckles, pores, scars, tattoos. Remove blemishes. Fix plastic AI skin instantly.
Edit images with Imagera Edit. Inpaint, modify, and transform any part of your image.
Remove flyaway hair and fix fine imperfections with surgical AI precision.
Change the words, color or font of text baked into a photo, poster or screenshot.
Imagera AI Team
Unified AI creation platform