Automatic light and contrast
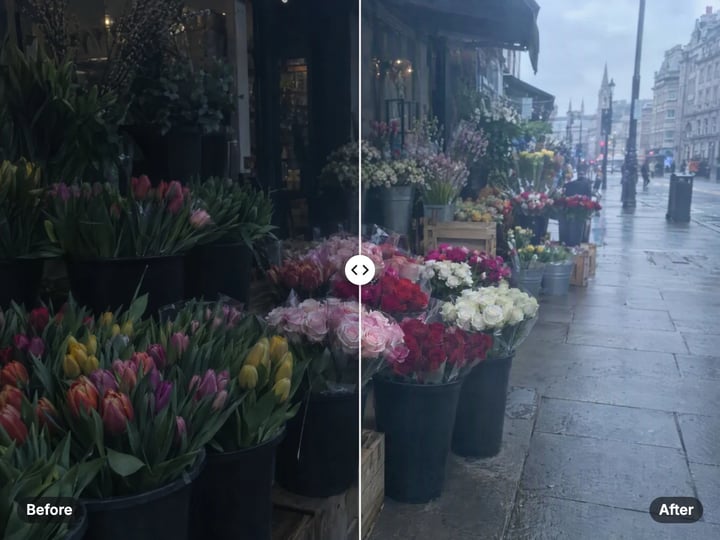
The tool measures the darkest and brightest parts of your photo and stretches them to a full range, so flat, hazy shots gain depth without clipping.
Imagera AI - AI content creation platform for generating images, cloning voices, creating avatars, and enhancing videos. Privacy Policy | Terms
Enhance · free · private
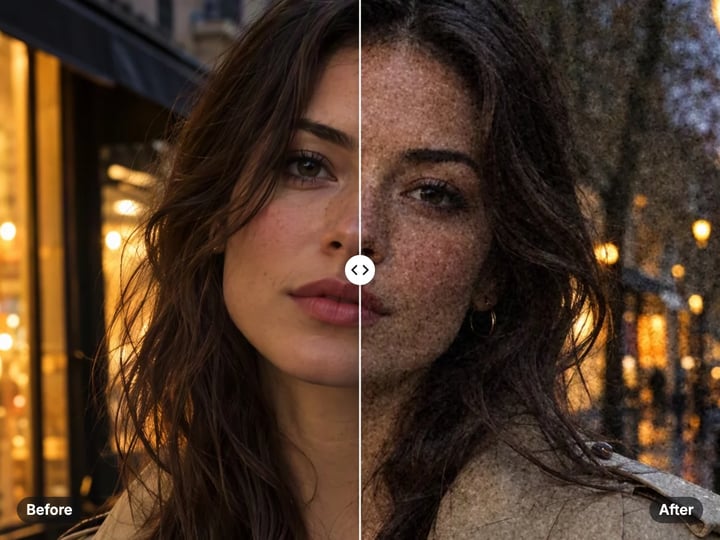
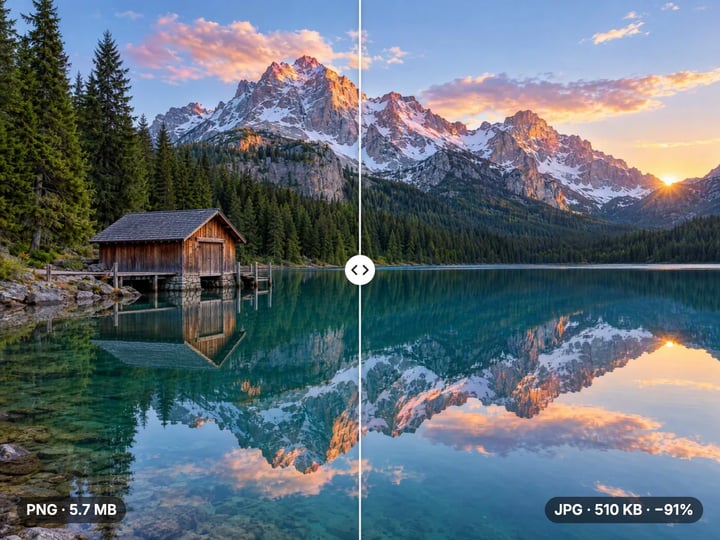
Fix flat light, dull color and a yellow or blue cast in one click, then compare before and after. It all runs in your browser, and your photo is never uploaded.
The enhancement runs in your browser on your own device. Your photo is never uploaded or saved on our servers.
 Real result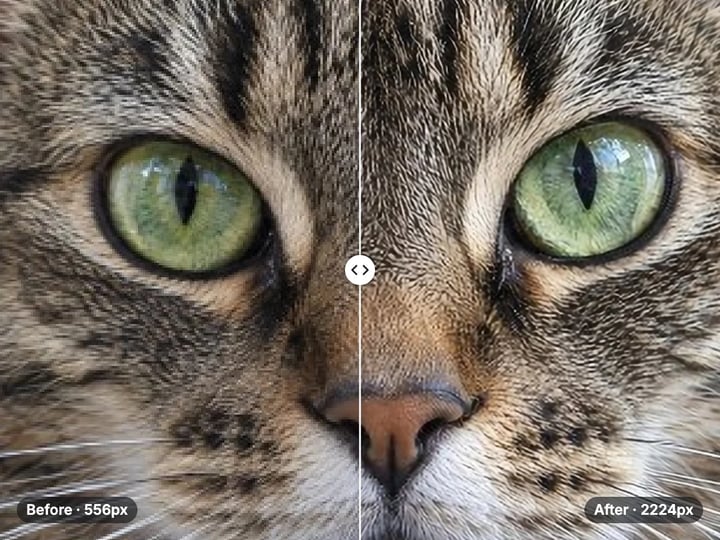
Quick answer
To enhance a photo for free, drop it into Imagera’s Photo Enhancer and press Enhance photo. The tool measures your photo, then corrects the light range, removes a yellow or blue color cast, adds a little vibrance and brings out fine detail. A strength slider controls how much is applied. Everything runs in your browser, so your photo is never uploaded or saved on our servers.
Your photo never leaves your device — nothing is uploaded or saved on our servers.
How it works
Drop in a JPG, PNG, WebP or HEIC photo. It stays on your device.
Leave it at 70% or move the slider. Keep color-cast correction on unless the warm tint is intentional.
Press Enhance photo, then drag the divider to compare before and after.
Save the enhanced photo straight to your device.
Why this one
The tool measures the darkest and brightest parts of your photo and stretches them to a full range, so flat, hazy shots gain depth without clipping.
Indoor bulbs and shade can tint a photo yellow or blue. The tool balances the colors back toward neutral, and you can switch this off.
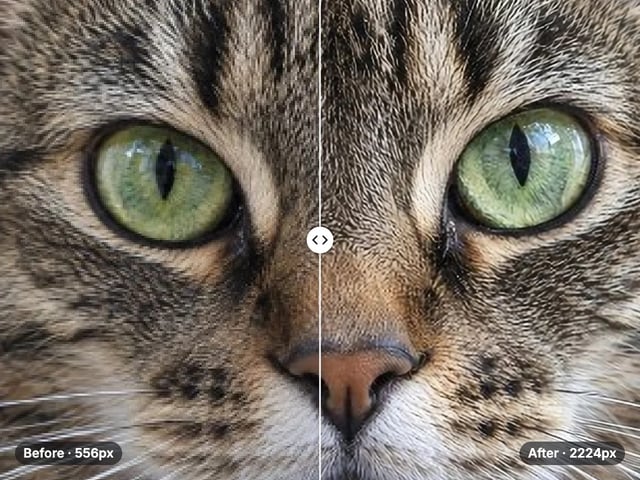
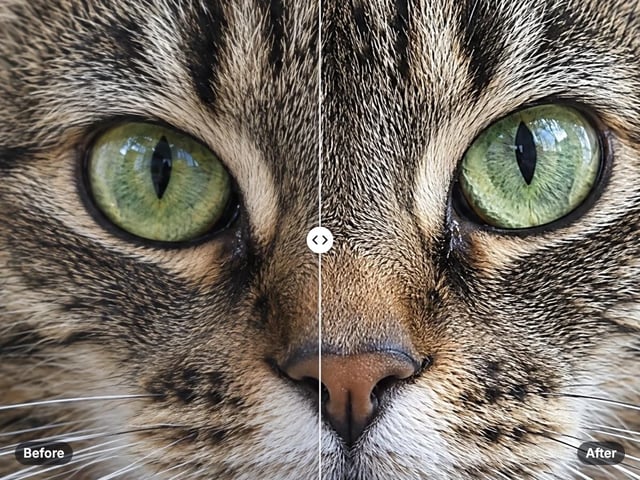
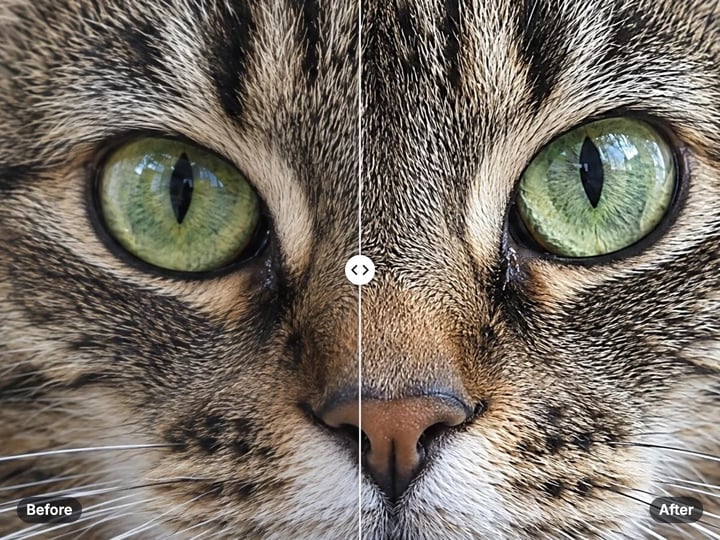
A gentle local-contrast pass and light sharpening make textures read clearly without the crunchy look of heavy filters.
One strength slider blends the corrected photo with your original. Drag the before/after divider to check the result before you download.
Continue in Imagera
Photo Enhancer edits the pixels you have. These studios use AI to create what is not in the picture yet — they run on credits.
 Next step
Fix closed eyes, add a natural smile — rescue any photo
Open studio Imagera
Too small to print? Enlarge a photo to 4K, 8K or 16K (15,360 px on the long edge).
Open studio Imagera
Edit images with Imagera Edit. Inpaint, modify, and transform any part of your image.
Open studio Imagera
Replace any photo background with AI-generated luxury scenes.
Open studioWho it is for
Rescue indoor shots that came out dim, flat or yellow before you share them.
Give product photos clean, neutral color so buyers see the real item.
Lift faded, hazy snapshots without sending private family photos anywhere.
Guide
Most dull photos have the same few problems. The darkest part is not quite black, the brightest part is not quite white, the colors lean yellow or blue, and fine texture looks soft.
The enhancer fixes those four things automatically. It reads the light range of each color channel and stretches it so the photo uses the full range, ignoring the extreme few pixels so a single highlight cannot skew the result. It then estimates the color cast and balances it back toward neutral, within limits so a deliberate mood is not erased. A vibrance step lifts muted colors more than already-saturated ones, which protects skin tones. Finally, a gentle clarity and sharpening pass makes edges and textures read more clearly.
It is an automatic correction, not a generator. It improves what is already in your photo and does not add new detail.
Automatic correction works best on photos that are basically sound but look a little lifeless. Typical examples:
Indoor photos under warm bulbs. Kitchens, restaurants and living rooms often come out orange. Color-cast correction pulls them back toward natural.
Hazy or overcast shots. Landscapes on grey days and photos taken through a window lack contrast. The light-range stretch restores depth.
Scans of old prints. Faded prints lose their blacks and drift toward yellow. The enhancer restores contrast and reduces the tint.
Product photos from a phone. A quick correction makes white backgrounds look white and colors look closer to the real item.
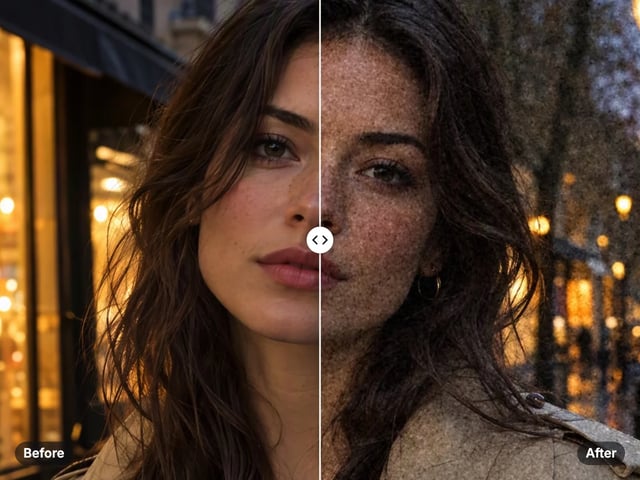
It helps less with photos that are badly blurred, heavily over-exposed with blown-out white areas, or very noisy. Those need detail the photo no longer has.
The Strength slider blends the corrected version with your original. At 0% you see your photo unchanged. At 100% you get the full correction. The default of 70% suits most photos, because it fixes the problem while keeping some of the original character.
If skin starts to look too saturated or shadows look too deep, lower the strength to around 40–50%. If the photo still looks flat, raise it.
The Fix color cast toggle controls white balance. Leave it on for everyday photos. Turn it off when the color is the point: a sunset, candlelight, stage lighting or a deliberately warm portrait. With the toggle off, the tool still corrects light and detail but leaves the overall color alone.
After each run, drag the before/after divider across the photo. It is the quickest way to judge whether the change is right.
Many online enhancers upload your photo to their servers, process it there and send it back. That means a copy of your photo sits, at least for a while, on a computer you do not control.
This tool works differently. The page loads the enhancement code into your browser, and the photo is processed right there on your phone or computer. Your photo is never uploaded and nothing is saved on our servers.
That matters for photos of children, private documents, unreleased products and client work. It also means the tool keeps working on a slow connection once the page has loaded.
Processing is unlimited. Your first few downloads need no account; after that, a free sign-in keeps them going. There is no watermark on the result.
Start with the original file. A photo that has already been compressed by a messaging app has less detail to work with. Use the version saved on your phone or camera when you can.
Enhance before you crop or resize. The tool reads the whole photo to decide on the correction. Cropping first can change what it measures.
Do not stack enhancements. Running the tool on an already enhanced photo pushes contrast and color further than you probably want. Adjust the strength instead.
Check faces up close. Zoom into faces on the result. If skin looks too warm or too cool, try the other color-cast setting.
Very large photos on phones. Your browser has a memory limit. On some phones, very large photos may be scaled down to fit before they are processed.
The free enhancer and Imagera’s paid AI Photo Fixer solve different problems.
The free tool corrects light, color and detail that are already in your photo. It runs on your device, needs no upload and costs nothing. It is the right first step for photos that are sound but dull.
The paid AI Photo Fixer uses AI to fix the problems a correction cannot reach. It opens closed eyes, adds a natural smile, clears glare on glasses and fixes red flash eyes, and its one-tap Auto Beautify tidies lighting and skin. It runs in the cloud, keeps your history and is paid with credits.
A simple rule: if moving the strength slider makes the photo look right, you are done. If the photo is well lit but someone blinked or the glasses caught the flash, the AI Photo Fixer is the better tool.
Free vs studio
Questions people ask
Open the Photo Enhancer, add your photo and press Enhance photo. The tool stretches the light range so shadows open up, and it runs entirely in your browser. Nothing is uploaded.
Keep the Fix color cast toggle on and run the enhancer. It measures the overall tint and balances it back toward neutral. Lower the strength if the result looks too cool.
Only a little. It adds gentle clarity and sharpening, which helps slightly soft photos. It cannot recover detail from a badly blurred photo. For stronger sharpening, try the free Image Sharpener.
The correction itself does not add blur or noise, and you choose how much is applied. As with any edit, the photo is saved again, so start from your original file for the best result.
Yes. HEIC photos are read on your device, enhanced and saved in a widely supported image format. You do not need to convert them first.
No. The downloaded photo has no watermark or logo. Your first few downloads need no account, and after that a free sign-in keeps them going.
The color-cast fix treats strong warm tones as a tint to correct. Switch Fix color cast off for sunsets, candlelight or stage lighting, and the tool will only adjust light and detail.
Saturation boosts every color equally. Vibrance boosts muted colors more than strong ones, which keeps skin tones natural. The enhancer uses vibrance for that reason.
More free tools
Complete your workflow
These pair with Eye & Smile Fixer. Every tile says what the tool actually does — without leaving this page.
Fix damaged or low-quality photos
Bring faded photos back
Enlarge after you fix
Edit images with Imagera Edit. Inpaint, modify, and transform any part of your image.
Remove flyaway hair and fix fine imperfections with surgical AI precision.
Change the words, color or font of text baked into a photo, poster or screenshot.
Free passport, visa & ID photos — auto-cropped to any country's exact size, background and file size, right on your device.
Imagera AI Team
Unified AI creation platform