Ten ready-made looks
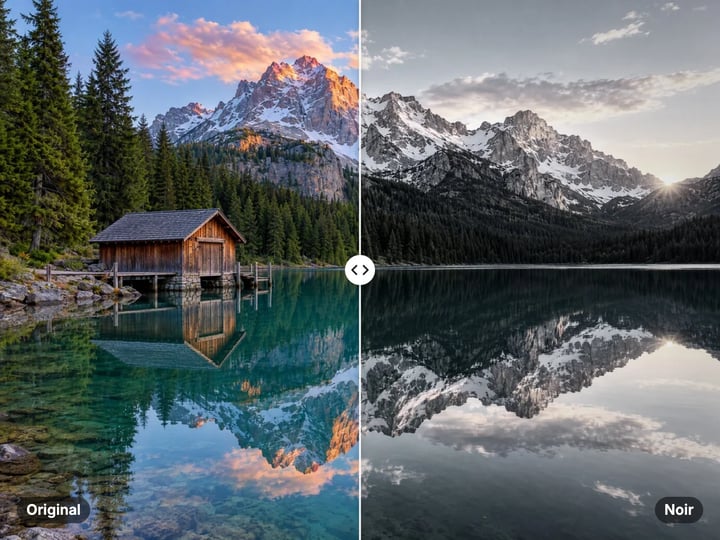
Film, Noir, Black & White, Sepia, Vintage, Cinematic, Cool, Warm, Vivid and Fade. Each one is a complete color grade, not just a tint.
Imagera AI - AI content creation platform for generating images, cloning voices, creating avatars, and enhancing videos. Privacy Policy | Terms
Enhance · free · private
Give a photo a film, noir, sepia, vintage or cinematic look, then fine-tune intensity, grain and vignette. It runs in your browser, and your photo is never uploaded.
Filters are applied in your browser on your own device. Your photo is never uploaded or saved on our servers.
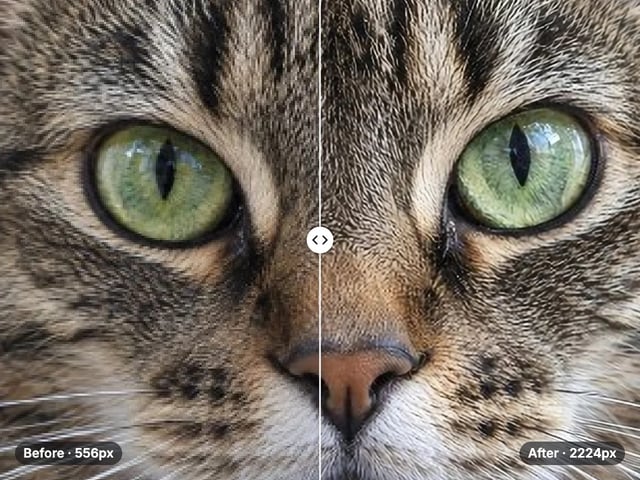
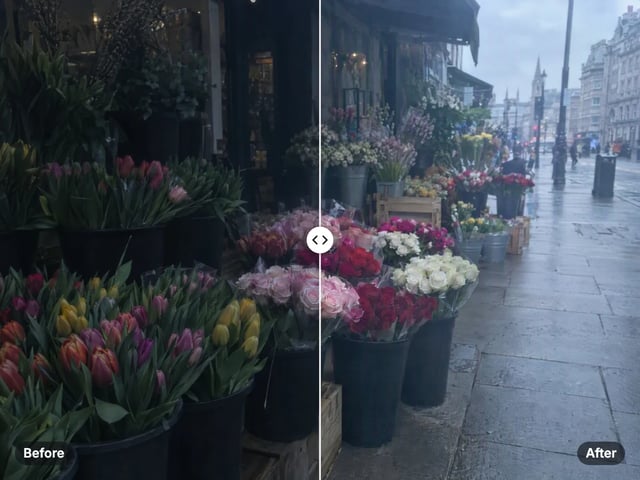
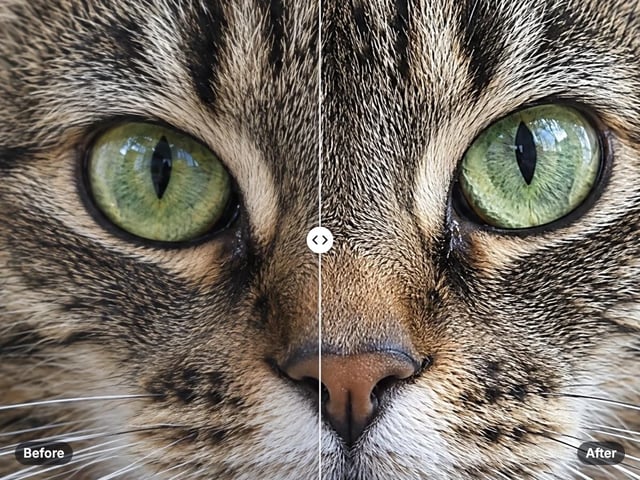
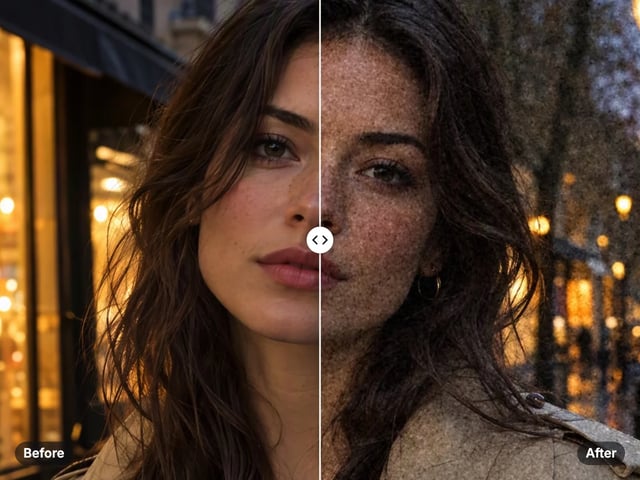
 Real result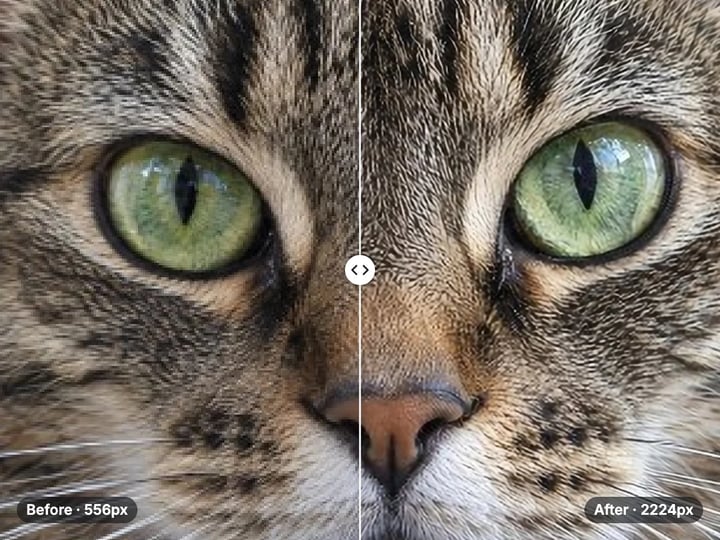
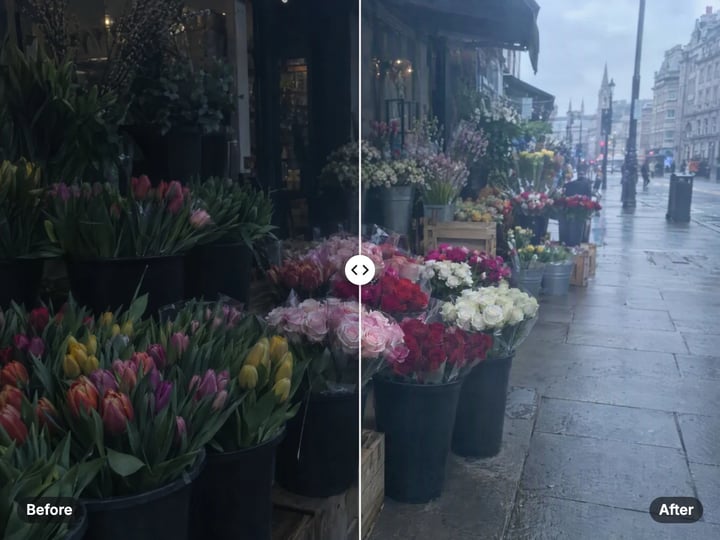
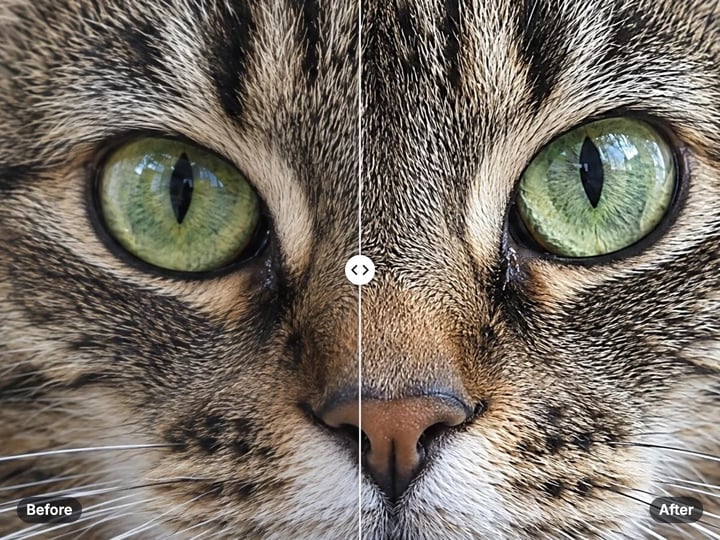
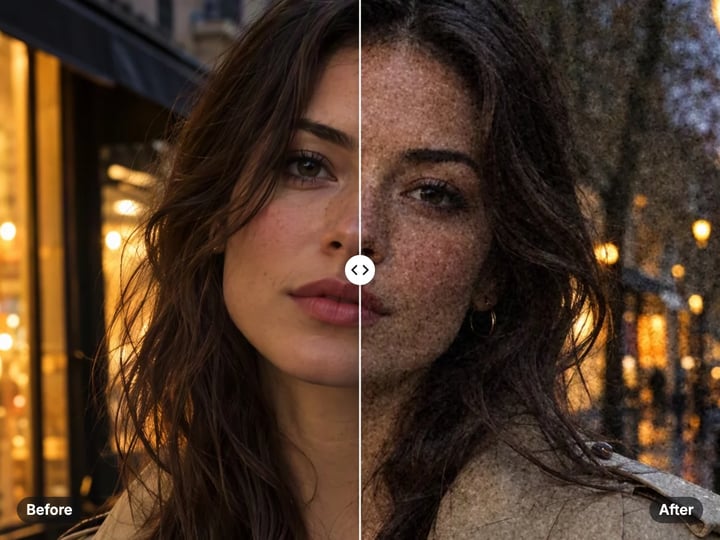
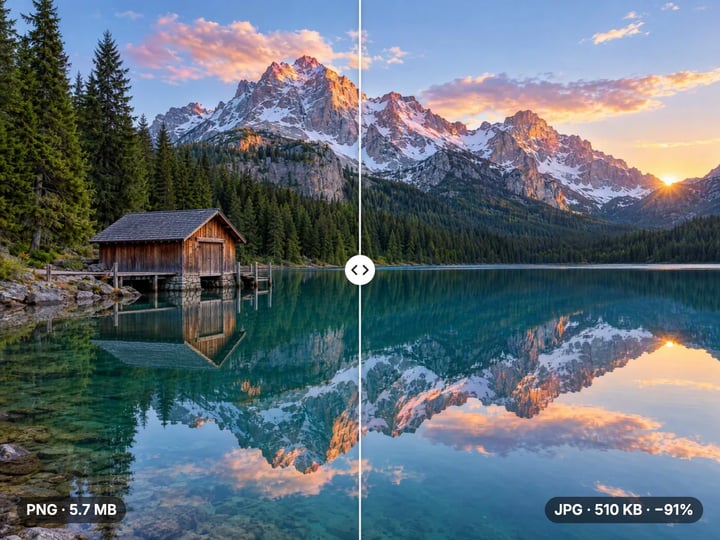
Quick answer
To add a filter to a photo for free, open Imagera’s Photo Filters, add your photo and pick one of ten looks: Film, Noir, Black & White, Sepia, Vintage, Cinematic, Cool, Warm, Vivid or Fade. Adjust the intensity, add grain or a vignette if you like, and press Apply filter. It runs in your browser, so your photo is never uploaded or saved on our servers.
Your photo never leaves your device — nothing is uploaded or saved on our servers.
How it works
Drop in a JPG, PNG, WebP or HEIC photo. It stays on your device.
Choose Film, Noir, Black & White, Sepia, Vintage, Cinematic, Cool, Warm, Vivid or Fade.
Set the intensity, and add grain or a vignette from the advanced settings if you like.
Press Apply filter, compare before and after, then save the photo to your device.
Why this one
Film, Noir, Black & White, Sepia, Vintage, Cinematic, Cool, Warm, Vivid and Fade. Each one is a complete color grade, not just a tint.
Blend any look with your original, from a hint of color to the full effect. The default of 80% keeps a little of the original photo.
Add film-style grain for texture and darken the corners to pull attention to your subject. Both start at zero, so they only appear when you want them.
The filter runs on your device. Your photo is never uploaded, so personal and client photos stay with you.
Continue in Imagera
Photo Filters edits the pixels you have. These studios use AI to create what is not in the picture yet — they run on credits.
 Next step
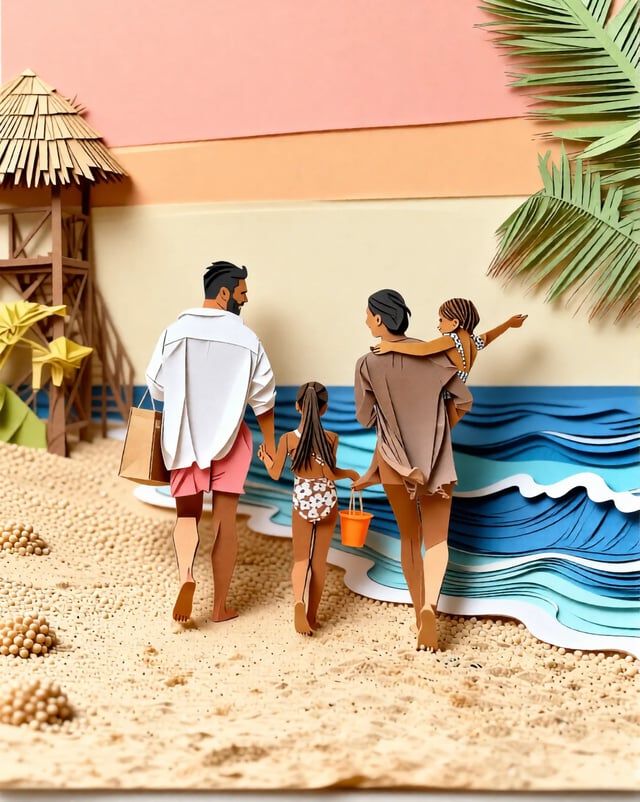
Transform photos into Ghibli anime, oil paintings, watercolor, and more.
Open studio Imagera
Too small to print? Enlarge a photo to 4K, 8K or 16K (15,360 px on the long edge).
Open studio Imagera
Edit images with Imagera Edit. Inpaint, modify, and transform any part of your image.
Open studio Imagera
Replace any photo background with AI-generated luxury scenes.
Open studioWho it is for
Give a set of photos one consistent look before you post them together.
Turn wedding, party or family shots into timeless black and white or sepia.
Add grain and vignette for a printed, analog feel without a desktop editor.
Guide
Film warms the colors slightly, lifts the blacks and adds light grain, like a print from a film camera.
Noir is a high-contrast black and white with deep shadows. It suits street photos and dramatic portraits.
Black & White is a neutral, balanced conversion that keeps detail in both shadows and highlights.
Sepia tones the photo in warm browns, the classic look of very old prints.
Vintage fades the colors, warms them and darkens the corners, like a photo that has sat in an album for decades.
Cinematic pushes shadows toward teal and skin and highlights toward orange, a color split common in films.
Cool and Warm shift the whole photo toward blue or amber. Vivid boosts color for punchy results. Fade softens contrast and lifts the blacks for a gentle, matte look.
The subject usually decides the filter.
Portraits look timeless in Black & White or gentle in Fade. Noir works when the light is strong and directional, such as a window at the side.
Landscapes and travel suit Vivid on a clear day, or Cinematic for a moody, film-still feel at golden hour.
Food and interiors usually look best in Warm or Film, which make the scene feel inviting.
Street and architecture often look strongest in Noir, where shapes and shadows matter more than color.
Old or low-quality photos can hide their flaws in Sepia or Vintage. Soft focus and noise feel natural in an older-looking print.
If you are posting several photos together, use the same look and intensity on all of them. A consistent grade makes a set look planned.
Intensity blends the look with your original photo. The default is 80%, which gives a clear effect while keeping a little of the original color. Drop it to 30–50% for a subtle grade that still looks natural.
Grain adds fine, random texture like film grain. A little grain can make a phone photo feel less digital and can hide slight noise. Try 15–30% first; high values are a deliberate stylistic choice.
Vignette darkens the edges and corners so the eye moves toward the center. It works well on portraits and single-subject photos. Keep it low on photos where the subject sits near an edge, or it may darken the subject too.
Grain and vignette both start at zero and live in the advanced settings, so they only appear when you choose them. Film and Vintage already include some of each as part of the look.
Filter apps and websites often upload your photo before they apply a look. Some keep it for a while, and some ask for broad access to your photo library.
Imagera’s Photo Filters work inside your browser instead. The page loads the filter code once, and your photo is processed on your own phone or computer. It is never uploaded and nothing is saved on our servers.
That makes it a good fit for personal photos, pictures of children and client work you have not published yet. There is nothing to install and no photo-library permission to grant; you choose one photo at a time.
Processing is unlimited. Your first few downloads need no account; after that, a free sign-in keeps them going. There is no watermark on the result.
Fix the basics first. A filter changes mood, not exposure. If your photo is too dark or tinted, run it through the free Photo Enhancer first, then add the look.
Watch skin tones. Cool and Cinematic can make skin look grey or orange at full intensity. Lower the intensity if faces look unnatural.
Black and white needs contrast. If a Black & White conversion looks flat, try Noir, which adds contrast for you.
Grain shows more on small screens. Grain that looks subtle on a laptop can look heavy on a phone. Check the result at the size people will see it.
Keep your original. The filter creates a new file. Your original photo on your device is not changed, so you can always start again.
Filters and style transfer are different kinds of edits.
A filter changes the colors and tones of your photo. The shapes, faces and details stay exactly as they are. Imagera’s free Photo Filters apply ten fixed looks on your device, with no upload.
AI Photo Style Transfer is a paid Imagera tool that uses AI to restyle the whole photo. It can turn a photo into something that looks painted, drawn or rendered in a different style, which changes the picture itself, not just its color. It runs in the cloud and is paid with credits.
Use the free filters when you want your photo to look like your photo, with a different mood. Use style transfer when you want it to look like a different kind of image altogether.
Free vs studio
Questions people ask
Open Photo Filters, add your photo and choose Black & White or Noir. The conversion runs in your browser, so the photo never leaves your device.
Choose Film for a warm, lifted-black look with light grain, or Vintage for faded color and darker corners. Add extra grain from the advanced settings if you want more texture.
It pushes shadows toward teal and skin and highlights toward orange, a color split used in many films. Choose Cinematic and lower the intensity if skin looks too orange.
Yes. Pick a mild look such as Warm, set the intensity low, then raise the Grain slider in the advanced settings. That adds texture while barely changing the color.
No. The tool creates a new file for you to download. The original photo on your device stays exactly as it was.
Black & White is a neutral conversion that keeps shadow and highlight detail. Noir adds strong contrast and deeper blacks for a dramatic look.
Yes. Open the page in your phone’s browser and choose a photo. HEIC photos are read on your device, and nothing is uploaded.
Open the advanced settings and raise the Vignette slider. It darkens the corners and edges so attention moves to the center of the photo.
More free tools
Complete your workflow
These pair with Magic Style Transfer. Every tile says what the tool actually does — without leaving this page.
Replace backgrounds before applying art styles
Generate AI images to transform into art styles
General-purpose AI image editing with Imagera Edit
Add freckles, pores, scars, tattoos. Remove blemishes. Fix plastic AI skin instantly.
Remove flyaway hair and fix fine imperfections with surgical AI precision.
Change the words, color or font of text baked into a photo, poster or screenshot.
Free passport, visa & ID photos — auto-cropped to any country's exact size, background and file size, right on your device.
Imagera AI Team
Unified AI creation platform