Knows which is the logo
Choose both pictures at once: the one with transparency, or the smaller one, is used as the logo.
Imagera AI - AI content creation platform for generating images, cloning voices, creating avatars, and enhancing videos. Privacy Policy | Terms
Social & creative · free · private
Choose a photo and your logo together. Place the logo in a corner, the center or tiled across the picture, and set its size and opacity. Neither file leaves your device.
Your photo and logo are combined in your browser on your own device. Neither is uploaded or stored on any server.
 Real result
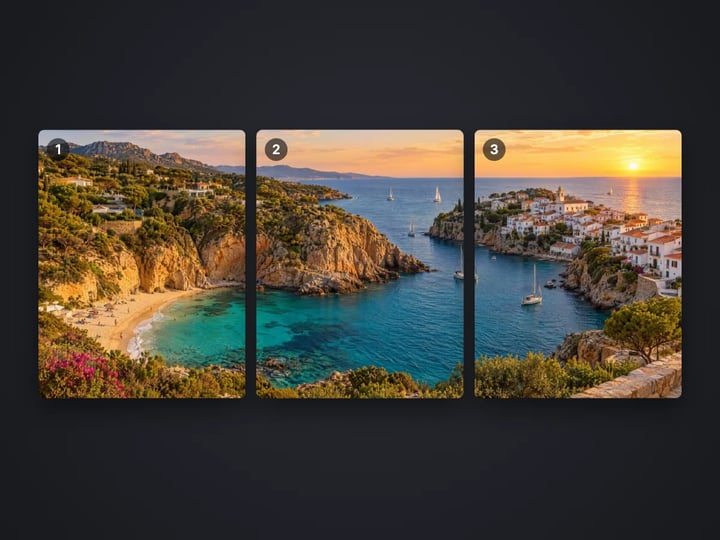
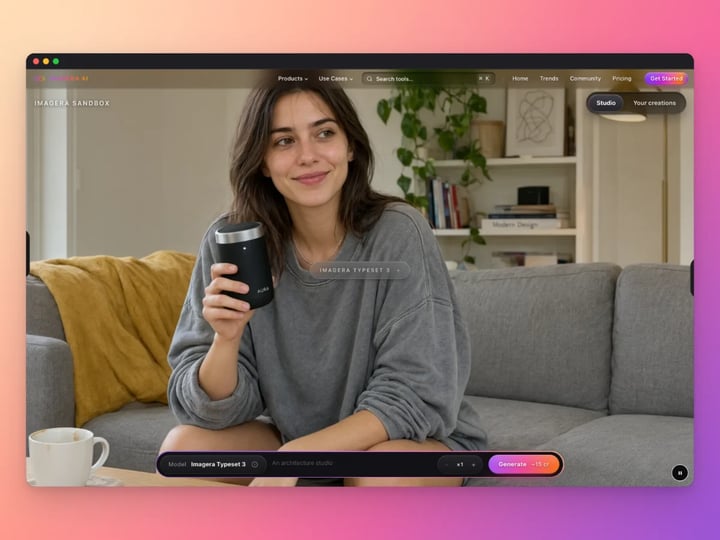
Quick answer
To add a logo to a photo, open Imagera's free logo tool and choose your photo and your logo together. The picture with a transparent background, or else the smaller one, is used as the logo. Pick a corner, the center or Tiled, then set the logo size and opacity and press Add logo. A logo saved as JPG on white has its white made see-through. Both files stay on your device.
Your photo never leaves your device — nothing is uploaded or saved on our servers.
How it works
Pick your photo and your logo together, or one after the other. A transparent PNG logo gives the cleanest edges.
Choose a corner, the center or Tiled.
Adjust Logo size and Opacity. Margin and white removal are in Advanced.
Press Add logo and download the branded photo.
Why this one
Choose both pictures at once: the one with transparency, or the smaller one, is used as the logo.
A logo saved as JPG on white gets its white made see-through, with soft, clean edges.
A tidy corner mark for posts, or a tiled pattern that is hard to crop out.
Both files stay on your device. Nothing is uploaded and there is nothing to install.
Continue in Imagera
Add Logo to Photo edits the pixels you have. These studios use AI to create what is not in the picture yet — they run on credits.
 Next step
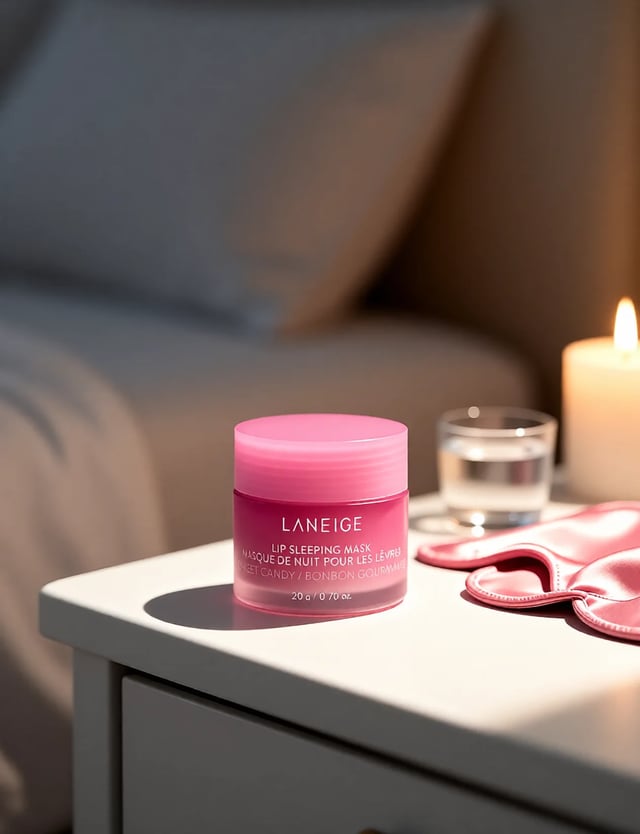
Create professional product photography scenes from a single image.
Open studio Imagera
Too small to print? Enlarge a photo to 4K, 8K or 16K (15,360 px on the long edge).
Open studio Imagera
Edit images with Imagera Edit. Inpaint, modify, and transform any part of your image.
Open studio Imagera
Replace any photo background with AI-generated luxury scenes.
Open studioWho it is for
Brand product photos before they go on your store or marketplace listings.
Mark proofs with a tiled logo that is hard to crop, or sign finals with a small corner mark.
Keep your logo on every post so shared images lead back to you.
Guide
This tool places your logo on a photo. You choose two pictures, and it works out which is which.
Position puts the logo in one of the four corners, in the center, or Tiled in offset rows across the whole photo.
Logo size sets the logo's width as a share of the photo's width, from 5 to 60%. A very tall logo is capped at 40% of the photo's height so it never swallows the picture.
Opacity sets how see-through the logo is. 100% is solid; 30–50% is the classic faint watermark.
Edge margin, in Advanced, sets the gap between a corner logo and the edges.
Remove white logo background, also in Advanced, clears the white box around a logo saved as a JPG.
The photo keeps its size in pixels and its file type. The logo is resized once, stepping down in halves, so a large logo file stays crisp when shrunk.
The tool takes exactly two pictures: a photo and a logo. You can pick both at once in the file picker, or one and then the other with Add.
File pickers do not keep the order you had in mind, so the tool looks at the pictures themselves:
1. If one has a transparent background and the other does not, the transparent one is the logo. That covers the usual case of a PNG logo and a JPG photo. 2. If both or neither have transparency, the smaller one is the logo. Logos are almost always much smaller than photos. 3. If they are about the same size, the first is the photo and the second is the logo.
The result tells you which file it used as the logo. If it guessed wrong, press Change and choose them again in the other order, or export your logo as a transparent PNG, which removes any doubt.
Many logos are saved as a JPG on a white rectangle. Placed on a photo, that white box looks like a sticker.
When Remove white logo background is on (the default), the tool checks the logo. If it has no transparency and its outer edge is almost all white, the white is made see-through before placing it.
This is done gently. Pure white becomes fully clear. The soft, half-white pixels around letters and shapes become partly clear, and the white mixed into them is taken back out, so edges stay smooth and do not leave a pale halo on a dark photo. Solid colors in the logo are kept as they are.
Two limits are worth knowing. Very pale parts of a logo, such as light gray text, can turn partly see-through too. And a logo on a colored box is left alone. For those, a transparent PNG from your designer gives the cleanest result.
The right placement depends on why you are adding the logo.
For branding, use a corner at 12–20% size and 80–100% opacity. It says who made the photo without getting in the way. Bottom right is the most common spot; pick the corner with the least detail behind it.
For protection, use Tiled at 10–15% size and 25–40% opacity. A corner logo can be cropped off in seconds. A tiled pattern covers the whole picture, so removing it is real work, while the photo is still easy to judge.
For proofs and previews, a center logo at 40–60% size and 30% opacity marks the image as a draft without hiding it.
Whatever you choose, keep the same size, corner and opacity across a set of photos so they look consistent. The tool's sizes are shares of the photo, so the same settings look the same on every picture.
Your photo and your logo never leave your device. The pictures are read, combined and saved by your browser's own canvas. Nothing is uploaded or saved on our servers.
That matters here more than for most tools. A logo is a brand asset, and the photos people protect with a logo are usually the ones they care most about: client shoots, unreleased products, original artwork. Sending them to an unknown server just to stamp a logo on them would defeat the point.
The work takes about a second on a computer, and you can try positions and opacities as often as you like, since every run starts from your original photo.
A free sign-in, which you need after the first few downloads, does not change any of this. Signing in never sends your files anywhere.
The free logo tool brands the photos you already have. It is quick, private and unlimited. The first few downloads need no account, and then a free sign-in keeps them coming. Adding a logo to many photos at once is a paid-plan feature.
For sellers, a logo only helps if the photo underneath earns the click. A product on a kitchen table with a logo in the corner still looks like a product on a kitchen table.
The paid Imagera AI product shot studio starts from one photo of your product and creates clean studio shots and styled lifestyle scenes, with light and shadows matched to the product. Make the shots there, then bring them back here to add your logo. The studio runs in the cloud, uses credits and keeps your results.
Have good photos? Brand them free. Need better ones? Try the studio.
Free vs studio
Questions people ask
Choose your photo and your logo together, pick a position, set size and opacity, and press Add logo. Then download the result.
Use a PNG logo with a transparent background. The tool spots the transparency, treats that file as the logo and keeps its see-through areas.
Leave Remove white logo background on. If the logo has a white edge and no transparency, the white is made see-through before placing.
For branding, a corner with little detail behind it, usually bottom right, at 12–20% size. For protection against reuse, choose Tiled at low opacity.
Set Position to Tiled, Logo size to 10–15% and Opacity to 25–40%. The logo repeats in offset rows across the whole photo.
Without transparency, the smaller picture is treated as the logo. Choose them again, or use a transparent PNG logo so there is no doubt.
No. The photo keeps its size in pixels and its file type. Only the logo is resized.
This free tool does one photo per run. Adding a logo to many photos at once is part of the paid plans.
No. Processing is unlimited without an account. The first few downloads need no sign-in; after that, a free sign-in keeps downloads going.
More free tools
Turn a photo into a comic, painted or soft toon picture
Add a border or fit a photo to 4:5 without cropping
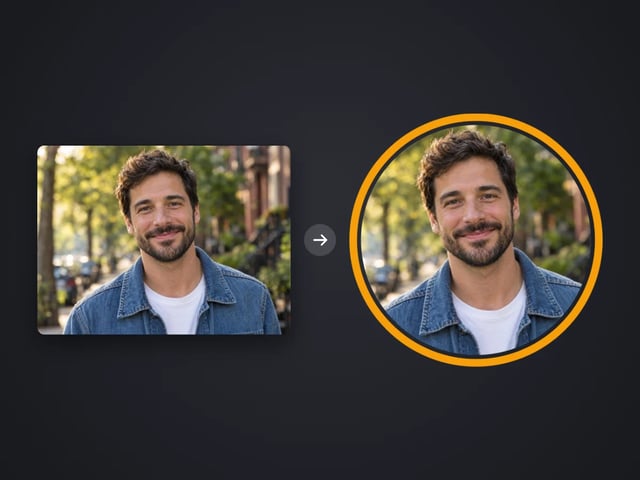
Round profile photo with a colored ring
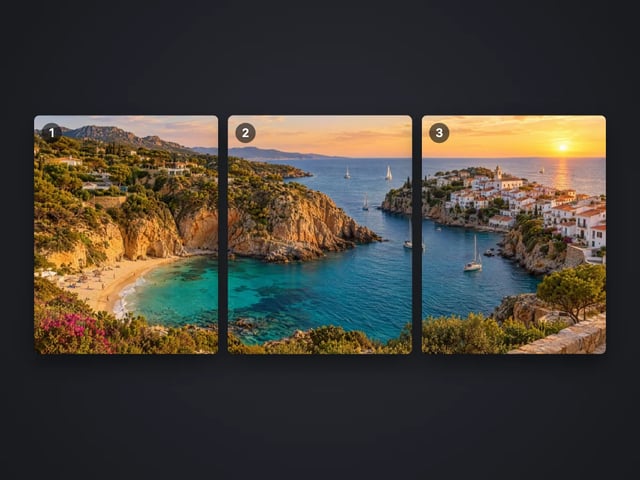
Split a photo into a carousel or a 3×3 grid
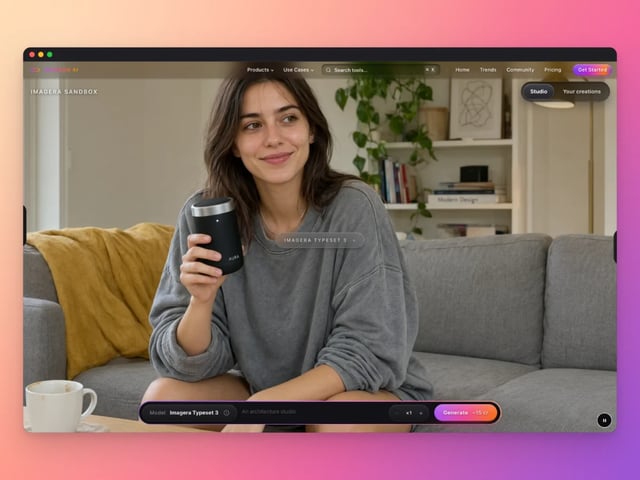
Frame a screenshot on a gradient with a shadow
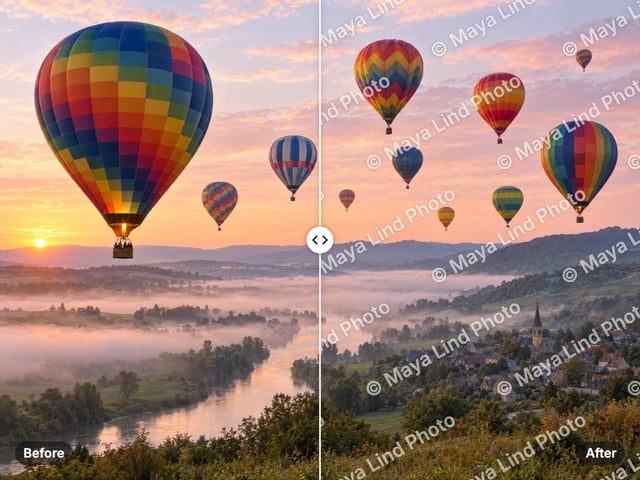
Add your name or © to a photo
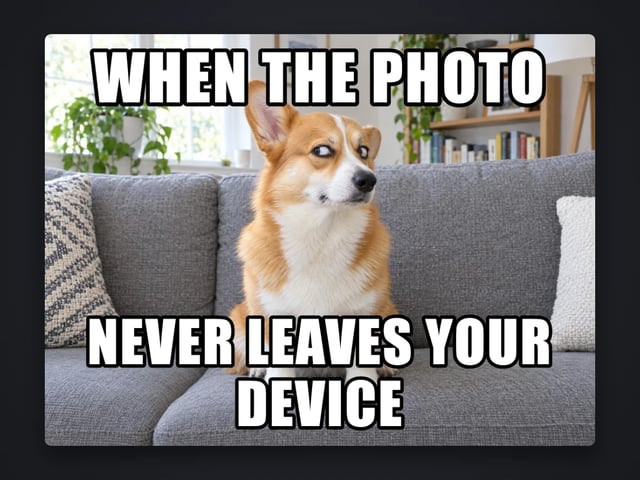
Top and bottom text on your own image
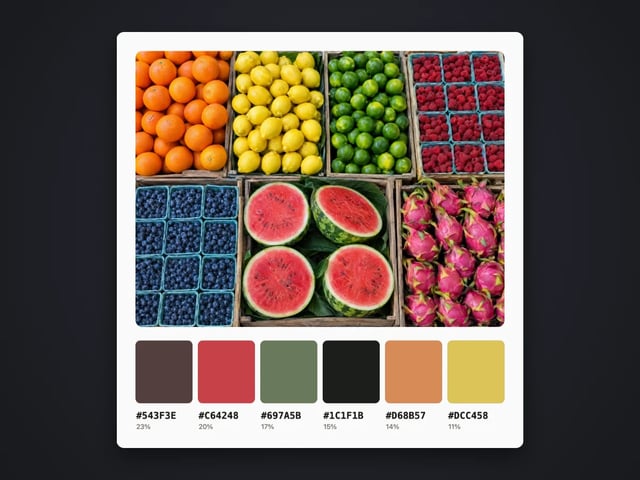
Pull the main colors and HEX codes from a photo
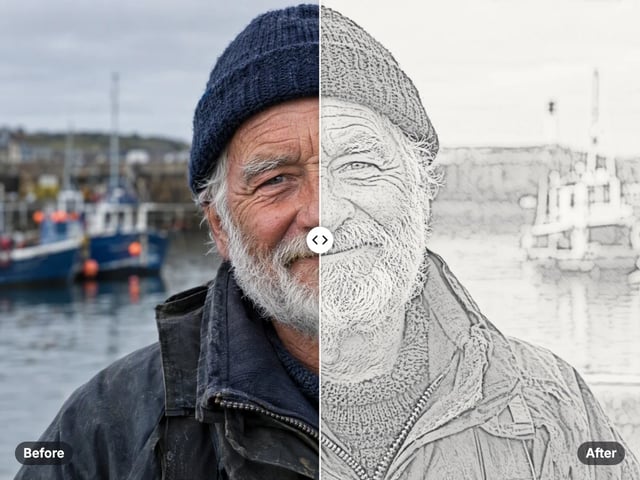
Turn a photo into a pencil or charcoal drawing
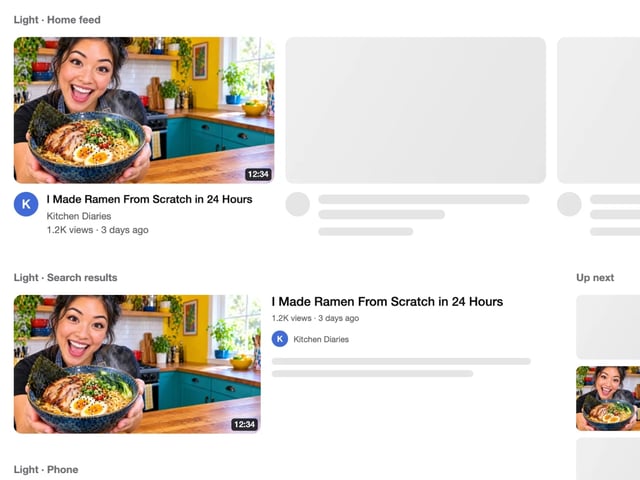
See your thumbnail in feed, search and phone layouts
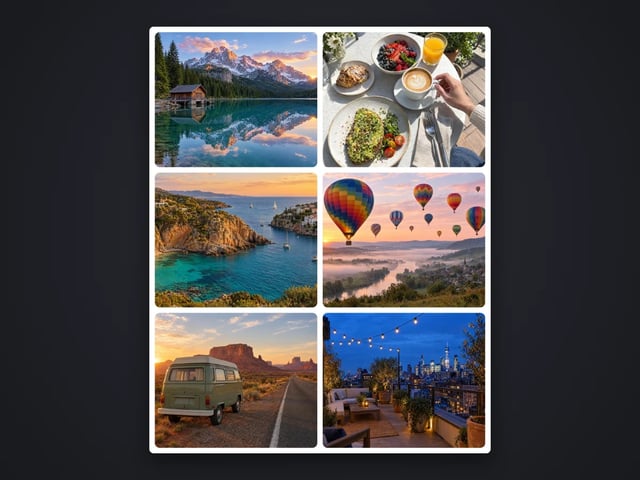
Put 2 to 9 photos in one grid
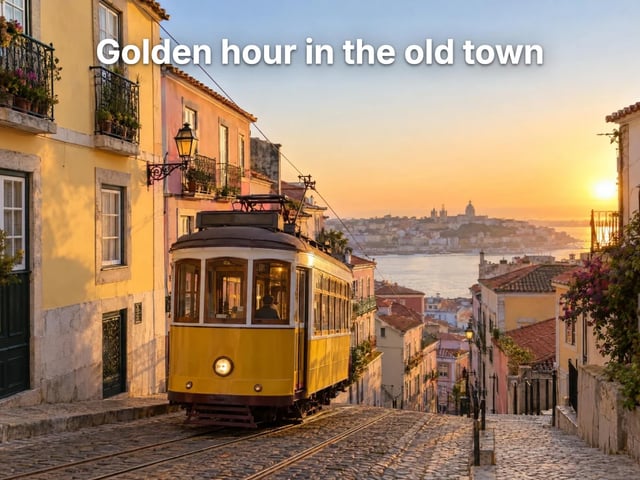
Captions in five styles, auto-fitted
Make a QR code for a link or text
Complete your workflow
These pair with Pro Product Shot Maker. Every tile says what the tool actually does — without leaving this page.
Replace product backgrounds with custom scenes
Create color variations for product catalogs
Upscale product photos to print-ready resolution
Remove flyaway hair and fix fine imperfections with surgical AI precision.
Change the words, color or font of text baked into a photo, poster or screenshot.
Free passport, visa & ID photos — auto-cropped to any country's exact size, background and file size, right on your device.
AI upscaling to 1080p/2K/4K. Ultra-high resolution. Batch process up to 5 images.
Imagera AI Team
Unified AI creation platform